开始
开发聊天气泡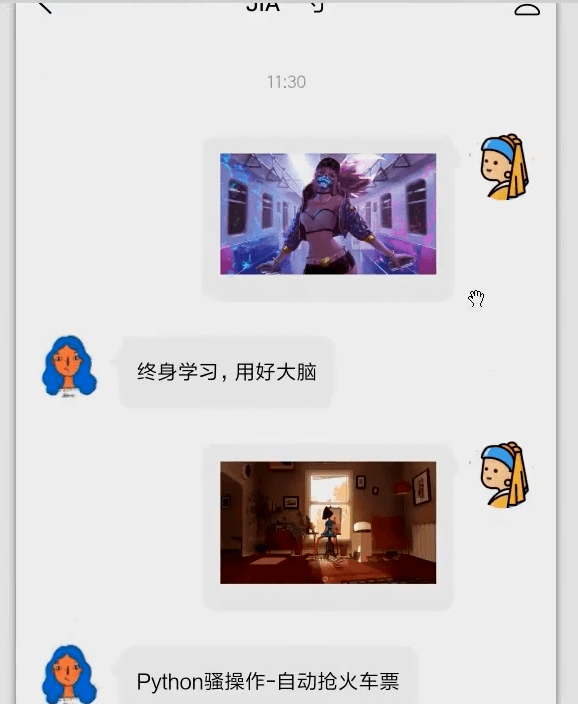
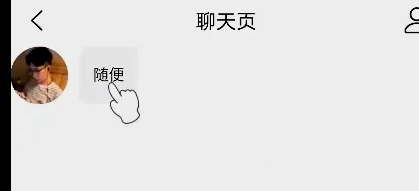
先把样式画出来,左边是一个头像,右边是一个文字。
气泡有这个尖尖的角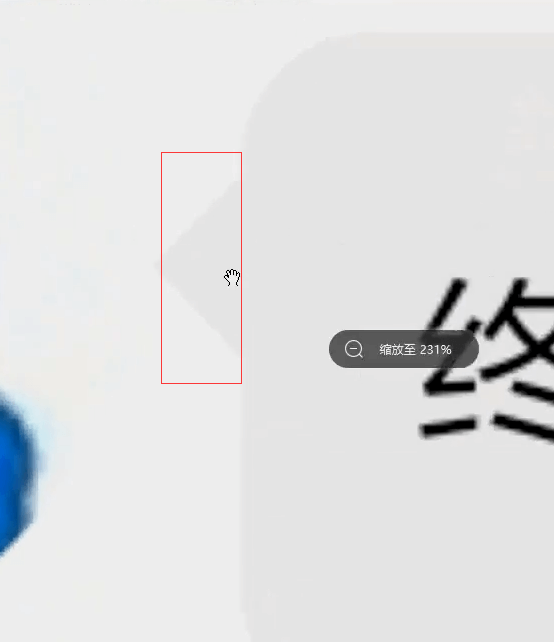
左右结构。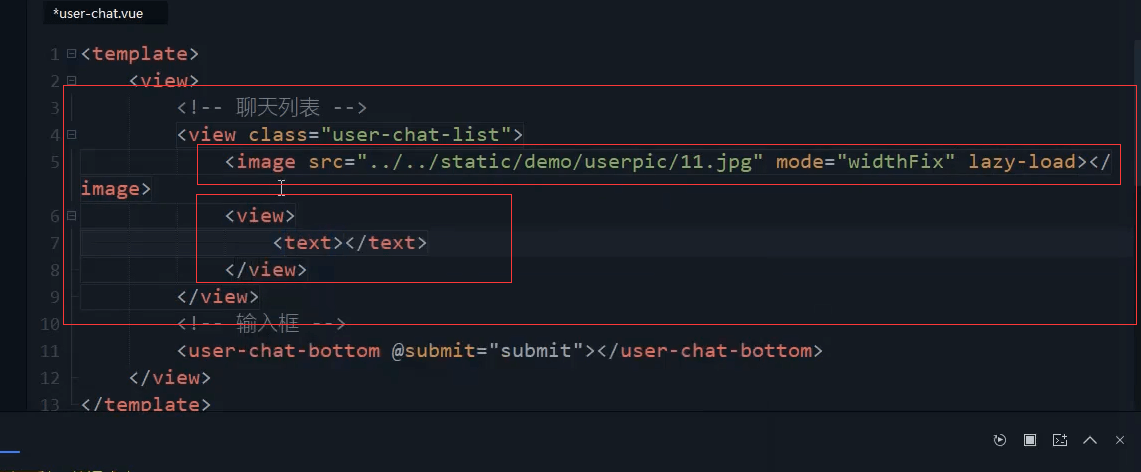
<!-- 聊天列表 --><view class="user-chat-list"><image src="../../static/demo/userpic/11.jpg" mode="widthFix"lazy-load="true"></image><view class=""><text></text></view></view>

flex布局
<!-- 聊天列表 --><view class="user-chat-list u-f"><image src="../../static/demo/userpic/11.jpg" mode="widthFix"lazy-load="true"></image><view class="user-chat-list-body"><text>随便</text></view></view>
头像的宽高 圆角。 不希望被压缩flex-shrink:0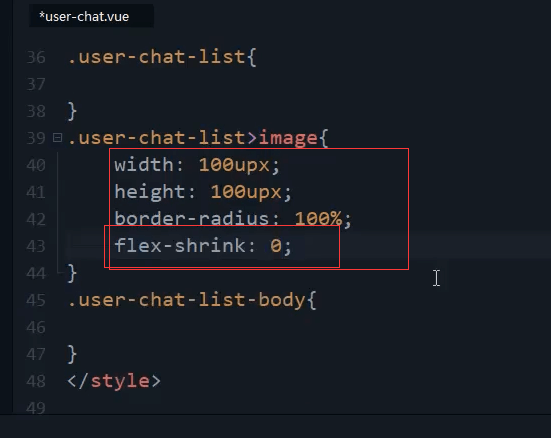
.user-chat-list{}.user-chat-list>image{width: 100upx;height: 100upx;border-radius: 100%;flex-direction: 0;}
气泡样式
吸取聊天框的背景色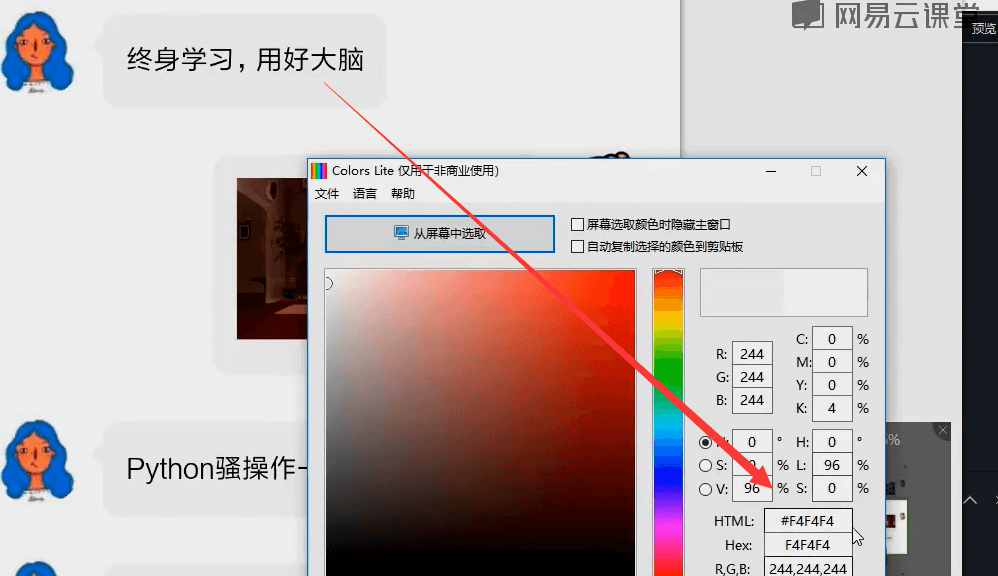
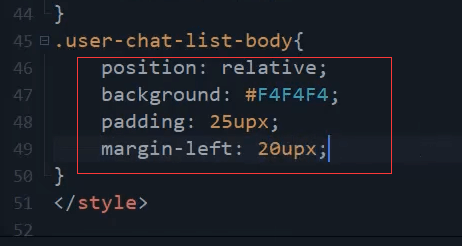
/* 聊天背景 */.user-chat-list-body{position: relative;background: #f4f4f4;padding: 25upx;margin-left: 20upx;}
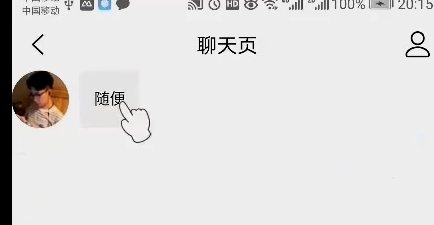
气泡加上圆角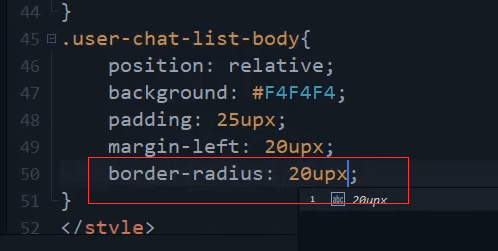
.user-chat-list-body{position: relative;background: #f4f4f4;padding: 25upx;margin-left: 20upx;border-radius: 20upx;}
多加点文字
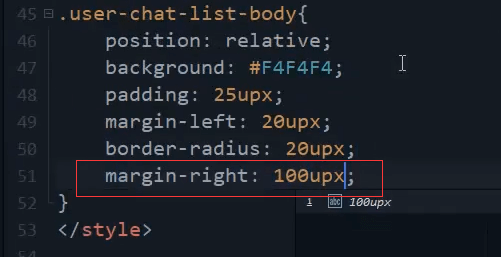
右边会紧贴着右边。所以要设置一个margin-right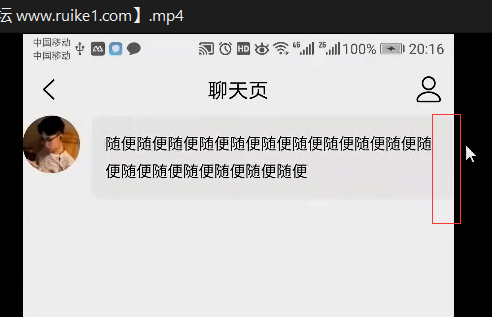
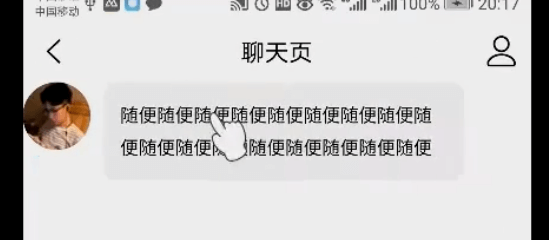
聊天窗三角符号
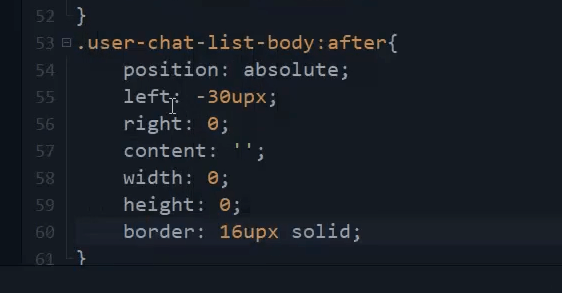
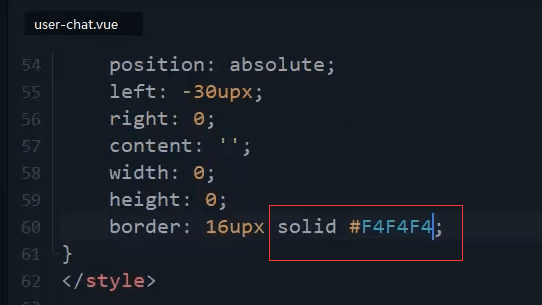
.user-chat-list-body:after{position: absolute;left: -30upx;right: 0;content: '';width:0;height: 0;border: 16px solid #F4F4F4;}
视频中看的也不是很清楚。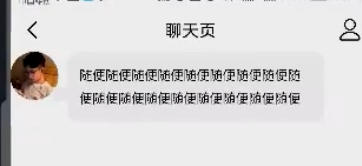
H5端我自己写的截图: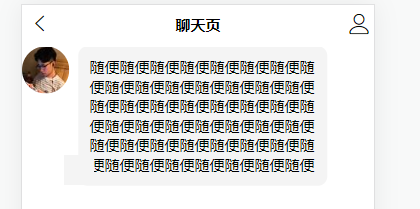
加个top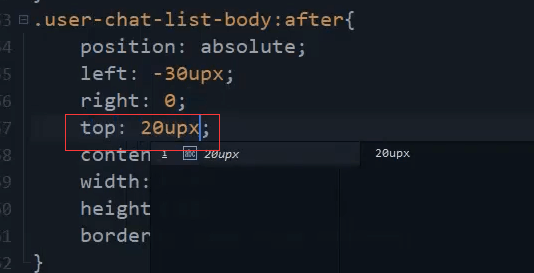
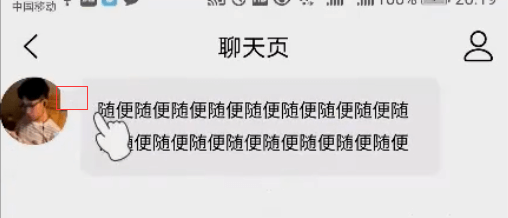
再往下一点点。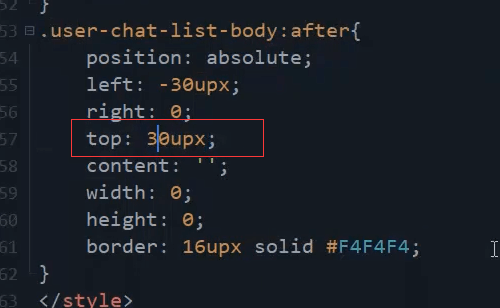
改变边框的颜色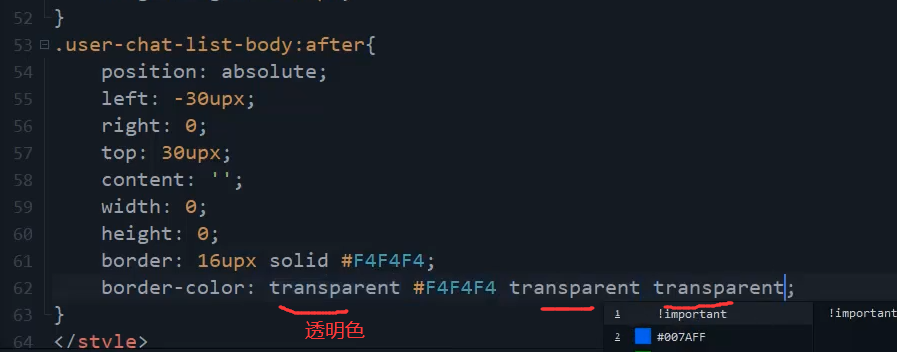
实现了小三角。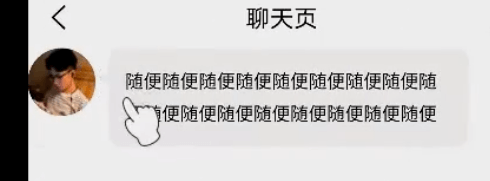
自己在H5端调试,找到一个合适的位置。手机端可能就不一定是这样的了。可能需要单独的处理。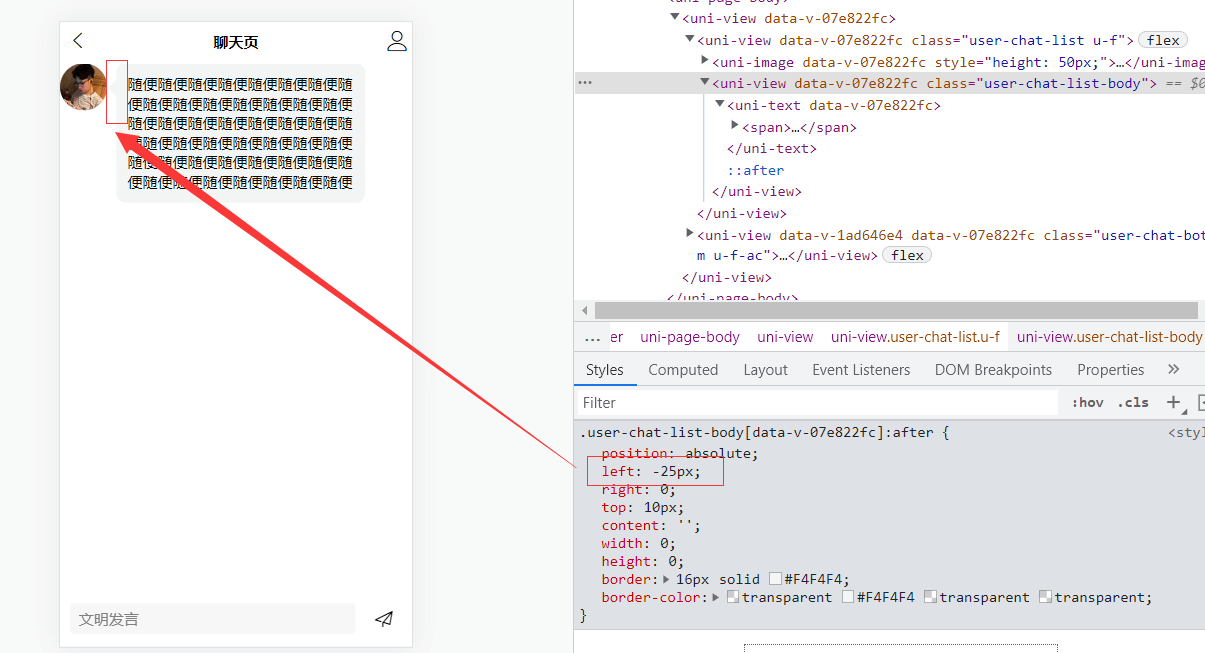
.user-chat-list-body:after{position: absolute;left: -25upx;right: 0;top: 20upx;content: '';width:0;height: 0;border: 16px solid #F4F4F4;border-color: transparent #F4F4F4 transparent transparent;}
在最外层加一个class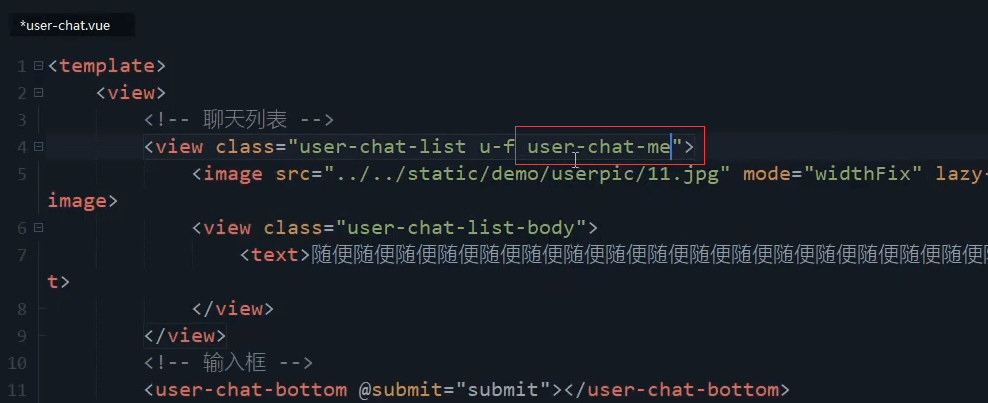
<view class="user-chat-list u-f user-chat-me">
左边头像先注释,复制一份头像代码放在右边。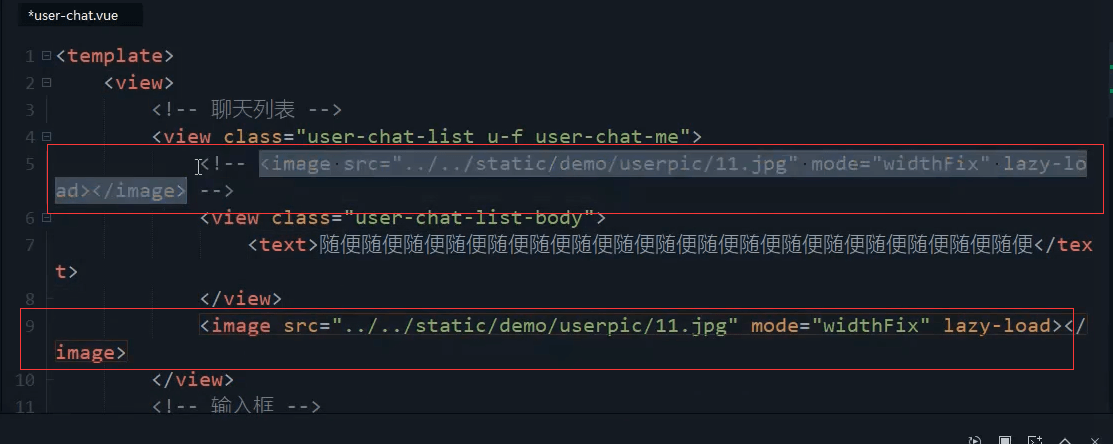
文本要距离头像近一点。然后小三角移到右边去。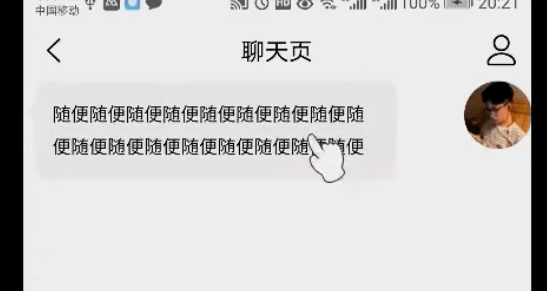

第二步气泡。和上面的css反着来。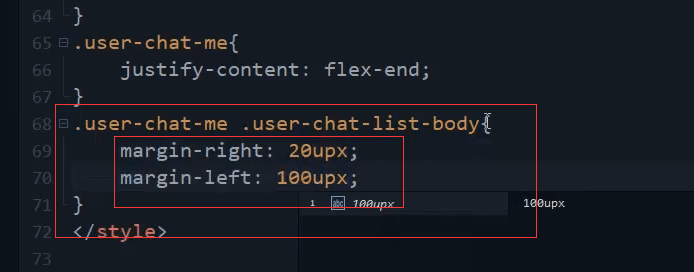
.user-chat-me{justify-content: flex-end;}.user-chat-me .user-chat-list-body{margin-right: 20upx;margin-left: 100upx;}
小三角。
把颜色放到最后。三角才会颠倒过来。
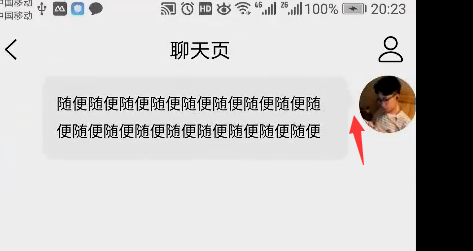
H5端,自己在浏览器上调试一下 合适的位置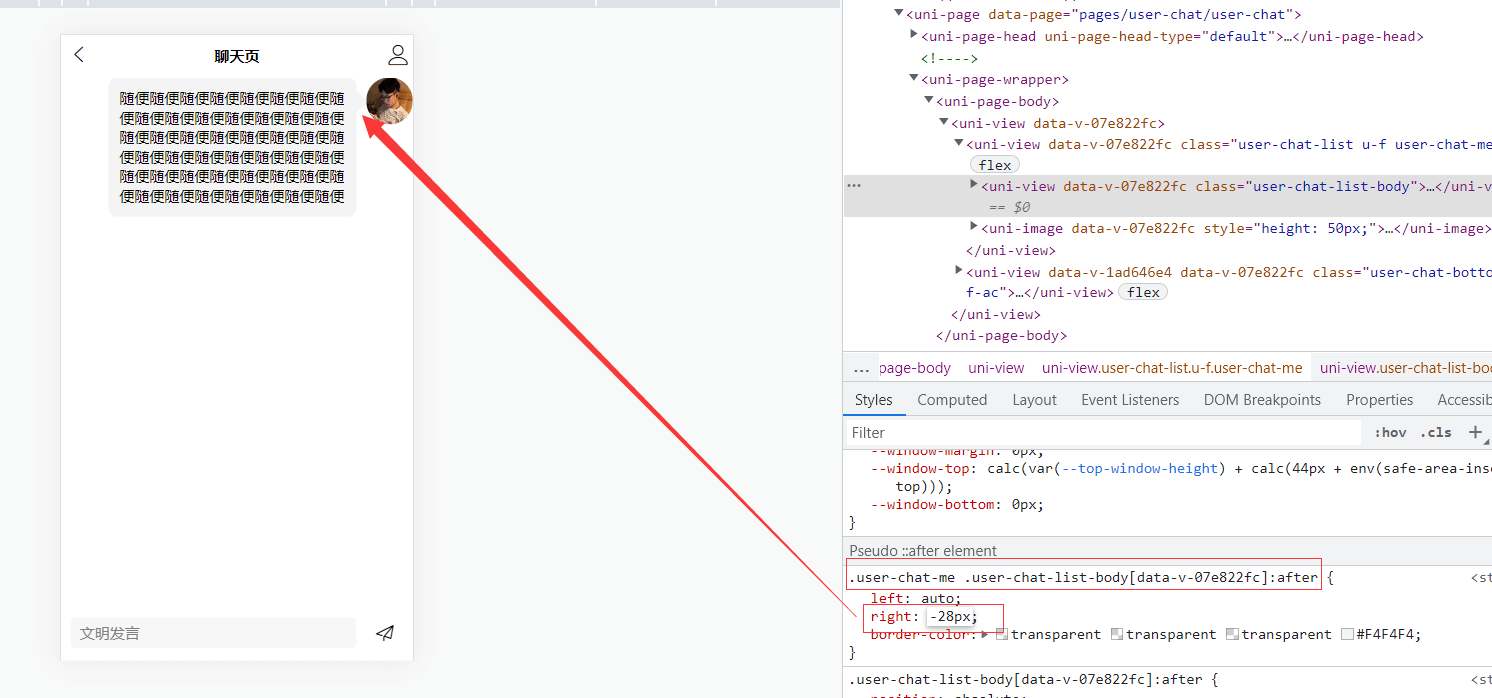
浏览器是28px。那么upx基本上是px的两倍,right就是56upx
.user-chat-me .user-chat-list-body:after{left: auto;right: -56upx;border-color: transparent transparent transparent #F4F4F4;}
图片聊天窗
构建图片的聊天窗,把上面文字的先注释掉。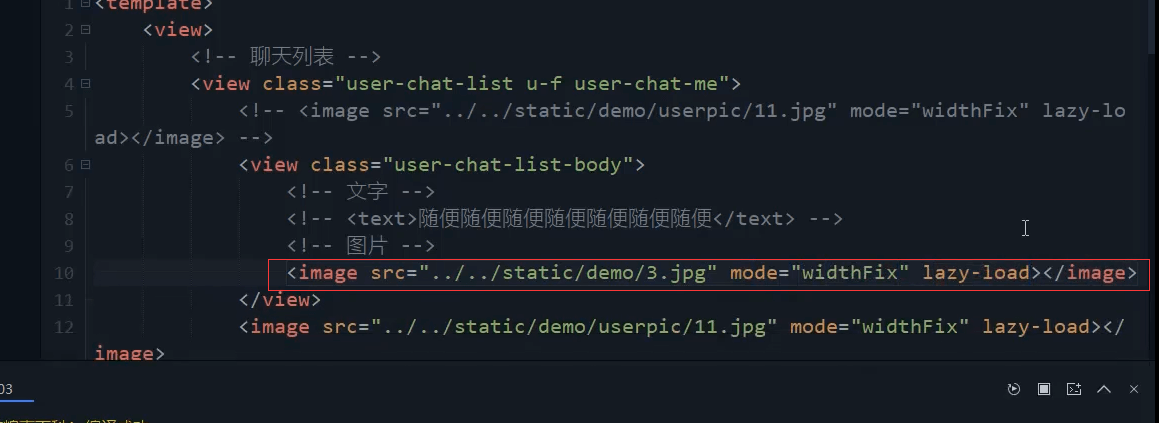
<view class="user-chat-list-body"><!-- <text>随便随便随便随便随便随便随便随便随便随便随便随便随便随便随便随便随便随便随便随便随便随便随便随便随便随便随便随便随便随便随便随便随便随便随便随便随便随便随便随便随便随便随便随便随便</text> --><image src="../../static/demo/3.jpg" mode="widthFix" lazy-load="true"></image></view>
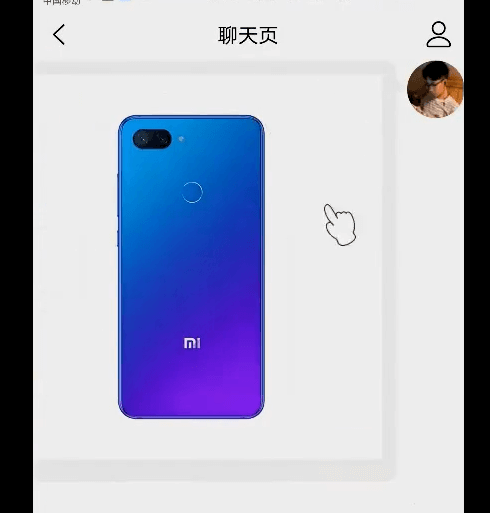
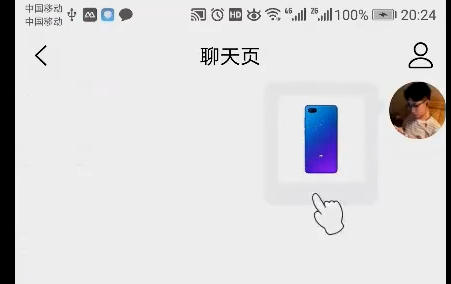
设置最大宽度和最大高度。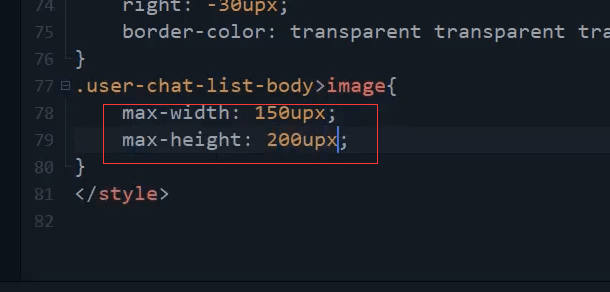
.user-chat-list-body>image{max-width: 150upx;max-height: 200upx;}
本节代码
<template><view><!-- 聊天列表 --><view class="user-chat-list u-f user-chat-me"><!-- <image src="../../static/demo/userpic/11.jpg" mode="widthFix"lazy-load="true"></image> --><view class="user-chat-list-body"><!-- <text>随便随便随便随便随便随便随便随便随便随便随便随便随便随便随便随便随便随便随便随便随便随便随便随便随便随便随便随便随便随便随便随便随便随便随便随便随便随便随便随便随便随便随便随便随便</text> --><image src="../../static/demo/3.jpg" mode="widthFix" lazy-load="true"></image></view><image src="../../static/demo/userpic/11.jpg" mode="widthFix"lazy-load="true"></image></view><!-- 输入框 --><user-chat-bottom @submit="submit"></user-chat-bottom></view></template><script>import userChatBottom from '@/components/user-chat/user-chat-bottom.vue';export default {components:{userChatBottom},data() {return {text:""}},methods: {submit(data){console.log(data);}}}</script><style>.user-chat-list{}.user-chat-list>image{width: 100upx;height: 100upx;border-radius: 100%;flex-shrink: 0;}/* 聊天背景 */.user-chat-list-body{position: relative;background: #f4f4f4;padding: 25upx;margin-left: 20upx;border-radius: 20upx;margin-right: 100upx;}.user-chat-list-body:after{position: absolute;left: -25upx;right: 0;top: 20upx;content: '';width:0;height: 0;border: 16px solid #F4F4F4;border-color: transparent #F4F4F4 transparent transparent;}.user-chat-me{justify-content: flex-end;}.user-chat-me .user-chat-list-body{margin-right: 20upx;margin-left: 100upx;}.user-chat-me .user-chat-list-body:after{left: auto;right: -56upx;border-color: transparent transparent transparent #F4F4F4;}.user-chat-list-body>image{max-width: 150upx;max-height: 200upx;}</style>

