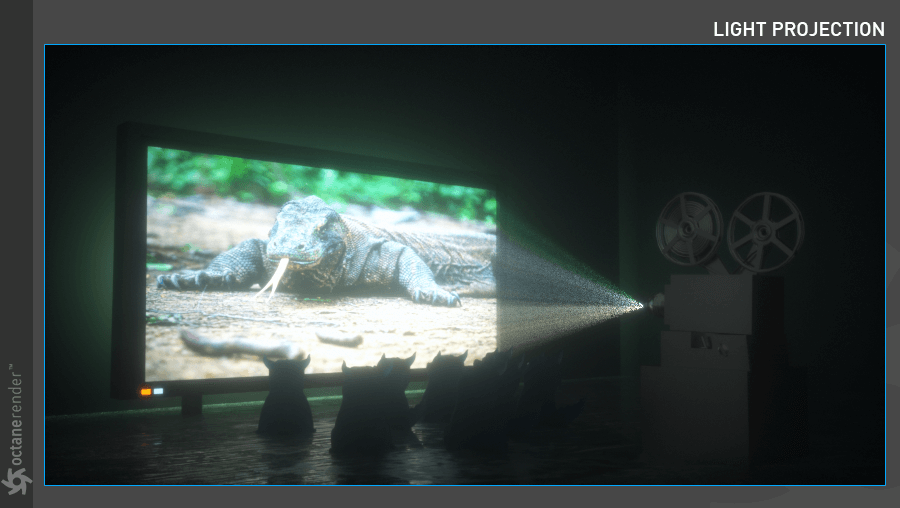
Make a Light Projector
This topic discusses the creation of a custom-made Projection Light in OctaneRender®. There are two sample scenes to download from here.
1- First open the default scene. Create an “Area Light” from the Live Viewer. Position this Area Light on the front of the projector object. Set the rotation so that the “Z” axis faces outward.

2- Now select Light Tag from object manager. Load any image you want to project to the distribution channel (remember to use Octane Image texture node). When the image is first loaded, the results will not be desired due to the default settings, so some adjustments are necessary. First, turn off “surface brightness,” which means that the power will stay the same regardless of the size of the light object. Shrink the light object with the scale tool until the image is clearly seen. Make the light power setting between 600-800.

This is still not the correct result, as the projection and transform settings of the image have not been properly setup.

3- Set the “Projection” and “Transform” settings for the image loaded, using the settings as seen in the image below.

4- This is the result from using the settings above. The image is reversed and scaled to make it smaller.

5- Click the Transform button and set the Transform Type to “2D Transformation”. Then adjust the image’s transform settings so that it fits exactly on the screen. Adjust all of the transform values as needed. Finally, select “Border Mode” as black color from the Image Texture settings.

6- After this setup, the Light Projection should now be correct as seen in the image below.

7- Improve on this result and add visual appeal to render by adding a “volume effect” to the projection light. For this, apply this method from the previous section “Making Volume Lights”.


