How to Use
The following diagram shows how particle rendering in OctaneRender® interfaces with standard Cinema 4D particles as well as third party offerings.

SETUP & SETTINGS
The Octane Object tag is required for Particle Rendering. To do this, select the “Emitter” object in any Particle system and right click on the Object manager and add the Octane Object tag. Octane automatically detects that the object is an emitter, and will activate the Particle Rendering Tab.
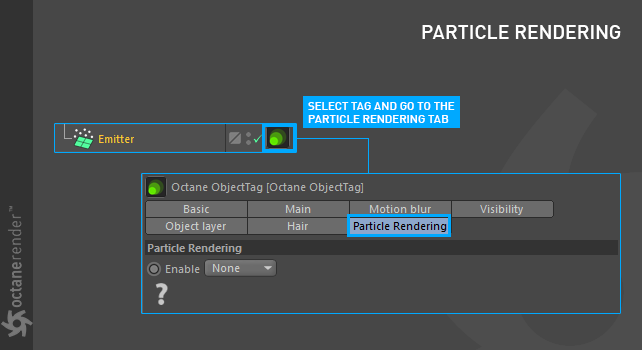
If you click on the button labeled “Enable” in the Particle Tab you will see three options: None, Sphere and Voxel. Briefly:
NONE:
Temporarily cancels the default particle system of Octane. We say temporarily because the system continues to work if there is actual geometry on the scene according to the emitter system. For example, if you are using X-particles and xpGenerator have the actual geometry as child objects, they are recognized by octane. Or you can apply the same result to the standard emitter of Cinema 4D.
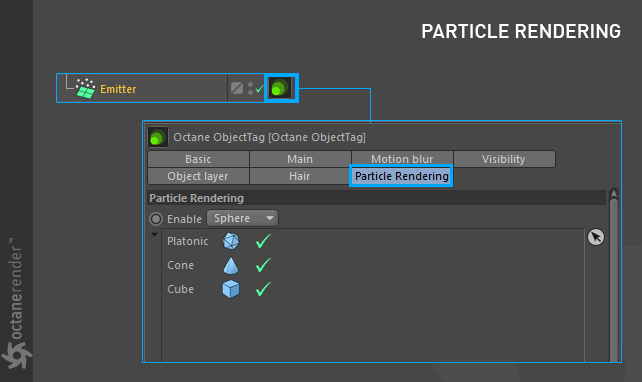
GEOMETRY:
When you choose this, the emitter settings will be preserved, but every object you add to the emitter or child list will be canceled. You only have a particle render that consists of spheres. If your goal is to make only sphere particles you can choose this option. The important thing here is the “Object List”. You can drag and drop objects into this area, as explained in detail in the following sections.
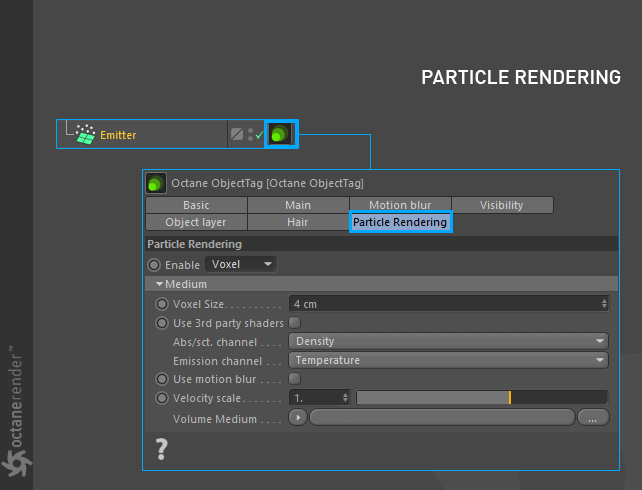
VOXEL:
This mode will activate the Voxel mode. This option is written to work with TurbulenceFD, as it deals with volumes rather than particles, as explained in the Volumetrics section.
SDF:
This mode will activate SDF mode, which builds a Signed Distance Field based upon surface level sets defined in a VDB file.

若有收获,就点个赞吧
0 人点赞
