Colorizer
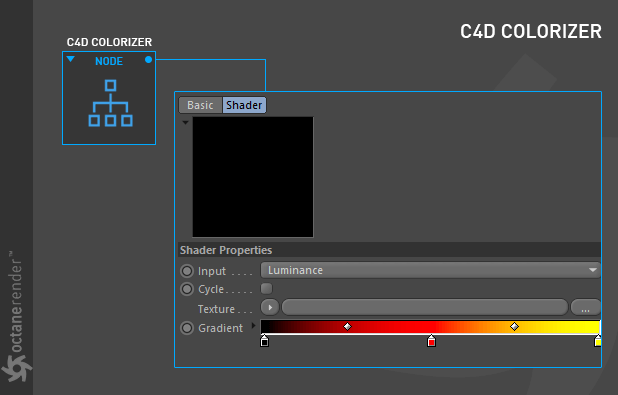
This node is for using the Cinema 4D’s “Colorizer” shader. You can read what the Colorizer Shader is and what it does in the Cinema 4D help file, or you can go to this link for further information.
这个节点是为了使用电影院4d 的“着色器”着色器。你可以在影院4 d 帮助文件中阅读着色器着色器是什么以及它是做什么的,或者你可以进入这个链接获得更多信息。
HOW TO USE
如何使用
Open the Node Editor and prepare the setup as you see in the image below. Here, both Cinema 4D’s native shader tools (Colorizer and Noise) are connected to the Diffuse channel of the material. With the Colorizer Node you cannot use any other procedural texture tools from Octane except the “Image Texture” node. However, you can use all the procedural shader / texture tools of Cinema 4D for colorizer. For example, in the example below, we used Cinema 4D’s noise instead of Octane’s own noise.
打开“节点编辑器”,准备如下图所示的设置。在这里,电影院4d 的原生着色器工具(着色器和噪声)是连接到漫反射通道的材质。使用着色器节点,除了“图像纹理”节点,你不能使用辛烷值的其他过程纹理工具。然而,你可以使用 Cinema 4D 的所有程序着色器/纹理工具来着色。例如,在下面的例子中,我们使用了电影院4 d 的噪音而不是辛烷自身的噪音。
| NOTE 注意 The Colorizer node output will be baked and is not procedural. Colorizer 节点的输出将被烘烤,并且不是过程化的。 |
|---|


若有收获,就点个赞吧
0 人点赞
