Preparing Scene & Upload
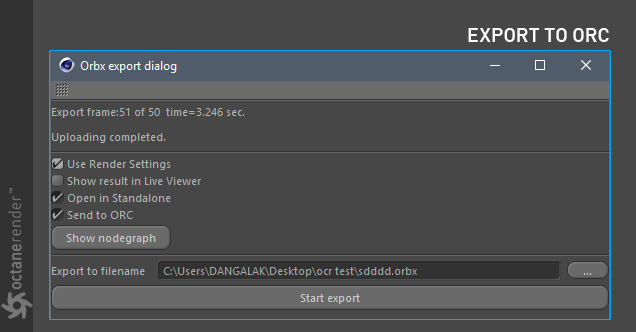
After you have finished setting up your scene, go to the “Cloud” menu in Live Viewer and select “Send Scene”. As soon as you choose this, a save window will open. Save the scene. The scene will be saved in ORBX format. In this format, problems such as the relative file path is not a problem because the whole scene is saved into a single container file. Again, if there are Mograph animations, particles, dynamics, hair, or cloth simulations on your scene, be sure to bake or cache them. Once you’ve saved the scene, you will see the “ORBX export dialog” window as illustrated below.

The “Use Render Settings” option will use the settings you have in Octane Render Settings in the main Cinema 4D Render Settings window — otherwise the settings you have in Live Viewer will be used instead.
The “Open Standalone” option will open Octane Standalone and will load your ORBX scene into Standalone once the export process has concluded. It is always a good idea to run your scene through Standalone to make sure that everything is as expected, before sending off to ORC.
“Export to filename” is for determining where your ORBX file will be saved and what it will be named. Set the name of your file in the text box and then click “Start Export”. Depending on your scene, it may take some time for the export process to conclude.
UPLOADING SCENE TO ORC
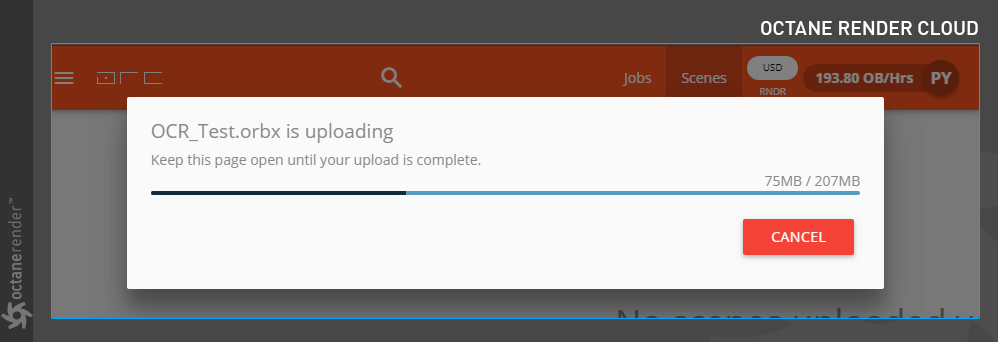
Once your scene has finished exporting, you can upload the orbx file to the Octane Render Cloud. First, go to the main ORC website. Login or activate your membership if needed. Now click the “Scenes” link above from the Cloud homepage. Click on the “upload orbx scene” icon to load your first scene.

Select the ORBX scene file from the file explorer window. As soon as you choose this, your file will begin uploading to the ORC. Depending on the size of your file and your internet speed, this process can take some time.

UPLOADING SCENE TO ORC (ALTERNATIVE METHOD)
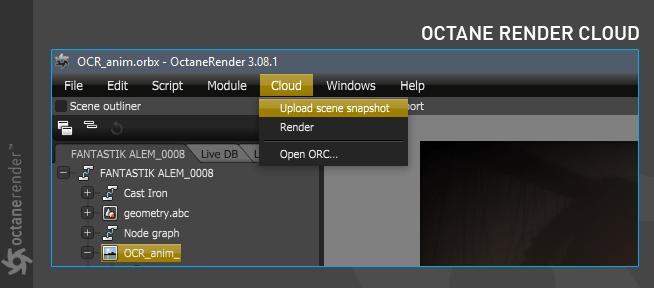
You can also upload from Octane Standalone software. Once you have opened the exported scene in Standalone, go to the “Cloud” menu and select “Upload Scene Snapshot”. As soon as you select this, you will see the upload progress on the ORC in the lower left corner. After uploading, go to ORC and you can see your scene in the “Scenes” section and prepare for the final render.


