命名视图
想同时展示多个视图时,并且每个视图展示不同的组件时,可以使用命名视图。也就是 <router-view></router-view>
当想展示多个且不同的路由组件时可以设置 name 属性, name 属性默认值为 default
<router-view name="default"></router-view><!-- 默认视图--><router-view name="two"></router-view> <!-- 第二个视图--><router-view name="three"></router-view><!-- 第三个视图-->
多个视图渲染不同的页面, 多个视图就需要多个组件,确保正确使用 components 配置 (带上 s):
import Bar from './Bar'import Baz from './Baz'const router = new VueRouter({routes: [{path: '/',components: {default: Foo,two: Bar,three: Baz}}]})
案例
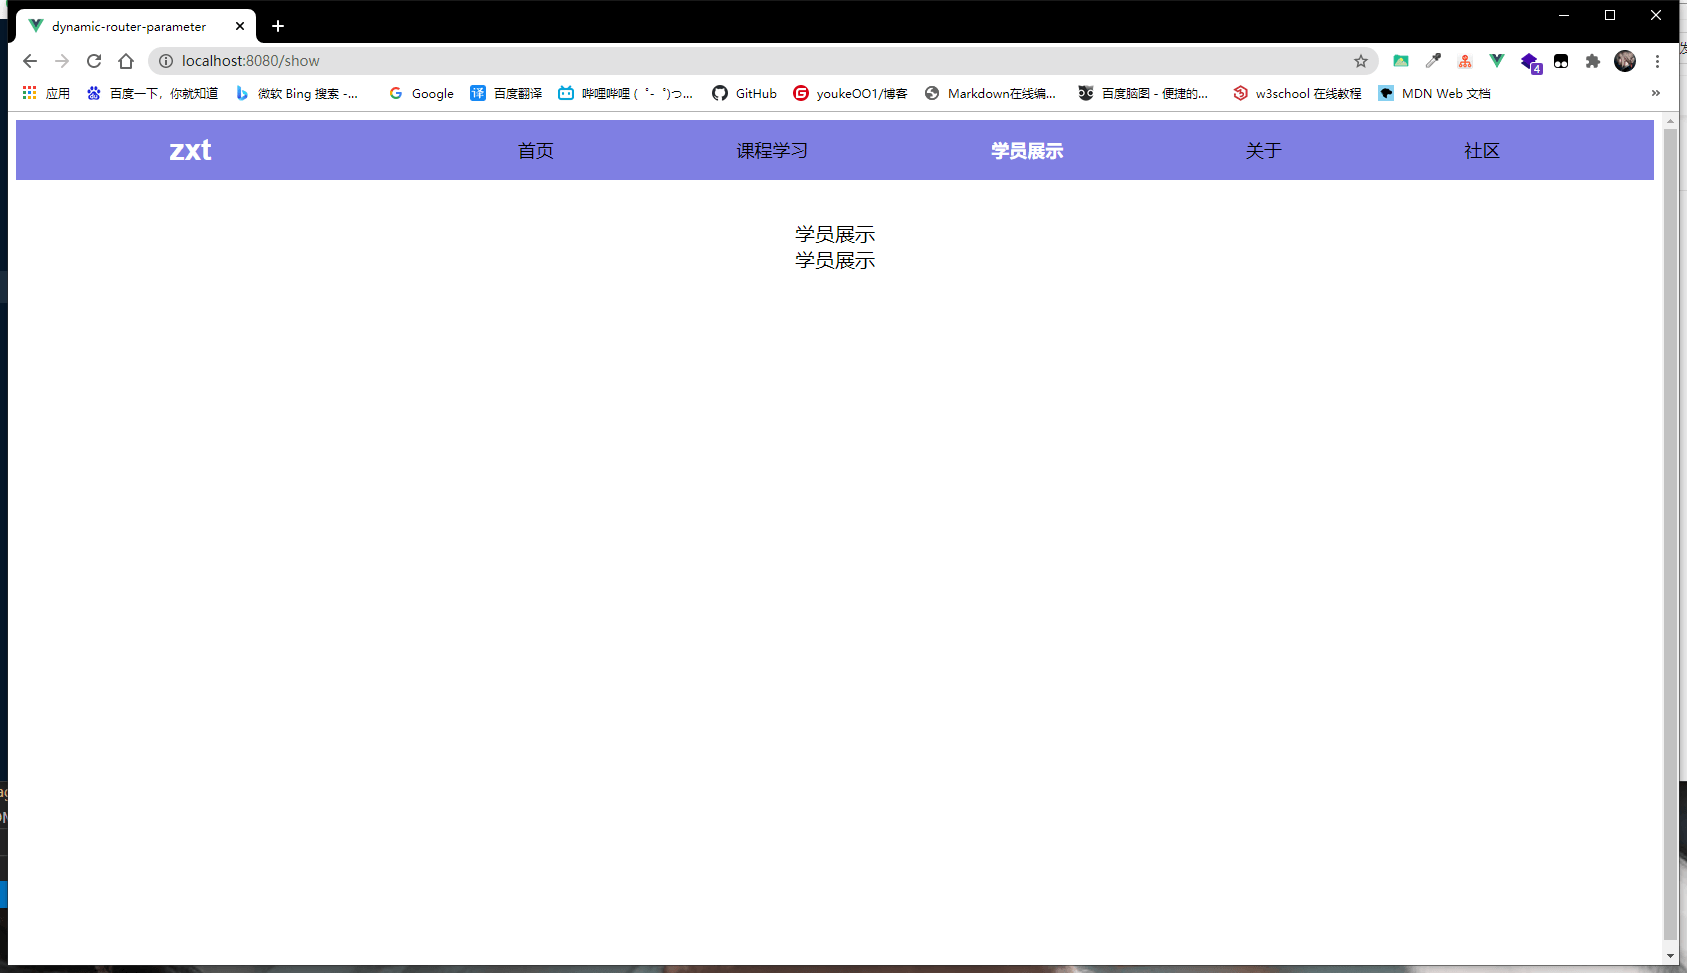
当使用多个默认视图
app.vue的源码
<template><div id="app"><div class="nav-box"><div class="logo">zxt</div><!-- <router-link to="/home" tag="div" class="logo" >ZXT</router-link> --><div class="nav-list"><router-link to="/home">首页</router-link><router-link to="/learn">课程学习</router-link><router-link to="/show">学员展示</router-link><router-link to="/about">关于</router-link><router-link to="/community">社区</router-link></div></div><div class="content"><!--多个视图--><router-view></router-view><router-view></router-view></div></div></template><script>export default {name: 'App',components: {},}</script><style>:root,body{height: 100%;}#app {font-family: Avenir, Helvetica, Arial, sans-serif;-webkit-font-smoothing: antialiased;-moz-osx-font-smoothing: grayscale;text-align: center;}.nav-box{width: 100%;height: 60px;display: flex;justify-content: space-around;align-items: center;background: rgba(0, 0, 200, .5);}.logo{color: #fff;font-size: 30px;font-weight: bold;cursor: pointer;}.nav-list{display: flex;width: 60%;justify-content: space-between;align-items: center;}.nav-list a{text-decoration: none;color: #000;font-size: 18px;}/* 此处修改选中效果,不然当单击二级导航栏时,一级导航栏没有选中效果 */.nav-list a.router-link-active{font-weight: bold;color: #fff;}.content{margin-top: 40px;font-size: 20px;}</style>
route.vue的源码
{path: '/show',component: () => import('./components/views/Show.vue')},
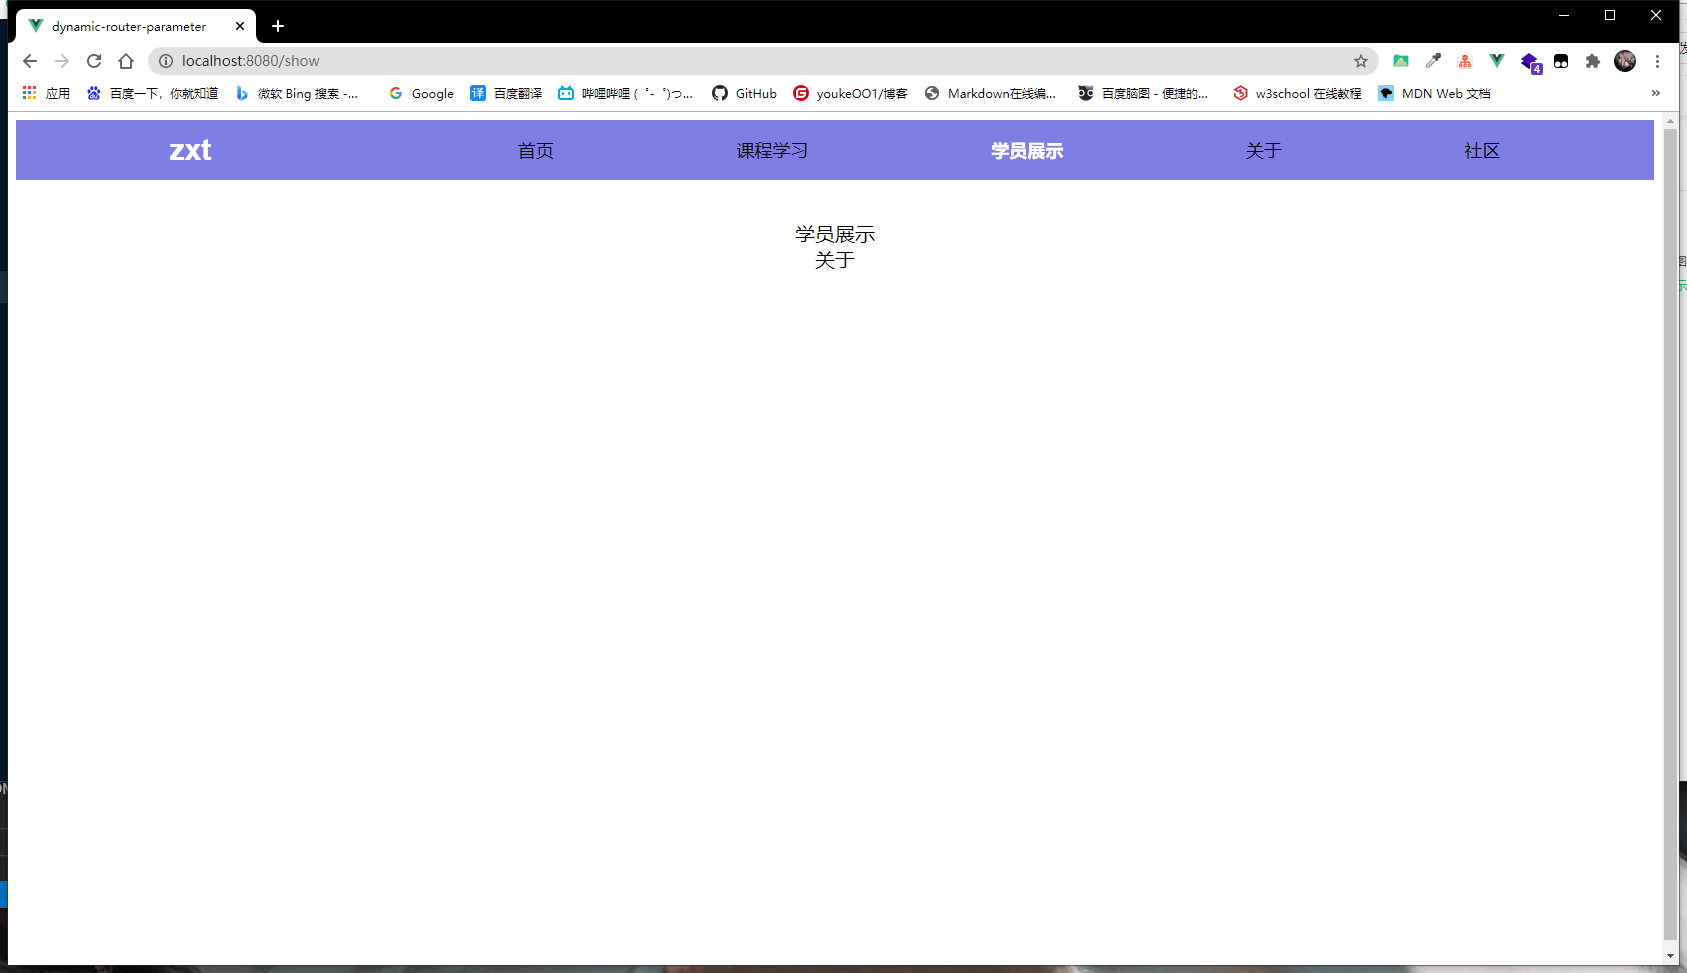
当多个视图各个展示的不一样
app.vue的代码
<template><div id="app"><div class="nav-box"><div class="logo">zxt</div><!-- <router-link to="/home" tag="div" class="logo" >ZXT</router-link> --><div class="nav-list"><router-link to="/home">首页</router-link><router-link to="/learn">课程学习</router-link><router-link to="/show">学员展示</router-link><router-link to="/about">关于</router-link><router-link to="/community">社区</router-link></div></div><div class="content"><!--多个视图--><router-view></router-view><router-view name="view"></router-view></div></div></template><script>export default {name: 'App',components: {},}</script><style>:root,body{height: 100%;}#app {font-family: Avenir, Helvetica, Arial, sans-serif;-webkit-font-smoothing: antialiased;-moz-osx-font-smoothing: grayscale;text-align: center;}.nav-box{width: 100%;height: 60px;display: flex;justify-content: space-around;align-items: center;background: rgba(0, 0, 200, .5);}.logo{color: #fff;font-size: 30px;font-weight: bold;cursor: pointer;}.nav-list{display: flex;width: 60%;justify-content: space-between;align-items: center;}.nav-list a{text-decoration: none;color: #000;font-size: 18px;}/* 此处修改选中效果,不然当单击二级导航栏时,一级导航栏没有选中效果 */.nav-list a.router-link-active{font-weight: bold;color: #fff;}.content{margin-top: 40px;font-size: 20px;}</style>
route.js 的源码
{path: '/show',components:{default: () => import('./components/views/Show.vue'),view: () => import('./components/views/About.vue')}},
show.vue
<template><div class="show">学员展示</div></template>
about.vue
<template><div class="about">关于</div></template>
路由组件传参
以动态路由为例,你会发现question.vue 渲染页面的时候需要通过$route进行一系列操作,这就写死啦只能在当动态路由下才能使用。其他地方是无法使用的。当我们想把question.vue当做组件使用时,就会发现缺少参数
示例
动态路由匹配中的question的源码
<template><div v-if="data"><div class="title">{{ data.title }}</div><div class="option" ><div class="option-item" @click="handleClick(options.id)" v-for="options in optionQusetinList" :key="options.id" :title="options.title" :class="options.type"> {{ options.title}}</div></div></div></template><script>export default {data(){return {data:null}},computed:{/*** 计算属性* 下一篇文章与上一篇的文章*/optionQusetinList(){let arr = []if(this.data.next){const {next,nextId} = this.dataarr.push({type:'next',title:next,id:nextId,})}if(this.data.prev){const {prev ,prevId} = this.dataarr.push({type:'prev',title:prev,id:prevId,})}return arr}},methods:{/*** 获取数据*/getData(){const { id } = this.$route.paramsthis.$axios.get(`/question/${id}`).then(res =>{this.data = res})},/*** 触发单击事件修改路由*/handleClick(id){const { name } = this.$routethis.$router.push({name,params:{id}})}},/*** 监听路由信息是否被修改* 当路由信息被修改后重新获取数据*/watch:{'$route':{handler(){this.getData()},immediate: true}}}</script><style scoped>.option{width: 80%;height: 30px;position: fixed;left: 0;right: 0;bottom: 10px;margin: 10px auto;}.option-item{width: 200px;white-space: nowrap;overflow: hidden;text-overflow: ellipsis;color: #3385ff;cursor: pointer;}.option-item:hover{color: red;}.option-item.next{float: right;}.option-item .right{float: left;}</style>
在课程学习页面(课程学习页面的源码文件为learn.vue)吧question当做组件引入
<template><div class="learn">课程学习<router-question></router-question></div></template><script>import routerQuestion from "./question"export default {components:{routerQuestion}}</script>
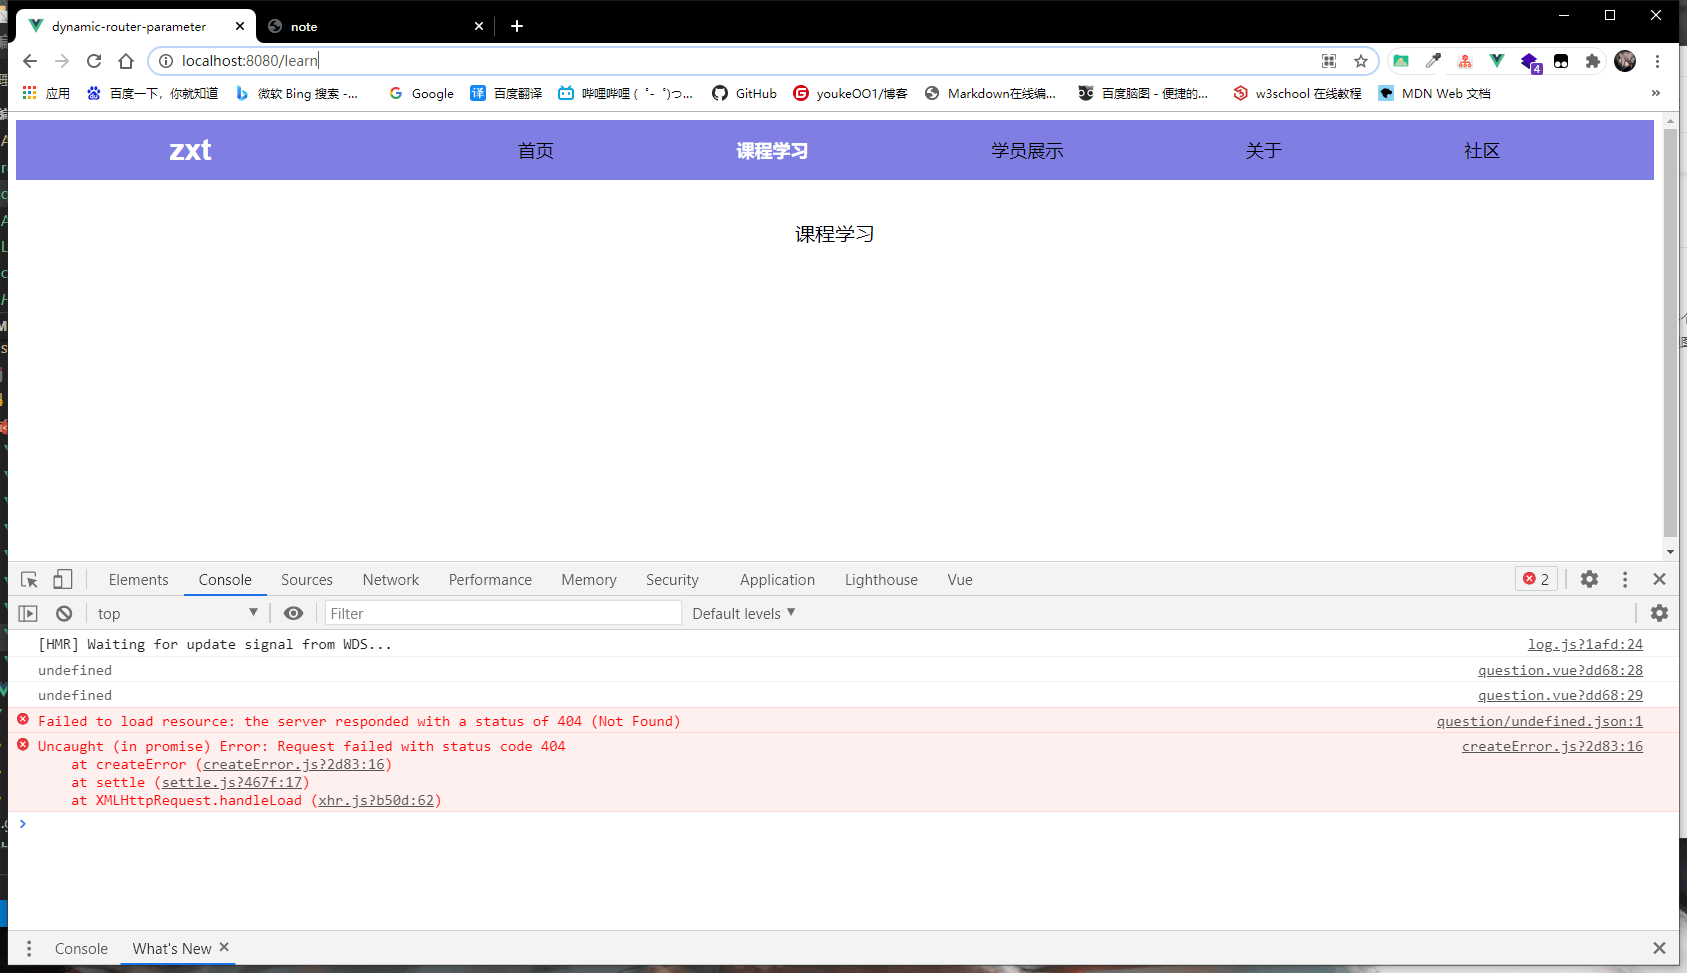
效果图
你会发现报错信息是找不到,因为question.vue中你获取页面数据的id值是从动态路由的参数中获取到的
const { id } = this.$route.params
路由名字也是
const { name } = this.$route
你在看当前页面的路由
而动态路由为
那吗我们可以将所需要的数据传递进去
使用prop来传递参数
learn.vue中的代码修改为
<template><div class="learn">课程学习<router-question :id='90878976' name="question" ></router-question></div></template><script>import routerQuestion from "./question"export default {components:{routerQuestion}}</script>
修改question .vue 的源码
<template><div v-if="data"><div class="title">{{ data.title }}</div><div class="option" ><div class="option-item" @click="handleClick(options.id)" v-for="options in optionQusetinList" :key="options.id" :title="options.title" :class="options.type"> {{ options.title}}</div></div></div></template><script>export default {// 接受传递过来的参数props:{id:{type:[String,Number],},name:{type:String,}},data(){return {data:null}},mounted(){console.log(this.id)console.log(this.name)},computed:{/*** 计算属性* 下一篇文章与上一篇的文章*/optionQusetinList(){let arr = []if(this.data.next){const {next,nextId} = this.dataarr.push({type:'next',title:next,id:nextId,})}if(this.data.prev){const {prev ,prevId} = this.dataarr.push({type:'prev',title:prev,id:prevId,})}return arr}},methods:{/*** 获取数据*/getData(){const { id } = thisthis.$axios.get(`/question/${id}`).then(res =>{this.data = res})},/*** 触发单击事件修改路由*/handleClick(id){const { name } = thisconsole.log(name)this.$router.push({name,params:{id}})}},/*** 监听路由信息是否被修改* 当路由信息被修改后重新获取数据*/watch:{'$route':{handler(){this.getData()},immediate: true}}}</script><style scoped>.option{width: 80%;height: 30px;position: fixed;left: 0;right: 0;bottom: 10px;margin: 10px auto;}.option-item{width: 200px;white-space: nowrap;overflow: hidden;text-overflow: ellipsis;color: #3385ff;cursor: pointer;}.option-item:hover{color: red;}.option-item.next{float: right;}.option-item .right{float: left;}</style>
router.js
{/*** 动态路由匹配* /question/下的参数都将是question.vue 渲染出来的*/path:'/question/:id',name:'question',props:true, // 开启路由组件传递参数component:() => import('./components/views/question.vue')}
模式
布尔模式
如果 props 被设置为 true,route.params 将会被设置为组件属性。
上面的router.js就是使用的布尔模式
对象模式
如果 props 是一个对象,它会被按原样设置为组件属性。当 props 是静态的时候有用
{/*** 动态路由匹配* /question/下的参数都将是question.vue 渲染出来的*/path:'/question/:id',name:'question',props:{id: 67809854,},component:() => import('./components/views/question.vue')}
函数模式
你可以创建一个函数返回 props。函数的第一个参数是 route (即$route)。
{/*** 动态路由匹配* /question/下的参数都将是question.vue 渲染出来的*/path:'/question/:id',name:'question',// 函数模式props:route =>({name:route.name,id: route.params.id,}),component:() => import('./components/views/question.vue')}


