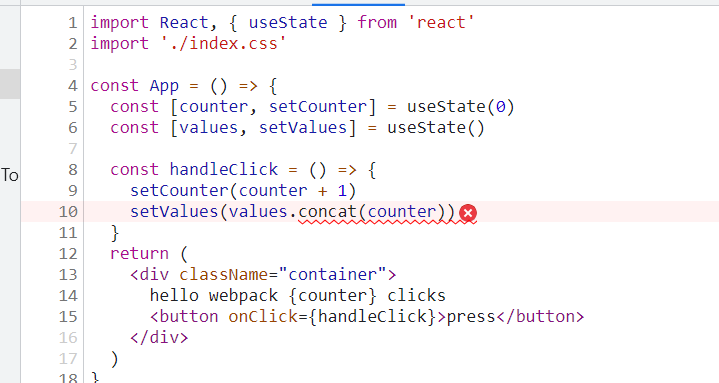
Bundling
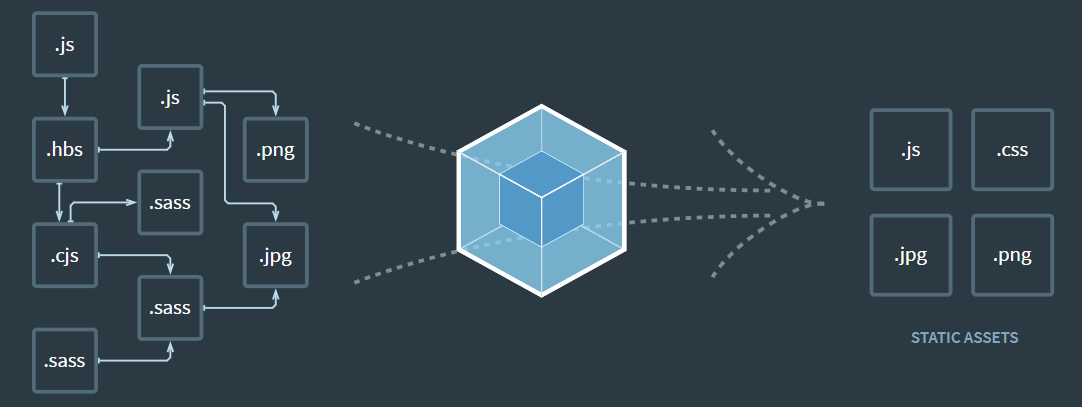
当运行npm run build的时候,webpack将源代码转化为单个的文件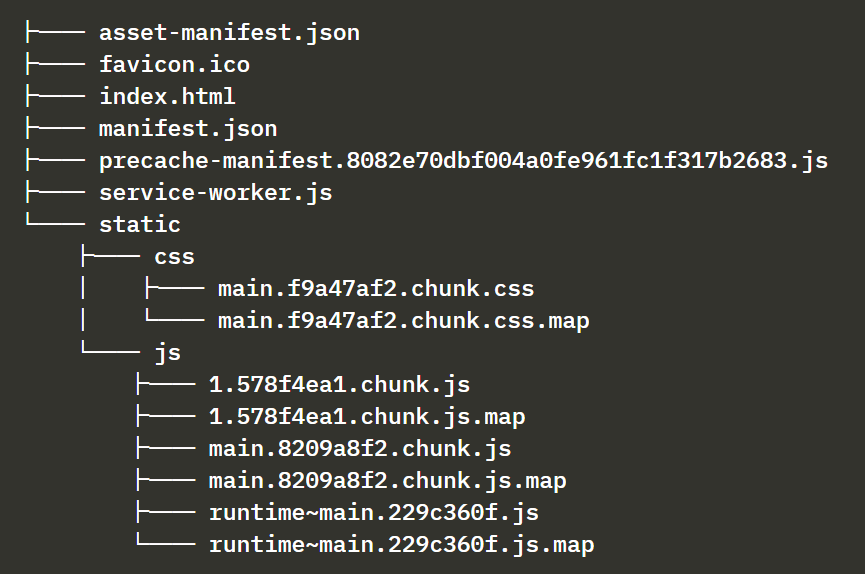
新建一个项目目录解构如下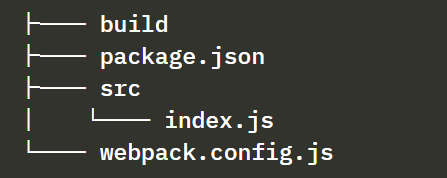
package.json
{"name": "webpack-part7","version": "0.0.1","description": "practising webpack","scripts": {},"license": "MIT"}
安装webpack
npm install --save-dev webpack webpack-cli
webpack.config.js添加配置
entry属性是绑定应用的入口点
const path = require('path')const config = {entry: './src/index.js',output: {path: path.resolve(__dirname, 'build'),filename: 'main.js'}}module.exports = config
package.json添加script
"scripts": {"build": "webpack --mode=development"},
在src/index.js添加一些代码,新建App.js并添加一些代码,执行命令**npm run build**,在build目录会生成main.js文件, 里面包含了index.js和App.js中转译后的代码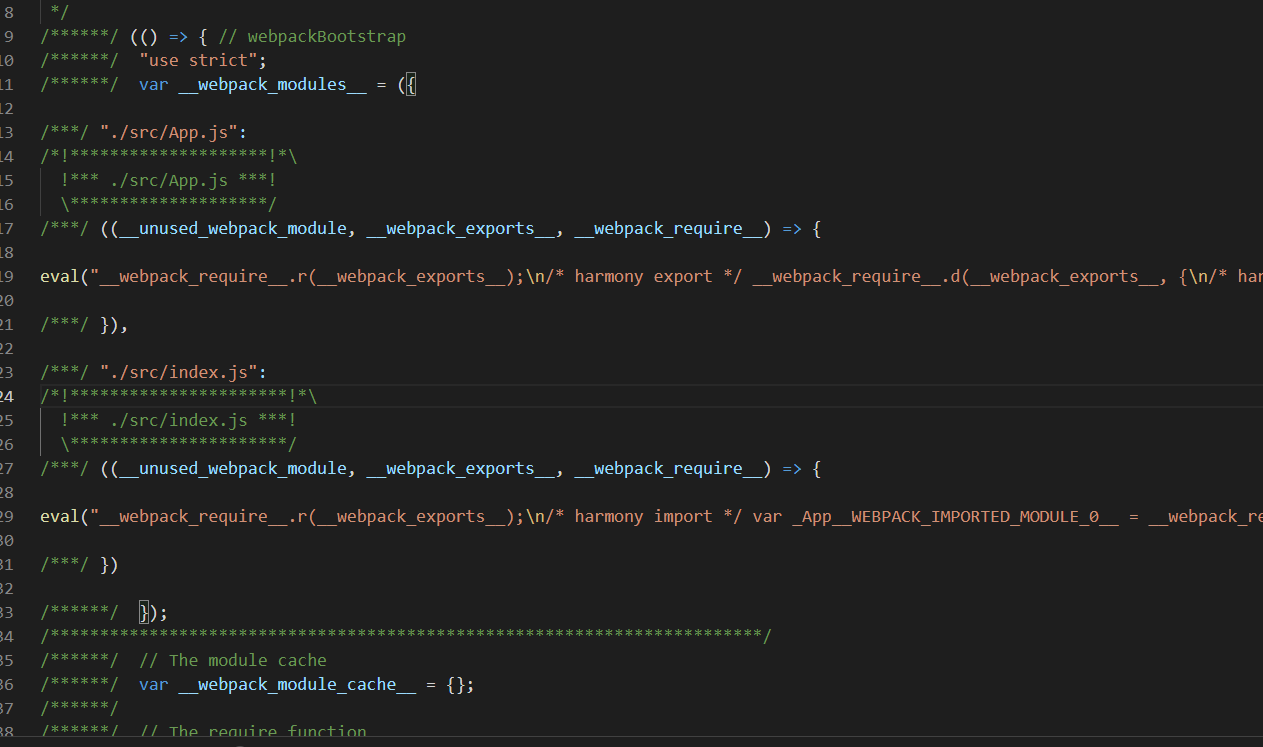
Bundling React
安装react
npm install react react-dom
写一些react代码后,build,报错,提示需要一个合适的loader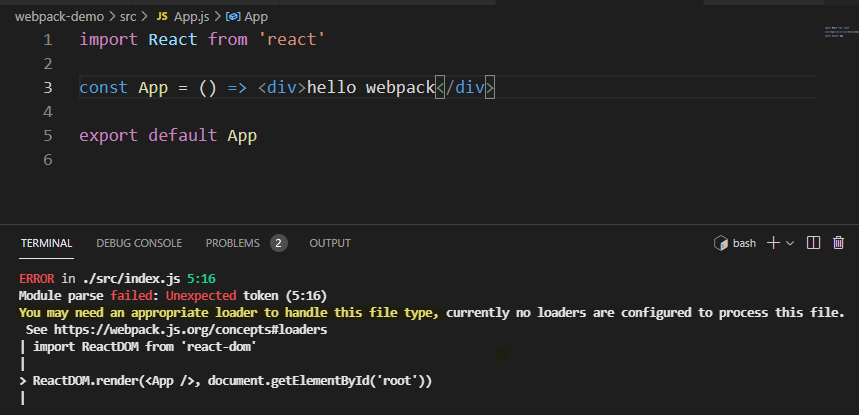
Loaders
webpack默认只能转译纯javascript脚本,要转移react,需要添加一个loader
在webpack.config.js中添加module rules
const config = {entry: './src/index.js',output: {path: path.resolve(__dirname, 'build'),filename: 'main.js',},module: {rules: [{test: /\.js$/,loader: 'babel-loader',options: {presets: ['@babel/preset-react'],},},],},}
- test属性指定loader用于.js结尾的文件
- loader属性指定处理这个文件的loader是babel-loader
- options属性用于传递参数
安装loader为开发依赖
npm install @babel/core babel-loader @babel/preset-react --save-dev
安装完成后再build就不会报错了,转译后的文件可以直接用浏览器打开查看效果
如果代码中使用了async/await, 需要安装另一个依赖: @babel/polyfill
npm install @babel/polyfill
Transpilers
将代码从一种 JavaScript 形式转换为另一种 JavaScript 形式的过程称为transpiling
ES6以上的JS代码需要转译成ES5
大多数人使用的是@babel/pressing-env插件
它包含使用所有最新特性编写代码并将其转化为兼容 ES5标准的代码所需的所有内容
在配置文件的presets中添加’@babel/preset-env’
{test: /\.js$/,loader: 'babel-loader',options: {presets: ['@babel/preset-env', '@babel/preset-react']}}
安装@babel/preset-env
npm install @babel/preset-env --save-dev
转移后的代码就像这样
var App = function App() {return _react2.default.createElement('div', null, 'hello webpack')};
CSS
加入CSS后build报错
.container {margin: 10;background-color: #dee8e4;}

转译css需要用到css-loader 和 style-loader
css-loader用于加载css文件
style-loader生成并注入一个style元素,css定义最后包含在main.js文件中
{rules: [{test: /\.js$/,loader: 'babel-loader',options: {presets: ['@babel/preset-react', '@babel/preset-env'],},},{test: /\.css$/,use: ['style-loader', 'css-loader'],},];}
安装
npm install style-loader css-loader --save-dev
Webpack-dev-server
当前的工作流非常糟糕,每次修改代码,都要重新build,手动刷新浏览器查看效果
webpack-dev-server 解决了这个问题, 当代码修改时,自动build并刷新页面
安装成开发者依赖
npm install --save-dev webpack-dev-server
在scripts中添加start命令
{// ..."scripts": {"build": "webpack --mode=development","start": "webpack serve --mode=development"},// ...}
在webpack.config.js配置中添加devServer
const config = {entry: './src/index.js',output: {path: path.resolve(__dirname, 'build'),filename: 'main.js',},devServer: {static: path.resolve(__dirname, 'build'),compress: true,port: 3000,},// ...};
webpack-dev-server的转译是在内存中的,而不是在build目录
注意,在build目录中需要添加index.html作为主页
<!DOCTYPE html><html lang="en"><head><meta charset="utf-8" /><title>React App</title></head><body><div id="root"></div><script type="text/javascript" src="./main.js"></script></body></html>
Source maps

当控制台发生错误,点击App.js跳转到调试页面,发现不是我们的源代码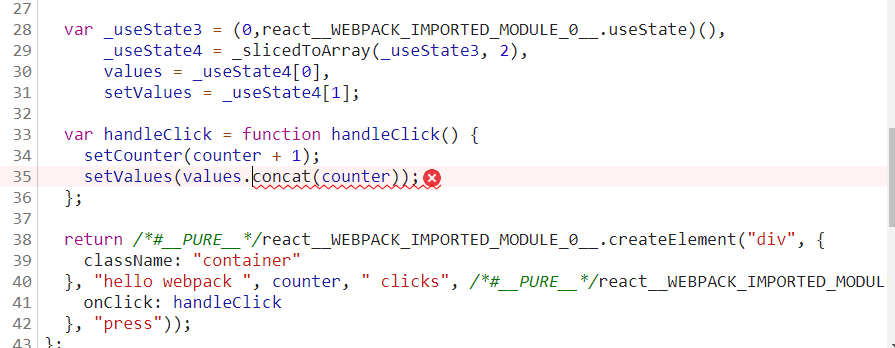
在配置中添加devtool
const config = {entry: './src/index.js',output: {// ...},devServer: {// ...},devtool: 'source-map',// ..};
Minifying the code
在版本4以上的webpack中,只需要将build命令的mode设置为production,就能压缩代码
"scripts": {"build": "webpack --mode=production","start": "webpack serve --mode=development"},
执行命令 npm run build
所有的便笺、甚至不必要的空格和换行符都被删除了,变量名被单个字符替换。
Development and production configuration
实现当在本地使用时,应用使用端口3001中可用的 json-server 作为其后端
而打包时,指定为后端服务器地址
将webpack的配置改成函数形式
const path = require('path');const config = (env, argv) => {return {entry: './src/index.js',output: {// ...},devServer: {// ...},devtool: 'source-map',module: {// ...},plugins: [// ...],}}module.exports = config
定义全局常量backend_url
const path = require('path')const webpack = require('webpack')const config = (env, argv) => {console.log('argv', argv.mode)const backend_url = argv.mode === 'production'? 'https://blooming-atoll-75500.herokuapp.com/api/notes': 'http://localhost:3001/notes'return {entry: './src/index.js',output: {path: path.resolve(__dirname, 'build'),filename: 'main.js'},devServer: {contentBase: path.resolve(__dirname, 'build'),compress: true,port: 3000,},devtool: 'source-map',module: {// ...},plugins: [new webpack.DefinePlugin({BACKEND_URL: JSON.stringify(backend_url)})]}}module.exports = config
使用backend_url
const App = () => {const [counter, setCounter] = useState(0)const [values, setValues] = useState([])const notes = useNotes(BACKEND_URL)// ...return (<div className="container">hello webpack {counter} clicks<button onClick={handleClick} >press</button><div>{notes.length} notes on server {BACKEND_URL}</div></div>)}
在build目录执行如下命令可查看生产版本的效果
npx static-server
Polyfill
IE不支持axios promises和数组的find方法
在应用中添加下列内容,以支持promise
import PromisePolyfill from 'promise-polyfill'if (!window.Promise) {window.Promise = PromisePolyfill}
