安装
yarn add element-ui
按需引入
yarn add babel-plugin-component -D
在 babel.config.js 中添加 plugins 部分
module.exports = {presets: ['@vue/cli-plugin-babel/preset'],plugins: [['component',{libraryName: 'element-ui',styleLibraryName: 'theme-chalk',},],],}
在入口文件中按需引入,并注册全局组件
import Vue from 'vue';import { MessageBox, Button, Select } from 'element-ui';import App from './App.vue';Vue.component(Button.name, Button);Vue.component(Select.name, Select);/* 或写为* Vue.use(Button)* Vue.use(Select)*/// 在原型上绑定方法Vue.prototype.$msgbox = MessageBox;Vue.prototype.$alert = MessageBox.alert;Vue.prototype.$confirm = MessageBox.confirm;Vue.prototype.$prompt = MessageBox.prompt;new Vue({el: '#app',render: h => h(App)});
自定义主题
新建 element-variables.scss 文件,按需引入样式
/* 改变主题色变量 */$--color-primary: #16b6ae;/* 改变 icon 字体路径变量,必需 */$--font-path: '~element-ui/lib/theme-chalk/fonts';/* 按需引入样式文件 *//* @import '~element-ui/packages/theme-chalk/src/index'; */@import '~element-ui/packages/theme-chalk/src/message-box.scss';@import '~element-ui/packages/theme-chalk/src/message.scss';
在入口文件中引入scss文件
import './assets/style/element-variables.scss'
使用 messageBox 组件
// mixins.jsimport Vue from 'vue'import Component from 'vue-class-component'import { MessageBoxInputData } from 'element-ui/types/message-box'const map: { [key: string]: string } = {'tag name duplicated': '标签名已存在',}// You can declare mixins as the same style as components.@Componentexport class tagHelper extends Vue {createTag() {this.$prompt('请输入标签名', '提示', {confirmButtonText: '确定',cancelButtonText: '取消',inputPattern: /.+/,inputErrorMessage: '标签名不可为空',}).then((res) => {const value = (res as MessageBoxInputData).valuethis.$store.commit('createTag', value)if (this.$store.state.createTagErrorFlag) {this.$message.error(map[this.$store.state.createTagErrorFlag.message] || '未知错误')} else {this.$message({message: '创建成功!',type: 'success',})}}).catch(() => {this.$message({type: 'info',message: '取消输入',customClass: 'msg',})})}}
在vuex中使用
在 vuex 中不能使用this, 可以直接使用组件名
import { Message } from 'element-ui'if (sameTag.length > 0) {Message.error('标签名已存在')} else {const tag = state.tagList.filter((i) => i.id === id)[0]tag.name = namestore.commit('saveTag')Message({message: '更新成功',type: 'success',})}
自定义message组件的宽度
在控制台可以查看到组件的类名以及它拥有的样式,使用类名就可以自定义样式啦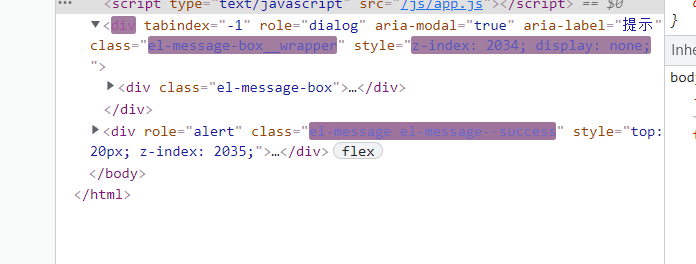
.el-message {min-width: 300px;}.el-message-box {width: 300px;}
也可以通过customClass属性给组件自定义类名
this.$message({type: 'info',message: '取消输入',customClass: 'msg',})
TS报错
Property ‘value’ does not exist on type ‘MessageBoxData’
解决方法:进行类型强转
.then((res) => {const value = (res as MessageBoxInputData).value// ...})
DatePicker组件
import { DatePicker } from 'element-ui'Vue.use(DatePicker)
@import '~element-ui/packages/theme-chalk/src/date-picker.scss';
<el-date-pickerv-model="date"type="date":editable=false:picker-options="pickerOptions"placeholder="选择日期"></el-date-picker>
date = new Date()// 让今天之后的日期都不能被选择pickerOptions = {disabledDate(time: Date) {return time.getTime() > Date.now() - 8.64e6}}record: RecordItem = {tags: [], notes: '', type: '-', amount: 0, createAt: this.date};@Watch('date')onChildChanged(val: Date) {this.record.createAt = val}
.el-date-editor.el-input {margin-left: auto;width: 160px;}

若有收获,就点个赞吧
0 人点赞
