创建项目
使用Vite创建vue项目
# npm 7+, extra double-dash is needed:npm init vite@latest my-vue-app -- --template vue# yarnyarn create vite my-vue-app --template vue
安装vue-router
vue-router官方文档
查看vue-router版本**npm info vue-router versions**
安装最新版4yarn add vue-router@4.0.12
使用vue-router, main.ts入口文件如下
import { createApp } from 'vue'import App from './App.vue'import {createWebHashHistory, createRouter} from 'vue-router'import Hi from './components/hi.vue'const history = createWebHashHistory()const router = createRouter({history,routes: [{path: '/', component: Hi}]})createApp(App).use(router).mount('#app')
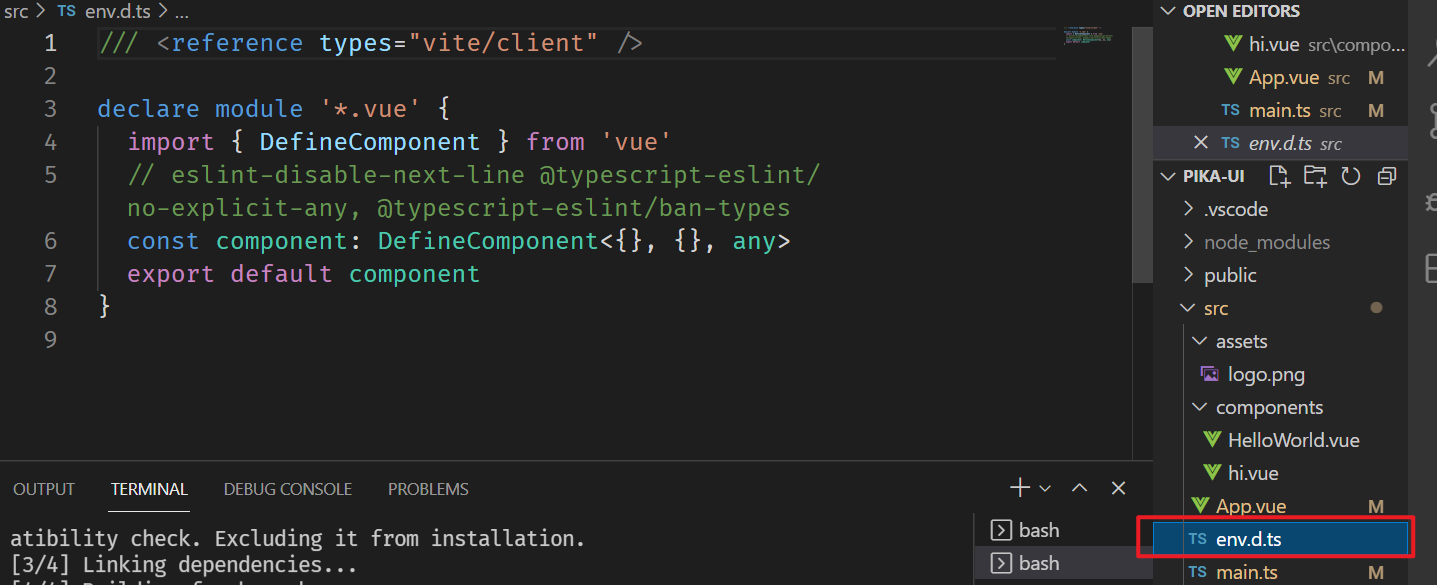
env.d.ts的作用
创建首页和文档页
安装sass
yarn add -D sass
封装Topnav组件
<template><div class="topnav"><div class="logo">LOGO</div><ul class="menu"><li>菜单1</li><li>菜单2</li></ul></div></template><script lang="ts">export default {}</script><style lang="scss" scoped>.topnav {background: pink;display: flex;padding: 16px;> .logo {min-width: 6em;margin-right: auto;}> .menu {display: flex;white-space: nowrap;flex-wrap: nowrap;> li {margin: 0 1em;}}}</style>
使用Topnav组件
<template><div><Topnav /><div class="banner"><h1>pika-ui</h1><h2>一个厉害的UI框架</h2><p class="actions"><a>Github</a><a>开始</a></p></div></div></template><script lang="ts">import Topnav from '../components/Topnav.vue'export default {components: {Topnav}}</script>
页面切换
<p class="actions"><a href="https://github.com">Github</a><router-link to="/doc">开始</router-link></p>
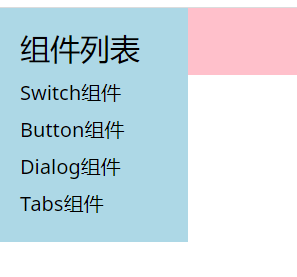
sideBar
<aside><h2>组件列表</h2><ol><li><routerlink to="/doc/switch">Switch组件</routerlink></li><li><routerlink to="/doc/button">Button组件</routerlink></li><li><routerlink to="/doc/dialog">Dialog组件</routerlink></li><li><routerlink to="/doc/tabs">Tabs组件</routerlink></li></ol></aside>
调整topbar和sidebar的位置
此时postion:fixed, 如何让sidebar在topbar的下方?
给topbar添加样式:
positon: relative;z-index: 10;
给aside添加样式:
padding-top: 70px;
使用provide和inject实现sidebar切换功能
在App.vue中使用provide定义全局变量
<script lang="ts">import {ref, provide} from 'vue'export default {setup(){const menuVisible = ref(false)provide('menuVisible', menuVisible)}}</script>
在topnav组件中获取并修改menuVisible的值
<script lang="ts">import { inject, Ref} from 'vue'export default {setup(){const menuVisible = inject<Ref<boolean>>('menuVisible')!const toggleMen = () => {menuVisible.value = !menuVisible.value}return {toggleMen}}}</script>
在setup中的变量或方法需要return出来,template才能访问
在sidebar中通过相同的方式获取menuVisible, template中使用v-if实现切换
实现菜单按钮响应式切换
使用媒体查询
.topnav {// ...@media (max-width: 500px) {> .menu{ display: none;}> .logo{margin:0 auto}> .toggleAside {display: inline-block;}}
根据屏幕宽度设置menuVisible的初始值
setup(){const width = document.documentElement.clientWidth;const menuVisible = ref(width <= 500 ? false : true)provide('menuVisible', menuVisible)}
嵌套路由
children为子路由
const router = createRouter({history,routes: [{path: '/',component: Home},{path: '/doc',component: Doc,children:[{path: '', component: DocDemo},{path: 'switch', component: SwitchDemo},{path: 'tabs', component: TabsDemo},{path: 'button', component: ButtonDemo},{path: 'dialog', component: DialogDemo}]}]})
在对应路径下的页面添加router-link和router-view
<div class="content" v-if="menuVisible"><aside><h2>组件列表</h2><ol><li><router-link to="/doc/switch">Switch组件</router-link></li></ol></aside></div><main><router-view /></main>
router.forEach
用router.forEach实现每次路由切换后隐藏菜单栏
router.afterEach(()=>{if(width <= 500){menuVisible.value = false}})

若有收获,就点个赞吧
0 人点赞
