购物车数据需全局使用,使用vuex管理全局数据
购物车数据结构设计
存储的购物车数据形式应该如下
- 第一层是店铺的ID
第二层是 shopName 和 products
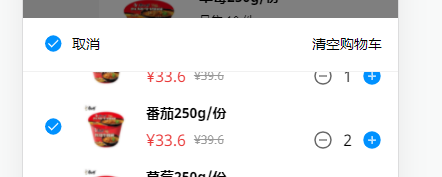
state: {cartList: {// shopId1: {shopName: '沃尔玛',products: {// productId1: {_id: 1,name: '番茄250g/份',imgUrl: 'https://img1.baidu.com/it/u=544840061,2614948313&fm=26&fmt=auto',sales: 10,price: 33.6,oldPrice: 39.6,count: 0,}},2: {// productId1: {// ...}}}}},
加入购物车
在mutation中写加入购物车方法
changeCartItemInfo(state, payload) {const { shopId, productId, productInfo, num, shopName } = payloadconst shopInfo = state.cartList[shopId] || {}const products = shopInfo.products || {}let product = products[productId]if (!product) {product = productInfoproduct.count = 0}product.count += numproducts[productId] = productif (product.count > 0) {product.checked = true} else {delete products[productId]}shopInfo.products = productsshopInfo.shopName = shopNamestate.cartList[shopId] = shopInfosaveCartListToLocalStorage(state)},
在Content组件中创建useCartEffect ```tsx
const useCartEffect = () => { const store = useStore() const {cartList} = toRefs(store.state) const handleChangeCartItemInfo = (shopId, productId, productInfo, num, shopName) => { store.commit(‘changeCartItemInfo’, { shopId, productId, productInfo, num, shopName }) }
return {cartList,handleChangeCartItemInfo}
}
显示 count```vue<span>{{cartList?.[shopId]?.products[item._id]?.count || 0}}</span>
使用computed计算数量和价格
const useCartEffect = () => {const route = useRoute()const shopId = route.params.idconst store = useStore()const count = computed(() => {let total = 0// computed的依赖项,必须放里面const productList = cartList[`${shopId}`]?.productsif (productList) {for (const i in productList) {total += productList[i].count}}return total})const total = computed(() => {let total = 0const productList = cartList[`${shopId}`]?.productsif (productList) {for (const i in productList) {if (productList[i].checked) {total += productList[i].count * productList[i].price}}}return total.toFixed(2)})return {count, total}}
将购物车数据存储到localStorage
import { createStore } from 'vuex'const saveCartListToLocalStorage = (state) => {const { cartList } = statelocalStorage.setItem('cartList', JSON.stringify(cartList))}const getCartListFromLocalStorage = () => {return JSON.parse(localStorage.getItem('cartList') || '{}')}export default createStore({state: {cartList: getCartListFromLocalStorage(), // 获取数据},mutations: {changeCartItemInfo(state, payload) {// ...saveCartListToLocalStorage(state) // 每次操作后存储数据},// ...}}
sticky 粘性定位
购物车内容滚动时,要使顶部固定,使用 position: sticky粘性定位,sticky 相对最近的滚动祖先定位
小技巧
只在底部显示内阴影
注意内阴影会被子元素的background覆盖
box-shadow: inset 0 -1px 1px -1px rgba(0, 0, 0, .5);background: white;

若有收获,就点个赞吧
0 人点赞
