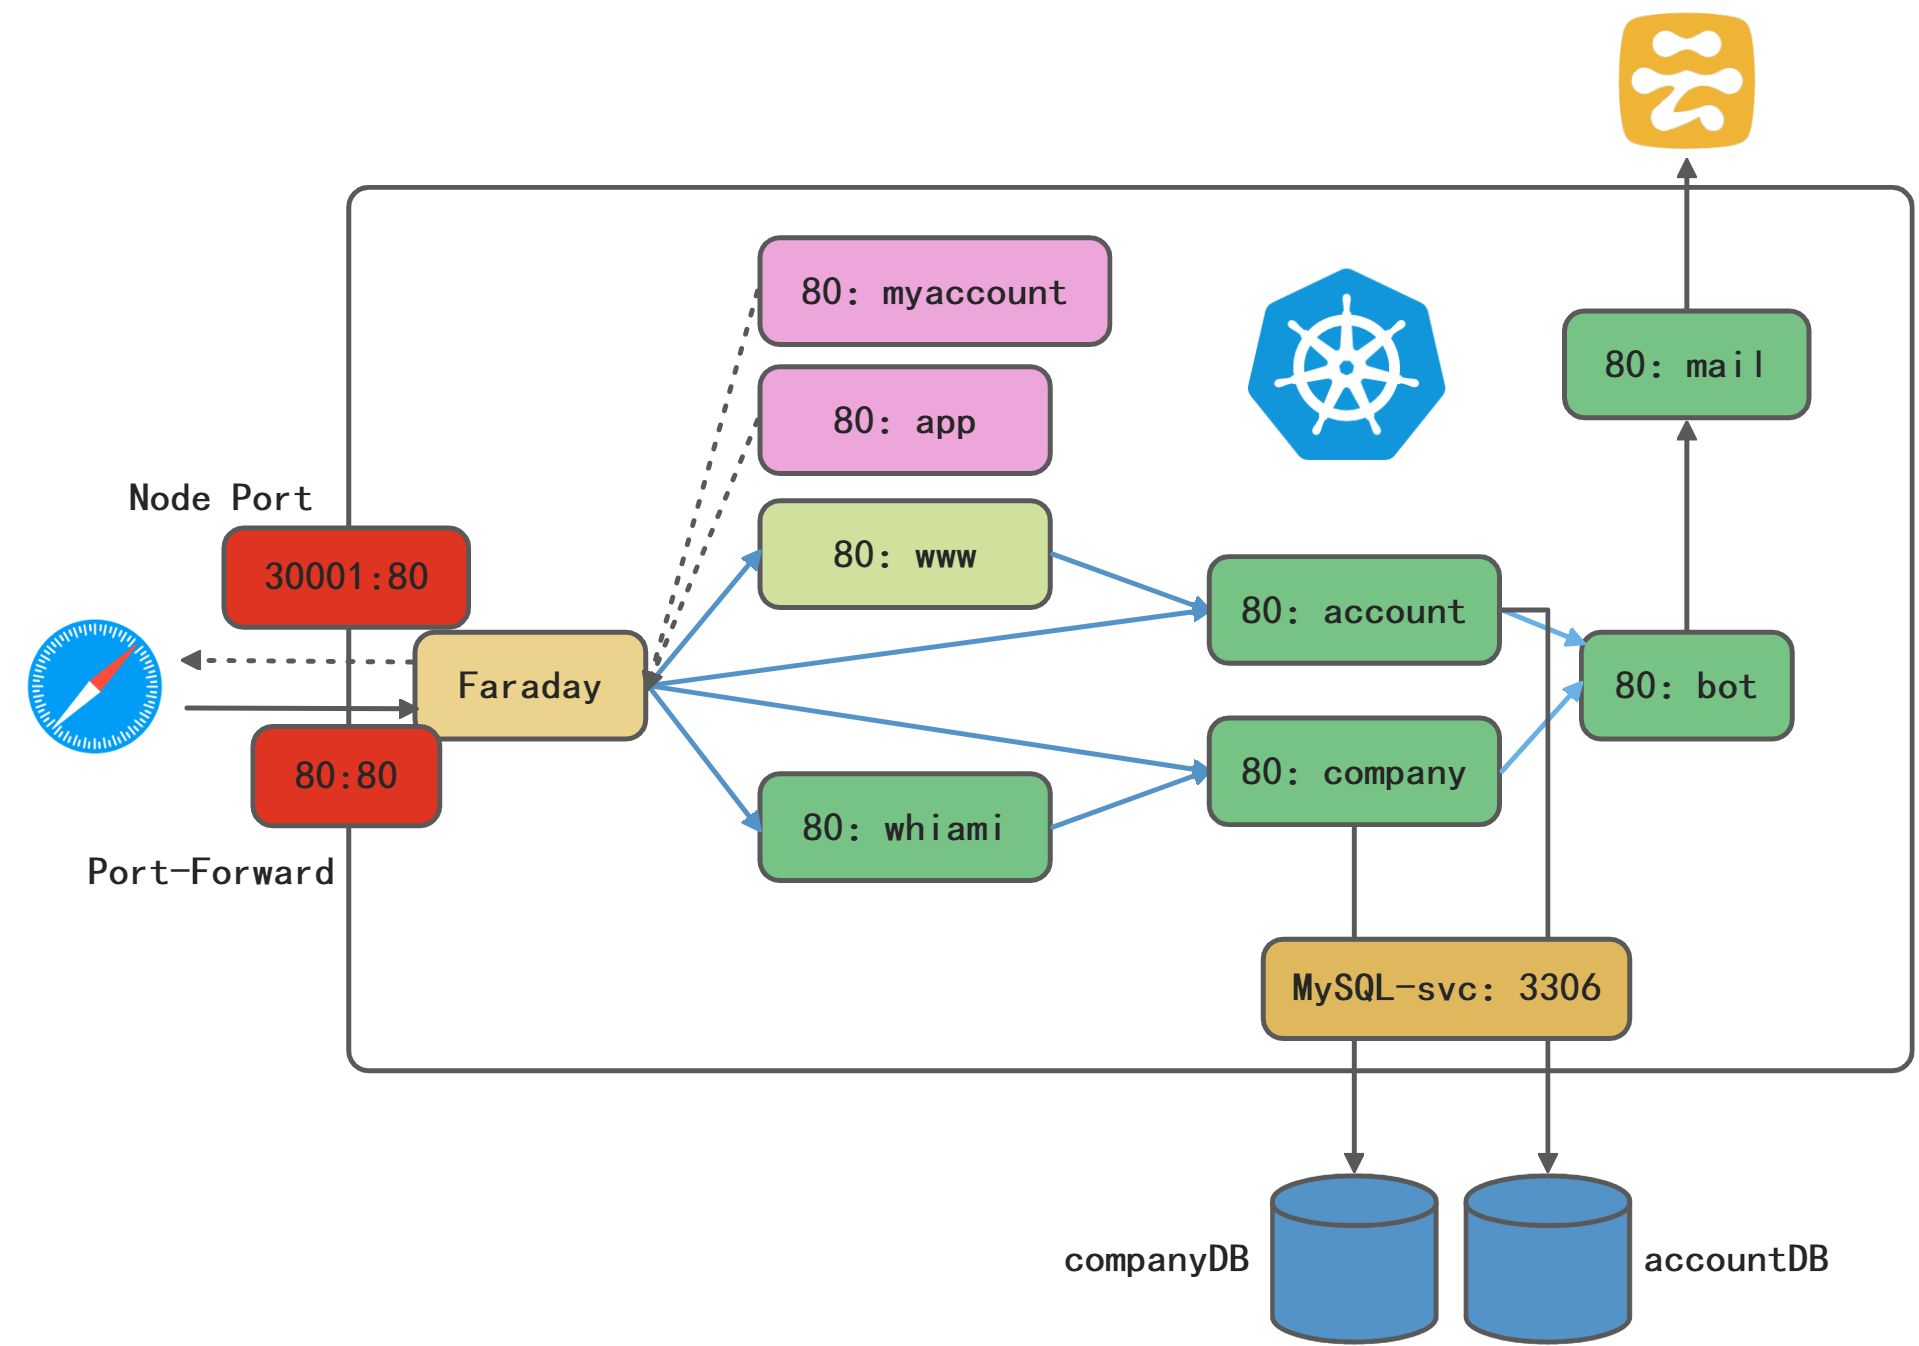
本地Kubernetes部署架构
校验Kubernetes安装
1、启动minikube作为Kubernetes Server端
minikube start
2、校验Kubernetes版本
$ kubectl versionClient Version: version.Info{Major:"1", Minor:"21", GitVersion:"v1.21.1", GitCommit:"5e58841cce77d4bc13713ad2b91fa0d961e69192", GitTreeState:"clean", BuildDate:"2021-05-12T14:18:45Z", GoVersion:"go1.16.4", Compiler:"gc", Platform:"linux/amd64"}Server Version: version.Info{Major:"1", Minor:"20", GitVersion:"v1.20.2", GitCommit:"faecb196815e248d3ecfb03c680a4507229c2a56", GitTreeState:"clean", BuildDate:"2021-01-13T13:20:00Z", GoVersion:"go1.15.5", Compiler:"gc", Platform:"linux/amd64"}

3、kubectl config current-context
$ kubectl config current-contextminikube

4、检查集群信息
$ kubectl cluster-infoKubernetes control plane is running at https://192.168.49.2:8443KubeDNS is running at https://192.168.49.2:8443/api/v1/namespaces/kube-system/services/kube-dns:dns/proxyTo further debug and diagnose cluster problems, use 'kubectl cluster-info dump'.

5、检查节点信息
$ kubectl get nodesNAME STATUS ROLES AGE VERSIONminikube Ready control-plane,master 16d v1.20.2

安装和访问Kubernetes Dashboard
1、安装Kubernetes Dashboard
https://github.com/kubernetes/dashboard
kubectl apply -f https://raw.githubusercontent.com/kubernetes/dashboard/v2.3.1/aio/deploy/recommended.yaml
:::danger
如果未部署成功并且多次执行了apply命令,可能会出现如下报错:The ClusterRoleBinding "kubernetes-dashboard" is invalid: roleRef: Invalid value: rbac.RoleRef{APIGroup:"rbac.authorization.k8s.io", Kind:"ClusterRole", Name:"kubernetes-dashboard"}: cannot change roleRef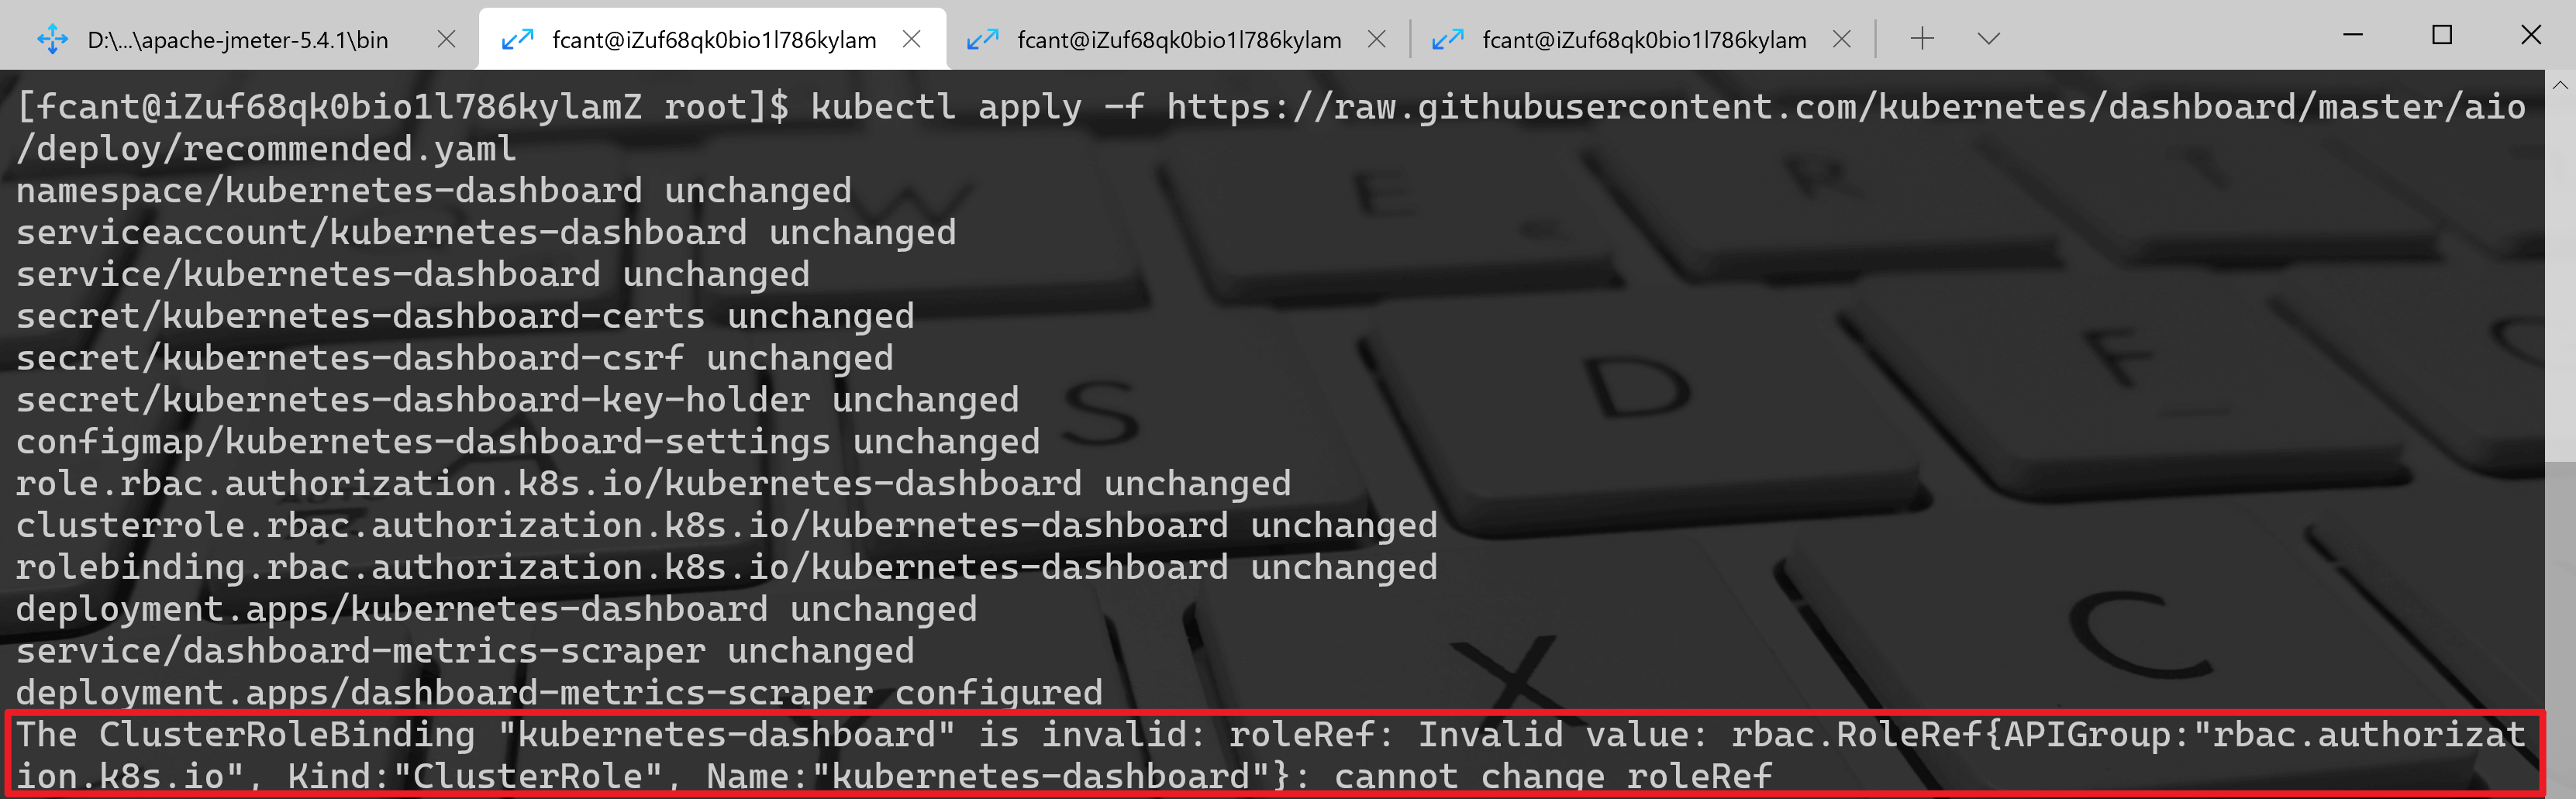
原因是已经存在重复的ClusterRoleBinding,使用命令kubectl delete clusterrolebinding kubernetes-dashboard删除重复的绑定即可。
然后再执行该命令则不会出现问题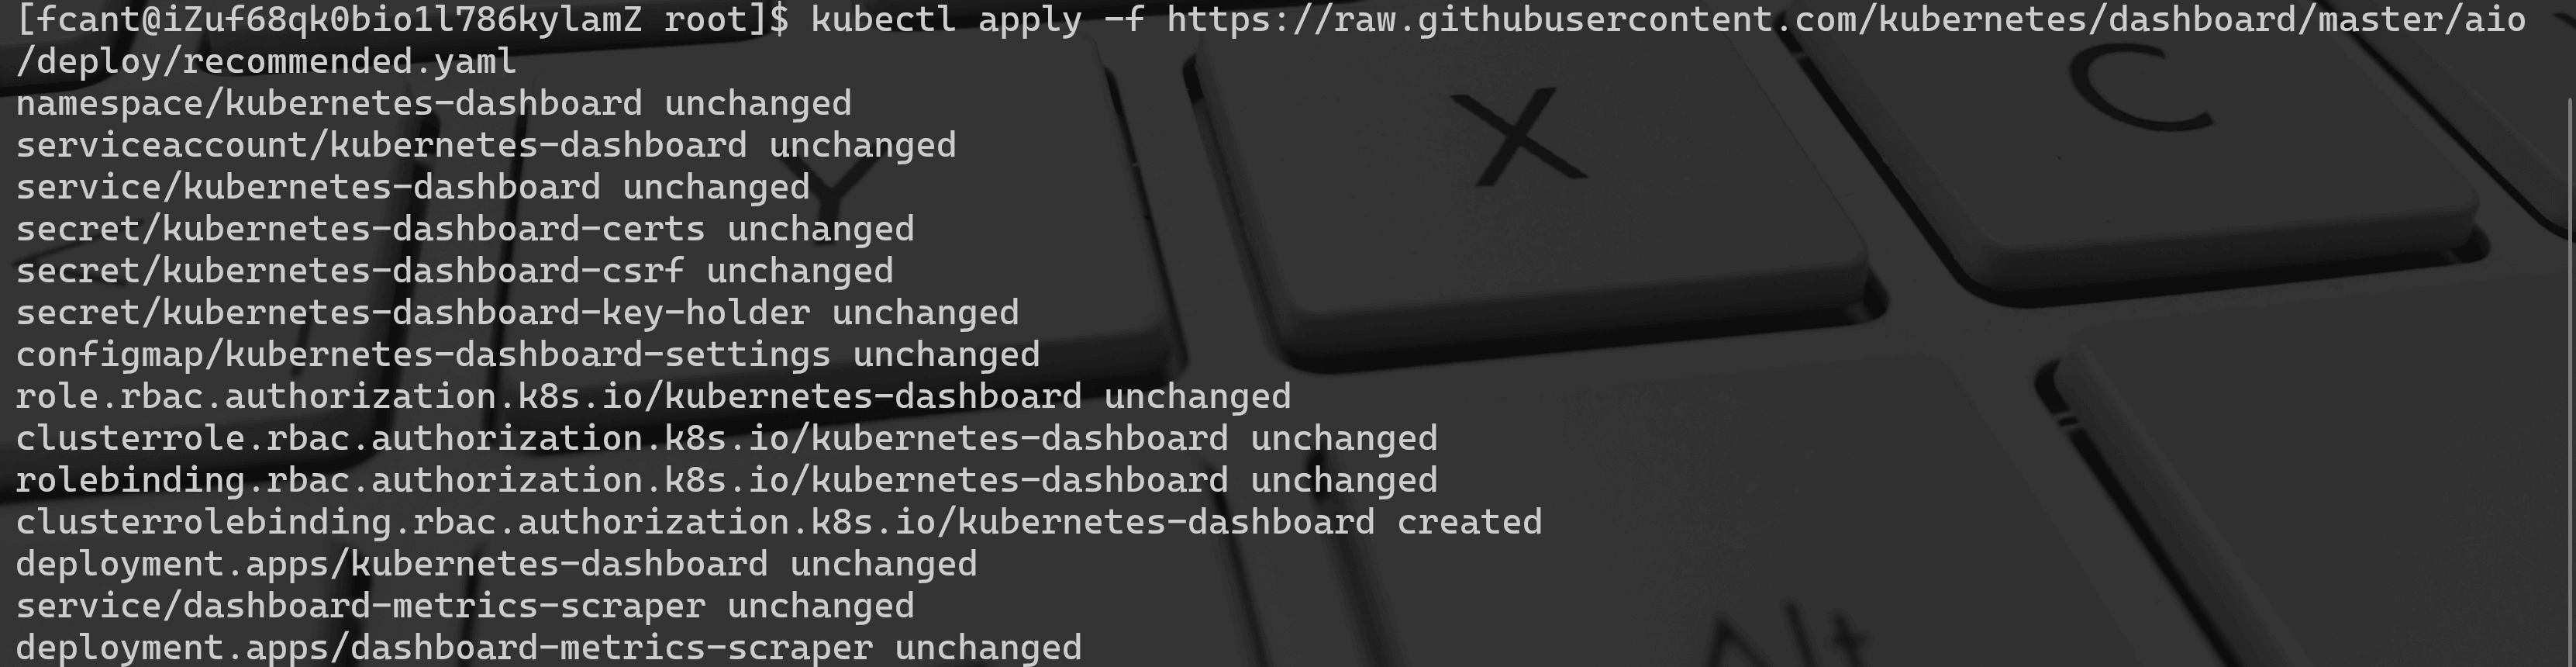 :::
:::
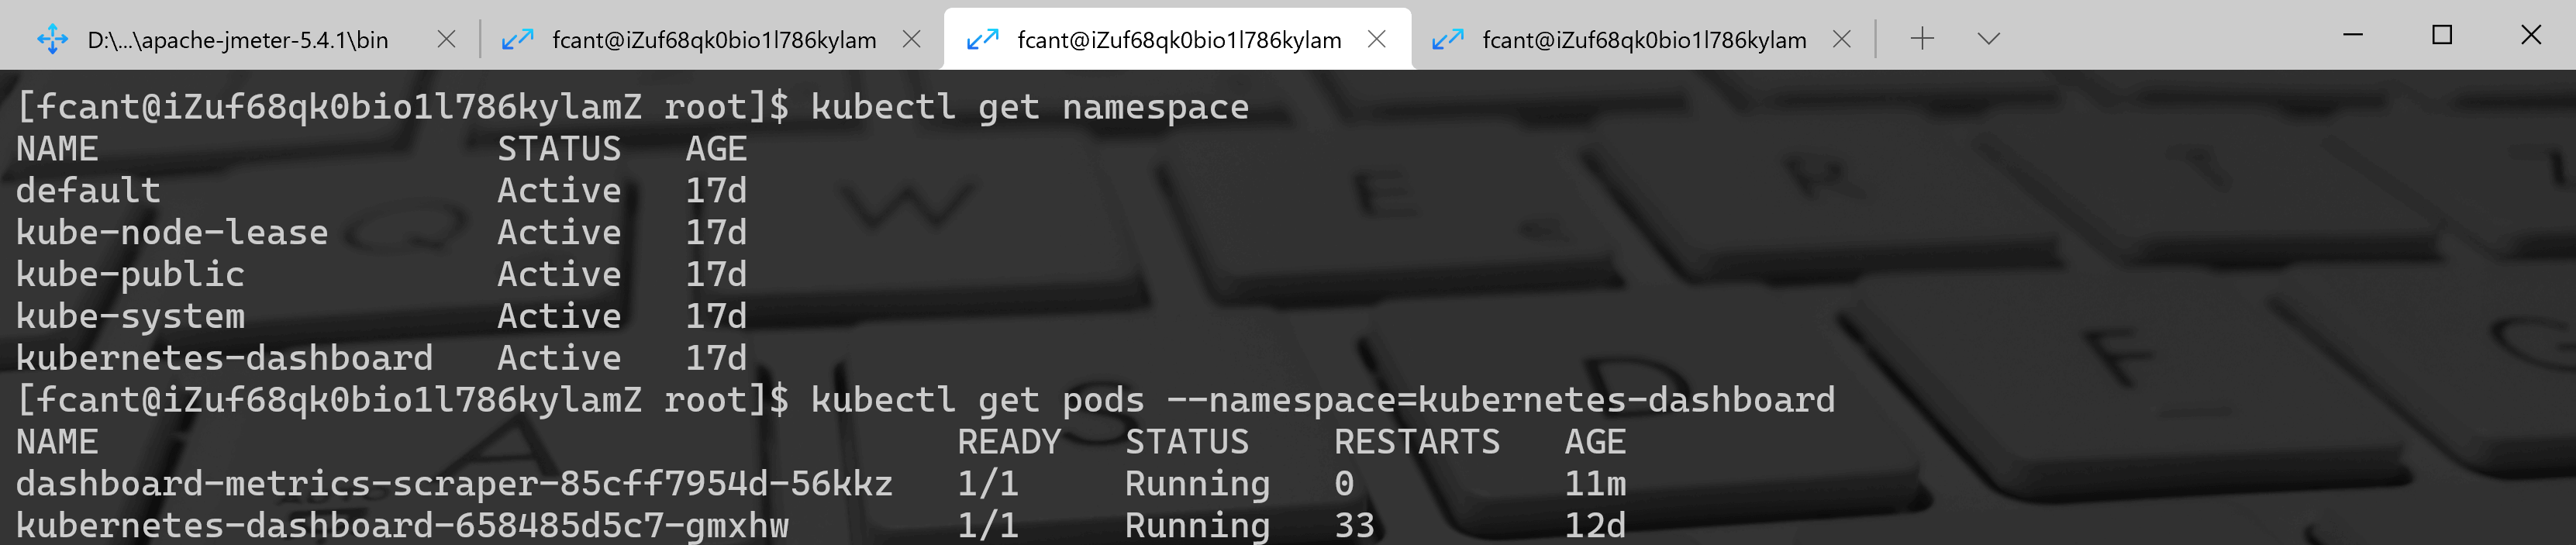
kubectl get pods --namespace=kubernetes-dashboard
:::tips
注意:这里的命令行参数--namespace后面的值要改为对应的YAML文件里面的Namespace的值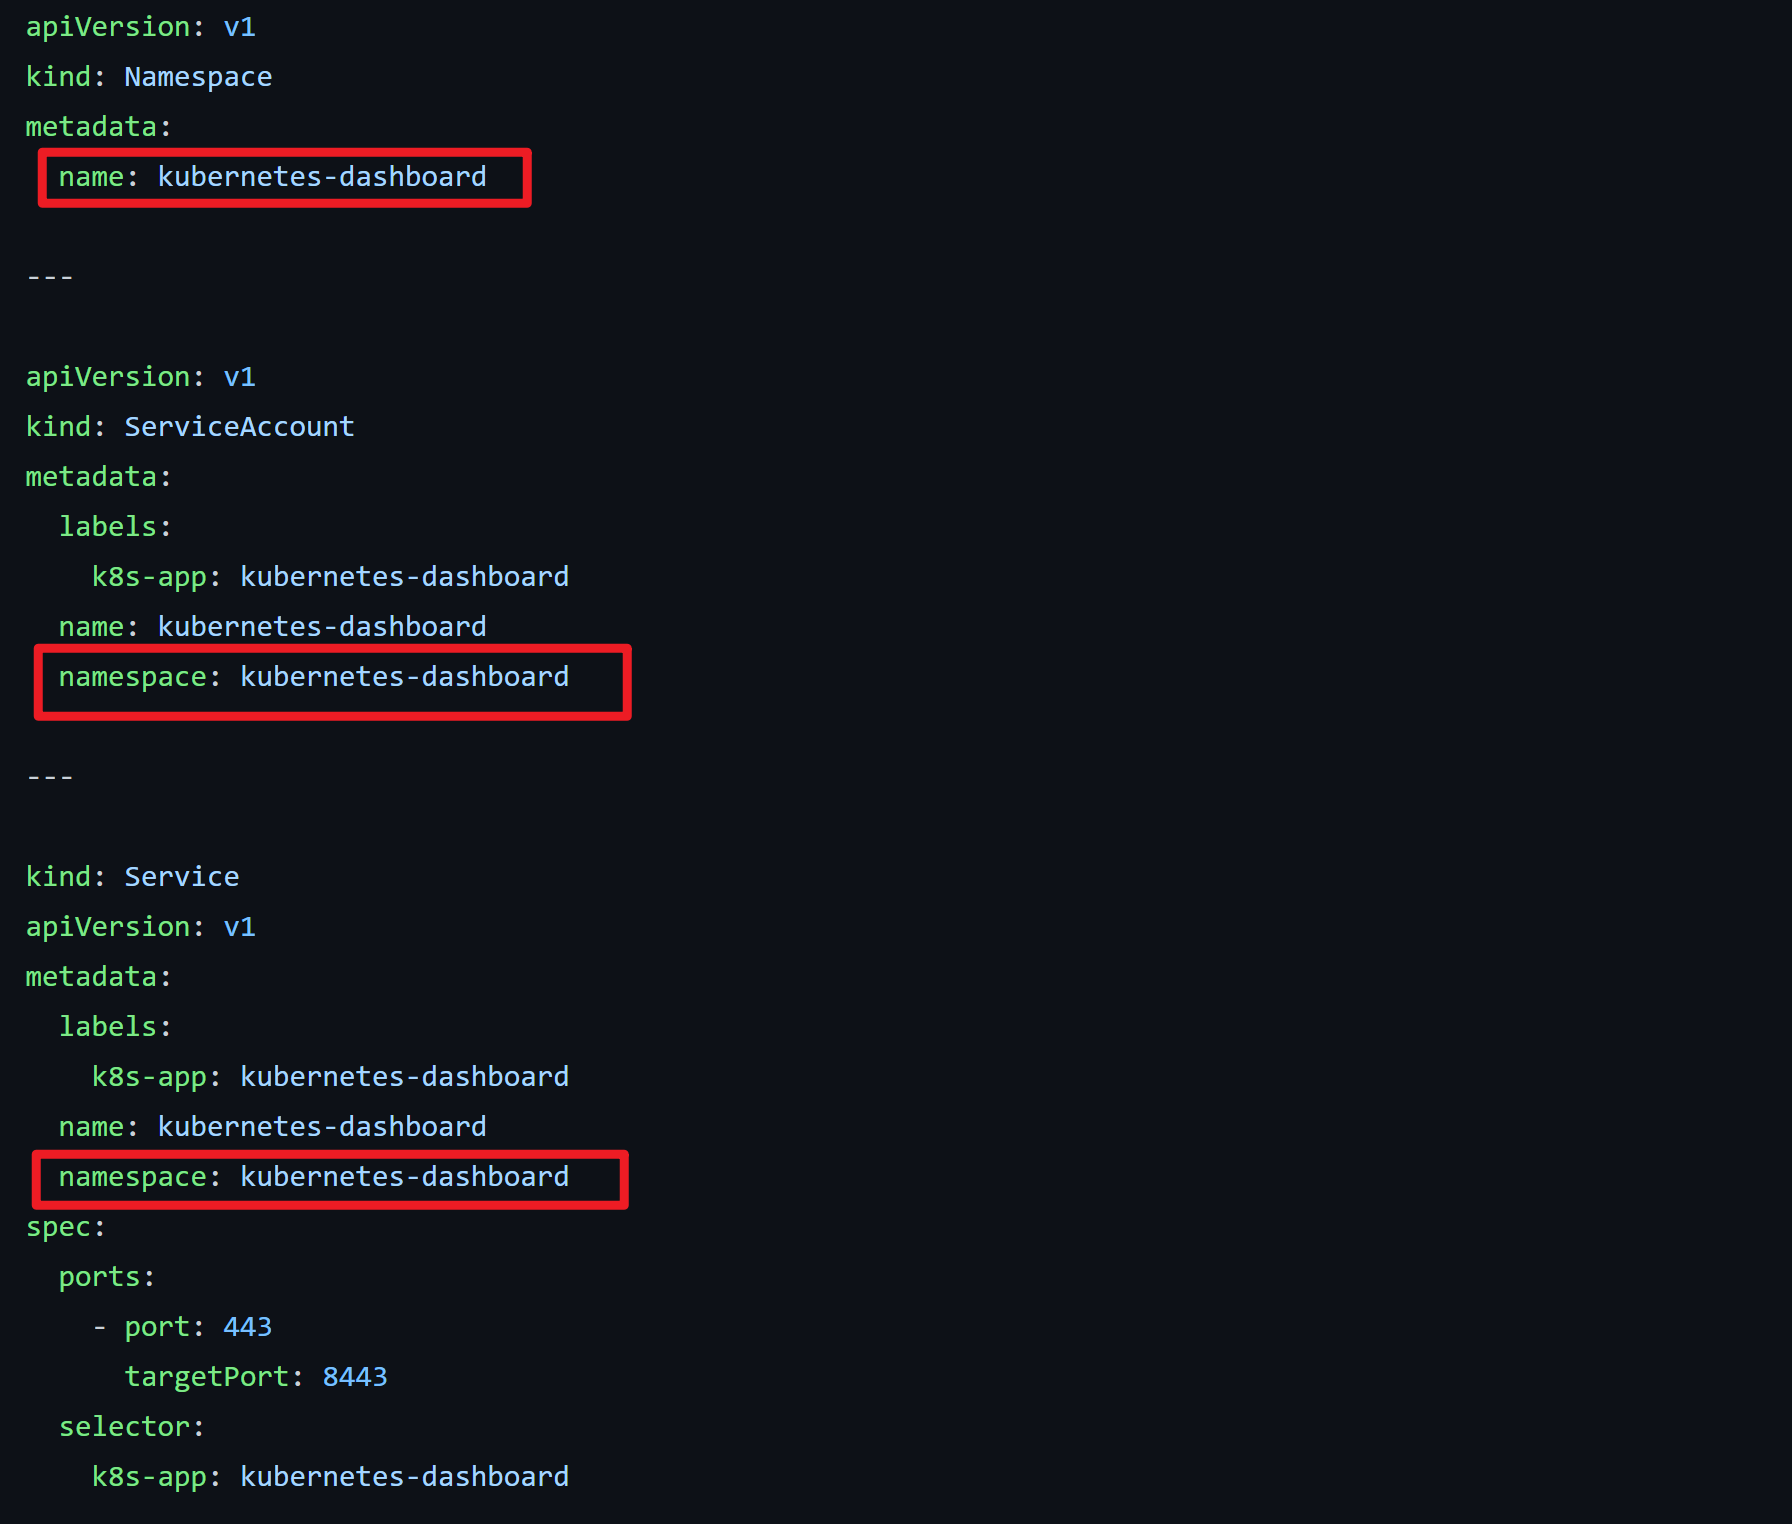 :::
:::
2、启动Kube Proxy
kubectl proxy# 如果kubernetes部署在服务器通过公网IP访问则使用下面的命令,否则默认绑定的是127.0.0.1kubectl proxy --address='0.0.0.0'

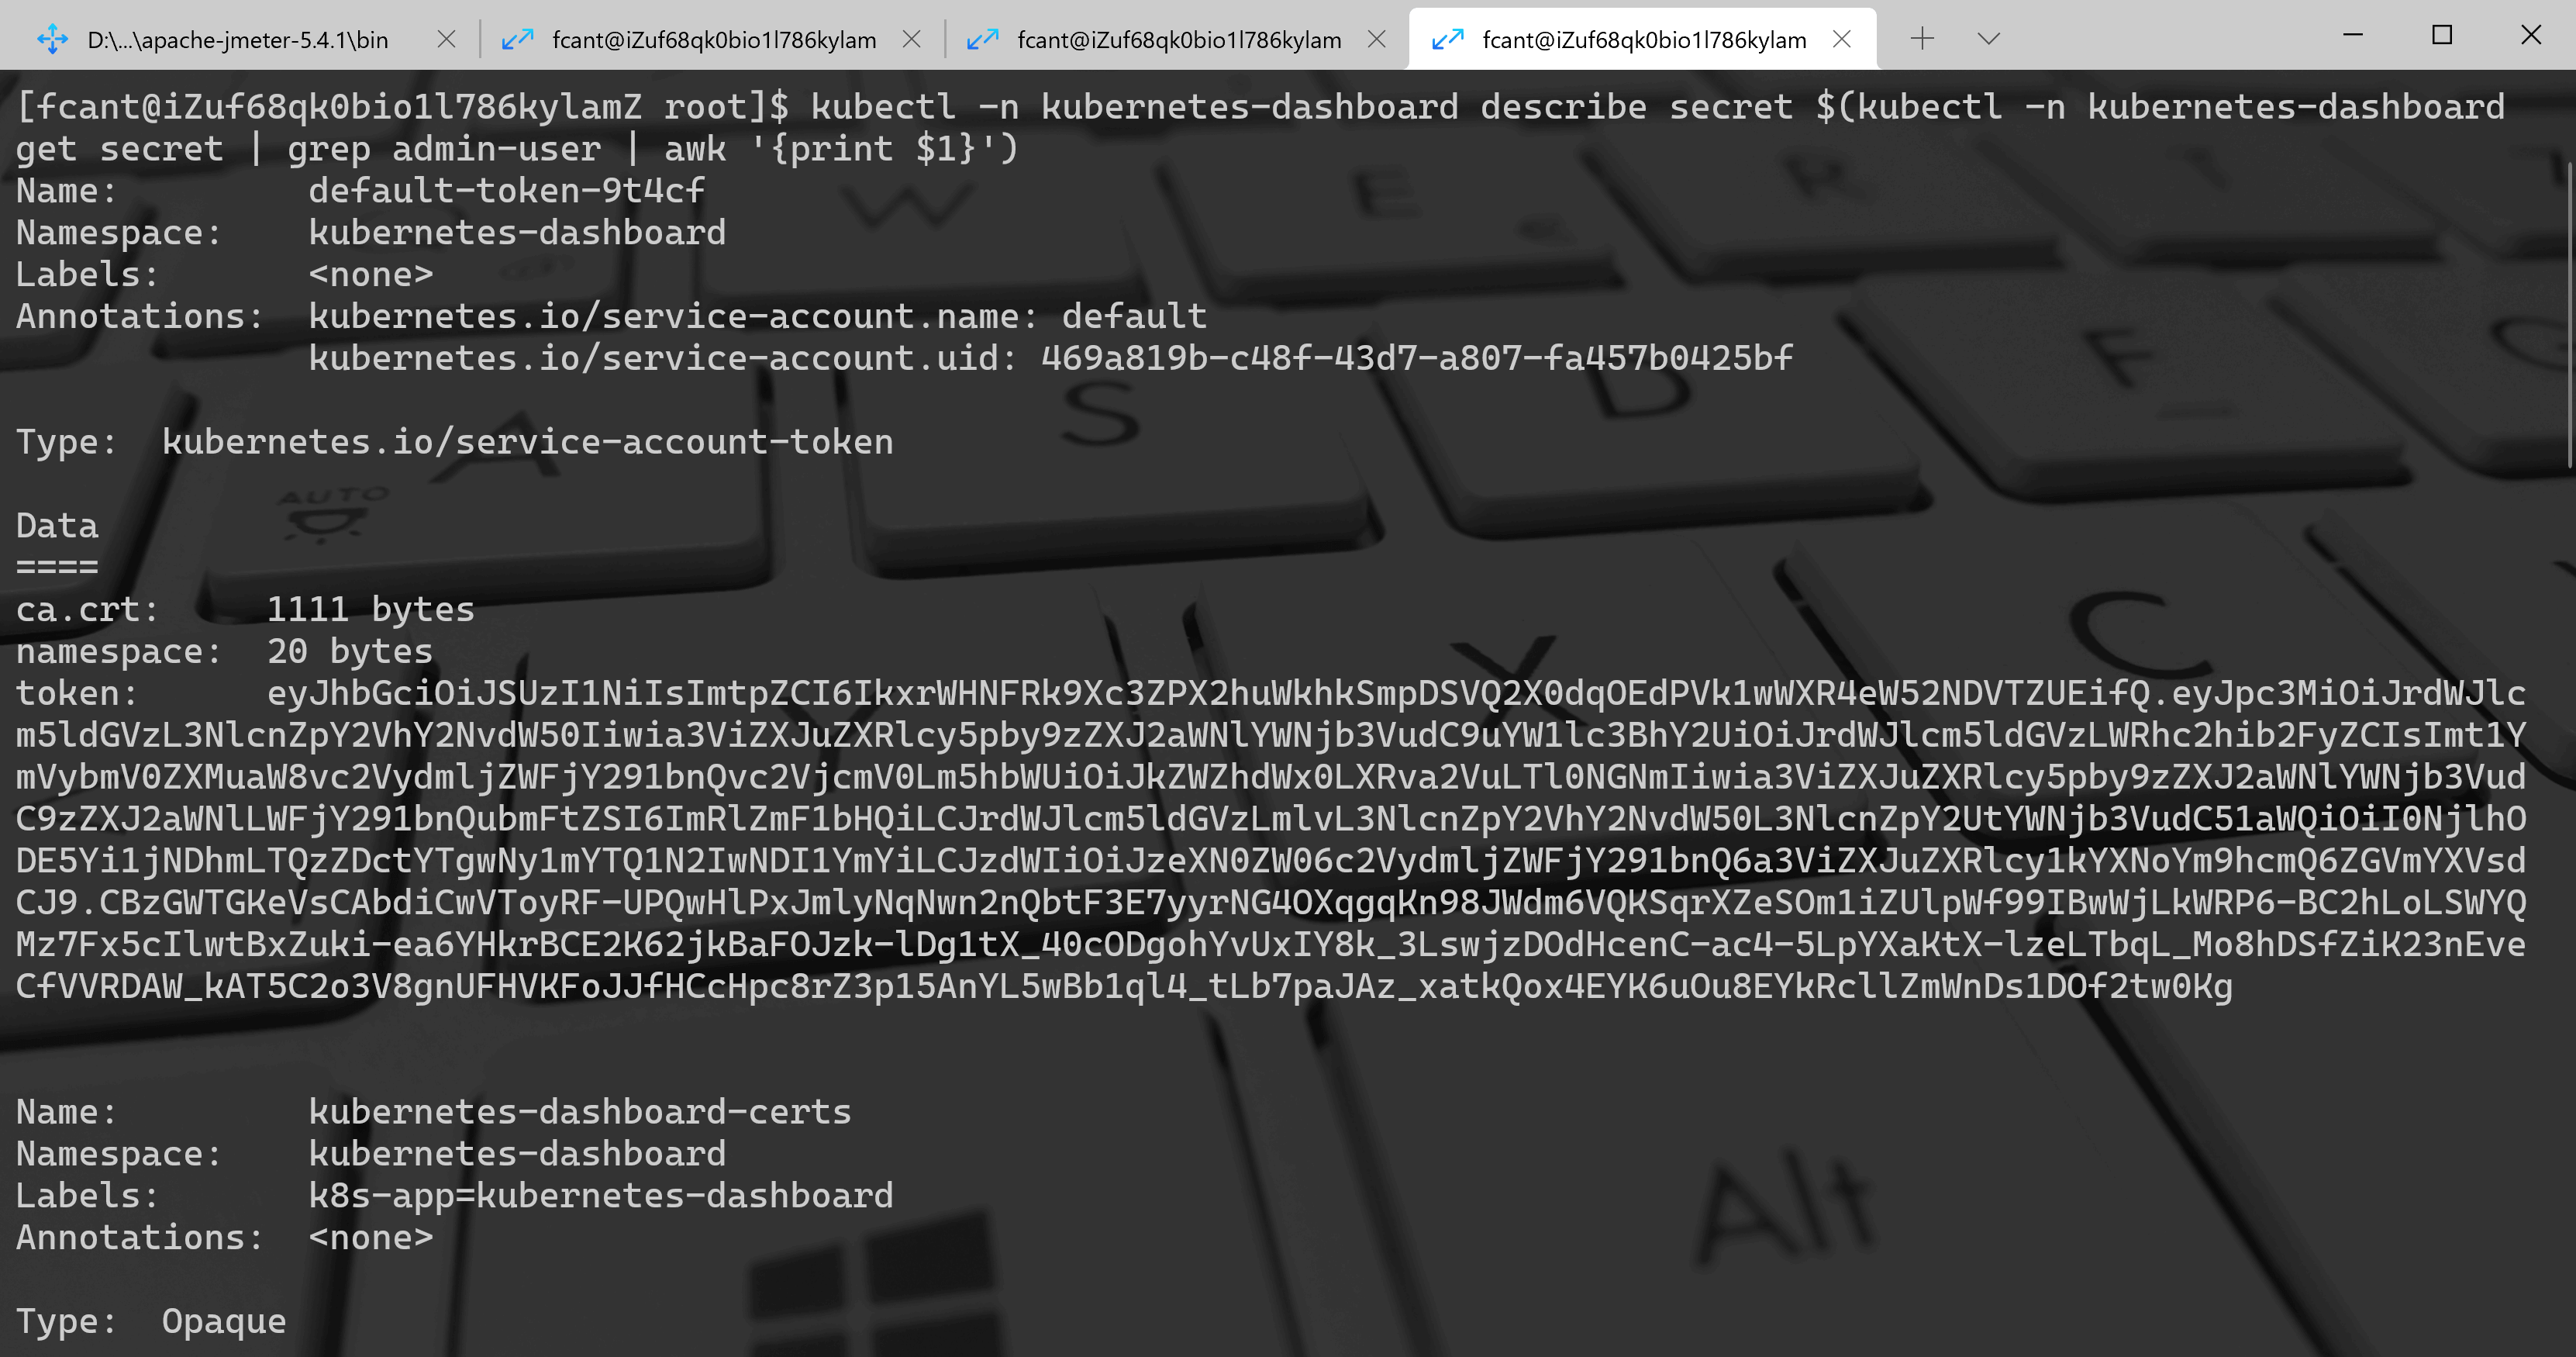
3、生成访问令牌
kubectl -n kubernetes-dashboard describe secret $(kubectl -n kubernetes-dashboard get secret | grep admin-user | awk '{print $1}')
4、访问Dashboard
http://localhost:8001/api/v1/namespaces/kubernetes-dashboard/services/https:kubernetes-dashboard:/proxy/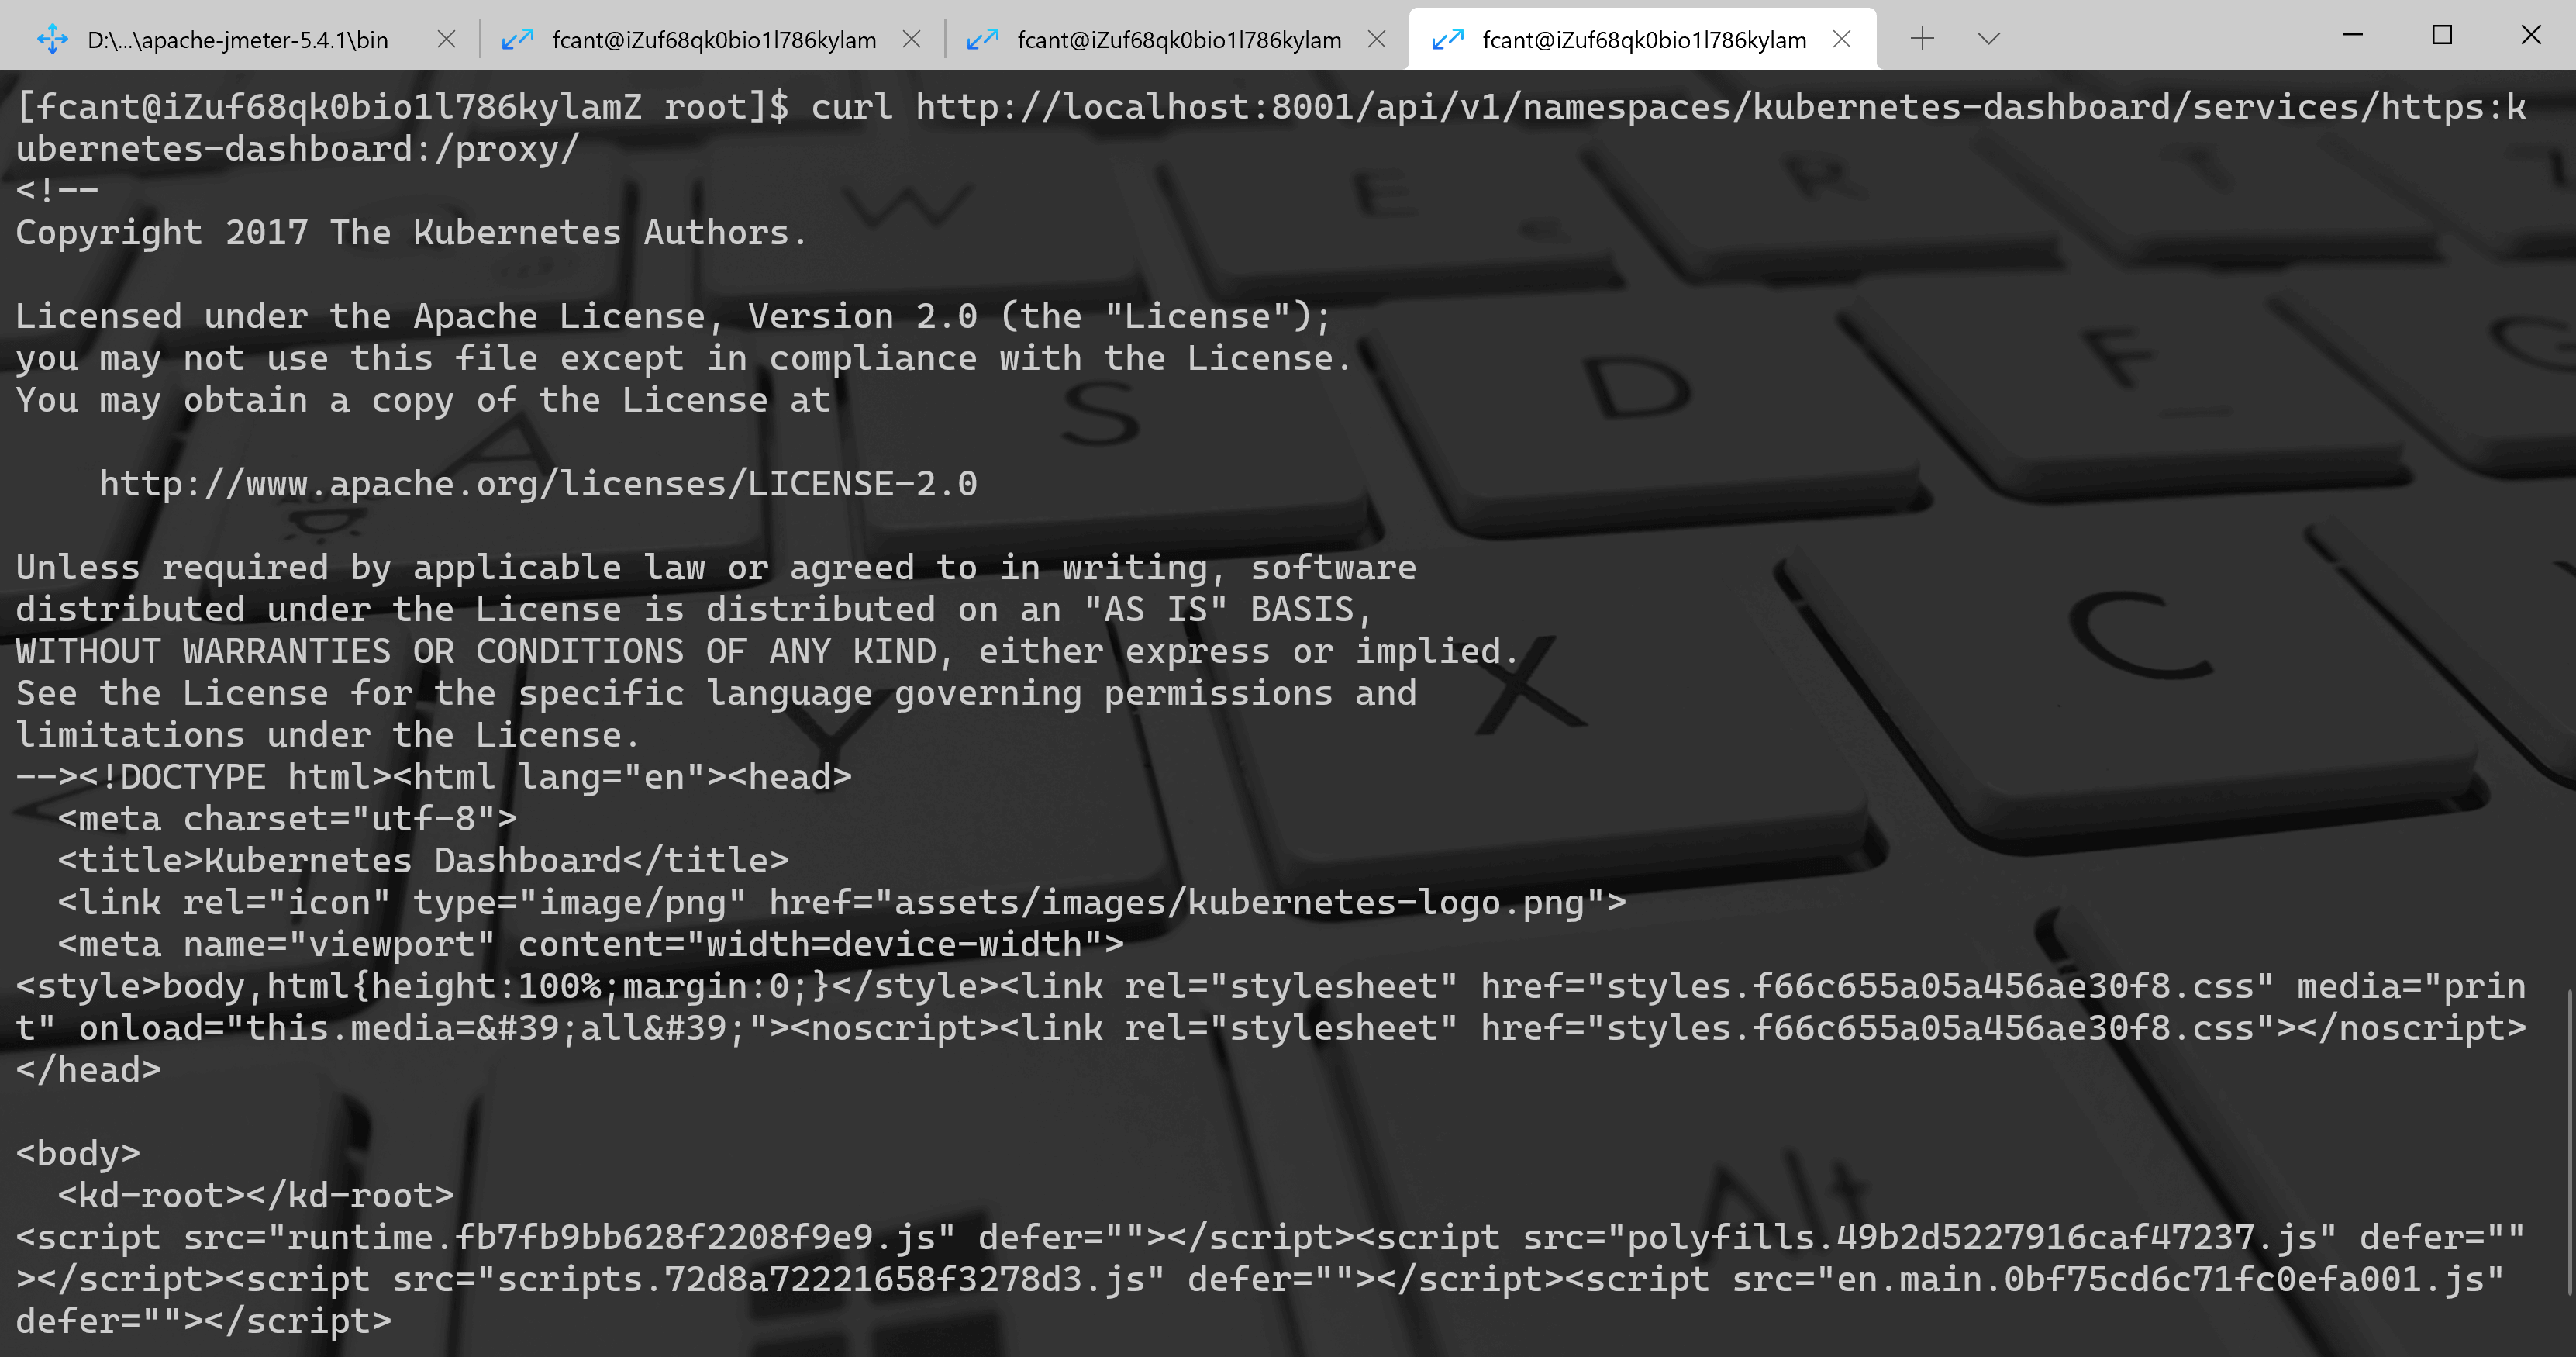
Staffjoy部署到本地Kubernetes环境
1、镜像构建(可选)
mvn clean package -DskipTestsdocker-compose builddocker images
2、部署MySQL数据库(可选)
- staffjoy_account
- staffjoy_company
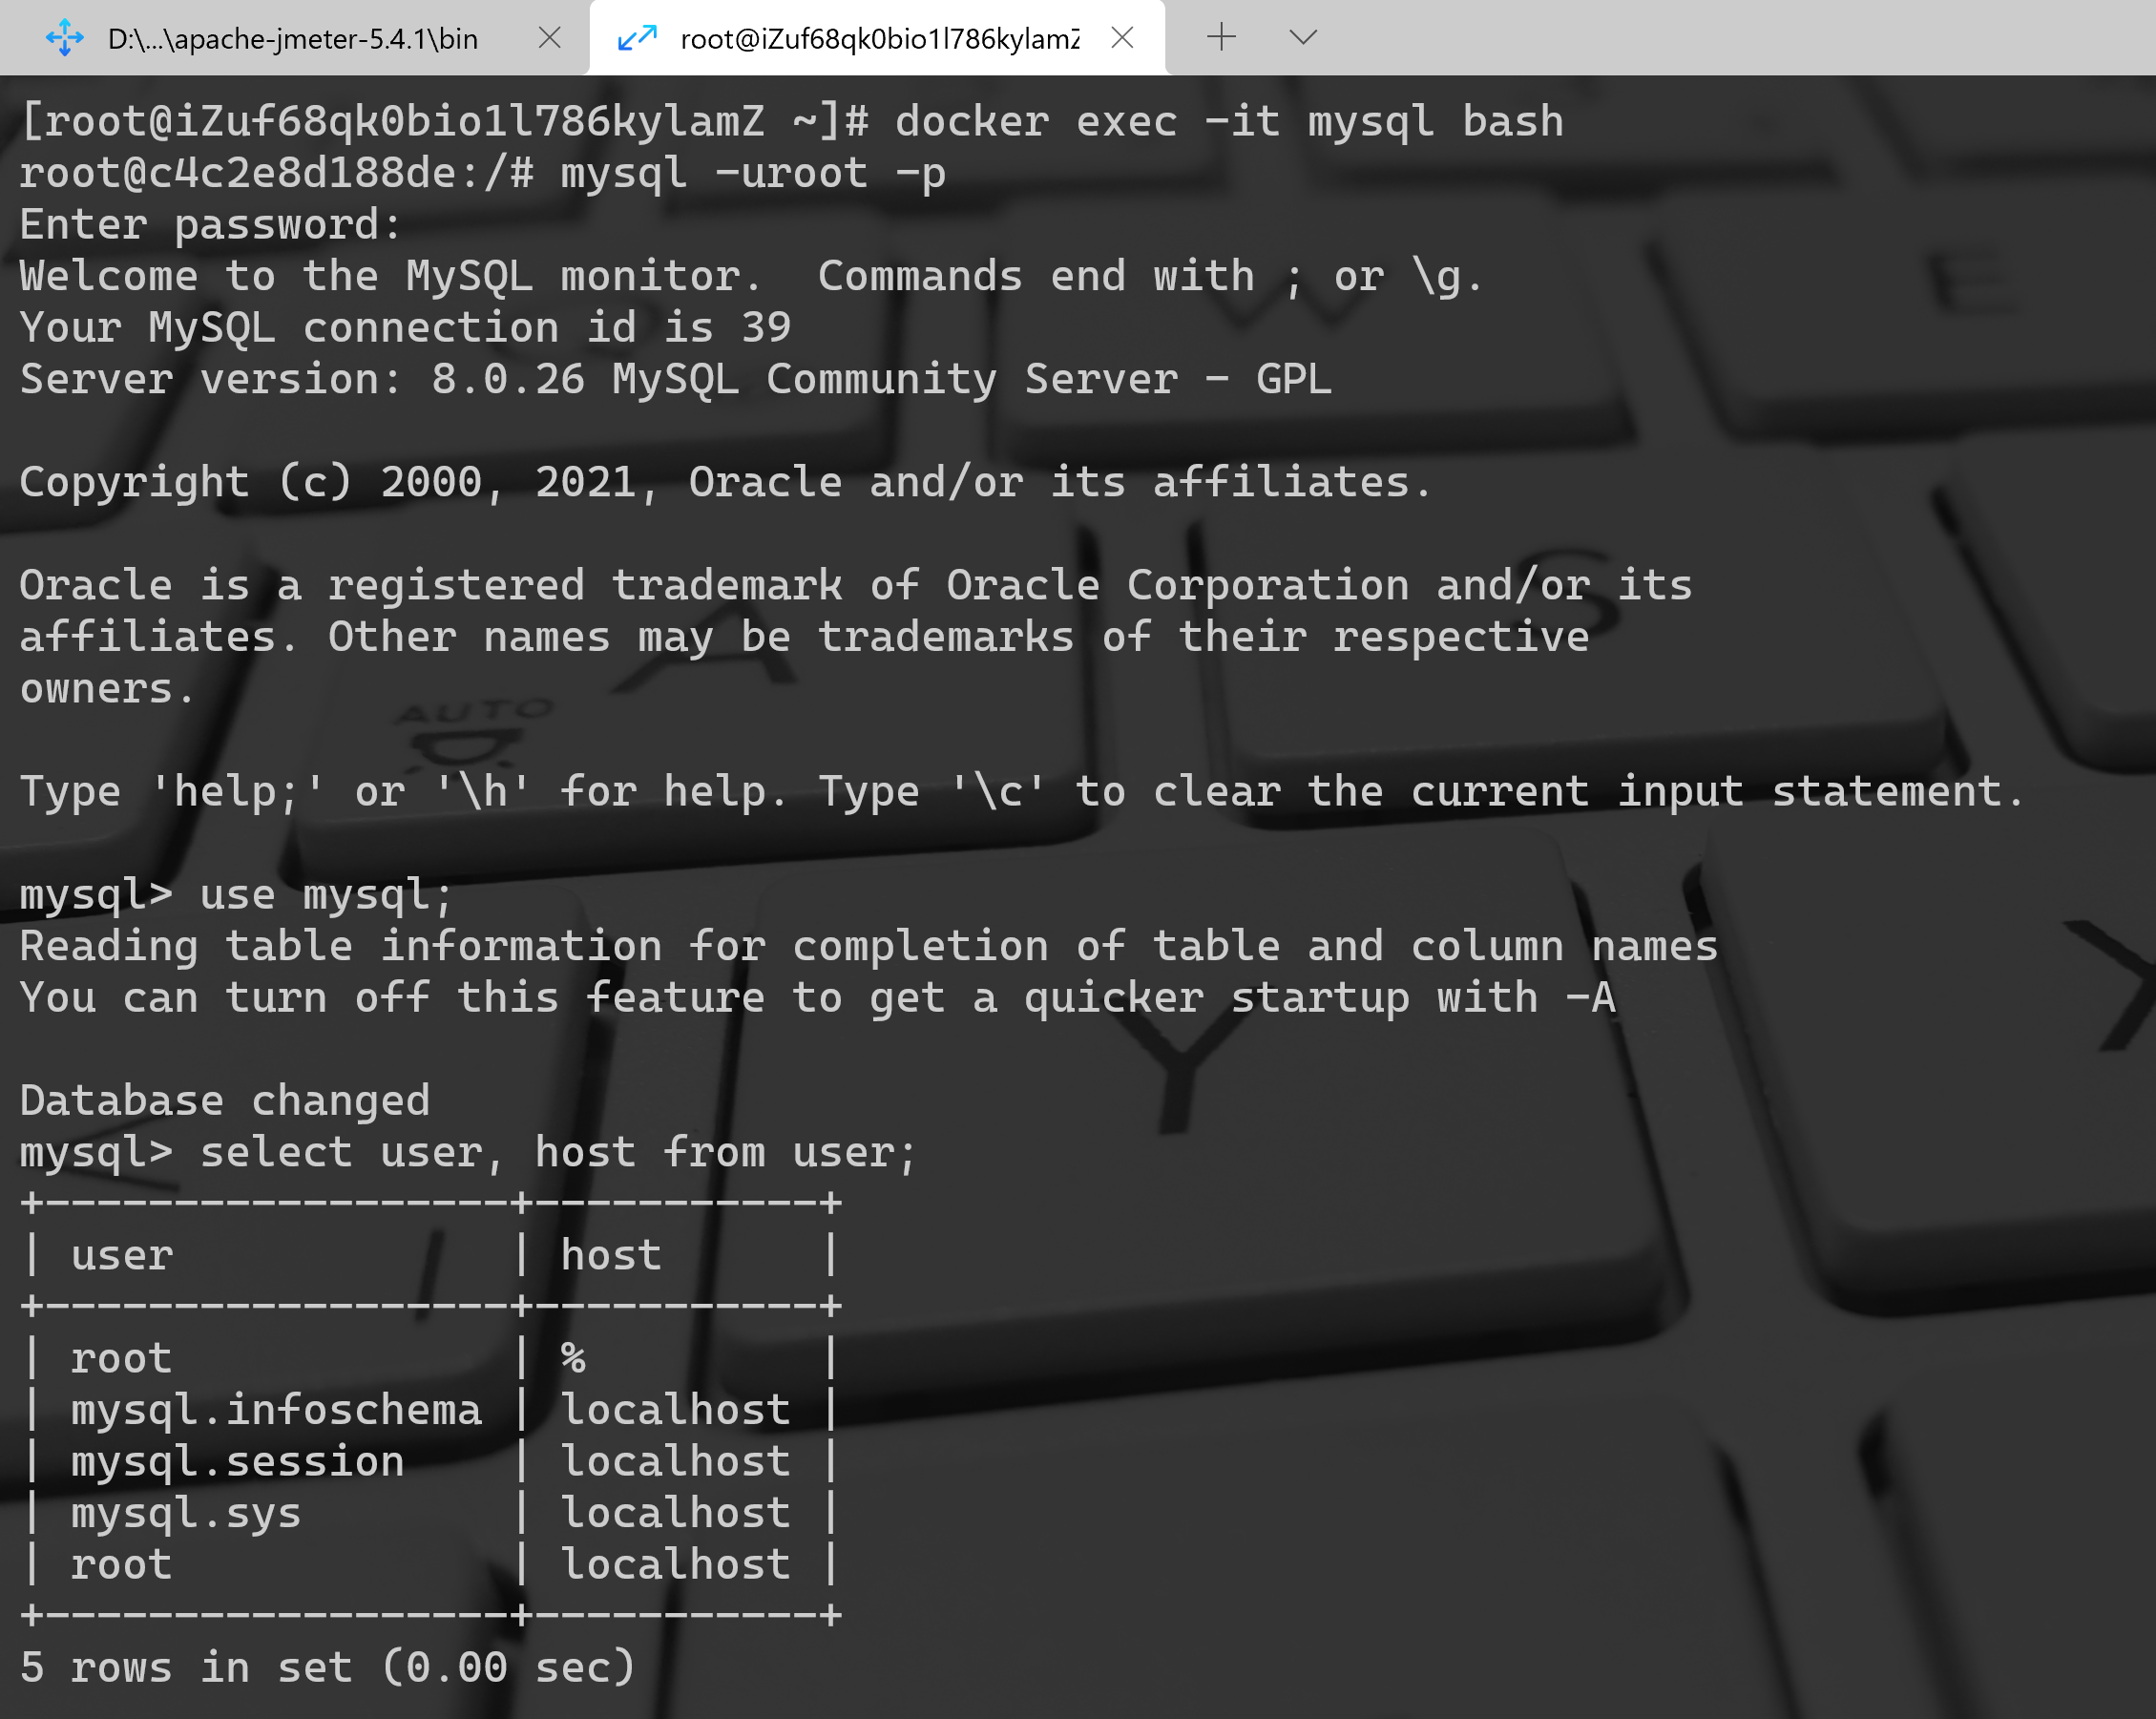
授予ip访问权限
```bash [root@iZuf68qk0bio1l786kylamZ ~]# docker exec -it mysql bash root@c4c2e8d188de:/# mysql -uroot -p Enter password: Welcome to the MySQL monitor. Commands end with ; or \g. Your MySQL connection id is 39 Server version: 8.0.26 MySQL Community Server - GPL
Copyright (c) 2000, 2021, Oracle and/or its affiliates.
Oracle is a registered trademark of Oracle Corporation and/or its affiliates. Other names may be trademarks of their respective owners.
Type ‘help;’ or ‘\h’ for help. Type ‘\c’ to clear the current input statement.
mysql> use mysql; Reading table information for completion of table and column names You can turn off this feature to get a quicker startup with -A
Database changed mysql> select user, host from user; +—————————+—————-+ | user | host | +—————————+—————-+ | root | % | | mysql.infoschema | localhost | | mysql.session | localhost | | mysql.sys | localhost | | root | localhost | +—————————+—————-+ 5 rows in set (0.00 sec)
mysql> grant all privileges on . to root@127.0.0.1 identified by ‘123456’ with grant options;
<a name="sp0ra"></a>### 3、部署Staffjoy(K8s/test)```bashkubectl apply -f config.yml
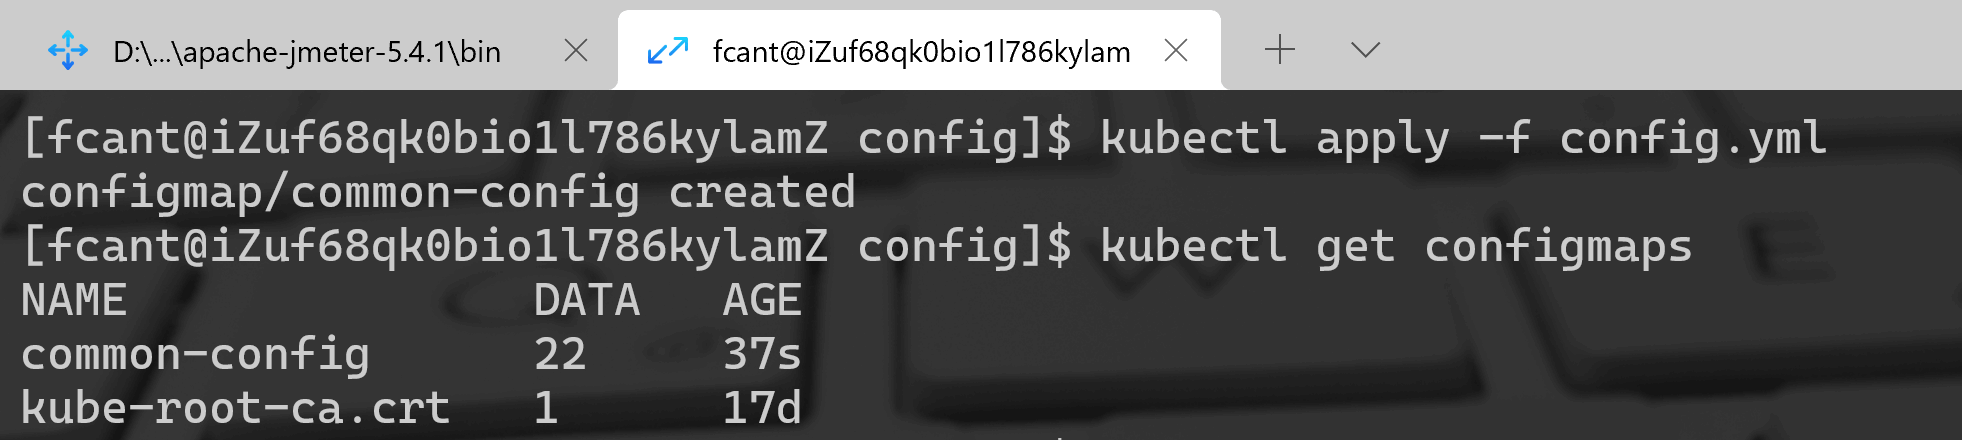
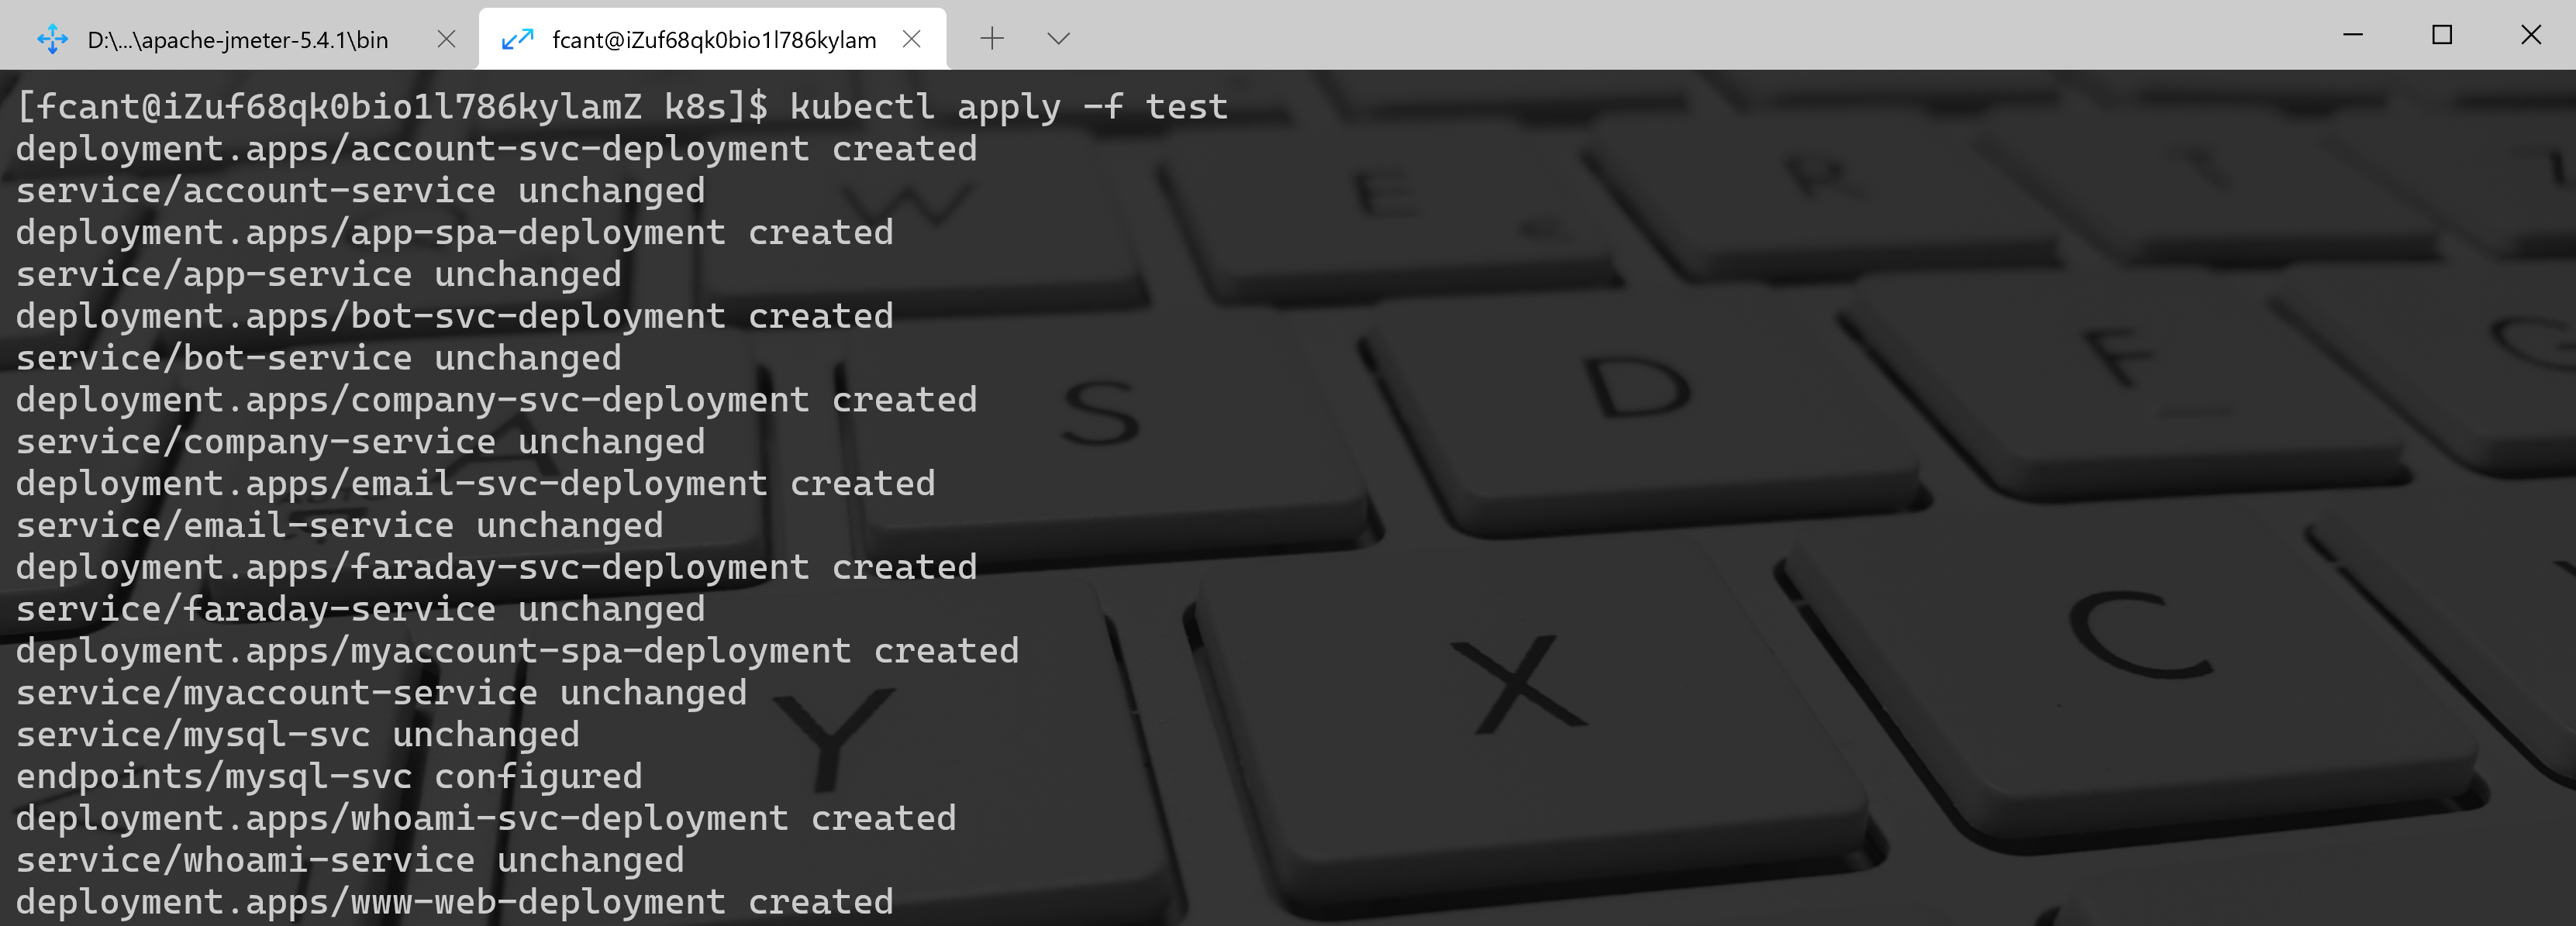
# 指定test目录下的所有yaml文件kubectl apply -f test
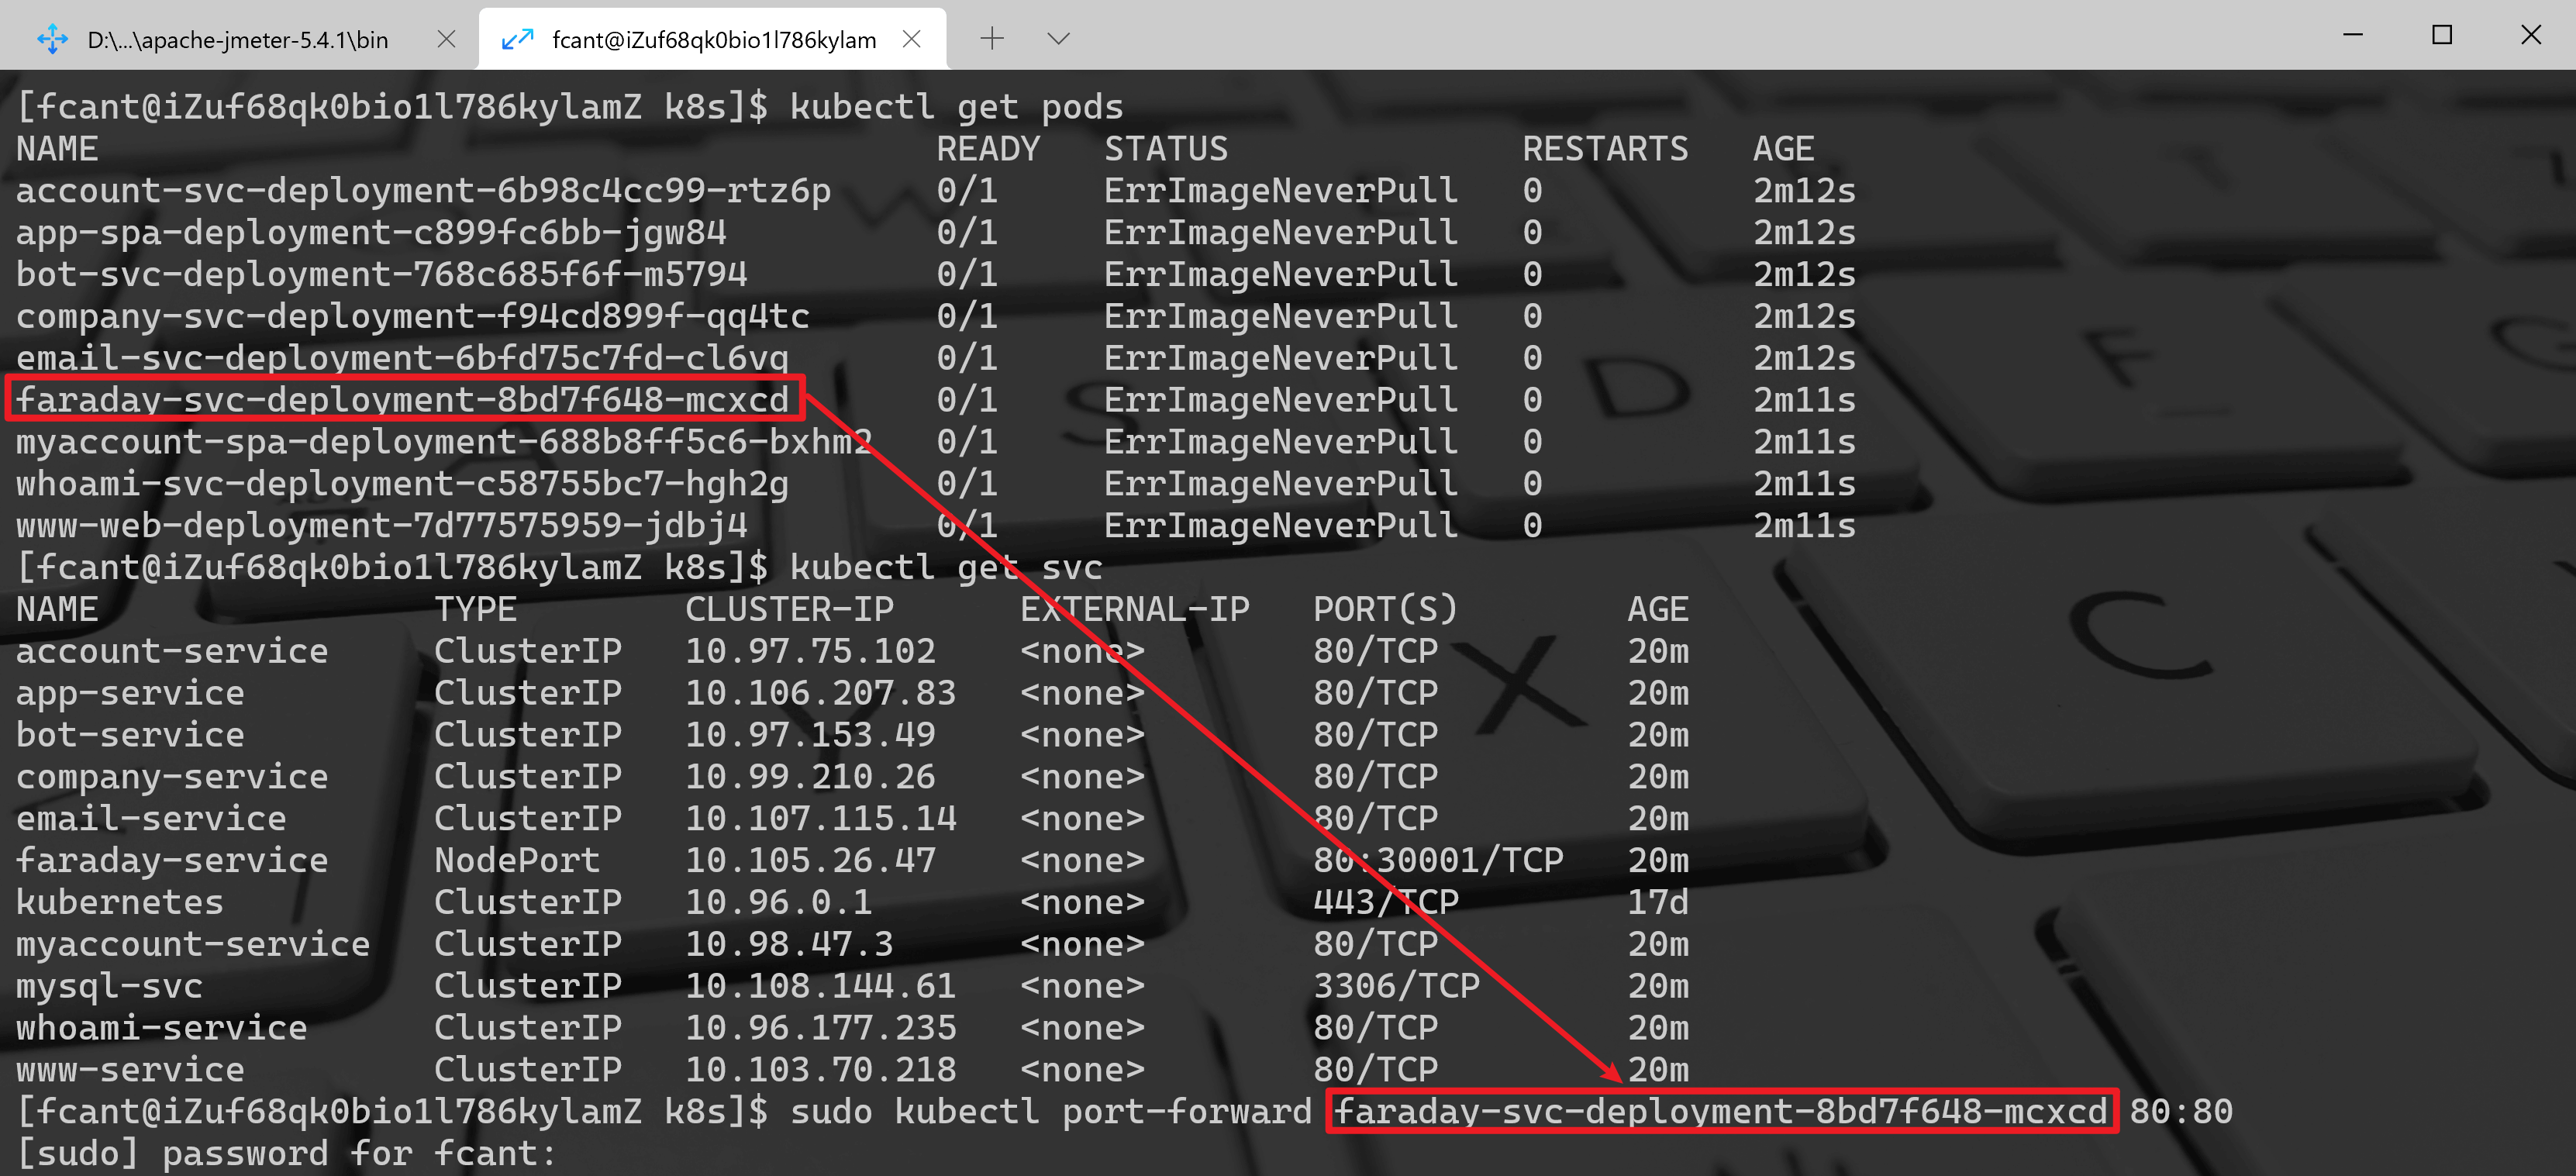
4、端口转发
# 查询faraday pod名kubectl get podskubectl poft-forward faraday-svc-deployment-8584d9c74d-v92wt 80:80
5、启动SwitchHosts
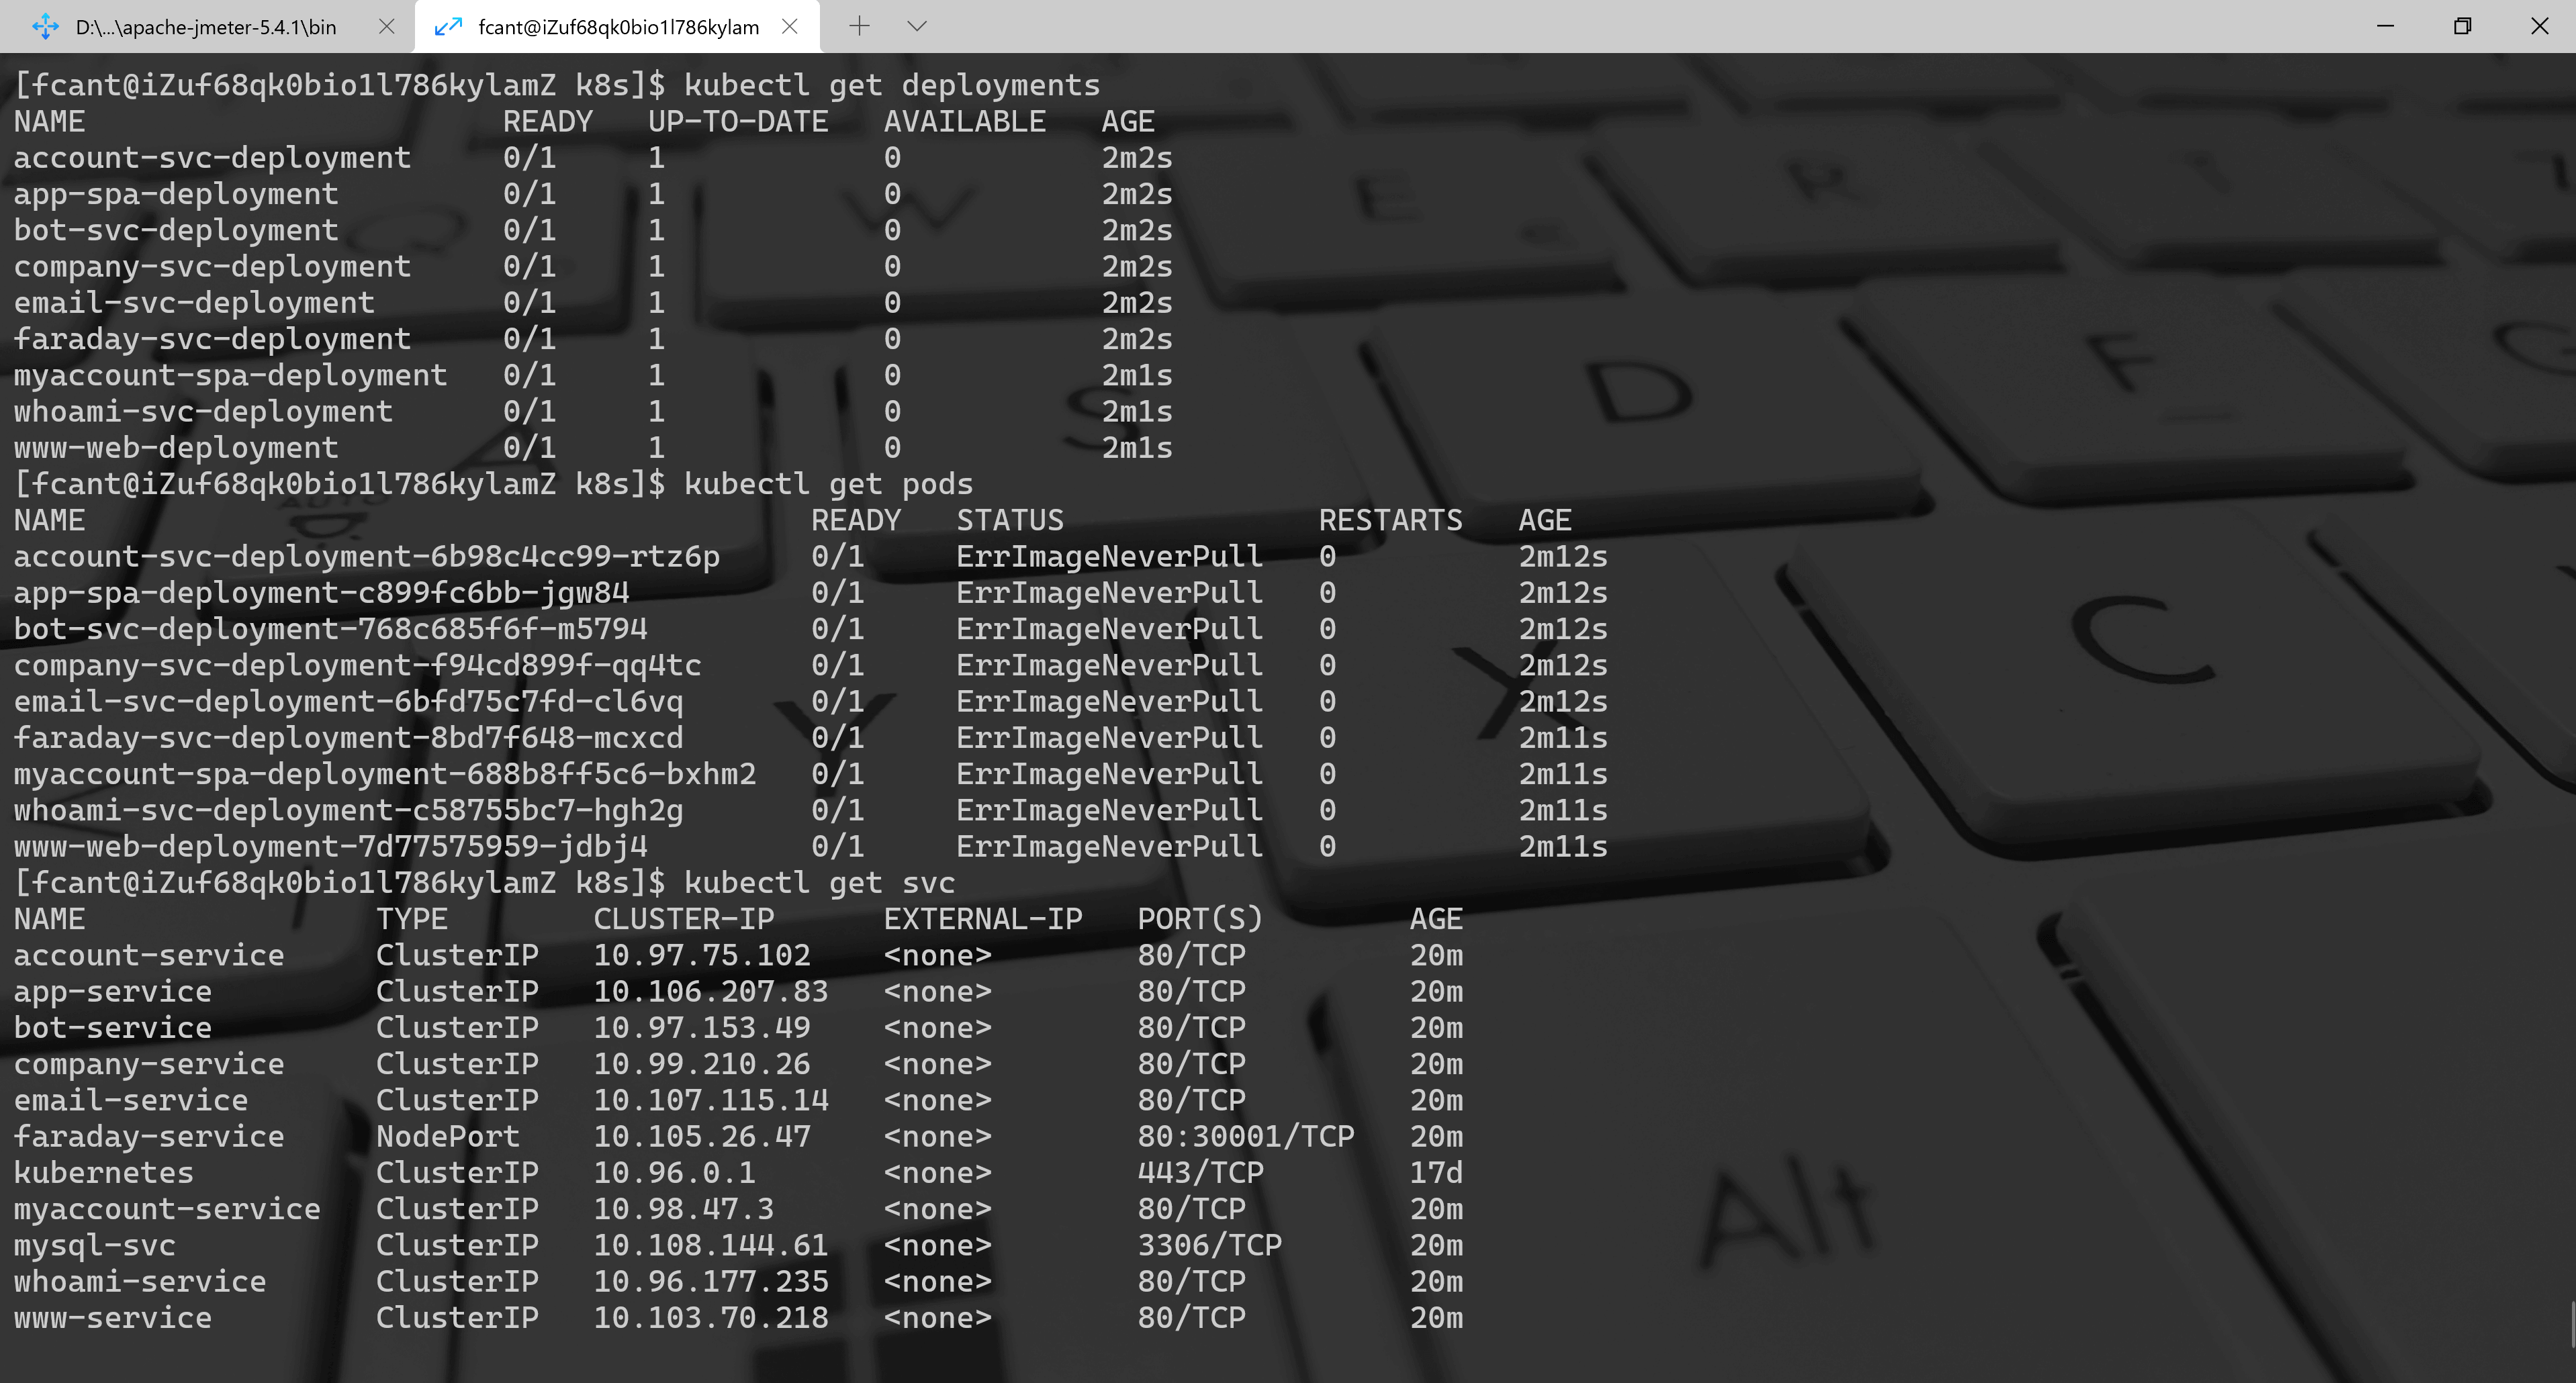
6、命令行校验
kubectl get pods -o widekubectl get serviceskubectl get deployments
7、K8s Dashboard校验
8、Staffjoy校验
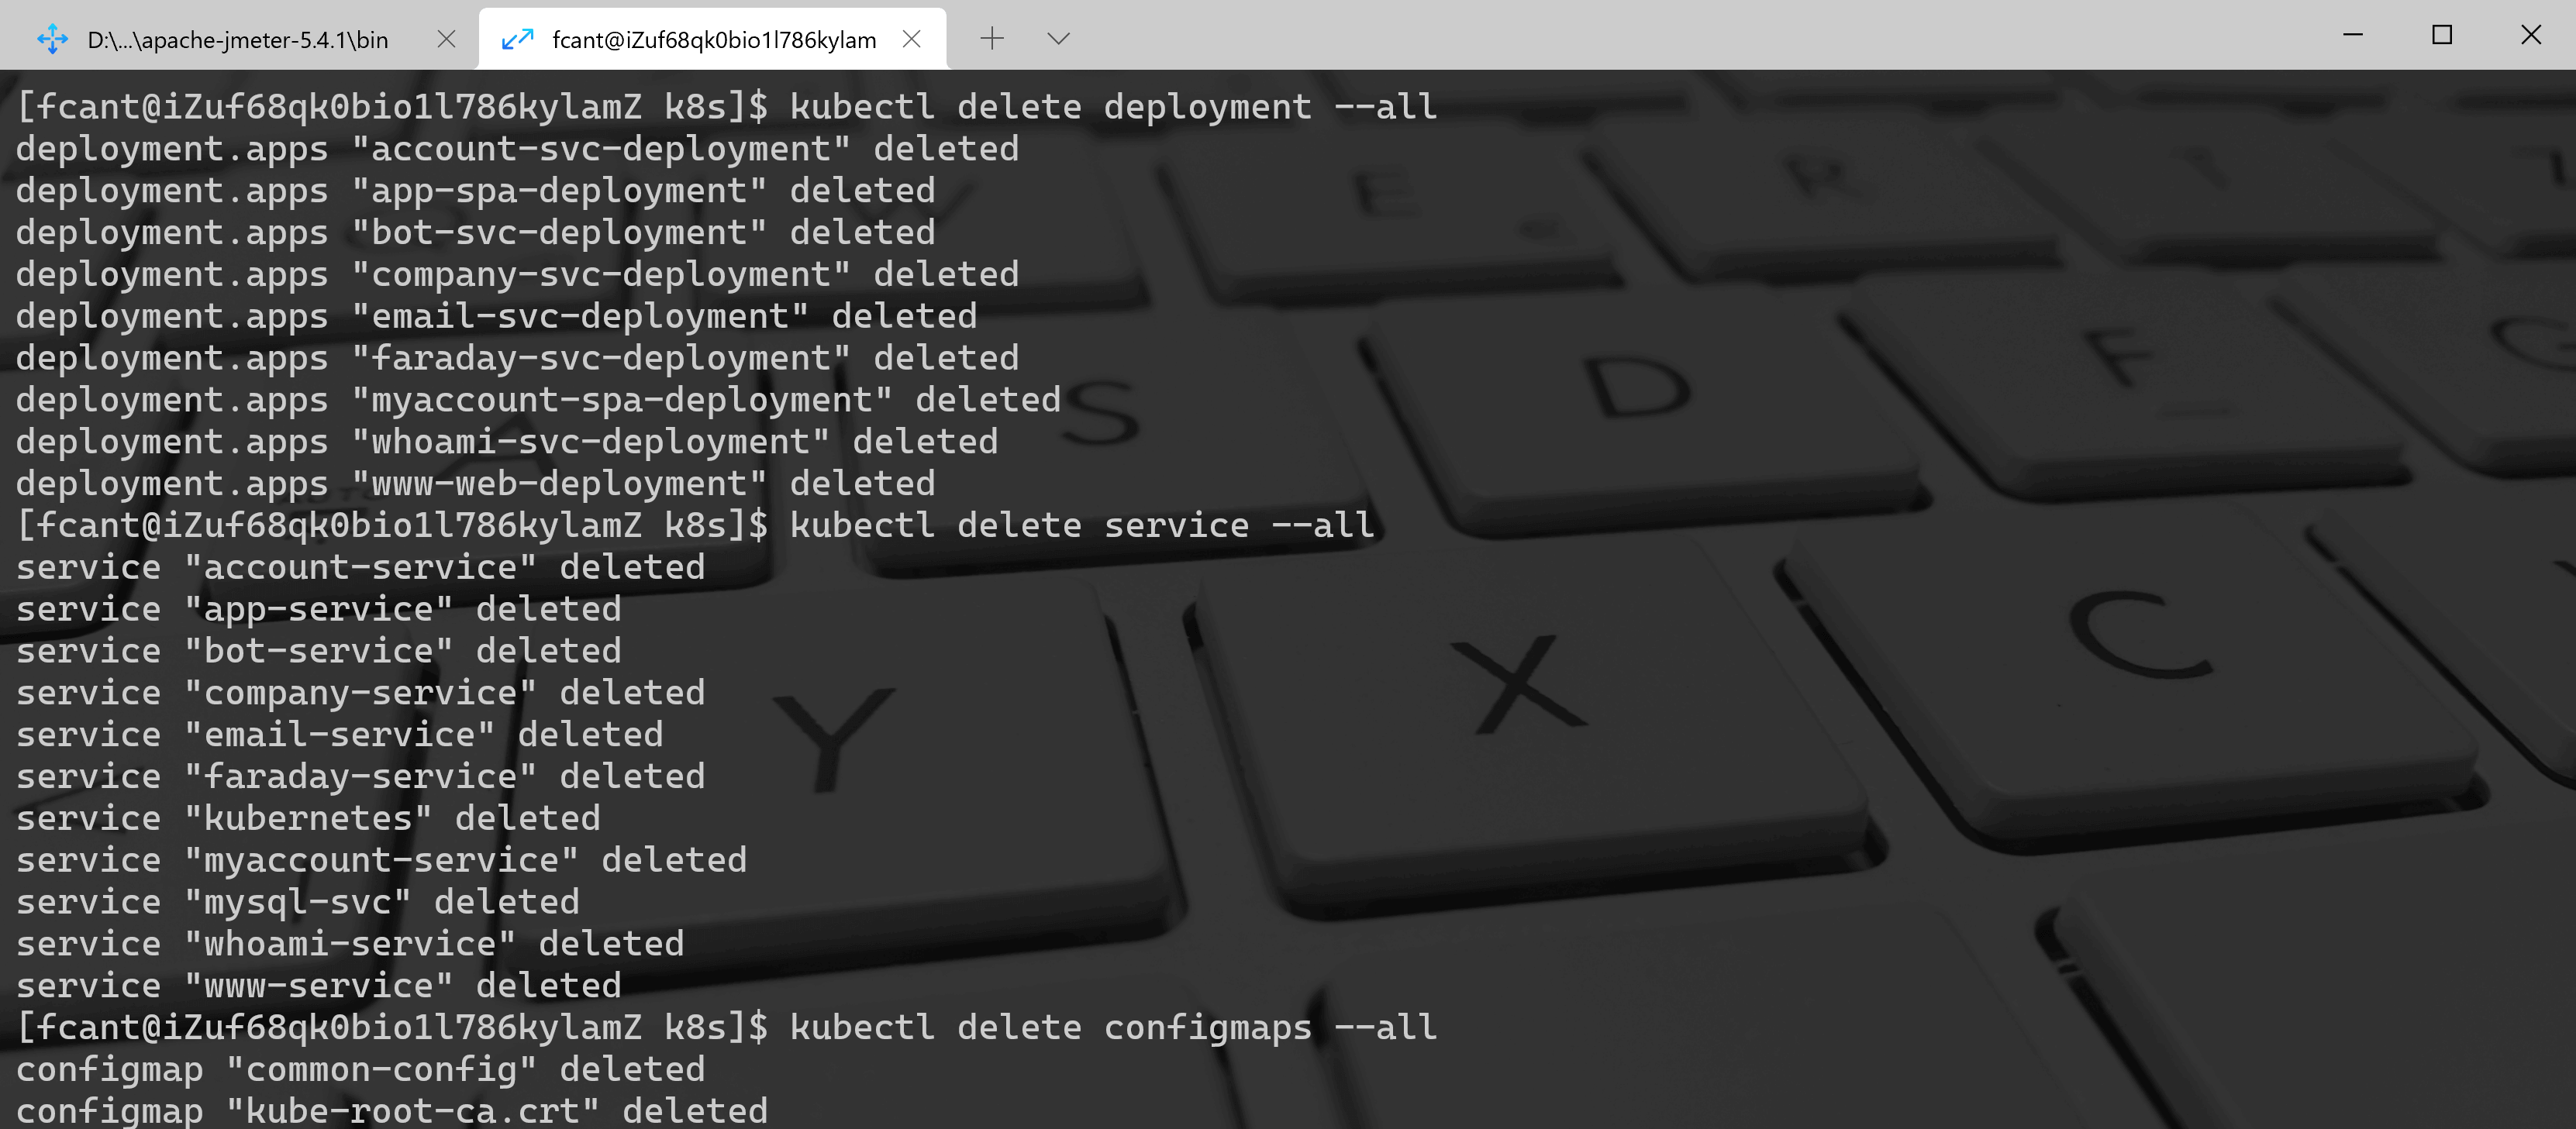
9、清理
kubectl delete deployment --allkubectl delete service --allkubectl delete configmaps --all
Staffjoy部署到阿里云Kubernetes架构
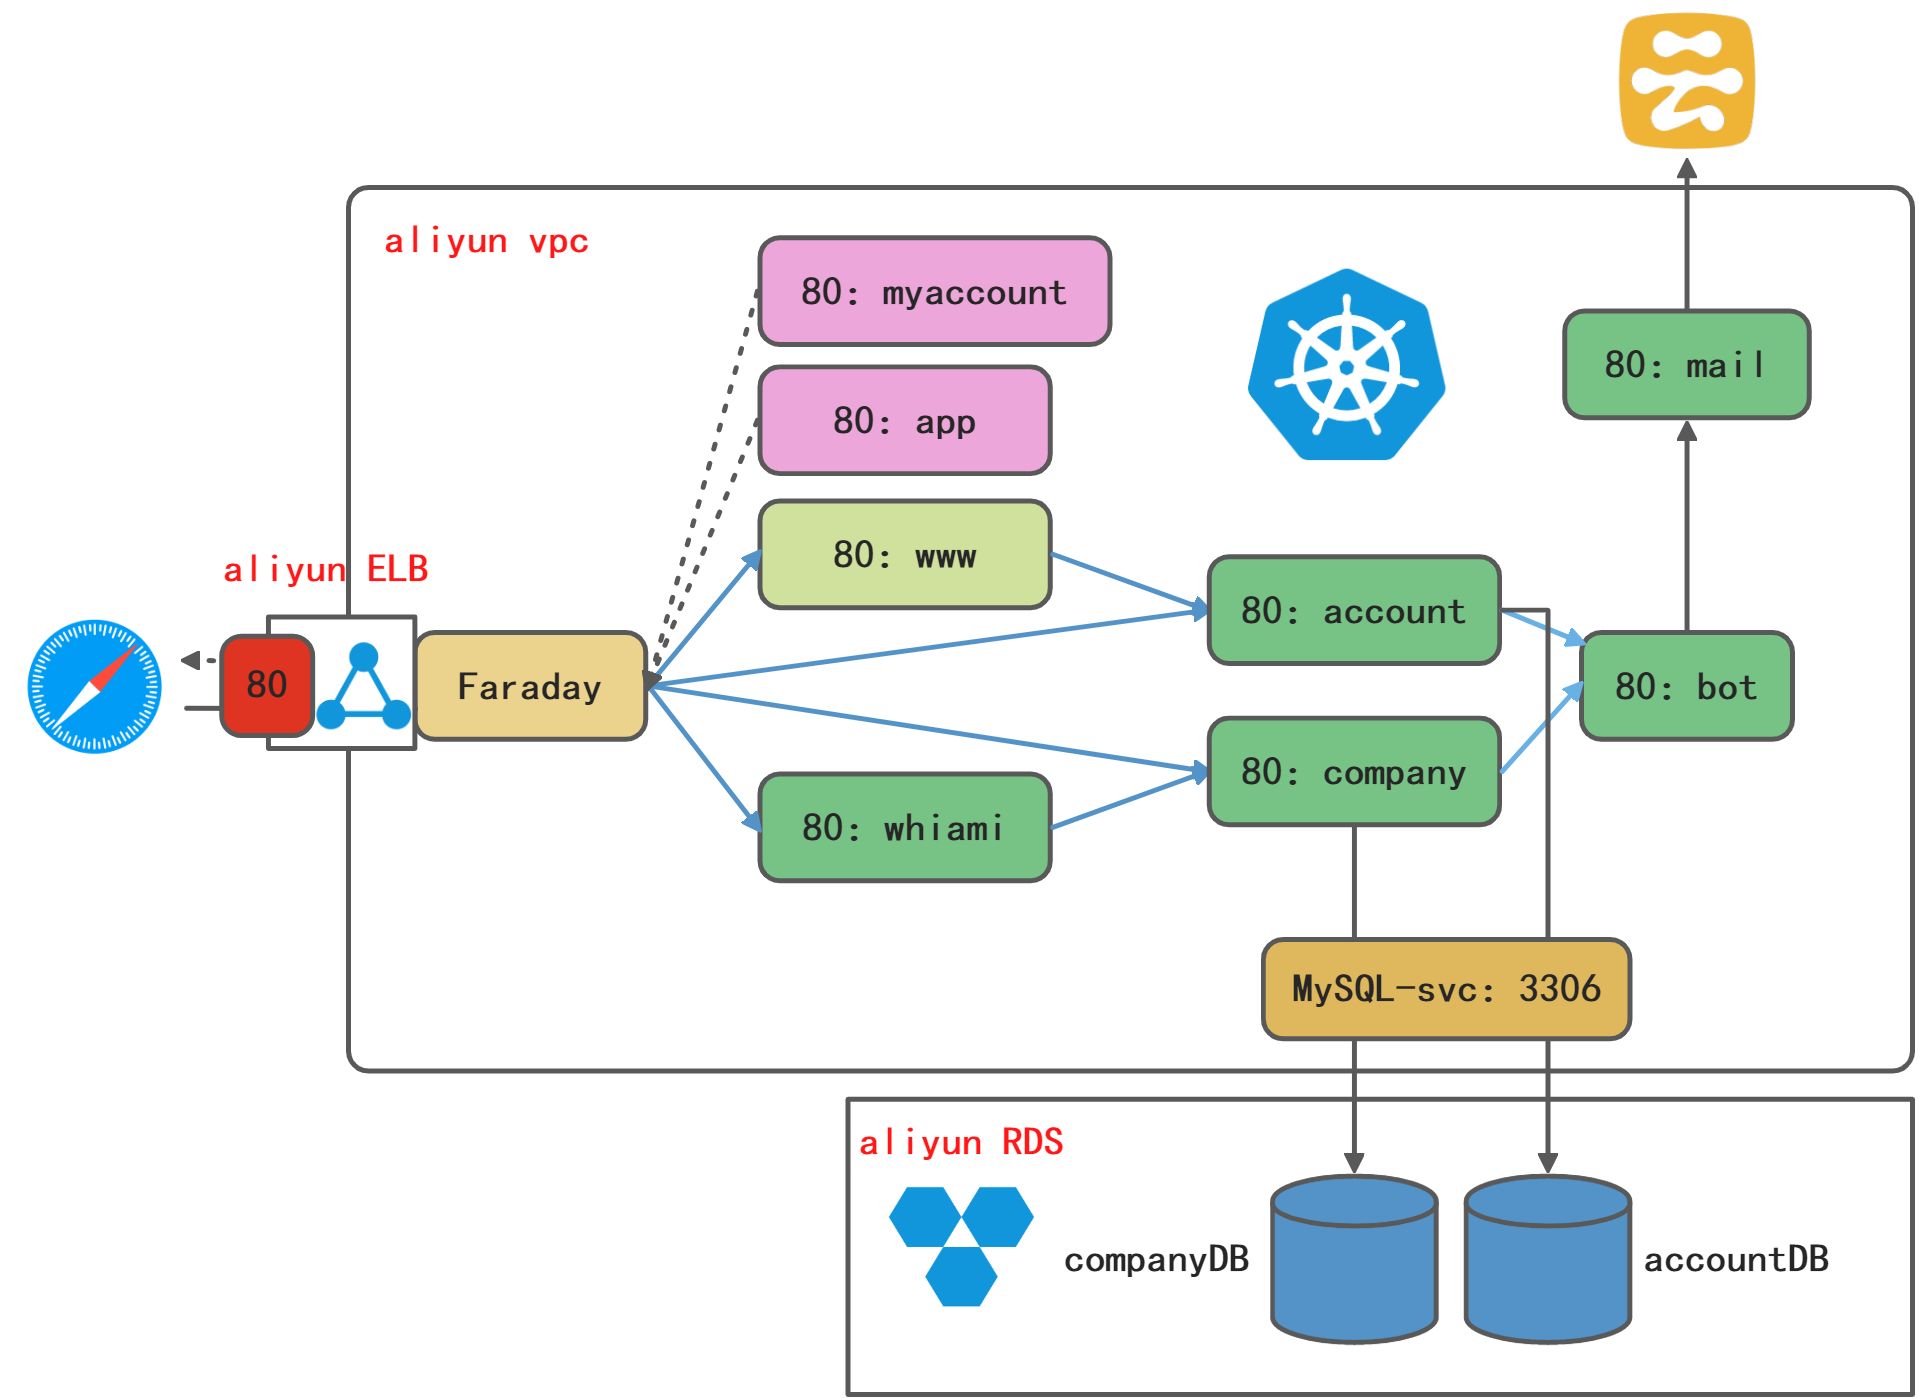
阿里云Kubernetes拓扑结构
https://developer.aliyun.com/article/88526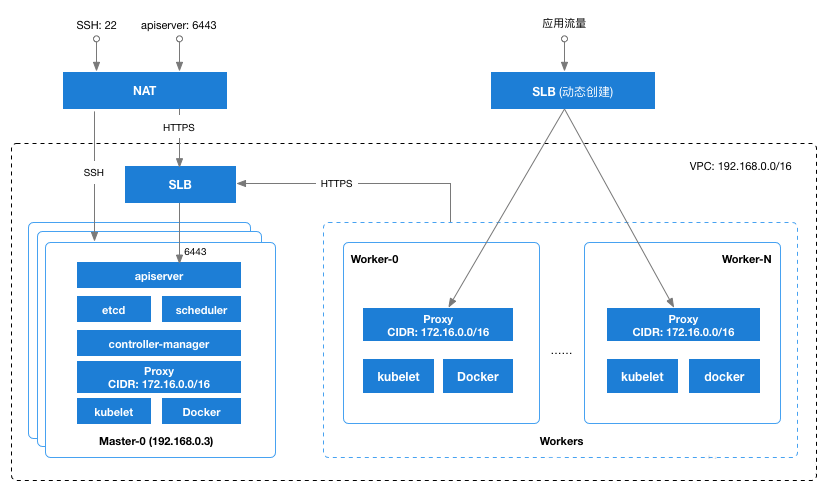
阿里云Kubernetes环境创建
1、创建VPC
2、创建RDS数据库
加IP白名单
更新JDBC连接字符串
创建ROOT帐号
创建数据库和表
3、创建共享版Kubernetes集群
4、校验
kubectl config current-contextkubectl cluster-infokubectl get nodes
Staffjoy部署
1、部署Staffjoy(Kubernetes/UAT)
kubectl apply -f configkubectl apply -f uat
2、阿里云Dashboard校验
3、命令行校验
kubectl get pods -o widekubectl get serviceskubectl get deployments
4、启用SwitchHosts
5、Staffjoy校验
6、删除阿里云Kubernetes和RDS

若有收获,就点个赞吧
0 人点赞
