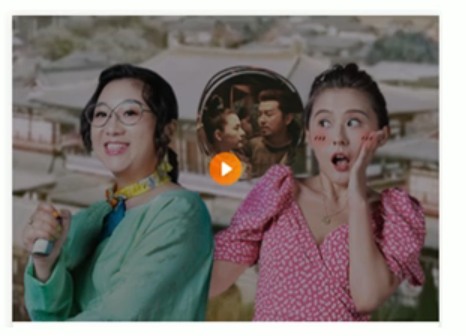
像这种效果:
1. display显示隐藏元素但是不保留位置
2. visibility显示隐藏元素但是保留原来的位置
3. overflow 溢出显示隐藏但是只是对于溢出的部分处理
案例作用:
- 练习元素的显示与隐藏
- 练习元素的定位
核心原理:原先半透明的黑色遮罩看不见,鼠标经过大盒子,就显示出来。
上
效果图
图片素材:demo31.pngplay.png
代码:
<!DOCTYPE html><html lang="en"><head><meta charset="UTF-8"><meta http-equiv="X-UA-Compatible" content="IE=edge"><meta name="viewport" content="width=device-width, initial-scale=1.0"><title>Document</title><style>* {margin: 0;padding: 0;}.girl {position: relative;width: 402px;height: 224px;margin: 50px auto;}.girl img {width: 100%;height: 100%;}.girl .mask {position: absolute;top: 0;left: 0;width: 402px;height: 224px;background: rgba(0, 0, 0, .4) url(play.png) no-repeat center;}</style></head><body><div class="girl"><img src="demo31.png" alt=""><div class="mask"></div></div></body></html>
下
修改的部分
    .girl .mask {
      display: none;
      position: absolute;
      top: 0;
      left: 0;
      width: 402px;
      height: 224px;
      background: rgba(0, 0, 0, .4) url(play.png) no-repeat center;
    }
添加的部分
    .girl:hover .mask {
      display: block;
    }
这样效果就好了

