参见:https://docs.ropensci.org/magick/articles/intro.html
关于颜色获取部分,可以参见:
1. 写入, 写出与转换数据
该函数支持导入多种类型图片,也可以不选择图片类型,其可以自动进行识别:
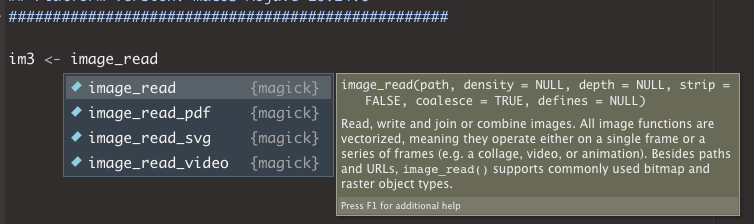
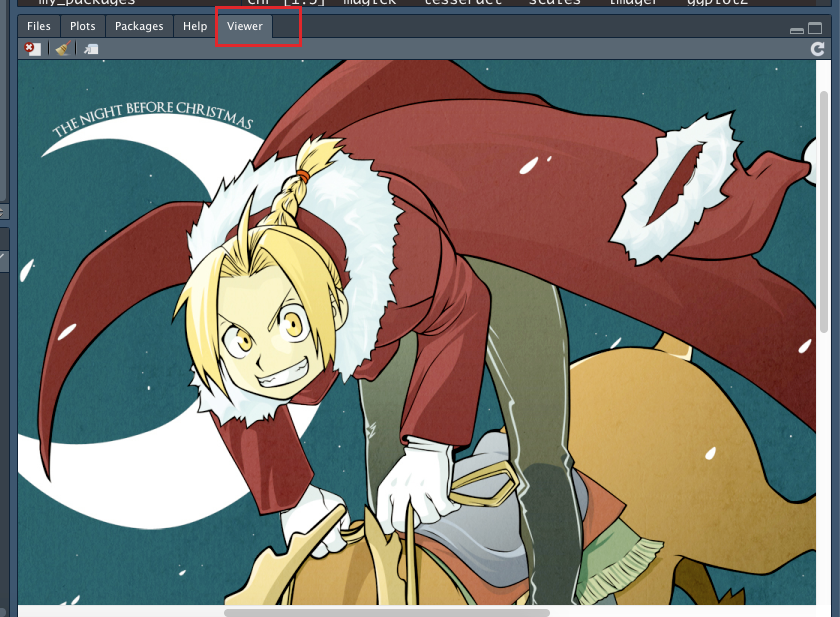
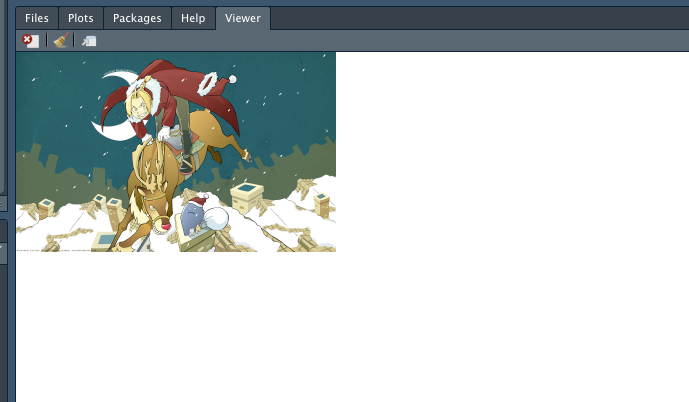
我们可以直接输出该图片:
> im3 <- image_read("https://cdn.jsdelivr.net/gh/mugpeng/3-source/2.img/alchemist.png")> im3# A tibble: 1 x 7format width height colorspace matte filesize density<chr> <int> <int> <chr> <lgl> <int> <chr>1 PNG 1920 1200 sRGB FALSE 2544938 72x72
注意,这里的显示并不依赖plot 窗口:
其实我们可以直接输出为其他类型的图片:
if( !dir.exists("./img") ) dir.create("./img")image_write(im3, path = "./img/alchemist.pdf", format = "pdf")
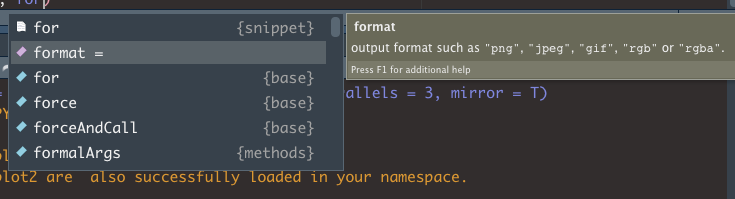
比如输出为pdf:
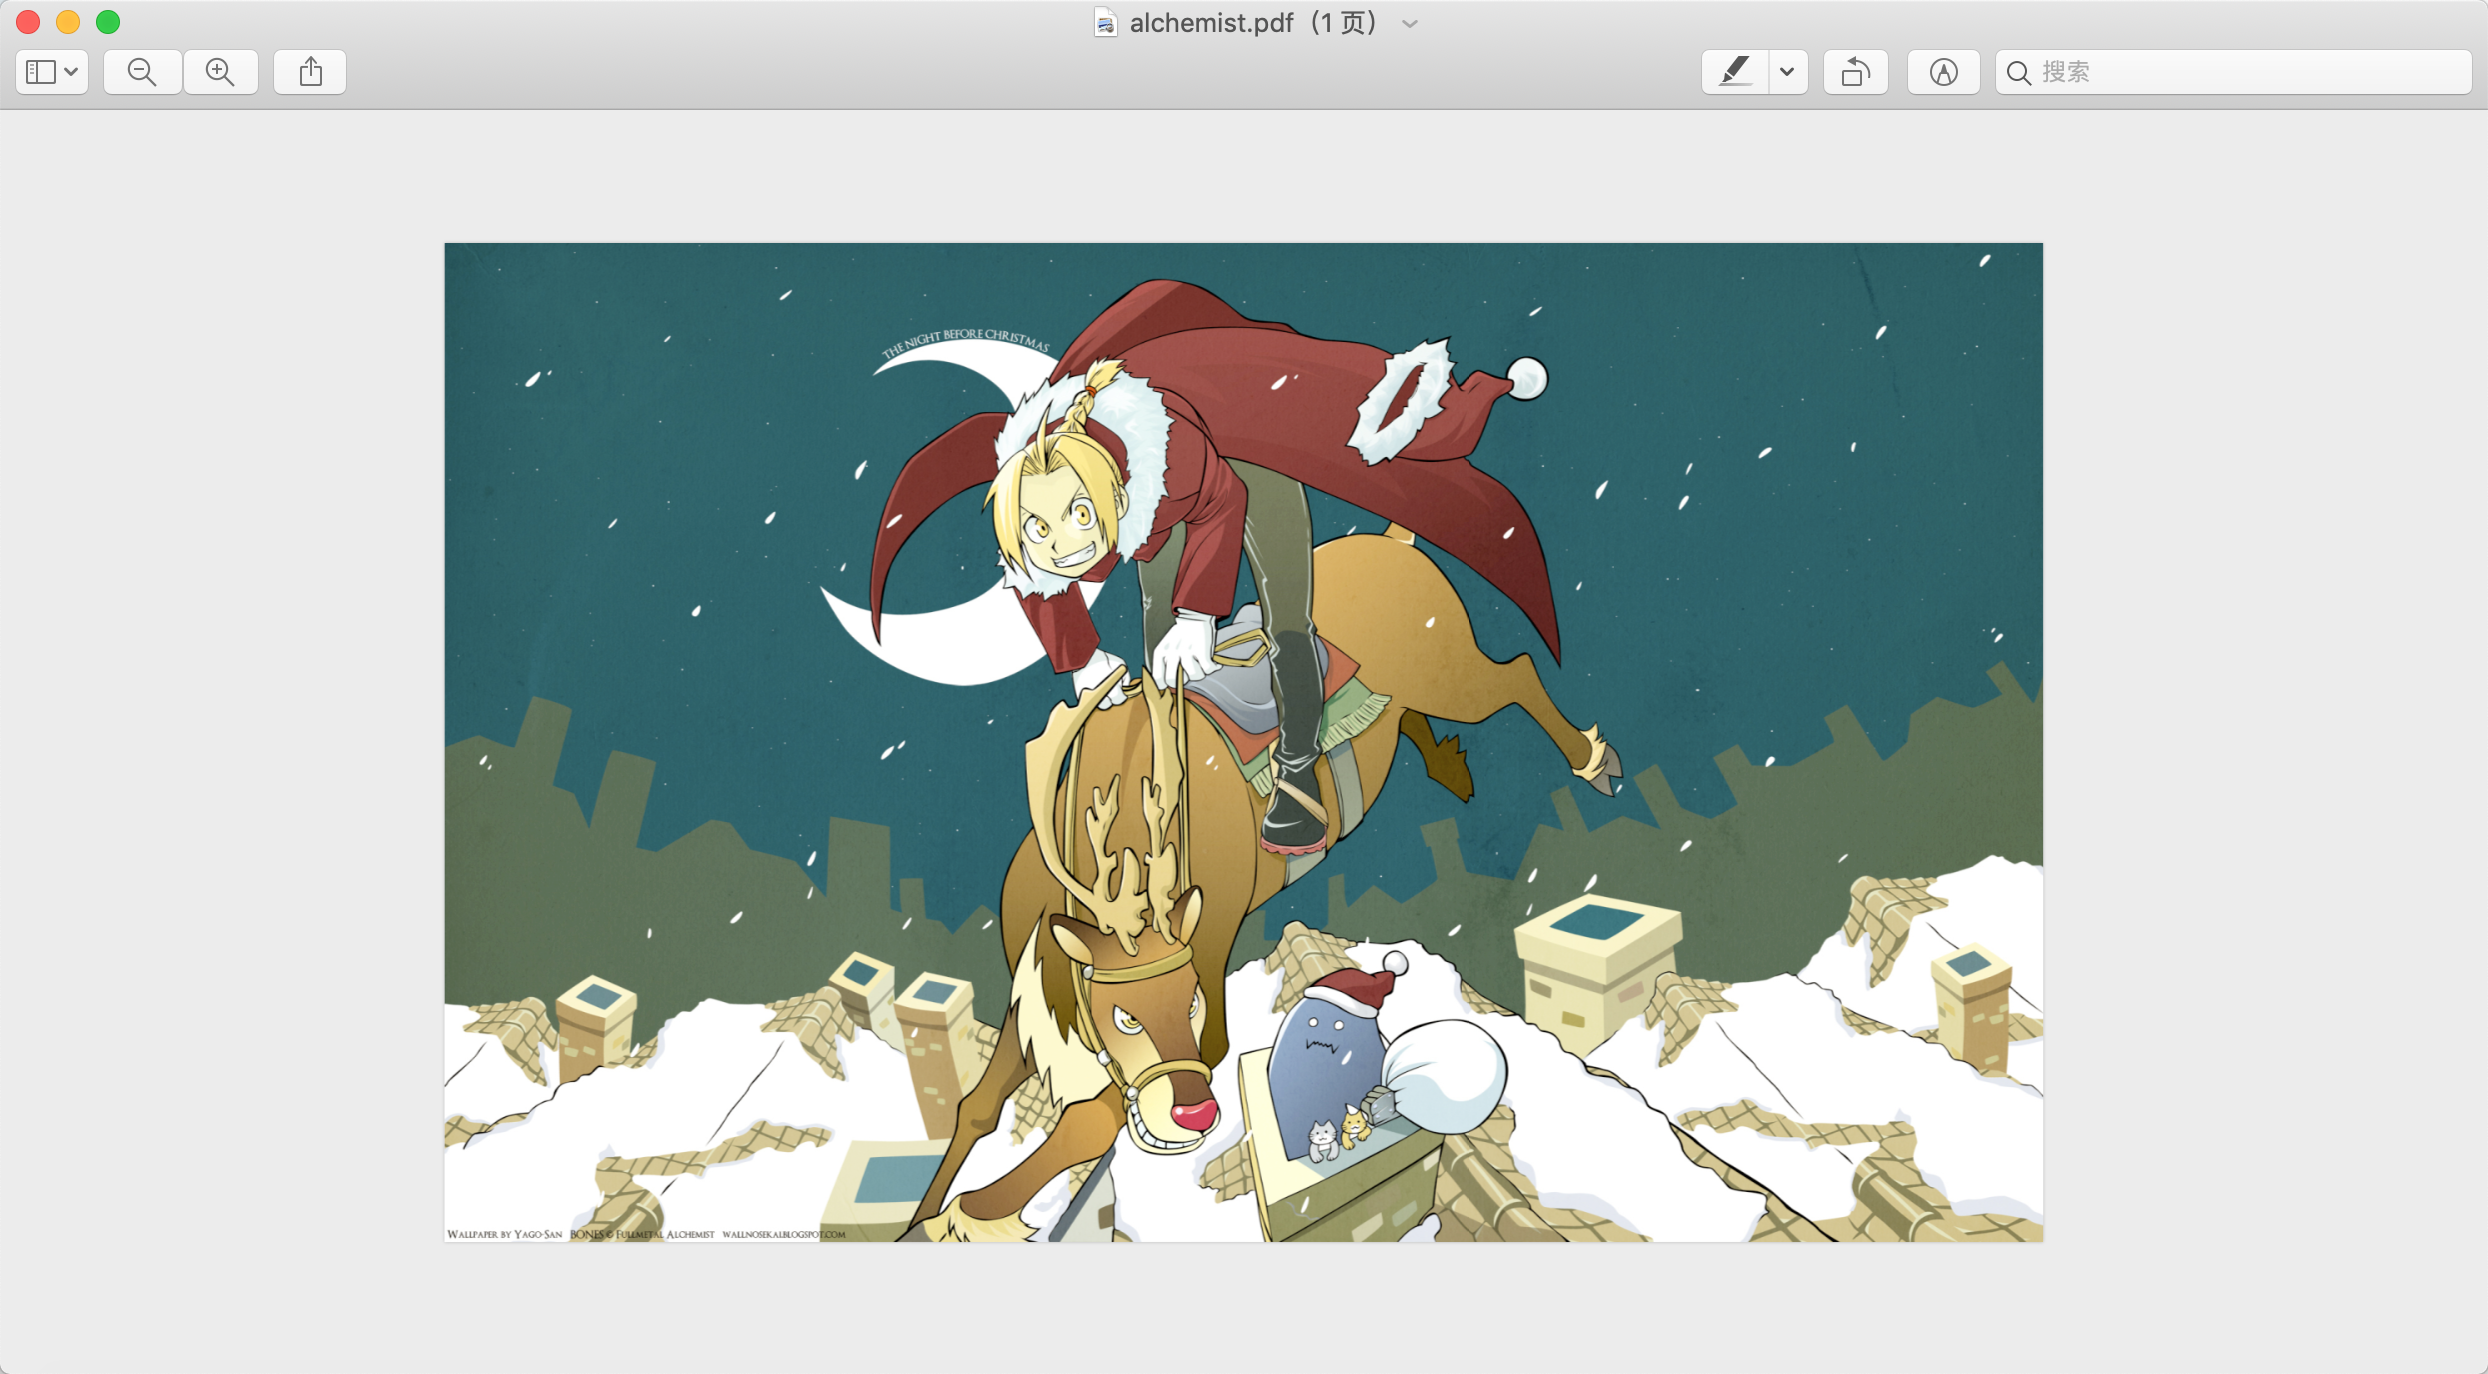
我们也可以直接转换为pdf 类型元素:
> # convert2pdf obj> im3_pdf <- image_convert(im3, "pdf")> image_info(im3_pdf)# A tibble: 1 x 7format width height colorspace matte filesize density<chr> <int> <int> <chr> <lgl> <int> <chr>1 PDF 1920 1200 sRGB FALSE 0 72x72
2. 对图片进行转换处理
- image_scale
# resize imgimage_scale(im3, "200") # proportionally to width: 200pximage_scale(im3, "x200") # proportionally to height: 200px
> image_scale(im3, "x200") # proportionally to height: 200px# A tibble: 1 x 7format width height colorspace matte filesize density<chr> <int> <int> <chr> <lgl> <int> <chr>1 PNG 320 200 sRGB FALSE 0 72x72
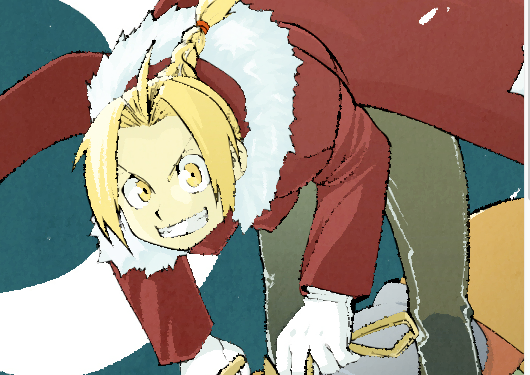
- img_crop
# cut imgimage_crop(im3, "100x150+500+100") # cut img from left 500px and top 100px size is 100x150px

其他功能包括:

可以慢慢探究。
3. 用magick 做滤镜
- image_blur
模糊处理,sigma 和radius 控制模糊等级与半径:
image_blur(im3, sigma = 5, radius = 5)

- noise
加上噪点

- charcoal
阴间模式

- oilpaint
油画模式

若有收获,就点个赞吧
0 人点赞
