学习在本地工作站中为 Angular,Node 和 TypeScript 设置开发环境,以开发下一代 UI 应用。
Table of ContentsInstall NodeInstall GitInstall PackagesCreate Angular HelloWorldDemo
安装 Node
转到 Node 下载页面,然后根据您的机器配置下载安装程序。
执行安装程序。 如果要在任何备用位置上安装 Node,请选择路径。 我建议使用默认选项。
验证是否已使用此命令安装了 Node。 ```java $ node —version
v8.11.3 //output
<a name="d9787e5d"></a>## 安装 Git1.转到 [Git 下载页面](https://git-scm.com/),然后根据您的机器配置下载安装程序。2.执行安装程序。 如果要在任何备用位置上安装 Git,请选择路径。 我建议使用默认选项。3.验证是否已使用此命令安装了 Git。```java$ git --versiongit version 2.17.1.windows.2 //Output
另外,运行以下命令来设置您的 git 身份。
$ git config --global user.email "you@example.com" //Use your git email id$ git config --global user.name "Your Name" //Use your git name
安装包
现在,在安装了 node 和 git 之后,该安装必要的npm包了。
$ npm install -g rxjs$ npm install -g typescript$ npm install -g webpack$ npm install -g webpack-cli$ npm install -g @angular/core$ npm install -g @angular/cli$ npm install -g gulp
创建 Angular HelloWorld
在命令提示符下转到您的工作区,然后运行此命令。 此命令将在helloworld文件夹中创建一个新的 Angular 应用 – 其中包含所有必需的文件。
$ ng new helloworld

Angular CLI 生成文件
演示
要运行上面创建的应用,请从应用文件夹中运行命令ng serve。
$ cd helloworld$ ng serve** Angular Live Development Server is listening on localhost:4200, open your browser on http://localhost:4200/ **Date: 2018-06-18T17:10:50.638ZHash: 832b348b3a35e13efaf8Time: 6365mschunk {main} main.js, main.js.map (main) 10.7 kB [initial] [rendered]chunk {polyfills} polyfills.js, polyfills.js.map (polyfills) 227 kB [initial] [rendered]chunk {runtime} runtime.js, runtime.js.map (runtime) 5.22 kB [entry] [rendered]chunk {styles} styles.js, styles.js.map (styles) 15.6 kB [initial] [rendered]chunk {vendor} vendor.js, vendor.js.map (vendor) 3.06 MB [initial] [rendered]i 「wdm」: Compiled successfully.
打开浏览器,然后在http://localhost:4200/中验证正在运行的应用。
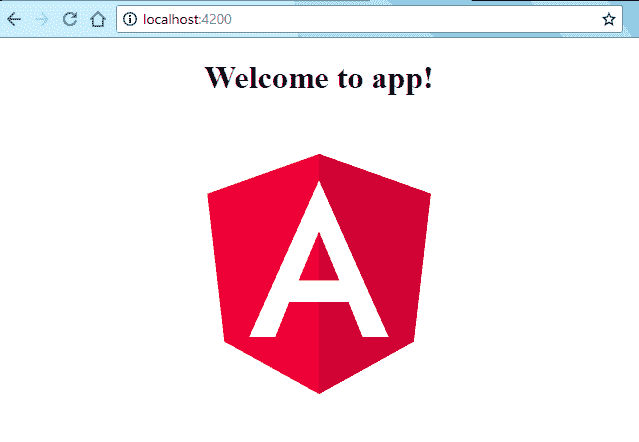
浏览器中的 Angular HelloWorld
您的 Angular 开发环境已启动并正在运行。
将我的问题放在评论部分。
学习愉快!

若有收获,就点个赞吧
0 人点赞
