- 1、实现
ServletContextAware接口并重写其setServletContext方法 - 2、实现
ServletContextListener接口 - 3、将要执行的方法所在的类交个Spring容器扫描(
@Component),并且在要执行的方法上添加@PostConstruct注解或者静态代码块执行 - 4、实现
CommandLineRunner接口 - 5、实现
ApplicationRunner接口 - 6、实现
InitializingBean接口;重写afterPropertiesSet()方法; - 7、实现
ApplicationListener接口 - 8、定义静态常量,随着类的生命周期加载而提前加载(这种方式可能对于工作经验较少的伙伴,选择是最多的);
SpringBoot
在SpringBoot中有时候需要让项目在启动时提前加载相应的数据或者执行某个方法,那么实现提前加载的方式有哪些呢?
1、实现ServletContextAware接口并重写其setServletContext方法
@Componentpublic class TestStarted implements ServletContextAware {/*** 在填充普通bean属性之后但在初始化之前调用* 类似于initializingbean的afterpropertiesset或自定义init方法的回调**/@Overridepublic void setServletContext(ServletContext servletContext) {System.out.println("setServletContext方法");}}
:::tips 注意:该方法会在填充完普通Bean的属性,但是还没有进行Bean的初始化之前执行 :::
2、实现ServletContextListener接口
/*** 在初始化Web应用程序中的任何过滤器或servlet之前,将通知所有servletContextListener上下文初始化。*/@Overridepublic void contextInitialized(ServletContextEvent sce) {//ServletContext servletContext = sce.getServletContext();System.out.println("执行contextInitialized方法");}
3、将要执行的方法所在的类交个Spring容器扫描(@Component),并且在要执行的方法上添加@PostConstruct注解或者静态代码块执行
@Componentpublic class Test2 {//静态代码块会在依赖注入后自动执行,并优先执行static{System.out.println("---static--");}/*** @Postcontruct’在依赖注入完成后自动调用*/@PostConstructpublic static void haha(){System.out.println("@Postcontruct 在依赖注入完成后自动调用");}}
加载顺序为:Constructor > @Autowired > @PostConstruct > 静态方法;
特点:
- 只有一个非静态方法能使用此注解
- 被注解的方法不得有任何参数
- 被注解的方法返回值必须为void
- 被注解方法不得抛出已检查异常
-
4、实现
CommandLineRunner接口/*** 用于指示bean包含在SpringApplication中时应运行的接口。可以在同一应用程序上下文中定义多个commandlinerunner bean,并且可以使用有序接口或@order注释对其进行排序。* 如果需要访问applicationArguments而不是原始字符串数组,请考虑使用applicationrunner。**/@Overridepublic void run(String... ) throws Exception {System.out.println("CommandLineRunner的run方法");}
定义初始化类 MyCommandLineRunner
- 实现
CommandLineRunner接口,并实现它的run()方法,在该方法中编写初始化逻辑 - 注册成Bean,添加
@Component注解即可 - 示例代码如下: ```java import org.springframework.boot.CommandLineRunner; import org.springframework.core.annotation.Order; import org.springframework.stereotype.Component;
@Componentpublic class MyCommandLineRunner implements CommandLineRunner {
@Overridepublic void run(String... args) throws Exception {System.out.println("项目初始化---------------11");}
}
实现了 `CommandLineRunner` 接口的 `Component` 会在所有 Spring Beans 初始化完成之后, 在 `SpringApplication.run()` 执行之前完成。下面通过加两行打印来验证测试。```javaimport org.springframework.boot.SpringApplication;import org.springframework.boot.autoconfigure.SpringBootApplication;@SpringBootApplicationpublic class ProcApplication {public static void main(String[] args) {System.out.println("...start SpringApplication.run");SpringApplication.run(ProcApplication.class,args);System.out.println("....end SpringApplication.run");}}
5、实现ApplicationRunner接口
/*** 用于指示bean包含在SpringApplication中时应运行的接口。可以定义多个applicationrunner bean* 在同一应用程序上下文中,可以使用有序接口或@order注释对其进行排序。*/@Overridepublic void run(ApplicationArguments args) throws Exception {System.out.println("ApplicationRunner的run方法");}
- 定义初始化类 MyApplicationRunner
- 实现
ApplicationRunner接口,并实现它的run()方法,在该方法中编写初始化逻辑 - 注册成Bean,添加
@Component注解即可 - 示例代码如下: ```java import org.springframework.boot.ApplicationArguments; import org.springframework.boot.ApplicationRunner; import org.springframework.core.annotation.Order; import org.springframework.stereotype.Component;
import javax.annotation.PostConstruct;
@Component public class MyApplicationRunner implements ApplicationRunner { @Override public void run(ApplicationArguments args) throws Exception { System.out.println(“项目初始化二————-“); } }
可以看到,通过实现 `ApplicationRunner` 接口,和通过实现 `CommandLineRunner` 接口都可以完成项目的初始化操作,实现相同的效果。两者之间唯一的区别是 `run()` 方法中自带的形参不相同,在 `CommandLineRunner` 中只是简单的`String... args`形参,而 `ApplicationRunner` 则是包含了 `ApplicationArguments` 对象,可以帮助获得更丰富的项目信息。<br />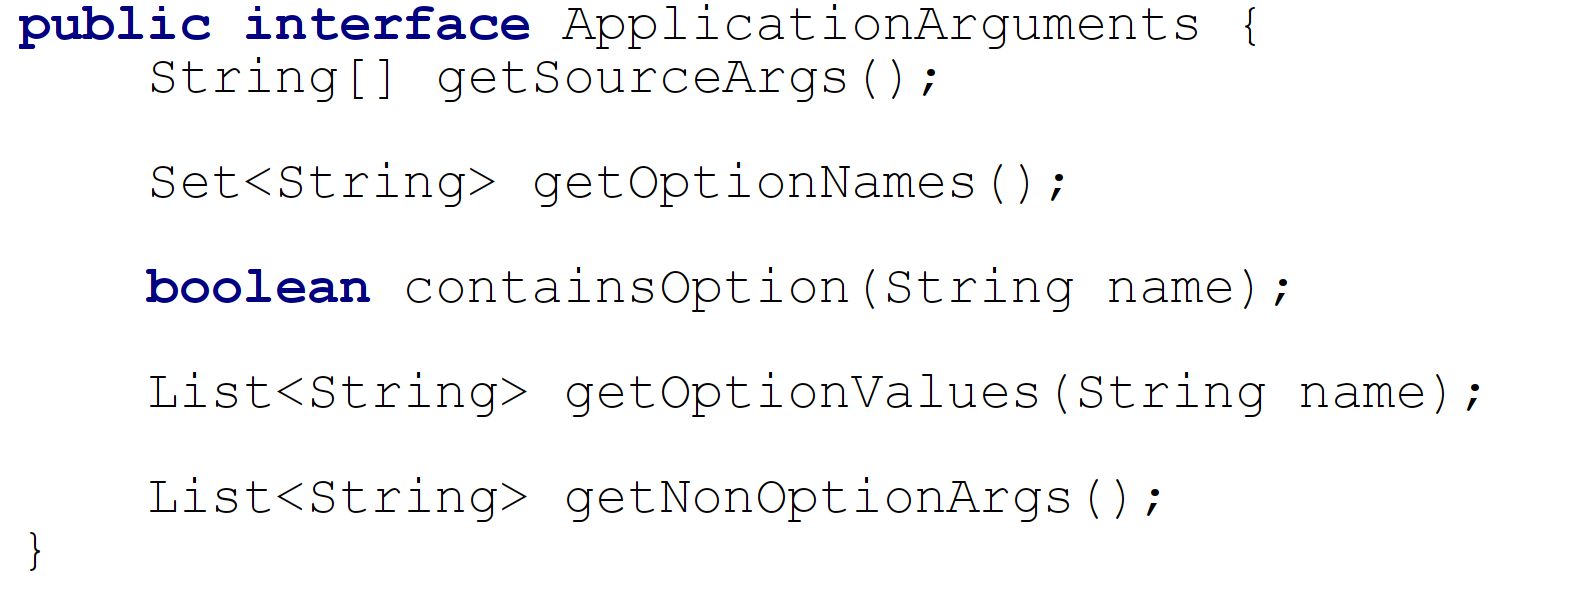<br />如果项目中既有实现了 `ApplicationRunner` 接口的初始化类,又有实现了 `CommandLineRunner` 接口的初始化类,那么会是哪一个先执行呢?答案是实现了 `ApplicationRunner` 接口的初始化类先执行,如果需要改变两个初始化类之间的默认执行顺序,那么使用 `@Order` 注解就可以解决这个问题。```java@Component@Order(1)public class MyCommandLineRunner implements CommandLineRunner {/*** Callback used to run the bean.** @param args incoming main method arguments* @throws Exception on error*/@Overridepublic void run(String... args) throws Exception {System.out.println("项目初始化---------------11");}}@Component@Order(2)public class MyApplicationRunner implements ApplicationRunner {@Overridepublic void run(ApplicationArguments args) throws Exception {System.out.println("项目初始化二---------");}@PostConstructpublic void init(){System.out.println("@PostConstruct初始化");}}
6、实现InitializingBean接口;重写afterPropertiesSet()方法;
InitializingBean 是 Spring 提供的一个接口,只包含一个方法 afterPropertiesSet()。凡是实现了该接口的类,当其对应的 Bean 交由 Spring 管理后,当其必要的属性全部设置完成后,Spring 会调用该 Bean 的 afterPropertiesSet()。
@Componentpublic class MyListener1 implements InitializingBean {@Autowiredprivate ShopInfoMapper shopInfoMapper;@Overridepublic void afterPropertiesSet() {//使用spring容器中的bean//System.out.println(shopInfoMapper.selectById("1").getShopName());System.out.println("项目启动OK");}}
7、实现ApplicationListener接口
ApplicationListener 就是Spring的监听器,能够用来监听事件,典型的观察者模式。如果容器中有一个ApplicationListener Bean,每当ApplicationContext发布ApplicationEvent时,ApplicationListener Bean将自动被触发。这种事件机制都必须需要程序显示的触发。
其中Spring有一些内置的事件,当完成某种操作时会发出某些事件动作。比如监听ContextRefreshedEvent事件,当所有的bean都初始化完成并被成功装载后会触发该事件,实现ApplicationListener接口可以收到监听动作,然后可以写自己的逻辑。
同样事件可以自定义、监听也可以自定义,完全根据自己的业务逻辑来处理。所以也能做到资源的初始化加载。
@Componentpublic class MyListener1 implements ApplicationListener {@Overridepublic void onApplicationEvent(ApplicationEvent applicationEvent) {//打印出每次事件的名称System.out.println(applicationEvent.toString());if (applicationEvent instanceof ApplicationReadyEvent) {System.out.println("项目启动OK");}}}
8、定义静态常量,随着类的生命周期加载而提前加载(这种方式可能对于工作经验较少的伙伴,选择是最多的);

若有收获,就点个赞吧
0 人点赞
