一、介绍
在实际的系统开发中,某些业务场景下,经常需要给原始图片添加水印,以防止图片信息在互联网上随意传播!
也有的基于当下的业务需求,需要给相机照片加水印、地理位置、时间等信息,以方便记录自己的生活!
有的人可能很容易想到,通过 PS 技术就可以很轻松的完成!
的确,对于单个图像而言很容易,但是对于成千上万的图像,采用人工处理,显然不可取!
问题来了,面对大批量的图像加水印需求,应当如何处理呢?
试想一下,如果采用人工方式来给图像添加水印,大概的步骤离不开以下几步:
1、先获取需要处理的图像
2、然后将图像摆放整齐,用尺子计算出需要加水印的位置
3、采用画笔准确无误的在对应的位置上画上水印
4、最后,水印添加之后!
如果采用程序来实现,思路也是一样的,废话也不多说了,代码直接撸上!
二、程序实践
下面以java程序为例,给以下图添加一段复印无效的文字水印,并居中!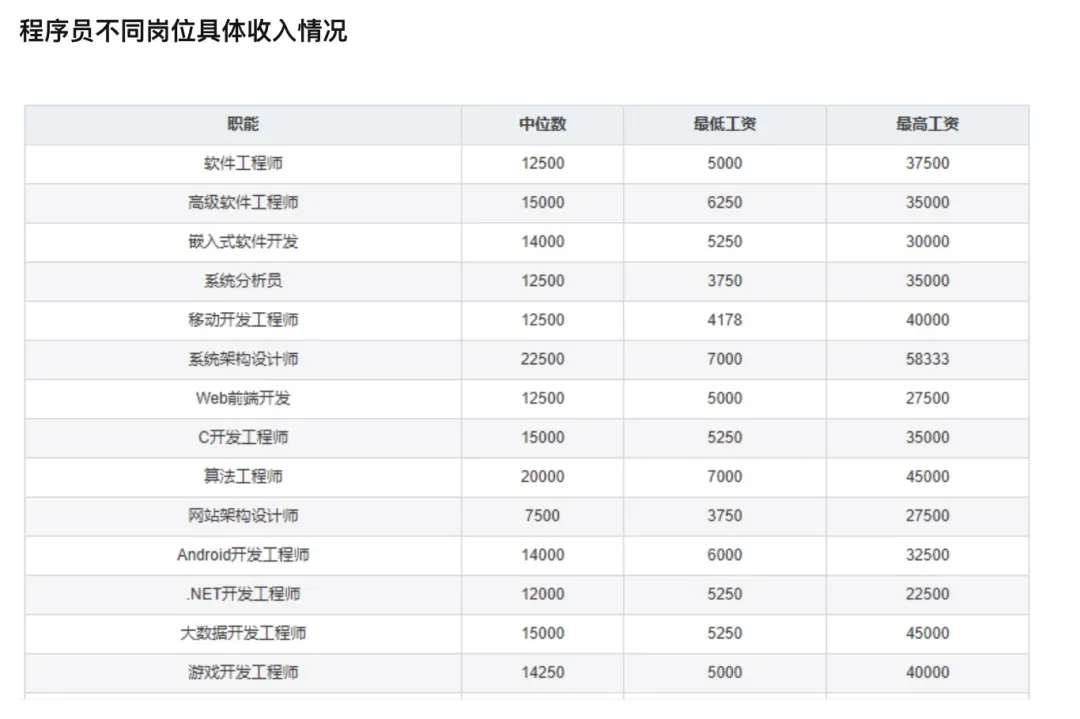
程序实践如下:
import org.apache.commons.lang3.StringUtils;import javax.imageio.ImageIO;import java.awt.*;import java.awt.image.BufferedImage;import java.io.File;/*** 给图像添加水印* @since 2021-10-29*/public class ImageWaterMarkUtil {/*** 给图像添加文字水印* @param srcImgPath 原始文件地址* @param targetImgPath 目标文件地址* @param text 水印内容* @param color 水印文字颜色* @param font 水印文字字体* @param alpha 水印透明度* @param positionWidth 水印横向位置* @param positionHeight 水印纵向位置* @param degree 水印图片旋转角度* @param location 水印的位置,左上角、右上角、左下角、右下角、居中*/public static void markImage(String srcImgPath,String targetImgPath,String text,Color color,Font font,float alpha,int positionWidth,int positionHeight,Integer degree,String location) {try {// 1、读取源图片Image srcImg = ImageIO.read(new File(srcImgPath));int srcImgWidth = srcImg.getWidth(null);int srcImgHeight = srcImg.getHeight(null);BufferedImage buffImg = new BufferedImage(srcImgWidth, srcImgHeight, BufferedImage.TYPE_INT_RGB);// 2、得到画笔对象Graphics2D g = buffImg.createGraphics();// 3、设置对线段的锯齿状边缘处理g.setRenderingHint(RenderingHints.KEY_INTERPOLATION, RenderingHints.VALUE_INTERPOLATION_BILINEAR);g.drawImage(srcImg.getScaledInstance(srcImgWidth, srcImgHeight, Image.SCALE_SMOOTH), 0, 0, null);// 4、设置水印旋转if (null != degree) {g.rotate(Math.toRadians(degree), (double) buffImg.getWidth() / 2, (double) buffImg.getHeight() / 2);}// 5、设置水印文字颜色g.setColor(color);// 6、设置水印文字Fontg.setFont(font);// 7、设置水印文字透明度g.setComposite(AlphaComposite.getInstance(AlphaComposite.SRC_ATOP, alpha));// 8、水印图片的位置int x = 0, y = 0;if (StringUtils.equals(location, "left-top")) {x = 30;y = font.getSize();} else if (StringUtils.equals(location, "right-top")) {x = srcImgWidth - getWatermarkLength(text, g) - 30;y = font.getSize();} else if (StringUtils.equals(location, "left-bottom")) {x += 30;y = buffImg.getHeight() - font.getSize();} else if (StringUtils.equals(location, "right-bottom")) {x = srcImgWidth - getWatermarkLength(text, g) - 30;y = srcImgHeight - font.getSize();} else if (StringUtils.equals(location, "center")) {x = (srcImgWidth - getWatermarkLength(text, g)) / 2;y = srcImgHeight / 2;} else {//自定义位置x = positionWidth;y = positionHeight;}// 9、第一参数->设置的内容,后面两个参数->文字在图片上的坐标位置(x,y)g.drawString(text, x, y);// 10、释放资源g.dispose();// 11、生成图片ImageIO.write(buffImg, "png", new File(targetImgPath));System.out.println("图片完成添加水印文字");} catch (Exception e) {e.printStackTrace();}}/*** 计算填充的水印长度* @param text* @param g* @return*/private static int getWatermarkLength(String text, Graphics2D g) {return g.getFontMetrics(g.getFont()).charsWidth(text.toCharArray(), 0, text.length());}public static void main(String[] args) {String srcImgPath = "/Users/pzblog/Desktop/Jietu.jpg"; //原始文件地址String targetImgPath = "/Users/pzblog/Desktop/Jietu-copy.jpg"; //目标文件地址String text = "复 印 无 效"; //水印文字内容Color color = Color.red; //水印文字颜色Font font = new Font("宋体", Font.BOLD, 60); //水印文字字体float alpha = 0.4f; //水印透明度int positionWidth = 320; //水印横向位置坐标int positionHeight = 450; //水印纵向位置坐标Integer degree = -30; //水印旋转角度String location = "center"; //水印的位置//给图片添加文字水印markImage(srcImgPath, targetImgPath, text, color, font, alpha, positionWidth, positionHeight, degree, location);}}

2.1、给图像添加多处文字
有的需求会要求给图像添加多处文字水印,例如下图!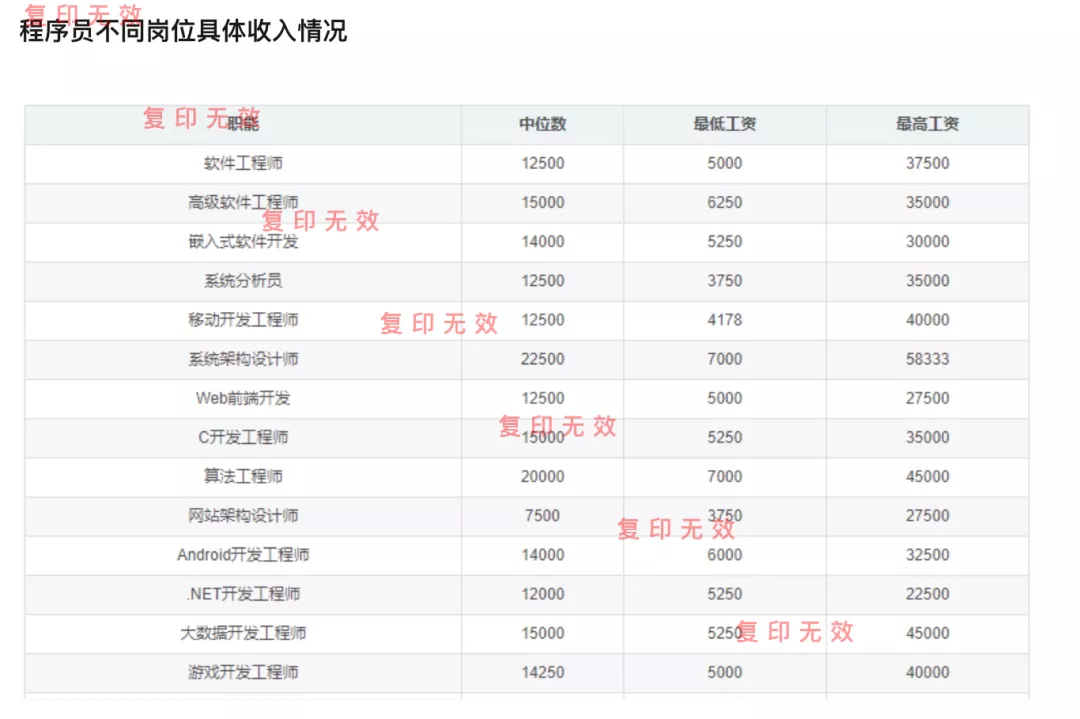
处理过程也很简单!
import javax.imageio.ImageIO;import java.awt.*;import java.awt.image.BufferedImage;import java.io.File;/*** 给图像添加水印* @since 2021-10-29*/public class ImageFullWaterMarkUtil {/*** 给图像添加多处文字水印* @param srcImgPath 原始文件地址* @param targetImgPath 目标文件地址* @param text 水印内容* @param color 水印文字颜色* @param font 水印文字字体* @param alpha 水印透明度* @param startWidth 水印横向起始位置* @param degree 水印图片旋转角度* @param interval 高度间隔*/public static void fullMarkImage(String srcImgPath,String targetImgPath,String text,Color color,Font font,float alpha,int startWidth,Integer degree,Integer interval) {try {// 1、读取源图片Image srcImg = ImageIO.read(new File(srcImgPath));int srcImgWidth = srcImg.getWidth(null);int srcImgHeight = srcImg.getHeight(null);BufferedImage buffImg = new BufferedImage(srcImgWidth, srcImgHeight, BufferedImage.TYPE_INT_RGB);// 2、得到画笔对象Graphics2D g = buffImg.createGraphics();// 3、设置对线段的锯齿状边缘处理g.setRenderingHint(RenderingHints.KEY_INTERPOLATION, RenderingHints.VALUE_INTERPOLATION_BILINEAR);g.drawImage(srcImg.getScaledInstance(srcImgWidth, srcImgHeight, Image.SCALE_SMOOTH), 0, 0, null);// 4、设置水印旋转if (null != degree) {g.rotate(Math.toRadians(degree), (double) buffImg.getWidth() / 2, (double) buffImg.getHeight() / 2);}// 5、设置水印文字颜色g.setColor(color);// 6、设置水印文字Fontg.setFont(font);// 7、设置水印文字透明度g.setComposite(AlphaComposite.getInstance(AlphaComposite.SRC_ATOP, alpha));// 8、水印图片的位置int x = startWidth;int y = font.getSize();int space = srcImgHeight / interval;for (int i = 0; i < space; i++) {//如果最后一个坐标的y轴比height高,直接退出if (((y + font.getSize()) > srcImgHeight) || ((x + getWatermarkLength(text,g)) > srcImgWidth)) {break;}//9、进行绘制g.drawString(text, x, y);x += getWatermarkLength(text,g);y += font.getSize() + interval;}// 10、释放资源g.dispose();// 11、生成图片ImageIO.write(buffImg, "png", new File(targetImgPath));System.out.println("图片完成添加水印文字");} catch (Exception e) {e.printStackTrace();}}/*** 计算填充的水印长度* @param text* @param g* @return*/private static int getWatermarkLength(String text, Graphics2D g) {return g.getFontMetrics(g.getFont()).charsWidth(text.toCharArray(), 0, text.length());}public static void main(String[] args) {String srcImgPath = "/Users/pzblog/Desktop/Jietu.jpg"; //原始文件地址String targetImgPath = "/Users/pzblog/Desktop/Jietu-copy-full.jpg"; //目标文件地址String text = "复 印 无 效"; //水印文字内容Color color = Color.red; //水印文字颜色Font font = new Font("宋体", Font.BOLD, 30); //水印文字字体float alpha = 0.4f; //水印透明度int startWidth = 30; //水印横向位置坐标Integer degree = -0; //水印旋转角度Integer interval = 100; //水印的位置//给图片添加文字水印fullMarkImage(srcImgPath, targetImgPath, text, color, font, alpha, startWidth, degree, interval);}}
2.2、给图像添加图片水印
某些情况下,还需要给图像添加图片水印,例如下图效果!
处理过程也很简单!
import org.apache.commons.lang3.StringUtils;import javax.imageio.ImageIO;import javax.swing.*;import java.awt.*;import java.awt.image.BufferedImage;import java.io.File;/*** 给图像添加水印* @since 2021-10-29*/public class ImageIconWaterMarkUtil {/*** 给图像添加多处文字水印* @param srcImgPath 原始文件地址* @param targetImgPath 目标文件地址* @param iconImgPath 水印icon* @param alpha 水印透明度* @param positionWidth 水印横向位置* @param positionHeight 水印纵向位置* @param degree 水印图片旋转角度* @param location 水印的位置,左上角、右上角、左下角、右下角、居中*/public static void fullMarkImage(String srcImgPath,String targetImgPath,String iconImgPath,float alpha,int positionWidth,int positionHeight,Integer degree,String location) {try {// 1、读取源图片Image srcImg = ImageIO.read(new File(srcImgPath));int srcImgWidth = srcImg.getWidth(null);int srcImgHeight = srcImg.getHeight(null);BufferedImage buffImg = new BufferedImage(srcImgWidth, srcImgHeight, BufferedImage.TYPE_INT_RGB);// 2、得到画笔对象Graphics2D g = buffImg.createGraphics();// 3、设置对线段的锯齿状边缘处理g.setRenderingHint(RenderingHints.KEY_INTERPOLATION, RenderingHints.VALUE_INTERPOLATION_BILINEAR);g.drawImage(srcImg.getScaledInstance(srcImgWidth, srcImgHeight, Image.SCALE_SMOOTH), 0, 0, null);// 4、设置水印旋转if (null != degree) {g.rotate(Math.toRadians(degree), (double) buffImg.getWidth() / 2, (double) buffImg.getHeight() / 2);}// 5、设置水印文字透明度g.setComposite(AlphaComposite.getInstance(AlphaComposite.SRC_ATOP, alpha));// 6、水印图片的路径 水印图片一般为gif或者png的,这样可设置透明度ImageIcon imgIcon = new ImageIcon(iconImgPath);// 7、得到Image对象。Image iconImg = imgIcon.getImage();int iconImgWidth = iconImg.getWidth(null);int iconImgHeight = iconImg.getHeight(null);int x = 0, y = 0;if (StringUtils.equals(location, "left-top")) {x = iconImgWidth;y = iconImgHeight;} else if (StringUtils.equals(location, "right-top")) {x = srcImgWidth - iconImgWidth - 30;y = iconImgHeight;} else if (StringUtils.equals(location, "left-bottom")) {x += iconImgWidth;y = buffImg.getHeight() - iconImgHeight;} else if (StringUtils.equals(location, "right-bottom")) {x = srcImgWidth - iconImgWidth - 30;y = srcImgHeight - iconImgHeight;} else if (StringUtils.equals(location, "center")) {x = (srcImgWidth - iconImgWidth) / 2;y = (srcImgHeight - iconImgHeight) / 2;} else {//自定义位置x = positionWidth;y = positionHeight;}g.drawImage(iconImg, x, y, null);g.setComposite(AlphaComposite.getInstance(AlphaComposite.SRC_OVER));// 10、释放资源g.dispose();// 11、生成图片ImageIO.write(buffImg, "jpg", new File(targetImgPath));System.out.println("图片完成添加图片水印文字");} catch (Exception e) {e.printStackTrace();}}/*** 计算填充的水印长度* @param text* @param g* @return*/private static int getWatermarkLength(String text, Graphics2D g) {return g.getFontMetrics(g.getFont()).charsWidth(text.toCharArray(), 0, text.length());}public static void main(String[] args) {String srcImgPath = "/Users/pzblog/Desktop/Jietu.jpg"; //原始文件地址String targetImgPath = "/Users/pzblog/Desktop/Jietu-copy-img.jpg"; //目标文件地址String iconImgPath = "/Users/pzblog/Desktop/1.png"; //图片水印地址float alpha = 0.6f; //水印透明度int positionWidth = 320; //水印横向位置坐标int positionHeight = 450; //水印纵向位置坐标Integer degree = 0; //水印旋转角度String location = "center"; //水印的位置//给图片添加文字水印fullMarkImage(srcImgPath, targetImgPath, iconImgPath, alpha, positionWidth, positionHeight, degree, location);}}
三、踩坑点
以上实现都很简单,但是在实际的实现过程中,却发现了一个巨大的坑,如果用的iphone手机拍摄的,按照以上代码进行添加水印,会发现图像突然变横了!
例如下图是原图: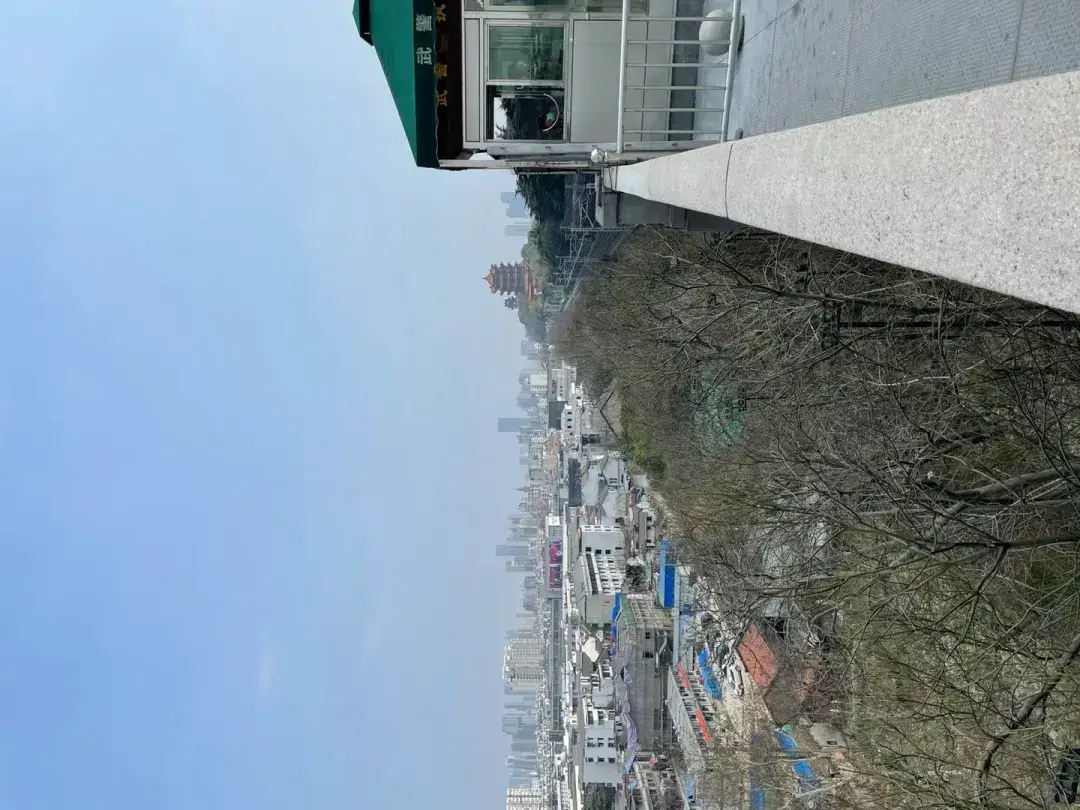
按照上面添加水印的处理,得到的图像结果如下: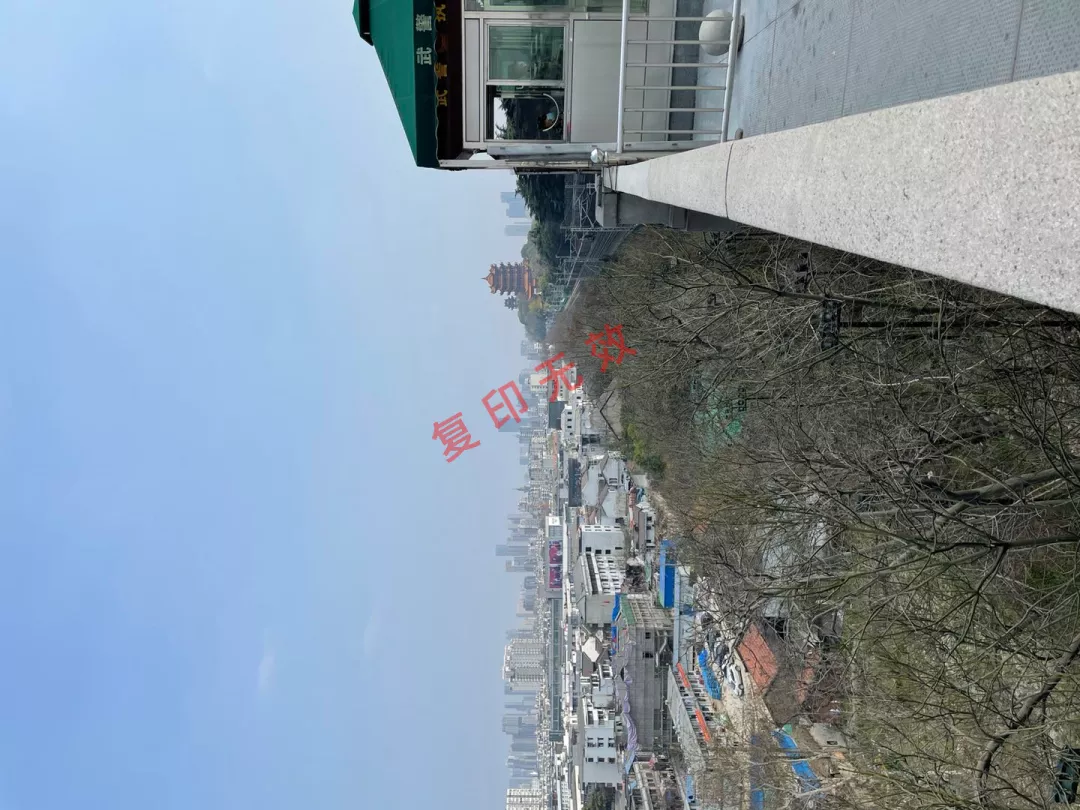
很明显,图像旋转了90度!
通过不同拍摄角度的反复测试,发现拍摄角度正常,但是经过程序处理之后,有些是需要旋转 90/180/270 度才能回正。
如果想要在正确的位置加上水印,就必须先对图像进行旋转回到原有的角度,然后再添加水印!
那问题来了,如何获取其旋转的角度呢?
经过查阅资料,对于图像的拍摄角度信息,有一个专业的名词:EXIF,EXIF是 Exchangeable Image File的缩写,这是一种专门为数码相机照片设定的格式。
这种格式可以用来记录数字照片的属性信息,例如相机的品牌及型号、相片的拍摄时间、拍摄时所设置的光圈大小、快门速度、ISO等等信息。除此之外它还能够记录拍摄数据,以及照片格式化方式。
通过它,可以得知图像的旋转角度信息!
下面一起来了解下采用 Java 语言如何读取图像的 EXIF 信息,包括如何根据 EXIF 信息对图像进行调整以适合用户浏览。
首先添加 EXIF 依赖包
<dependency><groupId>com.drewnoakes</groupId><artifactId>metadata-extractor</artifactId><version>2.16.0</version></dependency>
然后读取图像的 EXIF 信息 ```java import com.drew.imaging.ImageMetadataReader; import com.drew.imaging.ImageProcessingException; import com.drew.metadata.Directory; import com.drew.metadata.Metadata; import com.drew.metadata.Tag;
import java.io.File; import java.io.IOException;
public class EXIFTest {
public static void main(String[] args) throws ImageProcessingException, IOException {Metadata metadata = ImageMetadataReader.readMetadata(new File("/Users/pzblog/Desktop/11.jpeg"));for (Directory directory : metadata.getDirectories()) {for (Tag tag : directory.getTags()) {System.out.println(String.format("[%s] - %s = %s",directory.getName(), tag.getTagName(), tag.getDescription()));}if (directory.hasErrors()) {for (String error : directory.getErrors()) {System.err.format("ERROR: %s", error);}}}}
}
输出结果:
[JPEG] - Compression Type = Baseline [JPEG] - Data Precision = 8 bits [JPEG] - Image Height = 1080 pixels [JPEG] - Image Width = 1440 pixels [JPEG] - Number of Components = 3 [JPEG] - Component 1 = Y component: Quantization table 0, Sampling factors 2 horiz/2 vert [JPEG] - Component 2 = Cb component: Quantization table 1, Sampling factors 1 horiz/1 vert [JPEG] - Component 3 = Cr component: Quantization table 1, Sampling factors 1 horiz/1 vert [JFIF] - Version = 1.1 [JFIF] - Resolution Units = none [JFIF] - X Resolution = 72 dots [JFIF] - Y Resolution = 72 dots [JFIF] - Thumbnail Width Pixels = 0 [JFIF] - Thumbnail Height Pixels = 0 [Exif IFD0] - Orientation = Right side, top (Rotate 90 CW) [Exif SubIFD] - Exif Image Width = 1440 pixels [Exif SubIFD] - Exif Image Height = 1080 pixels [ICC Profile] - Profile Size = 548 [ICC Profile] - CMM Type = appl [ICC Profile] - Version = 4.0.0 [ICC Profile] - Class = Display Device [ICC Profile] - Color space = RGB [ICC Profile] - Profile Connection Space = XYZ [ICC Profile] - Profile Date/Time = 2017:07:07 13:22:32 [ICC Profile] - Signature = acsp [ICC Profile] - Primary Platform = Apple Computer, Inc. [ICC Profile] - Device manufacturer = APPL [ICC Profile] - XYZ values = 0.964 1 0.825 [ICC Profile] - Tag Count = 10 [ICC Profile] - Profile Description = Display P3 [ICC Profile] - Profile Copyright = Copyright Apple Inc., 2017 [ICC Profile] - Media White Point = (0.9505, 1, 1.0891) [ICC Profile] - Red Colorant = (0.5151, 0.2412, 65536) [ICC Profile] - Green Colorant = (0.292, 0.6922, 0.0419) [ICC Profile] - Blue Colorant = (0.1571, 0.0666, 0.7841) [ICC Profile] - Red TRC = para (0x70617261): 32 bytes [ICC Profile] - Chromatic Adaptation = sf32 (0x73663332): 44 bytes [ICC Profile] - Blue TRC = para (0x70617261): 32 bytes [ICC Profile] - Green TRC = para (0x70617261): 32 bytes [Photoshop] - Caption Digest = 212 29 140 217 143 0 178 4 233 128 9 152 236 248 66 126 [Huffman] - Number of Tables = 4 Huffman tables [File Type] - Detected File Type Name = JPEG [File Type] - Detected File Type Long Name = Joint Photographic Experts Group [File Type] - Detected MIME Type = image/jpeg [File Type] - Expected File Name Extension = jpg [File] - File Name = 11.jpeg [File] - File Size = 234344 bytes [File] - File Modified Date = 星期日 十一月 07 20:05:52 +08:00 2021
其中`Orientation`标签描述的就是图像旋转的角度。
[Exif IFD0] - Orientation = Right side, top (Rotate 90 CW)
最后,可以通过`Orientation`信息计算出图像对应的旋转角度。```javaimport com.alibaba.fastjson.JSON;import com.drew.imaging.jpeg.JpegMetadataReader;import com.drew.metadata.Directory;import com.drew.metadata.Metadata;import com.drew.metadata.Tag;import java.io.FileInputStream;import java.io.IOException;import java.io.InputStream;public class TransferImage {public static void main(String[] args) throws IOException {String path = "/Users/pzblog/Desktop/11.jpeg";int result = getImgRotateAngle(new FileInputStream(path));System.out.println(result);}public static int getImgRotateAngle(InputStream inputStream) {int rotateAngle = 0;try {Metadata metadata = JpegMetadataReader.readMetadata(inputStream);Iterable<Directory> directories = metadata.getDirectories();for (Directory directory : directories) {for (Tag tag : directory.getTags()) {System.out.println(JSON.toJSONString(tag));int tagType = tag.getTagType();//照片拍摄角度信息if (274 == tagType) {String description = tag.getDescription();//Left side, bottom (Rotate 270 CW)switch (description) {//顺时针旋转90度case "Right side, top (Rotate 90 CW)":rotateAngle = 90;break;case "Left side, bottom (Rotate 270 CW)":rotateAngle = 270;break;case "Bottom, right side (Rotate 180)":rotateAngle = 180;break;default:rotateAngle = 0;break;}}}}return rotateAngle;} catch (Exception e) {return 0;}}}
输出的旋转角度结果:
90
- 接着通过旋转角度参数,对图像进行回正 ```java import javax.imageio.ImageIO; import java.awt.*; import java.awt.image.BufferedImage; import java.io.File; import java.io.IOException;
public class RotateImage {
public static BufferedImage rotate(Image src, int angel) {int src_width = src.getWidth(null);int src_height = src.getHeight(null);// calculate the new image sizeRectangle rect_des = calcRotatedSize(new Rectangle(new Dimension(src_width, src_height)), angel);BufferedImage res = null;res = new BufferedImage(rect_des.width, rect_des.height,BufferedImage.TYPE_INT_RGB);Graphics2D g2 = res.createGraphics();// transformg2.translate((rect_des.width - src_width) / 2,(rect_des.height - src_height) / 2);g2.rotate(Math.toRadians(angel), src_width / 2, src_height / 2);g2.drawImage(src, null, null);return res;}public static Rectangle calcRotatedSize(Rectangle src, int angel) {// if angel is greater than 90 degree, we need to do some conversionif (angel >= 90) {if(angel / 90 % 2 == 1){int temp = src.height;src.height = src.width;src.width = temp;}angel = angel % 90;}double r = Math.sqrt(src.height * src.height + src.width * src.width) / 2;double len = 2 * Math.sin(Math.toRadians(angel) / 2) * r;double angel_alpha = (Math.PI - Math.toRadians(angel)) / 2;double angel_dalta_width = Math.atan((double) src.height / src.width);double angel_dalta_height = Math.atan((double) src.width / src.height);int len_dalta_width = (int) (len * Math.cos(Math.PI - angel_alpha- angel_dalta_width));int len_dalta_height = (int) (len * Math.cos(Math.PI - angel_alpha- angel_dalta_height));int des_width = src.width + len_dalta_width * 2;int des_height = src.height + len_dalta_height * 2;return new java.awt.Rectangle(new Dimension(des_width, des_height));}public static void main(String[] args) throws IOException {BufferedImage src = ImageIO.read(new File("/Users/pzblog/Desktop/11.jpeg"));BufferedImage des = RotateImage.rotate(src, 90);ImageIO.write(des, "jpg", new File("/Users/pzblog/Desktop/11-rotate.jpeg"));}
}
- 最后给回正后的图像添加水印```javapublic static void main(String[] args) {String srcImgPath = "/Users/pzblog/Desktop/11-rotate.jpeg"; //原始文件地址String targetImgPath = "/Users/pzblog/Desktop/1-rotate-copy.jpg"; //目标文件地址String text = "复 印 无 效"; //水印文字内容Color color = Color.red; //水印文字颜色Font font = new Font("宋体", Font.BOLD, 60); //水印文字字体float alpha = 0.4f; //水印透明度int positionWidth = 320; //水印横向位置坐标int positionHeight = 450; //水印纵向位置坐标Integer degree = -30; //水印旋转角度String location = "center"; //水印的位置//给图片添加文字水印markImage(srcImgPath, targetImgPath, text, color, font, alpha, positionWidth, positionHeight, degree, location);}
输入结果: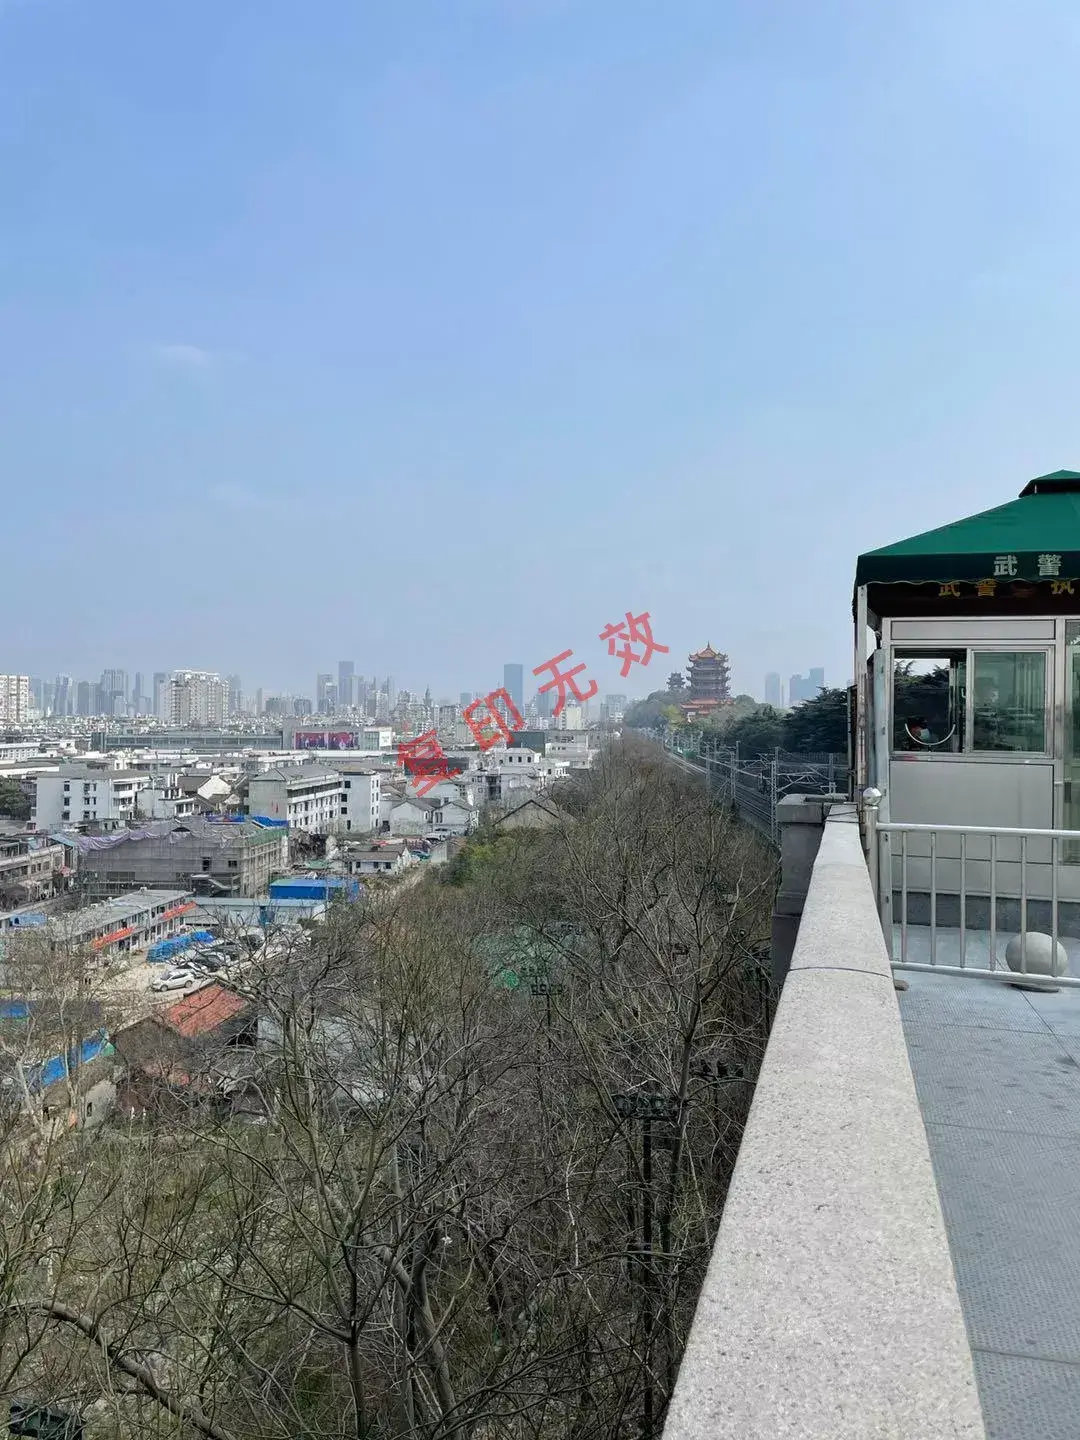
添加水印的结果与预期一致!

若有收获,就点个赞吧
0 人点赞
