1 容器交付流程
1.1 开发阶段
1.2 持续集成
1.3 应用部署
- 环境准备。
- 创建Pod、Service、Ingress。
1.4 运维
2 k8s中部署Java项目的流程
- ① 通过Dockerfile制作镜像。
- ② 将镜像推送到镜像仓库,比如阿里云镜像仓库等。
- ③ Pod控制器部署镜像。
- ④ 创建Service或Ingress对外暴露应用。
- ⑤ 对集群进行监控、升级等。
3 k8s中部署Java项目
3.1 前提说明
- 本人是在Windows进行开发的,部署在Linux(CentOS7)中的k8集群。
3.2 准备Java项目,并将项目进行打包
3.2.1 概述
- 准备一个Java项目,将Java项目进行打包,本次使用SpringBoot项目为例,使用的JDK的版本是11。
3.2.2 准备工作
3.2.3 演示的SpringBoot项目
<?xml version="1.0" encoding="UTF-8"?><project xmlns="http://maven.apache.org/POM/4.0.0" xmlns:xsi="http://www.w3.org/2001/XMLSchema-instance" xsi:schemaLocation="http://maven.apache.org/POM/4.0.0 https://maven.apache.org/xsd/maven-4.0.0.xsd"> <modelVersion>4.0.0</modelVersion> <parent> <groupId>org.springframework.boot</groupId> <artifactId>spring-boot-starter-parent</artifactId> <version>2.3.7.RELEASE</version> <relativePath/> <!-- lookup parent from repository --> </parent> <groupId>com.example</groupId> <artifactId>springboot2</artifactId> <version>1.0</version> <name>springboot2</name> <description>Demo project for Spring Boot</description> <properties> <java.version>11</java.version> </properties> <dependencies> <dependency> <groupId>org.springframework.boot</groupId> <artifactId>spring-boot-starter-web</artifactId> </dependency> <dependency> <groupId>org.springframework.boot</groupId> <artifactId>spring-boot-starter-test</artifactId> <scope>test</scope> <exclusions> <exclusion> <groupId>org.junit.vintage</groupId> <artifactId>junit-vintage-engine</artifactId> </exclusion> </exclusions> </dependency> </dependencies> <build> <plugins> <plugin> <groupId>org.springframework.boot</groupId> <artifactId>spring-boot-maven-plugin</artifactId> </plugin> </plugins> </build></project>
package com.example.springboot2.web;import org.springframework.web.bind.annotation.RequestMapping;import org.springframework.web.bind.annotation.RestController;/** * @author 许大仙 * @version 1.0 * @since 2021-01-12 09:18 */@RestControllerpublic class HelloController { @RequestMapping(value = "/hello") public String hello() { return "hello"; }}
package com.example.springboot2;import org.springframework.boot.SpringApplication;import org.springframework.boot.autoconfigure.SpringBootApplication;@SpringBootApplicationpublic class Springboot2Application { public static void main(String[] args) { SpringApplication.run(Springboot2Application.class, args); }}
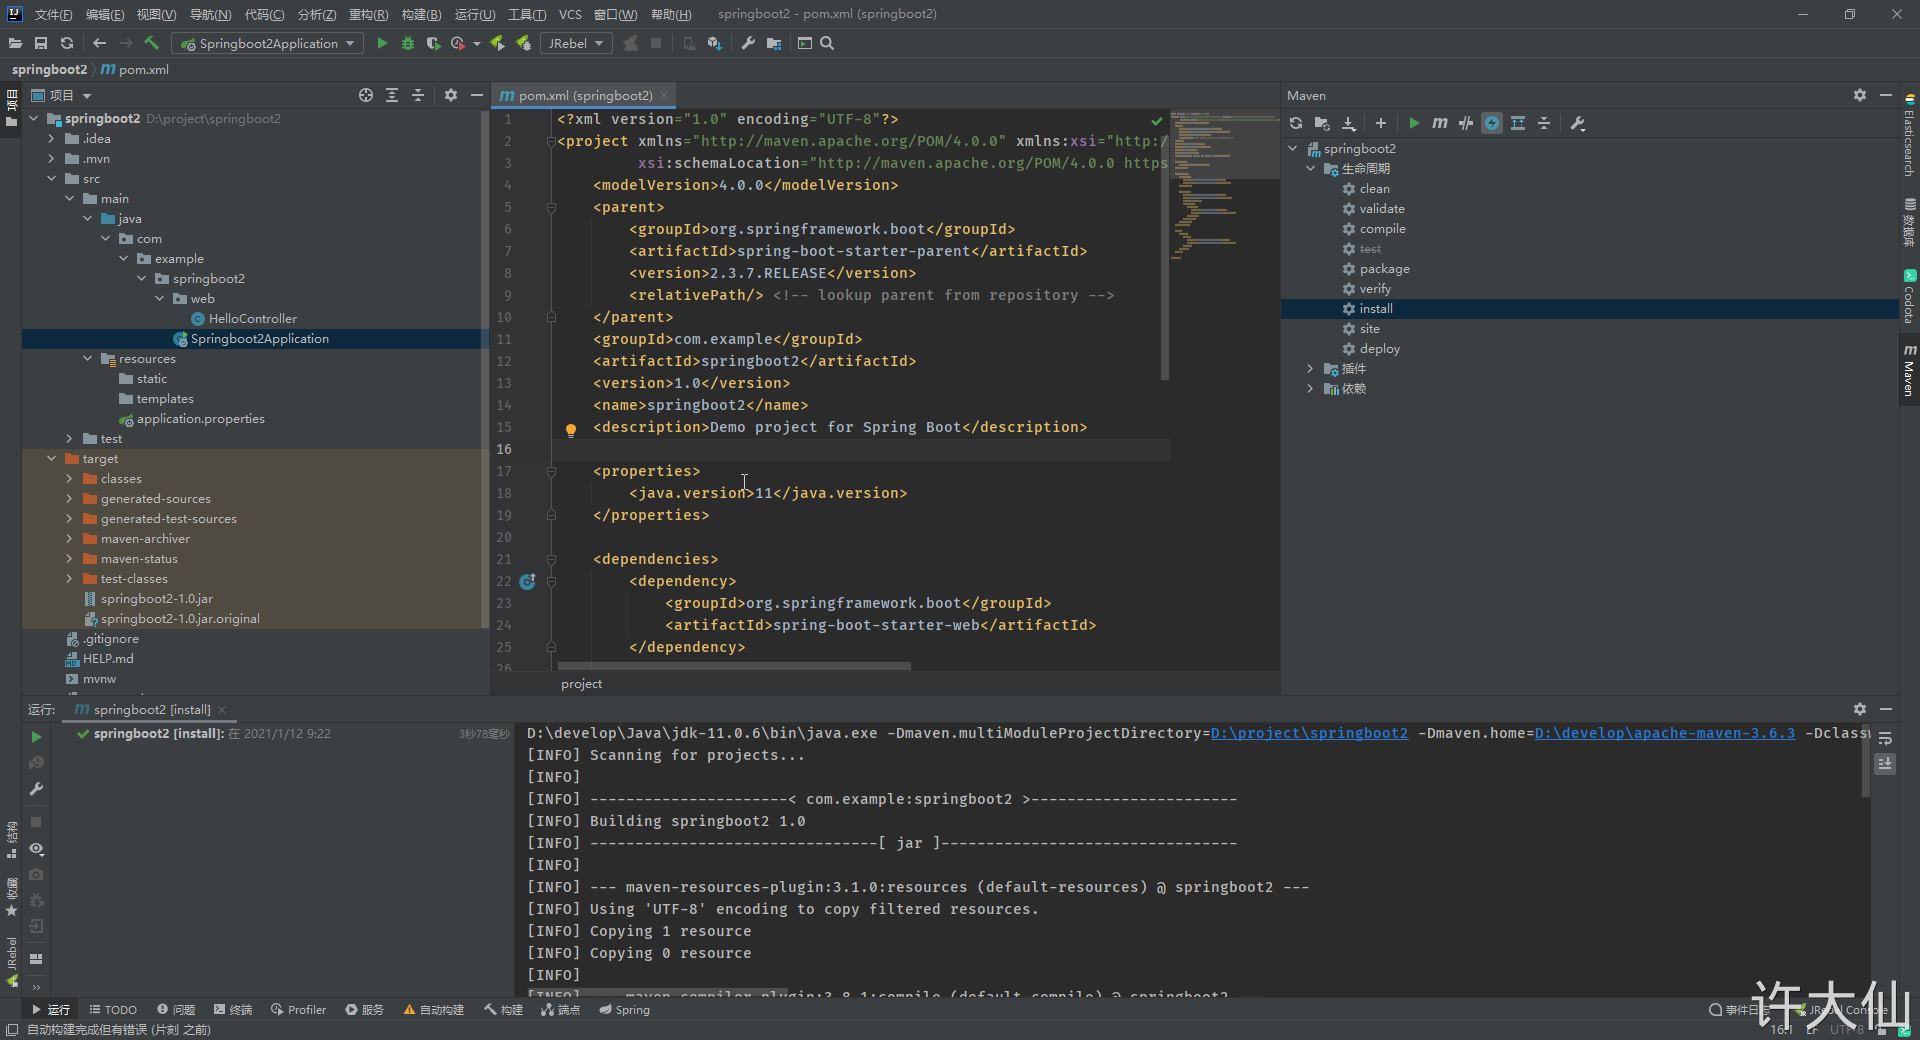
3.2.4 使用Maven进行打包
mvn clean install
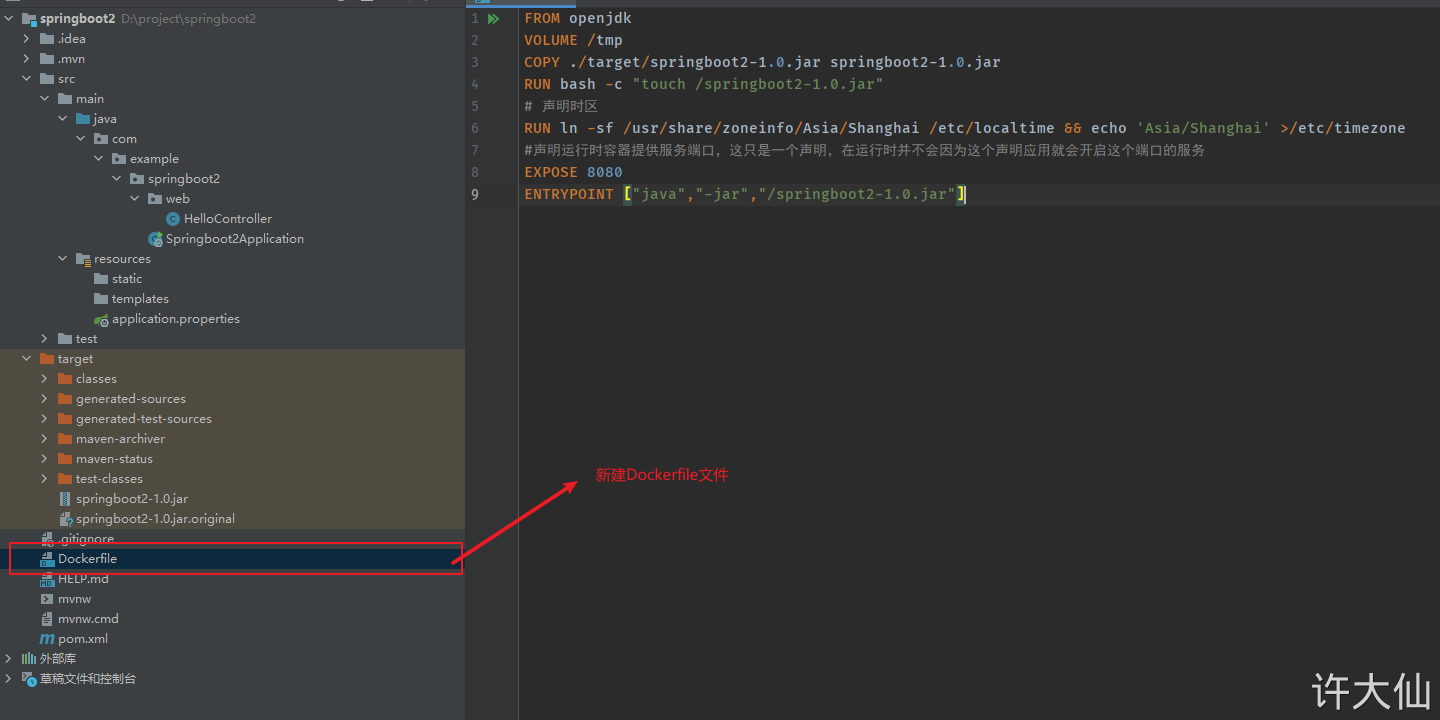
3.2.5 在项目的根目录下新建Dockerfile文件
FROM openjdkVOLUME /tmpCOPY ./target/springboot2-1.0.jar springboot2-1.0.jarRUN bash -c "touch /springboot2-1.0.jar"# 声明时区RUN ln -sf /usr/share/zoneinfo/Asia/Shanghai /etc/localtime && echo 'Asia/Shanghai' >/etc/timezone#声明运行时容器提供服务端口,这只是一个声明,在运行时并不会因为这个声明应用就会开启这个端口的服务EXPOSE 8080ENTRYPOINT ["java","-jar","/springboot2-1.0.jar"]
3.3 制作镜像
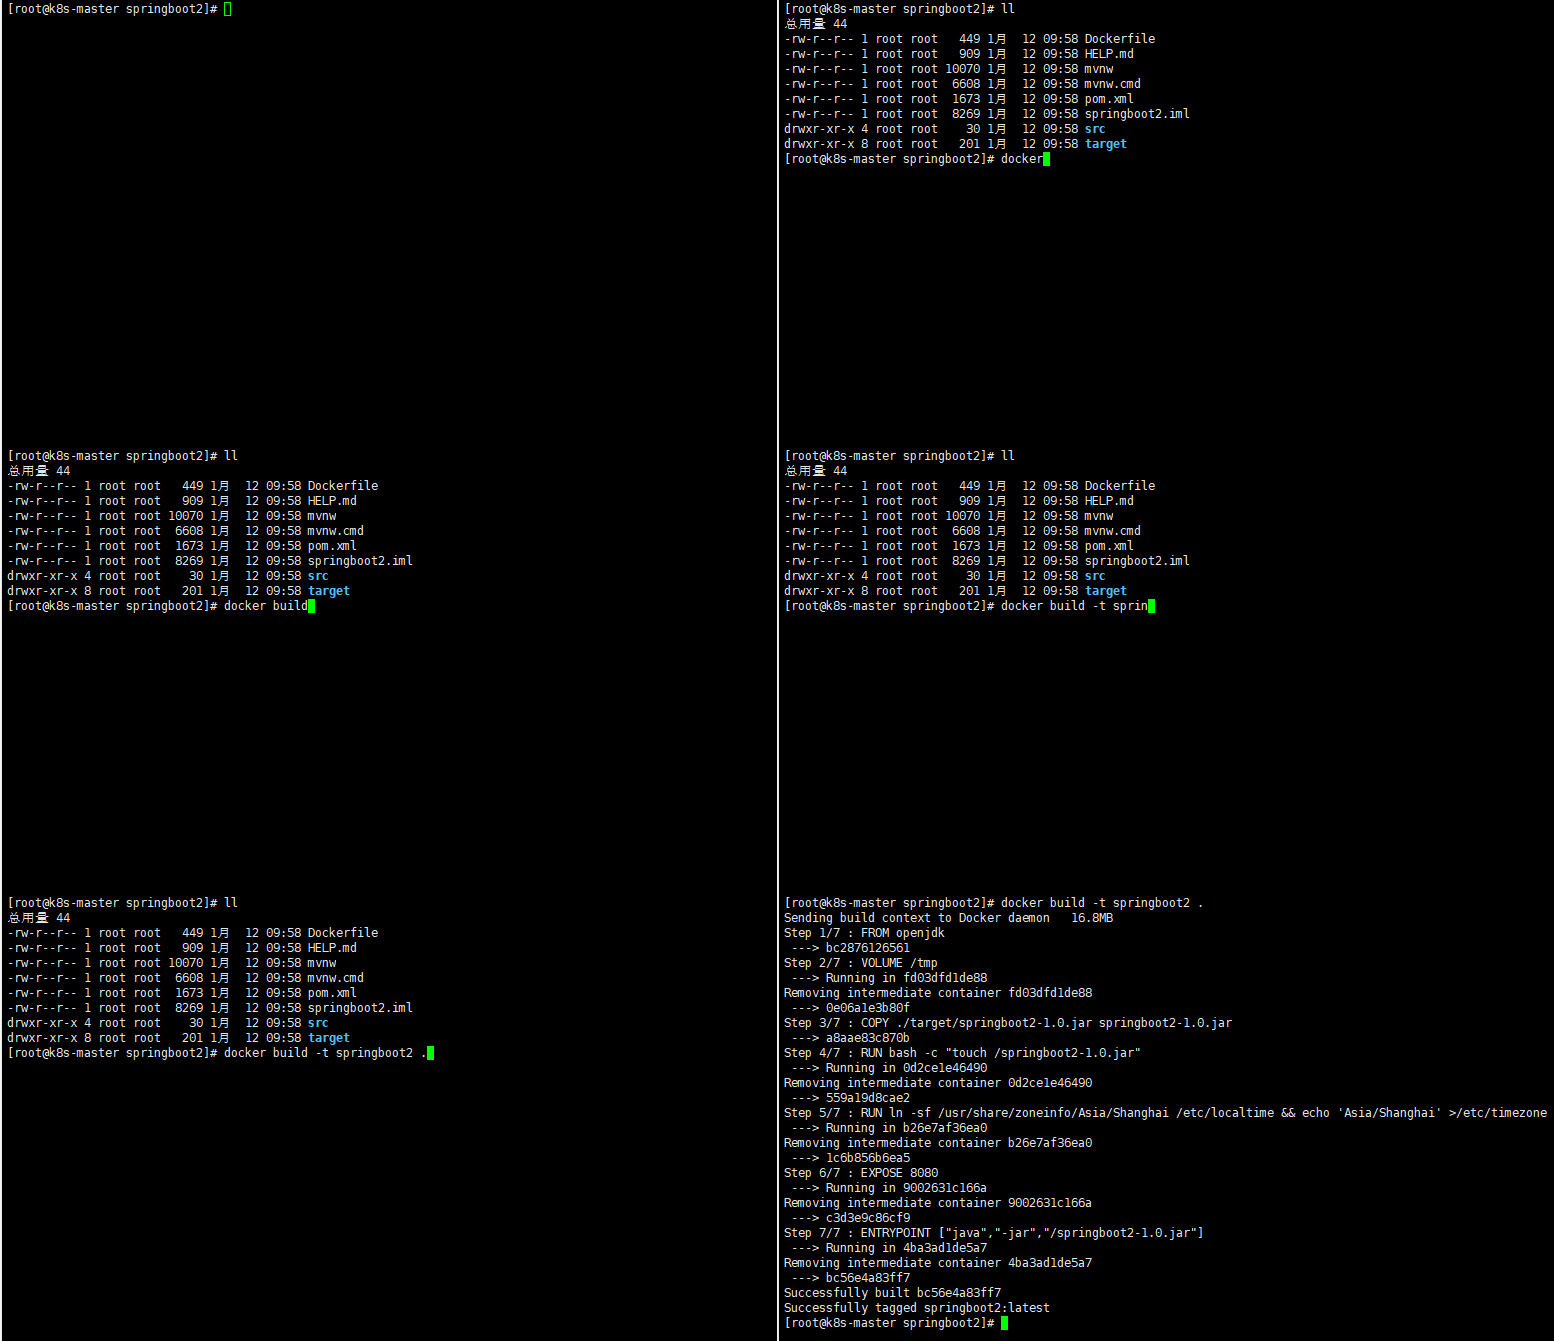
- 将整个项目通过ftp上传到k8s集群所在的服务器中(其实完全可以只上传jar包和Dockerfile文件)。

cd springboot2

# springboot是镜像的名称docker build -t springboot2 .
3.4 推送镜像


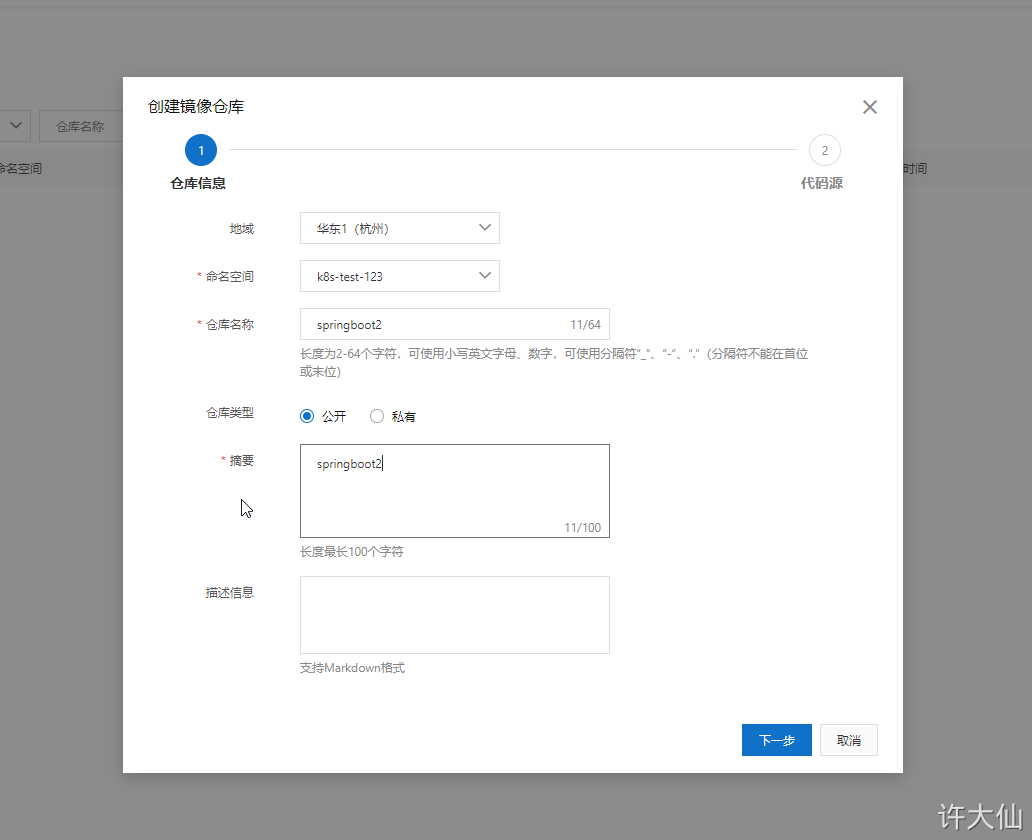
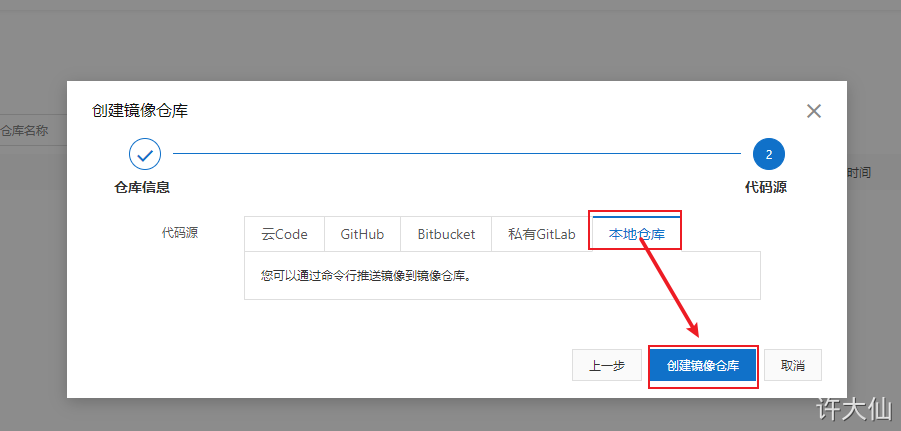

sudo docker login --username=阿里云账号 registry.cn-hangzhou.aliyuncs.com

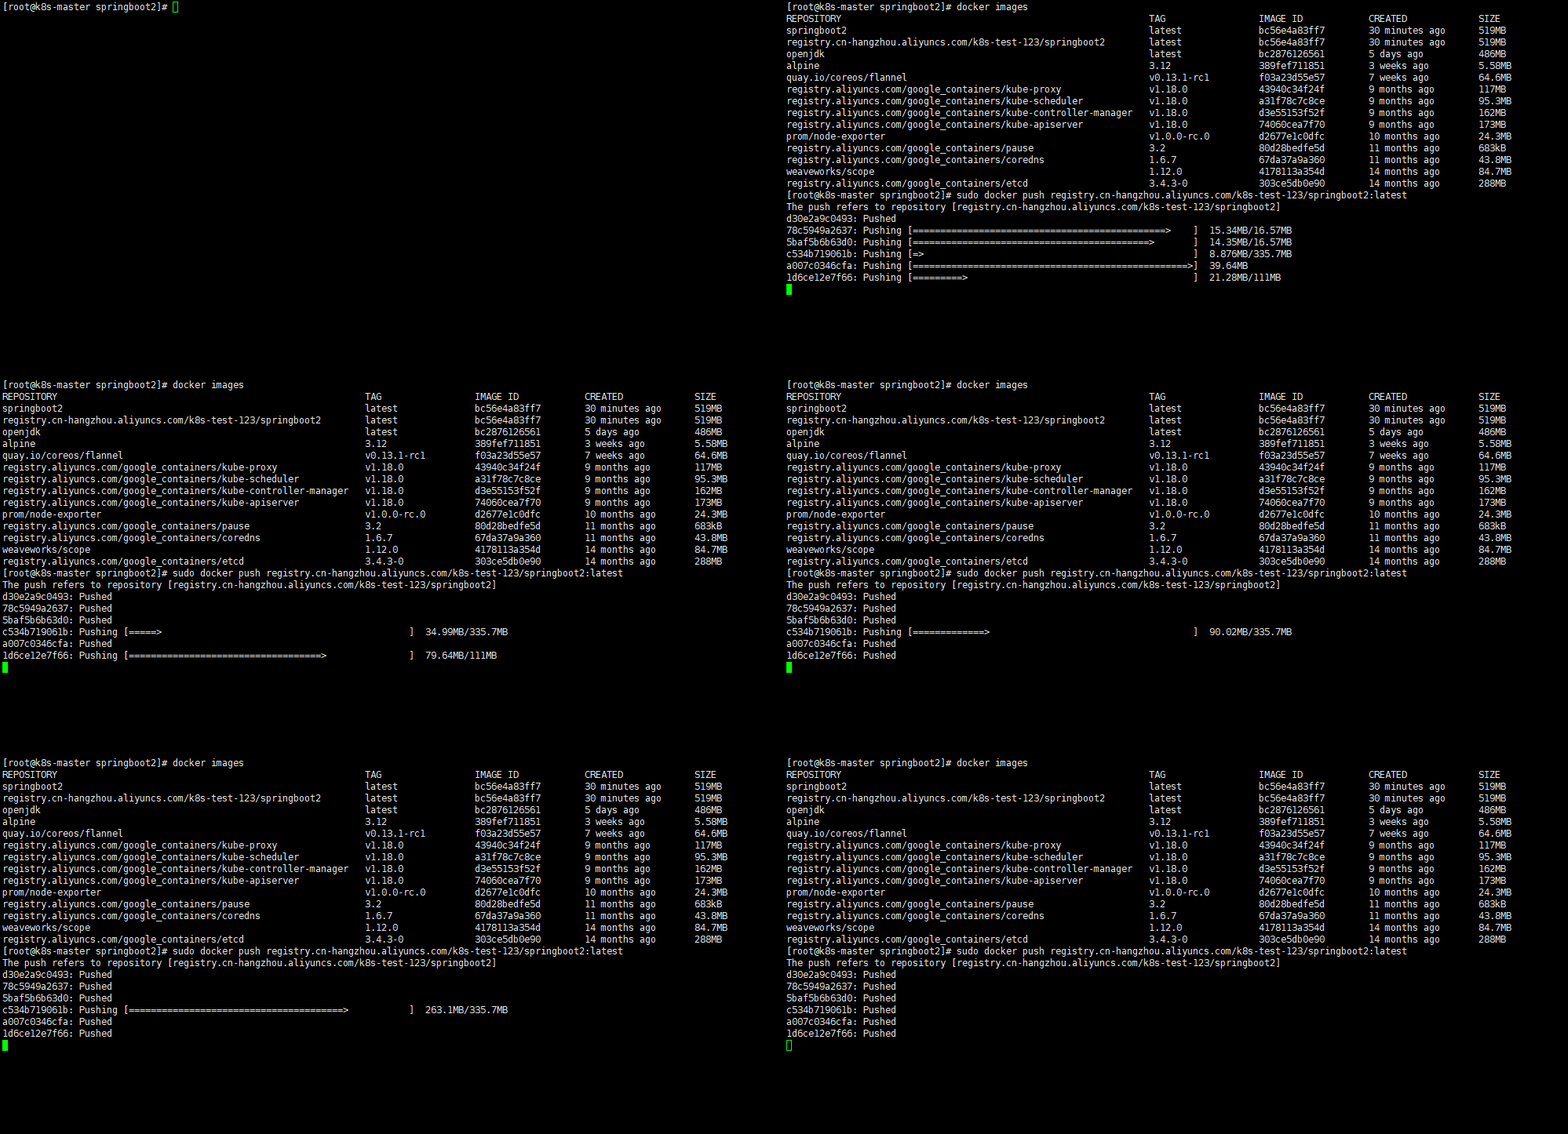
docker images

sudo docker tag bc56e4a83ff7 registry.cn-hangzhou.aliyuncs.com/k8s-test-123/springboot2:latest

sudo docker push registry.cn-hangzhou.aliyuncs.com/k8s-test-123/springboot2:latest
3.5 部署镜像暴露应用
- 创建deployment.yaml文件,内容如下:
apiVersion: apps/v1kind: Deploymentmetadata: labels: app: springboot2 name: springboot2spec: replicas: 3 selector: matchLabels: app: springboot2 template: metadata: labels: app: springboot2 spec: containers: - image: registry.cn-hangzhou.aliyuncs.com/k8s-test-123/springboot2:latest name: springboot2
kubectl create -f deployment.yaml

kubectl get deploy,pod

apiVersion: v1kind: Servicemetadata: labels: app: springboot2 name: svcspec: ports: - port: 8080 protocol: TCP targetPort: 8080 nodePort: 30091 selector: app: springboot2 type: NodePort
kubectl create -f service.yaml

kubectl get service

转载 https://www.yuque.com/fairy-era/yg511q/rwzb34


