配置
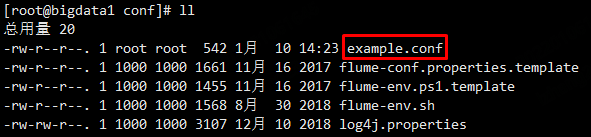
上传example.conf到conf目录下
# example.conf: A single-node Flume configuration# Name the components on this agenta1.sources = r1a1.sinks = k1a1.channels = c1# Describe/configure the sourcea1.sources.r1.type = netcata1.sources.r1.bind = 0.0.0.0a1.sources.r1.port = 44444# Describe the sinka1.sinks.k1.type = logger# Use a channel which buffers events in memorya1.channels.c1.type = memorya1.channels.c1.capacity = 1000a1.channels.c1.transactionCapacity = 100# Bind the source and sink to the channela1.sources.r1.channels = c1a1.sinks.k1.channel = c1
这个配置文件定义了一个Agent叫做a1,a1有一个source监听本机44444端口上接收到的数据、一个缓冲数据的channel还有一个把Event数据输出到控制台的sink。这个配置文件给各个组件命名,并且设置了它们的类型和其他属性。通常一个配置文件里面可能有多个Agent,当启动Flume时候通常会传一个Agent名字来做为程序运行的标记。
中文版
https://flume.liyifeng.org/#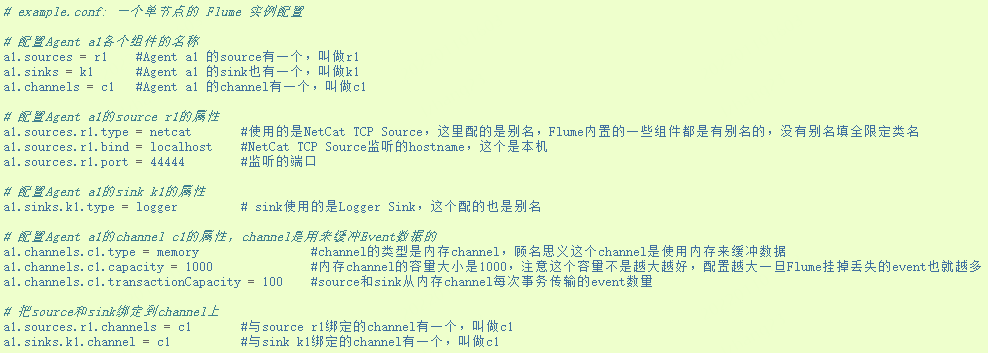
启动Flume
cd /data/soft/apache-flume-1.9.0-bin
#前台方式运行
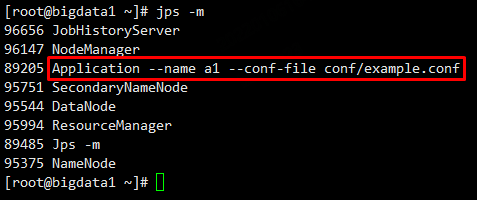
bin/flume-ng agent --name a1 --conf conf --conf-file conf/example.conf -Dflume.root.logger=INFO,console
#后台方式运行
nohup bin/flume-ng agent --name a1 --conf conf --conf-file conf/example.conf &
测试
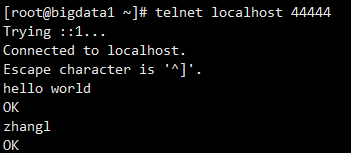
另外开启一个Xshell会话,使用telnet发送消息
会话2:
yum install -y

telnet localhost 44444

查看Flume日志
后台方式运行
cd /data/soft/apache-flume-1.9.0-bin/logs

tail -f flume.log


若有收获,就点个赞吧
0 人点赞
