1️⃣ 过度动效
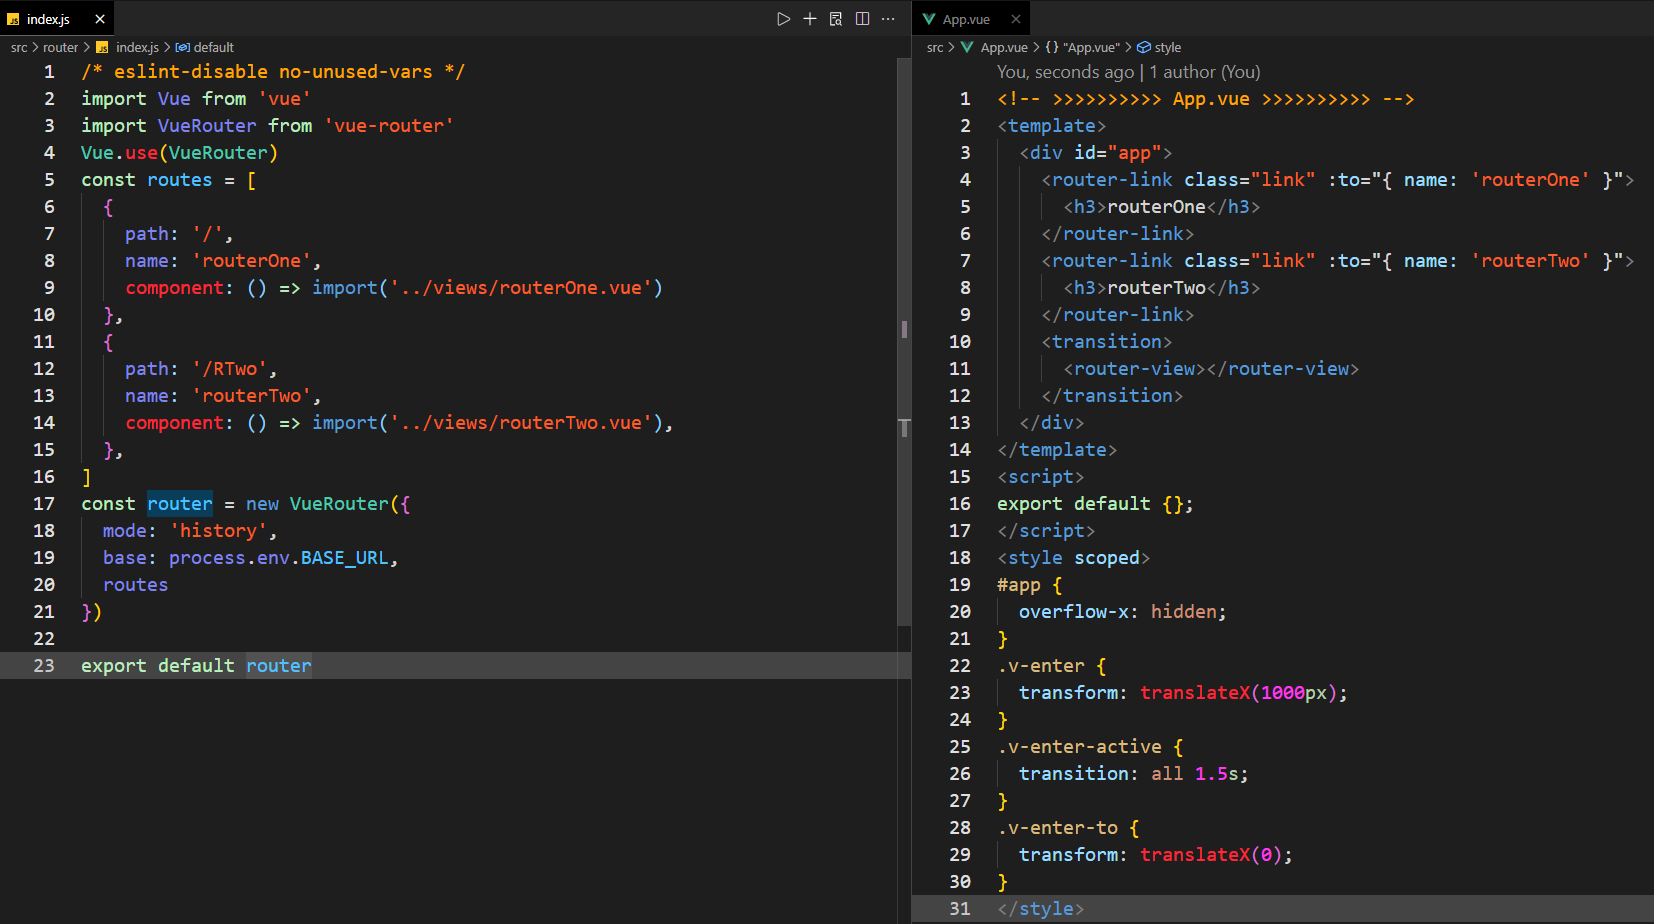
<router-view> 是基本的动态组件,所以我们可以用 <transition> 组件给它添加一些过渡效果:
<transition><router-view></router-view></transition>
Transition 的所有功能 (opens new window) 在这里同样适用。

1️⃣ 单个路由的过渡
上面的用法会给所有路由设置一样的过渡效果,如果你想让每个路由组件有各自的过渡效果,可以在各路由组件内使用 <transition> 并设置不同的 name。
const Foo = {template: `<transition name="slide"><div class="foo">...</div></transition>`}const Bar = {template: `<transition name="fade"><div class="bar">...</div></transition>`}
1️⃣ 基于路由的动态过渡
还可以基于当前路由与目标路由的变化关系,动态设置过渡效果:
<!-- 使用动态的 transition name --><transition :name="transitionName"><router-view></router-view></transition>
// 接着在父组件内// watch $route 决定使用哪种过渡watch: {'$route' (to, from) {const toDepth = to.path.split('/').lengthconst fromDepth = from.path.split('/').lengththis.transitionName = toDepth < fromDepth ? 'slide-right' : 'slide-left'}}

