背景介绍:工作中需要用到这个库,实现一个页面自定义的业务需求。由于对于这个库 html2canvas 还不太熟悉,便单独建了一个简单的 vue 工程,写一个简单的 demo,熟悉一下该库的用法……
demo 最终效果演示: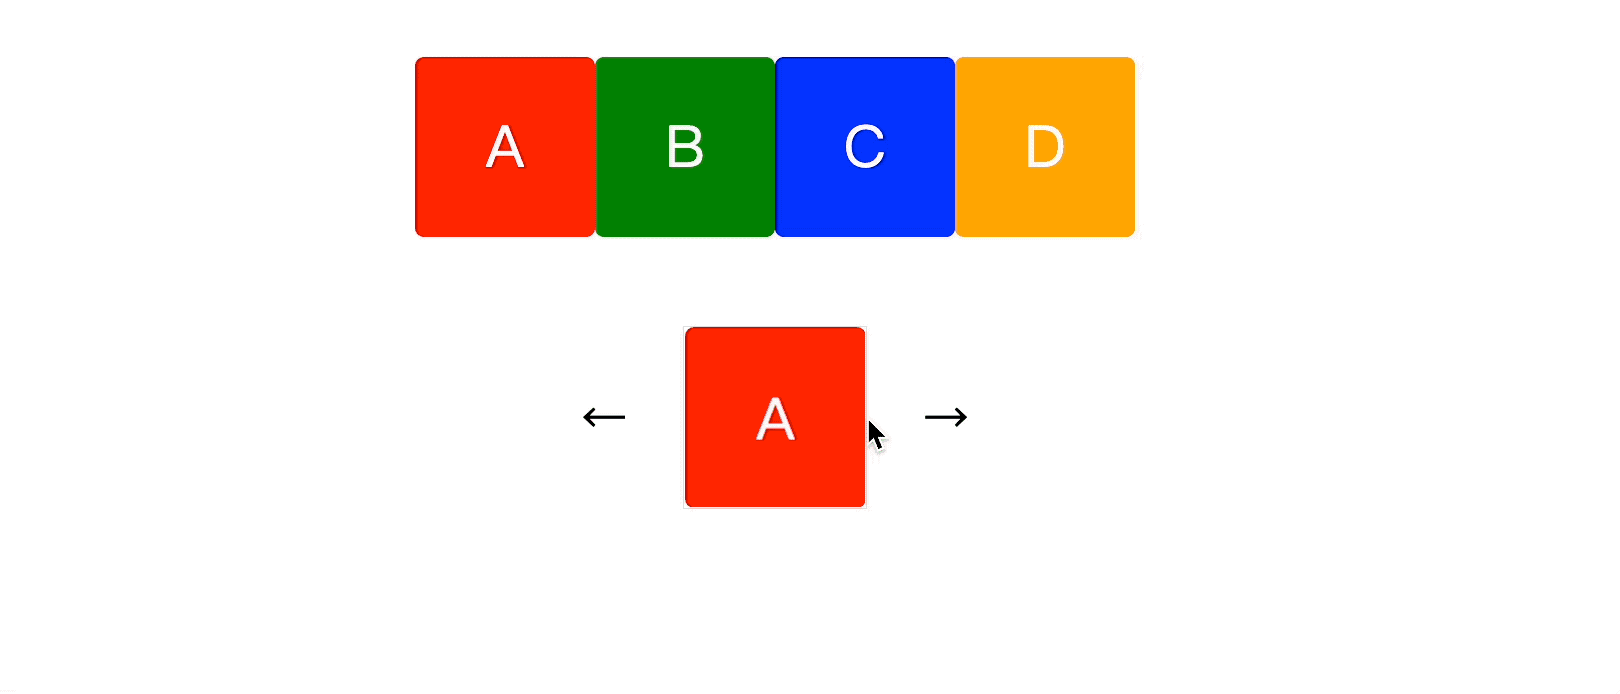
参考资料
源码
<template><div id="app"><div ref="test-container" class="container"><div class="box" style="background: red">A</div><div class="box" style="background: green">B</div><div class="box" style="background: blue">C</div><div class="box" style="background: orange">D</div></div><div class="img-container"><span class="icon" @click="createNewCanvas(index - 1)">←</span><img :src="screenShotSrc" alt="" class="test-img" /><span class="icon" @click="createNewCanvas(index + 1)">→</span></div></div></template><script>import html2canvas from "html2canvas";export default {name: "App",data() {return {screenShotSrc: "",index: 0,isCreating: false,duration: 3000,timer: null,};},mounted() {this.createNewCanvas();this.timer = setTimeout(() => {this.createNewCanvas(this.index + 1);}, this.duration); // 开启 - 自动轮播},methods: {// 产生一张截图async createNewCanvas(index = 0) {if (this.isCreating) return; // 上一张截图还没创建完毕console.log("暂停");clearTimeout(this.timer); // 暂停 - 自动轮播this.isCreating = true;this.index = (index + 4) % 4;const canvas = await html2canvas(this.$refs["test-container"], {// 截图区域x: this.index * 100,y: 0,width: 100,height: 100,// 跨域问题allowTaint: false,useCORS: true,// 解决 - 截图模糊问题// dpi: 300,// scale: 4,// backgroundColor: "#f40", // => default transparent});this.screenShotSrc = canvas.toDataURL("image/png");this.isCreating = false;this.timer = setTimeout(() => {this.createNewCanvas(this.index + 1);}, this.duration); // 开启 - 自动轮播},},};</script><style lang="less" scoped>#app {display: flex;justify-content: space-around;align-items: center;flex-direction: column;height: 300px;}.container {display: flex;.box {width: 100px;height: 100px;line-height: 100px;border-radius: 5px;text-align: center;color: #fff;font-size: 2rem;}}.img-container {display: flex;height: 100px;align-items: center;.icon {font-size: 1.5rem;cursor: pointer;}.test-img {height: 100px;width: 100px;border: 1px solid #ddd;margin: 0 2rem;}}</style>

若有收获,就点个赞吧
0 人点赞
