本文讲解mybatis的基本使用,mybatis-generater的使用,druid连接和sql监控。
数据库请使用utf8mb4,可以尽量避免各种异常。
基础准备
pom引用
第一步肯定是要引用jar文件了。
1、引入mybaits
<!--mybatis--><dependency><groupId>org.mybatis.spring.boot</groupId><artifactId>mybatis-spring-boot-starter</artifactId><version>1.1.1</version></dependency><dependency><groupId>mysql</groupId><artifactId>mysql-connector-java</artifactId></dependency><dependency><groupId>com.alibaba</groupId><artifactId>druid</artifactId><version>1.0.26</version></dependency><!--lombok--><dependency><groupId>org.projectlombok</groupId><artifactId>lombok</artifactId><version>1.18.4</version></dependency>
2、引入mybatis-generater
<dependency><groupId>org.mybatis.generator</groupId><artifactId>mybatis-generator-core</artifactId><version>1.3.7</version><scope>provided</scope></dependency><!--mybatis.generator maven插件--><plugin><groupId>org.mybatis.generator</groupId><artifactId>mybatis-generator-maven-plugin</artifactId><version>1.3.7</version><configuration><configurationFile>src/main/resources/mybatis-generator.xml</configurationFile><overwrite>true</overwrite></configuration><dependencies><dependency><groupId>mysql</groupId><artifactId>mysql-connector-java</artifactId><version>8.0.12</version></dependency><dependency><groupId>com.itfsw</groupId><artifactId>mybatis-generator-plugin</artifactId><version>1.3.7</version></dependency></dependencies></plugin>
application.yml配置数据源
spring:datasource:type: com.alibaba.druid.pool.DruidDataSourcedriver-class-name: com.mysql.jdbc.Driverurl: jdbc:mysql://127.0.0.1:3306/user?useUnicode=true&characterEncoding=utf8&useSSL=falseusername:password:#下面为连接池补充设置initialSize: 5# 配置获取连接等待超时的时间maxWait: 60000# 配置间隔多久才进行一次检测,检测需要关闭的空闲连接,单位是毫秒timeBetweenEvictionRunsMillis: 60000# 配置一个连接在池中最小生存的时间,单位是毫秒minEvictableIdleTimeMillis: 300000validationQuery: SELECT 1 FROM DUALtestWhileIdle: truetestOnBorrow: falsetestOnReturn: false# 打开PSCache,并且指定每个连接上PSCache的大小poolPreparedStatements: true# 配置监控统计拦截的filters,去掉后监控界面sql无法统计,'wall'用于防火墙filters: stat,wall# 通过connectProperties属性来打开mergeSql功能;慢SQL记录connectionProperties: config.stat.mergeSql=true;config.stat.slowSqlMillis=5000# 合并多个DruidDataSource的监控数据useGlobalDataSourceStat: truemybatis:type-aliases-package: com.alvin.entitymapper-locations: classpath:mapper/*Mapper.xml# 设置debug模式下打印mysqllogging:level:com:alvin:mapper: debug
mapper扫描
加入注解:@MapperScan(“com.alvin.mapper”)
@SpringBootApplication@MapperScan("com.alvin.mapper")public class Application {public static void main(String[] args) {SpringApplication.run(Application.class, args);}}
配置druid连接池
配置druid的连接池和页面监控
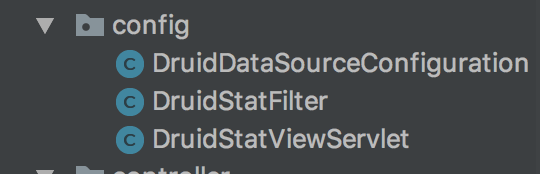
DruidDataSourceConfiguration 连接池
import javax.sql.DataSource;import org.springframework.boot.context.properties.ConfigurationProperties;import org.springframework.context.annotation.Bean;import org.springframework.context.annotation.Configuration;import org.springframework.context.annotation.Primary;import com.alibaba.druid.pool.DruidDataSource;@Configurationpublic class DruidDataSourceConfiguration {@Bean@Primary@ConfigurationProperties(prefix = "spring.datasource")public DataSource druidDataSource() {DruidDataSource druidDataSource = new DruidDataSource();return druidDataSource;}}
DruidStatFilter 过滤规则
import javax.servlet.annotation.WebFilter;import javax.servlet.annotation.WebInitParam;import com.alibaba.druid.support.http.WebStatFilter;/*** 配置druid过滤规则* @author Administrator**/@WebFilter(filterName="druidWebStatFilter",urlPatterns="/*",initParams={@WebInitParam(name="exclusions",value="*.js,*.gif,*.jpg,*.bmp,*.png,*.css,*.ico,/config/*")// 忽略资源})public class DruidStatFilter extends WebStatFilter {}
DruidStatViewServlet 监控页面
import javax.servlet.annotation.WebInitParam;import javax.servlet.annotation.WebServlet;import com.alibaba.druid.support.http.StatViewServlet;/*** 配置druid页面配置* @author Administrator**/@SuppressWarnings("serial")@WebServlet(urlPatterns = "/druid/*",initParams={@WebInitParam(name="allow",value="192.168.1.20,127.0.0.1"),// IP白名单 (没有配置或者为空,则允许所有访问)@WebInitParam(name="deny",value="192.168.16.111"),// IP黑名单 (存在共同时,deny优先于allow)@WebInitParam(name="loginUsername",value="admin"),// 用户名@WebInitParam(name="loginPassword",value="admin"),// 密码@WebInitParam(name="resetEnable",value="false")// 禁用HTML页面上的“Reset All”功能})public class DruidStatViewServlet extends StatViewServlet {}
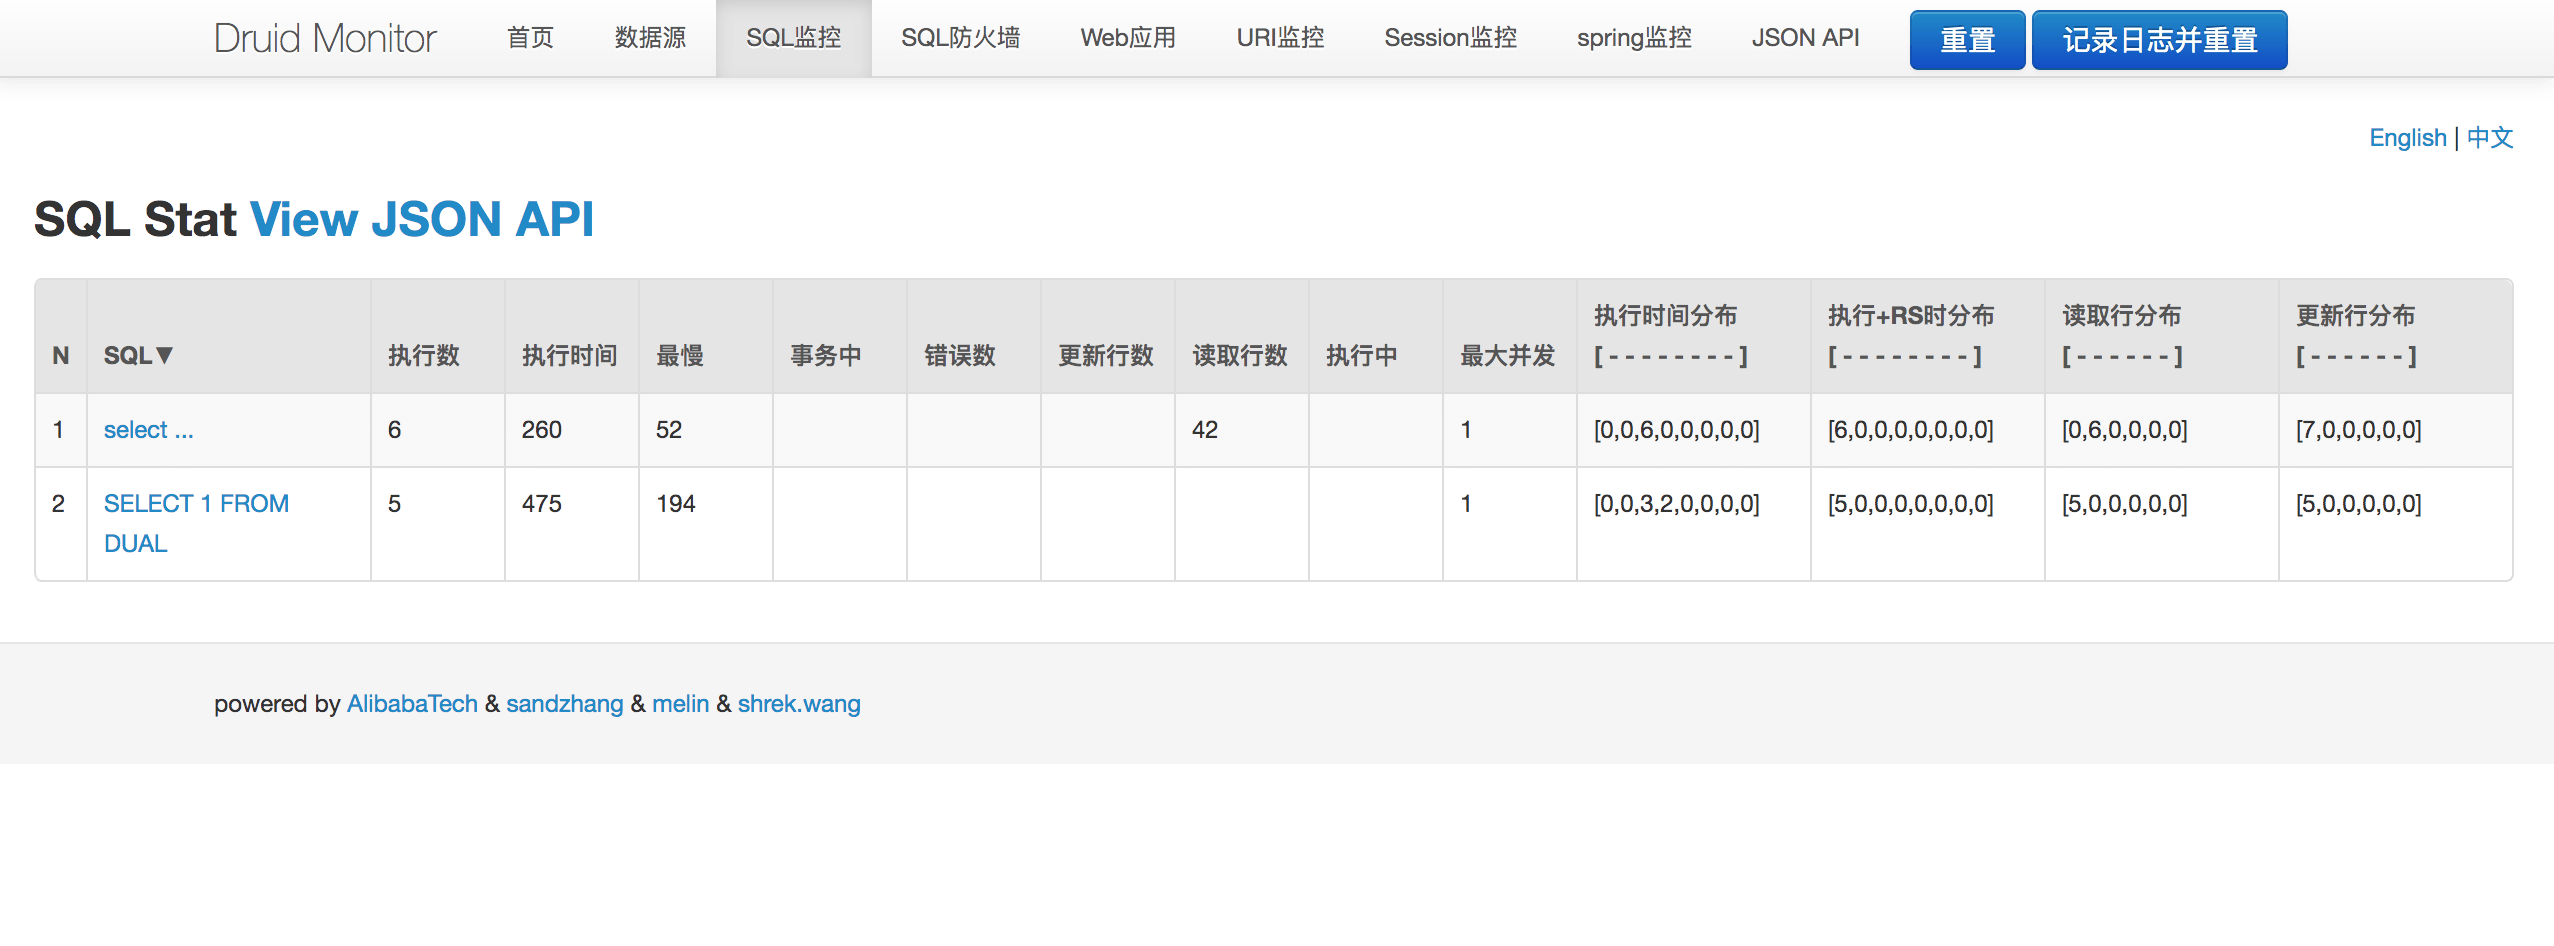
查看druid监控
启动application,输入http://localhost:8080/druid/sql.html,输入用户名和密码,bingo!。
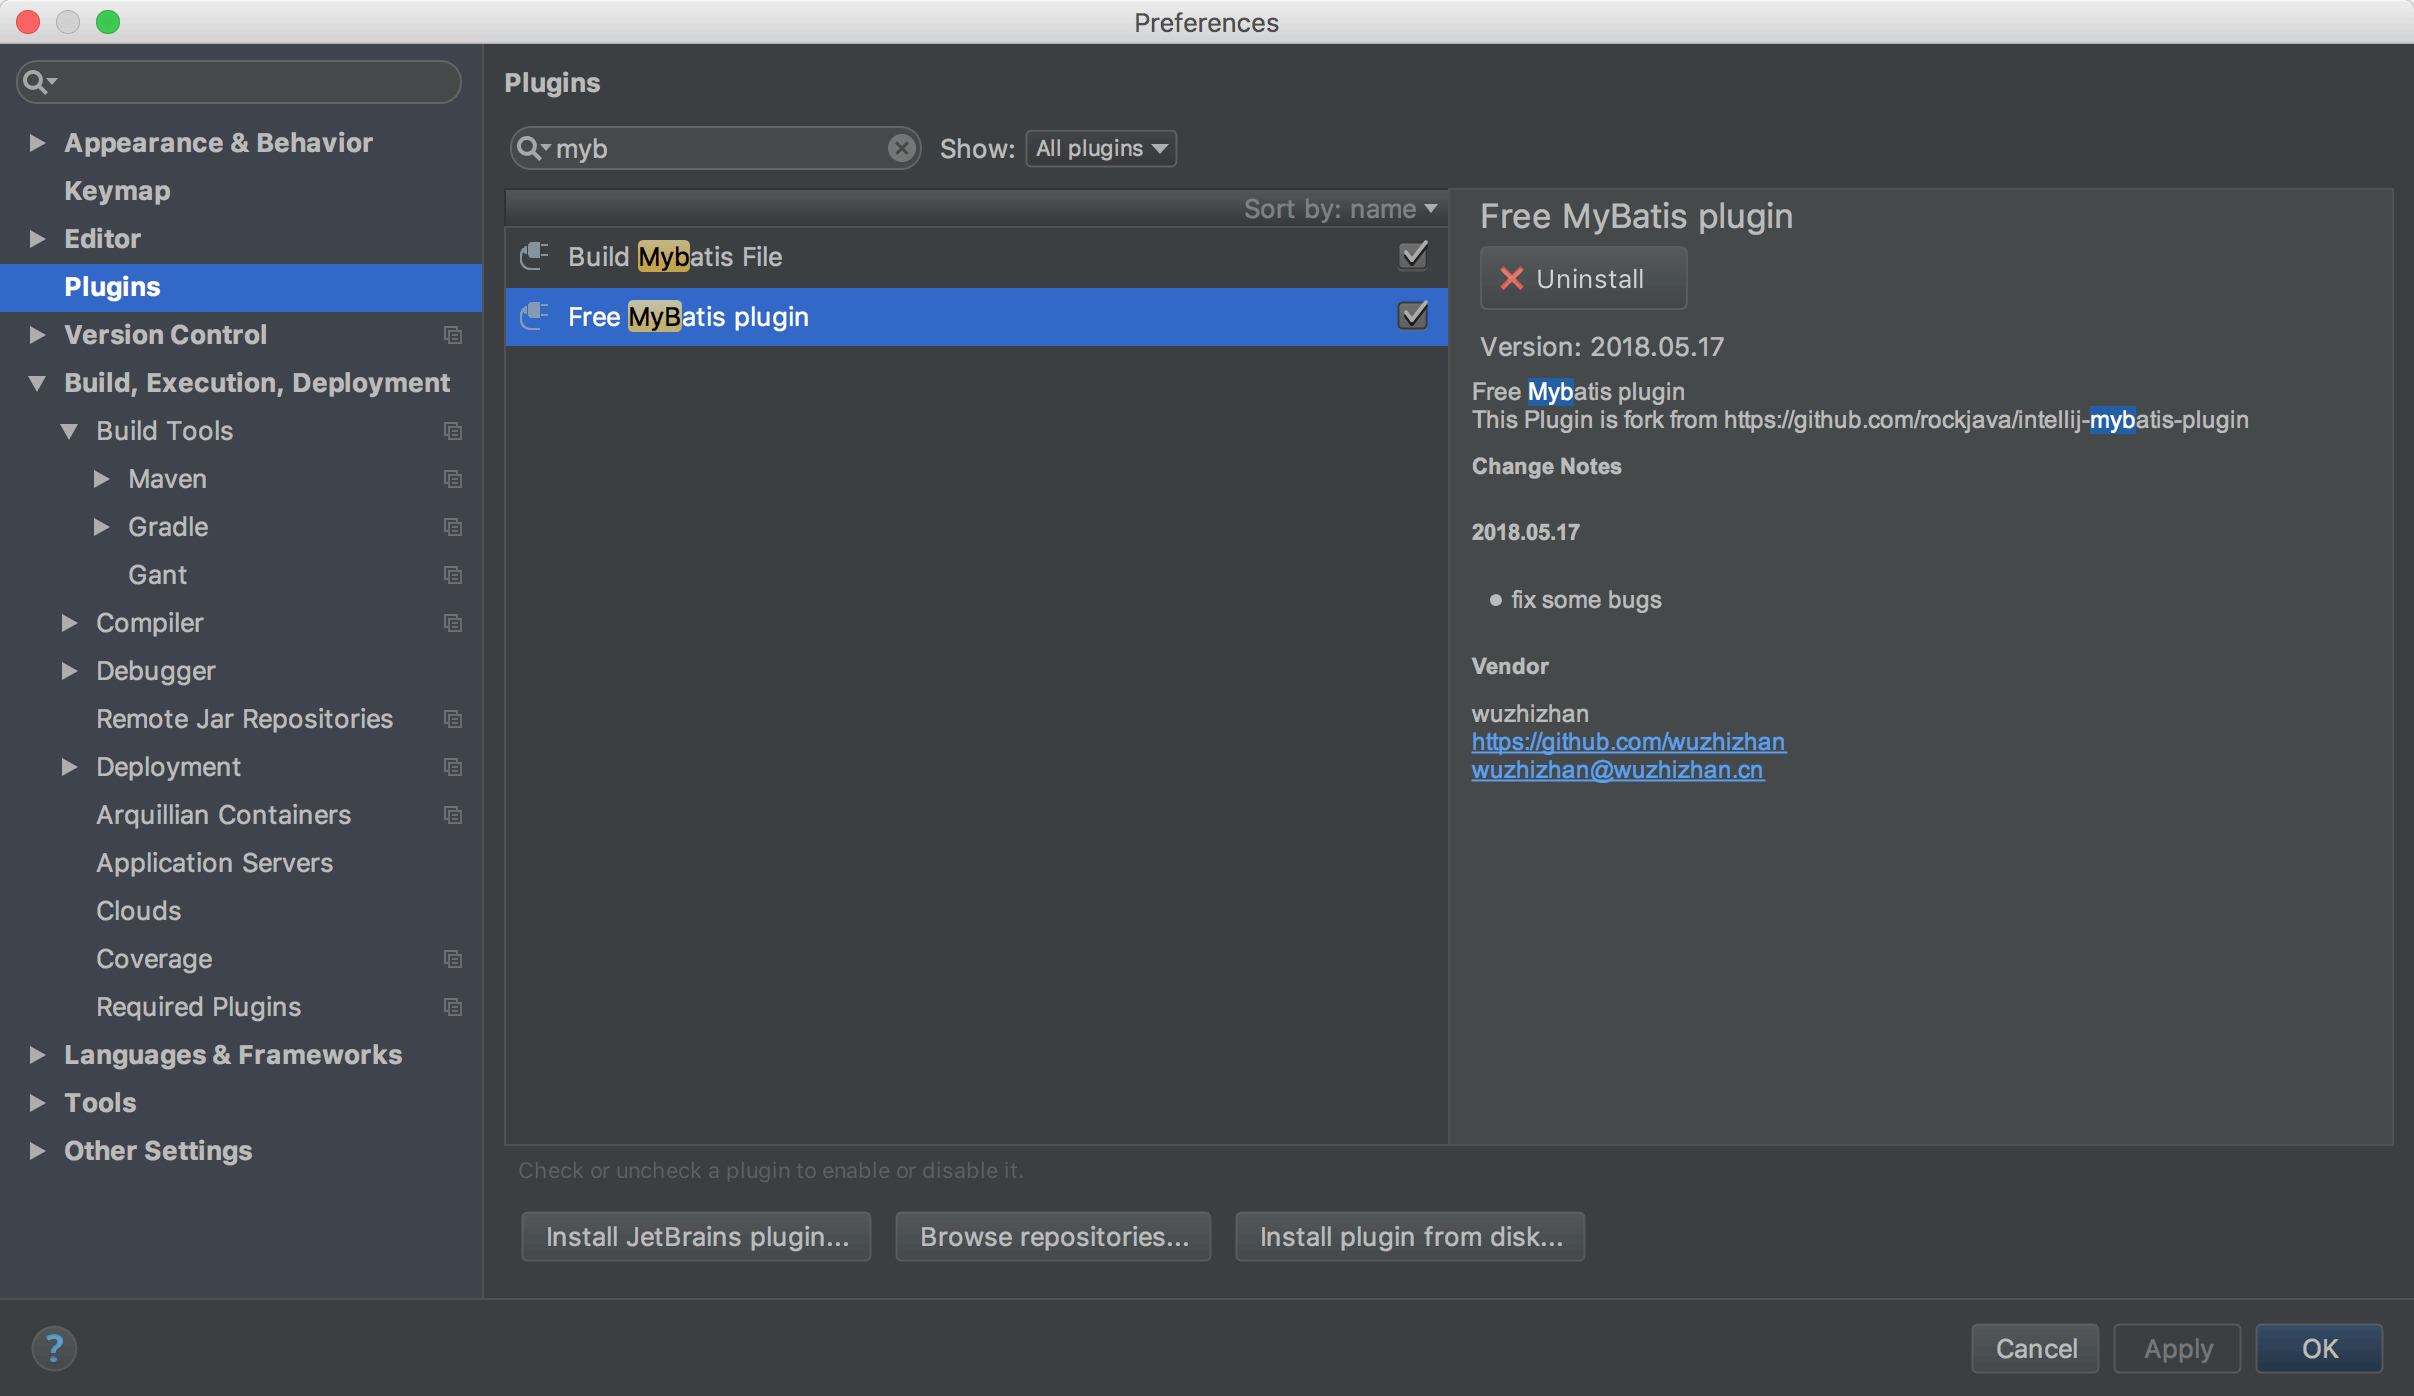
idea插件
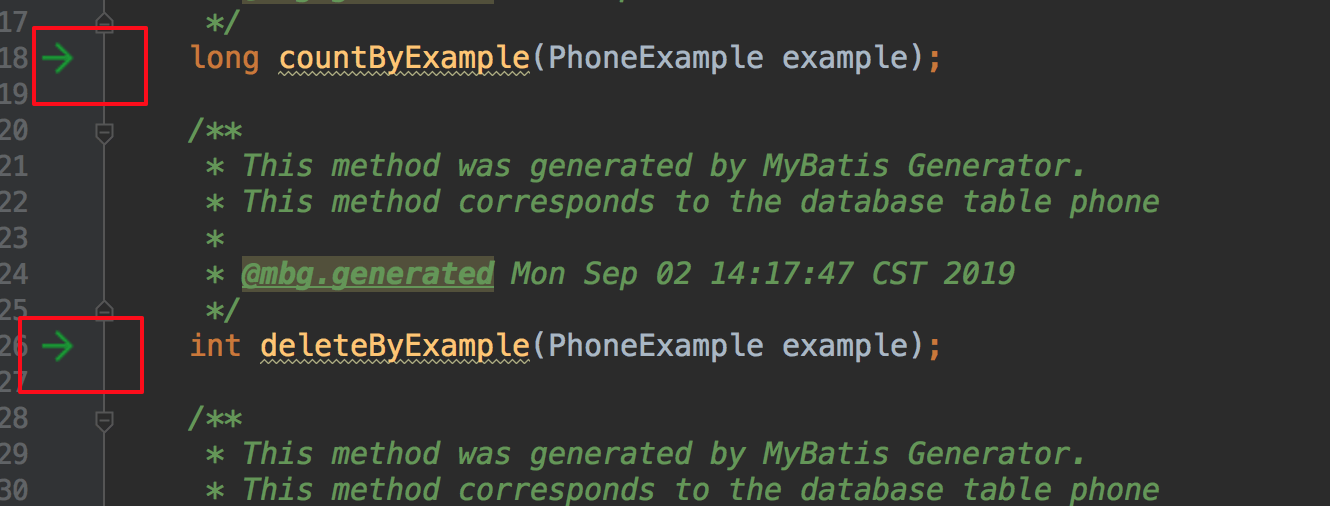
推荐:free mybatis plugin,可以自由在mapper和xml中跳转。
效果:
mapper文件
xml文件

若有收获,就点个赞吧
0 人点赞
