java的jar包管理,很方便使用。
准备
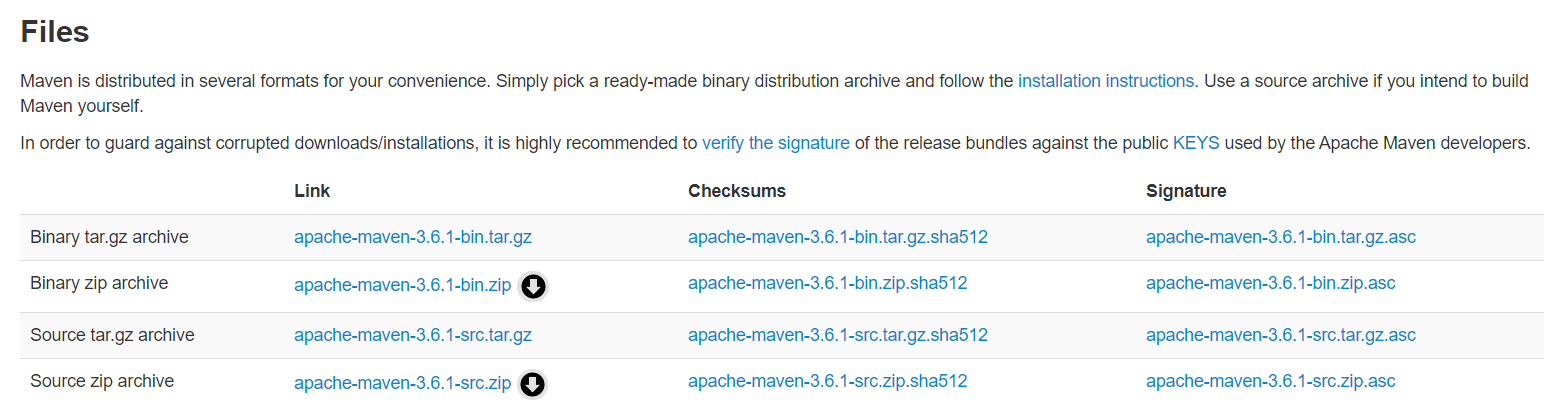
下载
环境变量
export M3_HOME=/usr/local/mavenexport PATH=$M3_HOME/bin:$PATH
配置阿里镜像
速度,速度,速度!
<mirror><id>aliyunmaven</id><mirrorOf>*</mirrorOf><name>阿里云公共仓库</name><url>https://maven.aliyun.com/repository/public</url></mirror>
maven文件示例
<project xmlns="http://maven.apache.org/POM/4.0.0"xmlns:xsi="http://www.w3.org/2001/XMLSchema-instance"xsi:schemaLocation="http://maven.apache.org/POM/4.0.0http://maven.apache.org/xsd/maven-4.0.0.xsd"><modelVersion>4.0.0</modelVersion><!-- 子模块对父模块的继承,继承父模块的所有依赖 --><parent><groupId></groupId><artifactId></artifactId><version></version></parent><!-- 指定多个模块一起进行编译 --><modules><module></module></modules><!--groupId 反写的公司网站+项目名称 --><groupId>com.demo.ssm</groupId><!--artifactId 项目名称+模块名称 --><artifactId>demo-ssm</artifactId><!--第一个0表示大版本号第二个0表示分支版本号第三个0表示小版本号 0.0.1snapshot快照 alpha内部测试 beta公测Release稳定版本 GA正式发布--><version>0.0.1-SNAPSHOT</version><!-- 默认是jar 可以是war jar pom --><packaging>jar</packaging><!--项目描述名称--><name>demo-ssm</name><!--项目地址--><url>www.gseem.com</url><!--项目描述--><description>这是项目描述</description><!--开发者列表--><developers>feiyue</developers><!--项目许可证--><licenses></licenses><!--项目组织信息--><organization></organization><!--项目属性--><properties><project.build.sourceEncoding>UTF-8</project.build.sourceEncoding></properties><!--项目依赖列表--><dependencies><dependency><groupId>junit</groupId><artifactId>junit</artifactId><version>4.9</version><type></type><!-- 作用范围 --><scope>test</scope><!-- 设置依赖是否可选--><optional></optional><!-- 排除依赖传递列表 --><exclusions><exclusion></exclusion></exclusions></dependency><dependency><groupId>com.demo.maven</groupId><artifactId>demo.maven</artifactId><version>0.0.1-SNAPSHOT</version></dependency></dependencies><!-- 依赖的管理 --><dependencyManagement><dependencies><dependency></dependency></dependencies></dependencyManagement><build><!-- 插件列表 --><plugins><plugin><groupId></groupId><artifactId></artifactId><version></version></plugin></plugins></build></project>
生成可运行jar包
默认生成的jar包是无法直接运行的,怎么办呢?
导入maven插件,然后修改起始文件位置,package即可。
<build><!--使用Maven编译可执行的jar--><plugins><plugin><artifactId>maven-assembly-plugin</artifactId><configuration><appendAssemblyId>false</appendAssemblyId><descriptorRefs><descriptorRef>jar-with-dependencies</descriptorRef></descriptorRefs><archive><manifest><mainClass>com.example.tool.app.MainApp</mainClass></manifest></archive></configuration><executions><execution><id>make-assembly</id><phase>package</phase><goals><goal>assembly</goal></goals></execution></executions></plugin></plugins></build>
从客户端导入第三方jar包
有些时候,我们想用自己的jar包通过maven引入,这个时候可以通过下面的命令导入,然后就可以使用maven啦。
mvn install:install-file \-DgroupId=com.unisound.classify \-DartifactId=intent-classify-api -Dversion=1.0-SNAPSHOT \-Dfile=intent-classify-api-1.0-SNAPSHOT.jar \-Dpackaging=jar

若有收获,就点个赞吧
0 人点赞
