我们使用docker images查看镜像,发现 node:alpine 体积是 nginx:alpine 的数倍大小。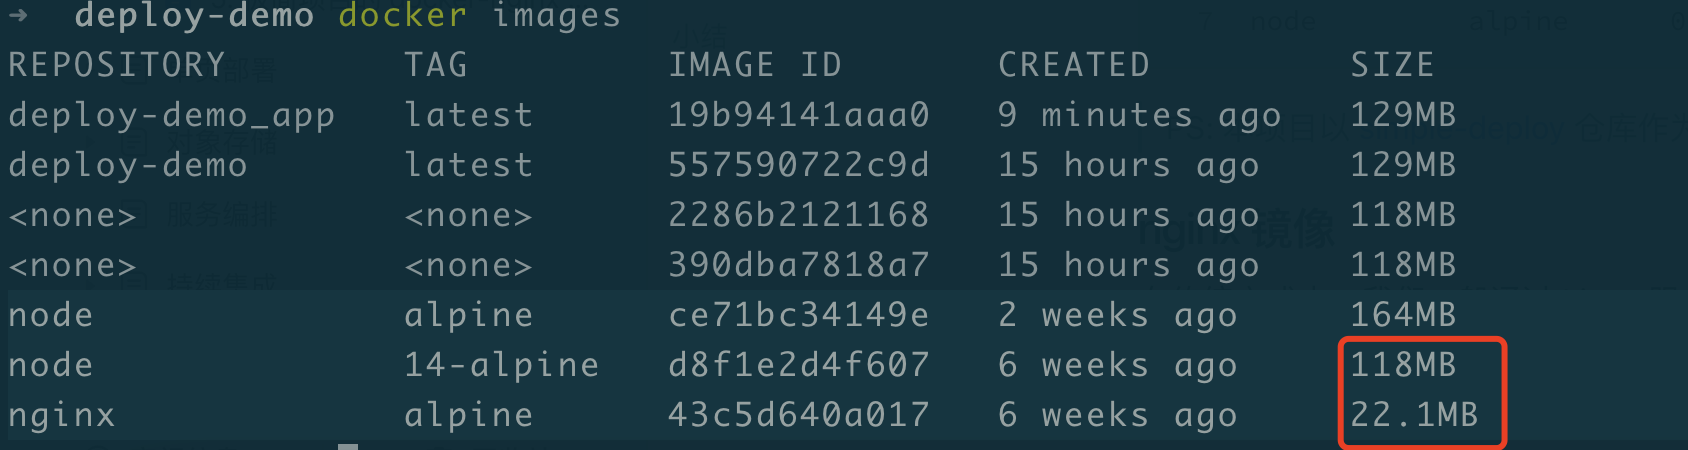
下面我们使用nginx镜像来部署我们的应用
简单的操作
进入nginx
docker run -it --rm nginx:alpine sh# 进入容器中,在容器中可通过 exit 退出容器环境$ exit
默认配置文件位于 /etc/nginx/conf.d/default.conf,通过 cat 可查看配置。
# 该命令在 nginx 的容器中执行$ cat /etc/nginx/conf.d/default.conf
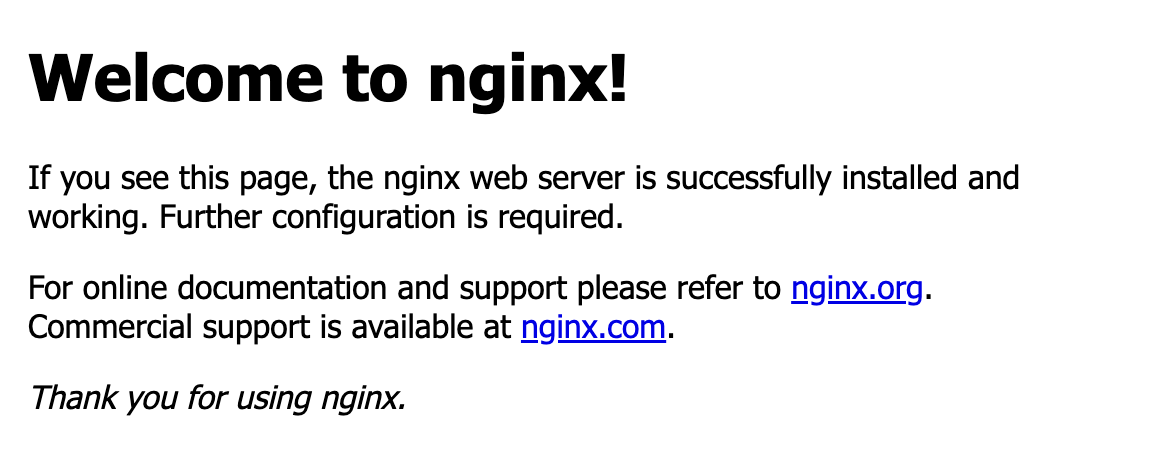
访问 nginx 的默认页面
# -p 3000:80,在本地 3000 端口访问 nginx 页面$ docker run -it --rm -p 3000:80 nginx:alpine
打开conf文件,配置一下内容
server {listen 80;server_name localhost;location / {root /usr/share/nginx/html;index index.html index.htm;}error_page 500 502 503 504 /50x.html;location = /50x.html {root /usr/share/nginx/html;}}
该配置文件做了以下两个事情。
- 监听本地 80 端口
- 为 /usr/share/nginx/html 目录做静态资源服务
写一个 Dockerfile 将我们的示例项目跑起来,仅仅需要两行代码。由于 nginx 镜像会默认将 80 端口暴露出来,因此我们无需再暴露端口。
FROM nginx:alpineADD index.html /usr/share/nginx/html/
继续完成 docker-compose.yaml,并创建容器。
version: "3"services:nginx-app:build:context: .dockerfile: nginx.Dockerfileports:- 4000:80
启动
$ docker-compose up --build
此时,访问 http://localhost:4000 即可访问成功。在控制台查看响应头,可发现有: Server: nginx/1.23.1。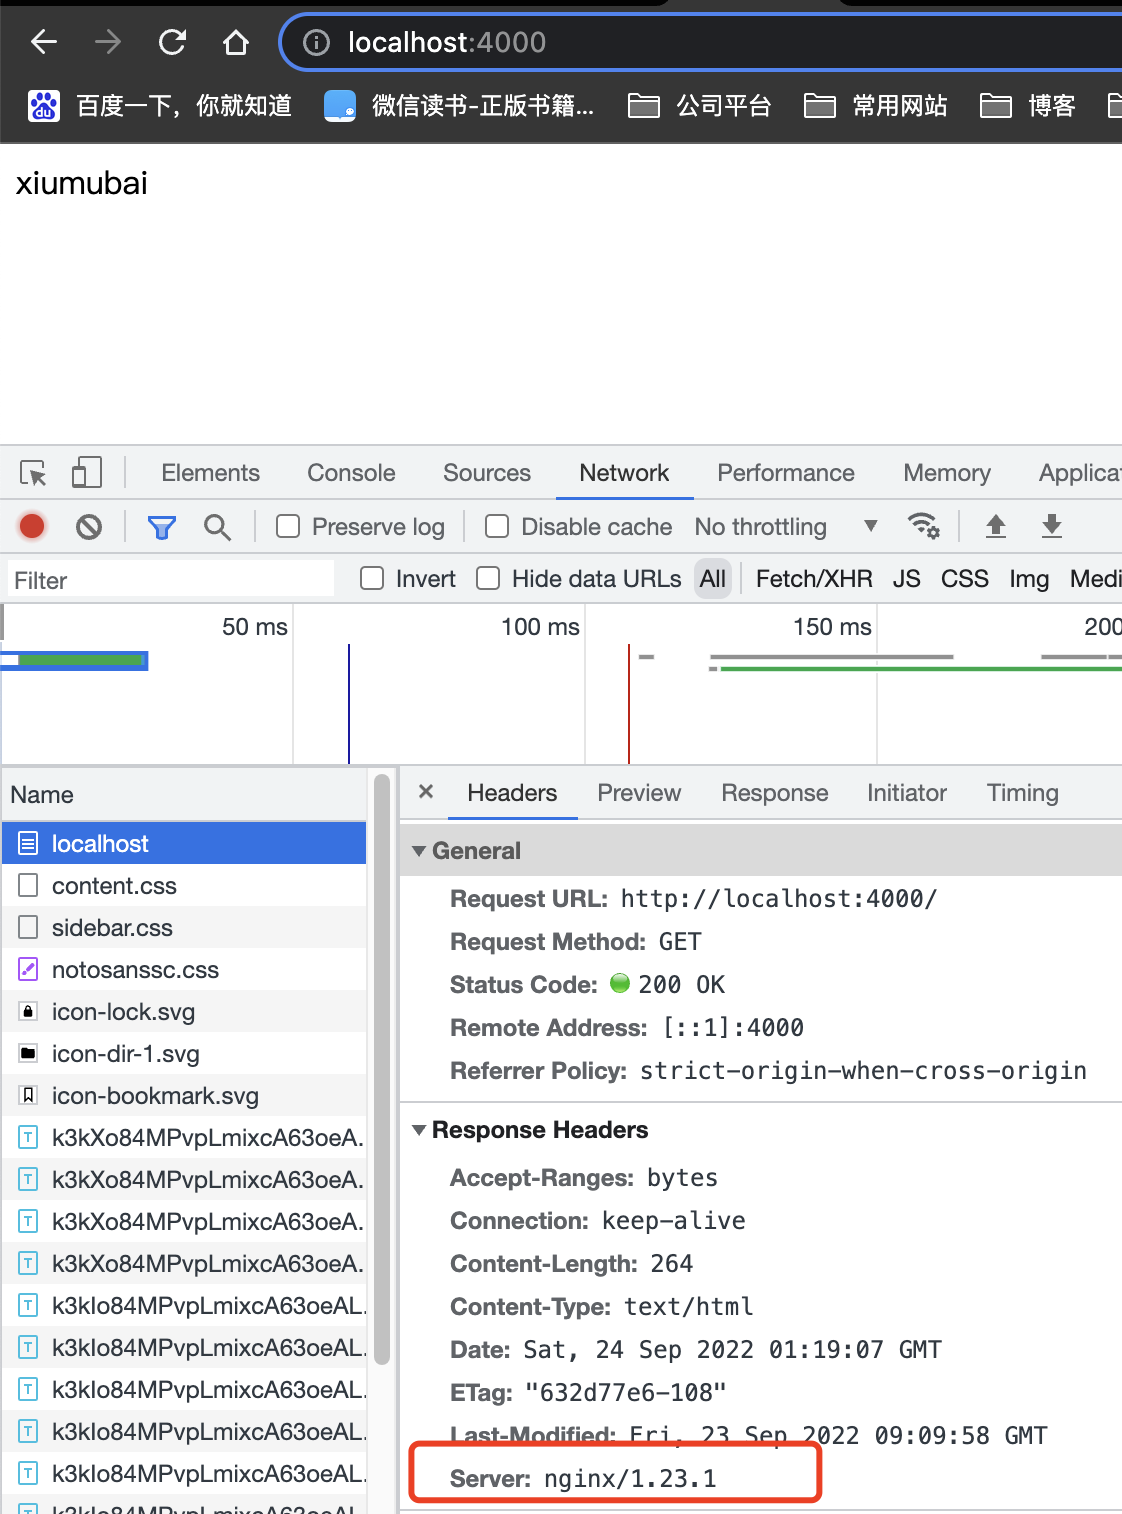
通过 docker-compose 同时将基于 node/nginx 镜像构建容器
version: "3"services:node-app:build:context: .dockerfile: node.Dockerfileports:- 3000:3000nginx-app:build:context: .dockerfile: nginx.Dockerfileports:- 4000:80
这时候3000和4000端口都可以访问了,相当于部署了两个应用了
在本地使用 nginx 镜像并挂载 nginx 配置启动容器。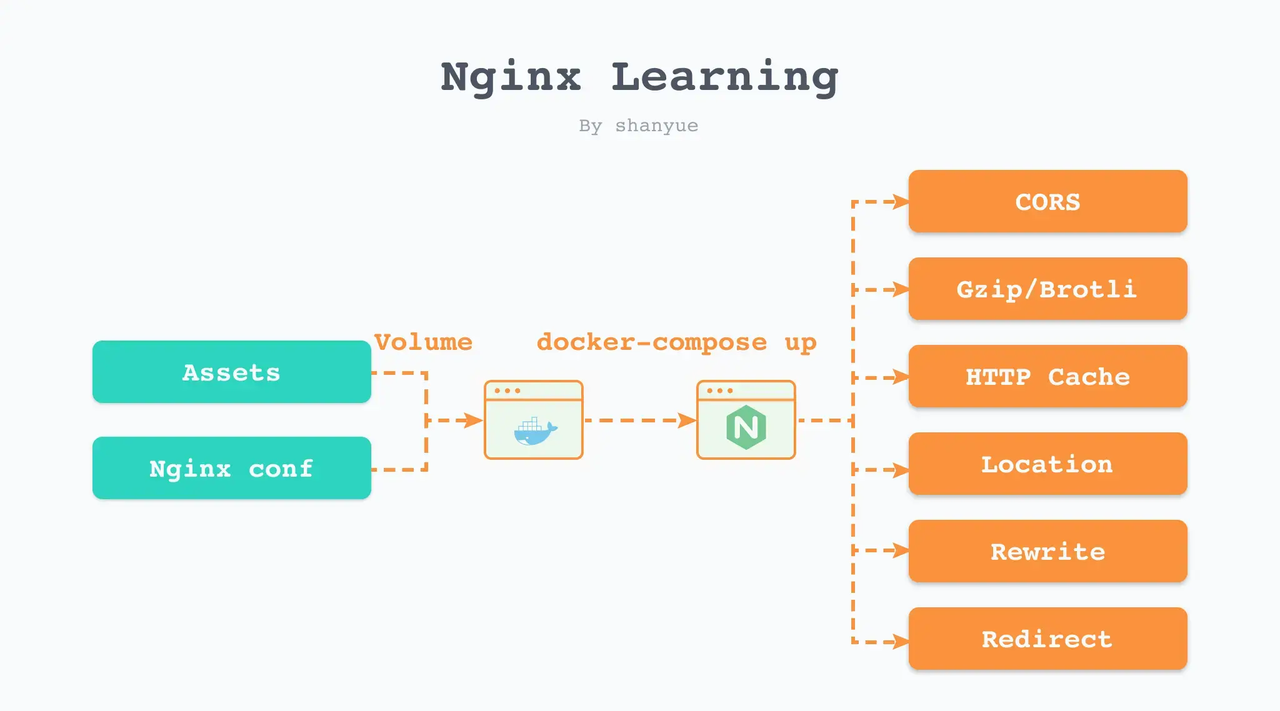
常用配置:
- 如何配置静态资源缓存策略
- 如何配置 CORS
- 如何配置 gzip/brotli 配置
- 如何配置路由匹配 Location
- 如何配置 Rewrite、Redirect 等
我们将注意力集中在静态资源与nginx配置两个点,在本地进行更新及维护,并通过 Volume 的方式挂载到 nginx 容器中。
# 通过此配置可在 Docker 环境中学习 nginx 的各种指令# # 如果需要修改配置,验证配置是否生效,可通过 docker-compose 重新启动该容器 (或者 npm run learn:nginx)version: "3"services:learn-nginx:image: nginx:alpineports:- 4000:80volumes:- ./nginx.conf:/etc/nginx/conf.d/default.conf- .:/usr/share/nginx/html
配置nginx.conf
server {listen 80;server_name localhost;root /usr/share/nginx/html;index index.html index.htm;location / {expires -1;# 此时通过 docker-compose 打开地址,可发现添加了一个新的 X-Hello 响应头add_header X-Hello xiumubai;}}
启动容器
docker-compose -f volumes.docker-compose.yaml up learn-nginx
打开http://localhost:4000,多了个相应头X-Hello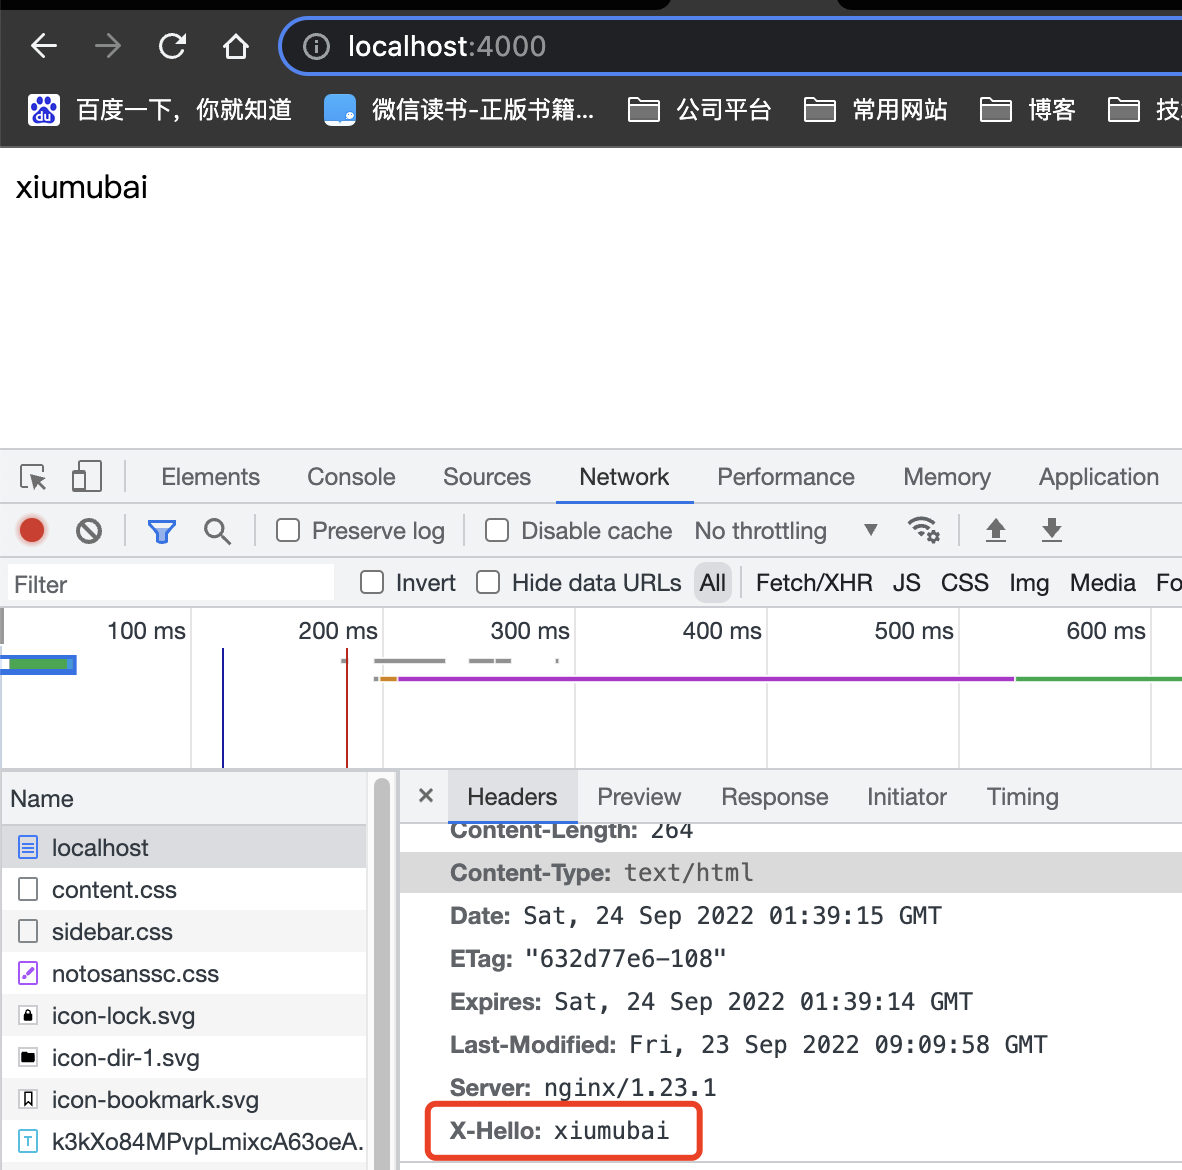

若有收获,就点个赞吧
0 人点赞
