知识点
- 构架工具 Vite。
- 前端框架 React 和路由 react-router-dom。
- CSS 预加载器 Less。
- HTTP 请求库 axios。
- 移动端分辨率适配 flexible。
- 跨域代理。
一键生成项目
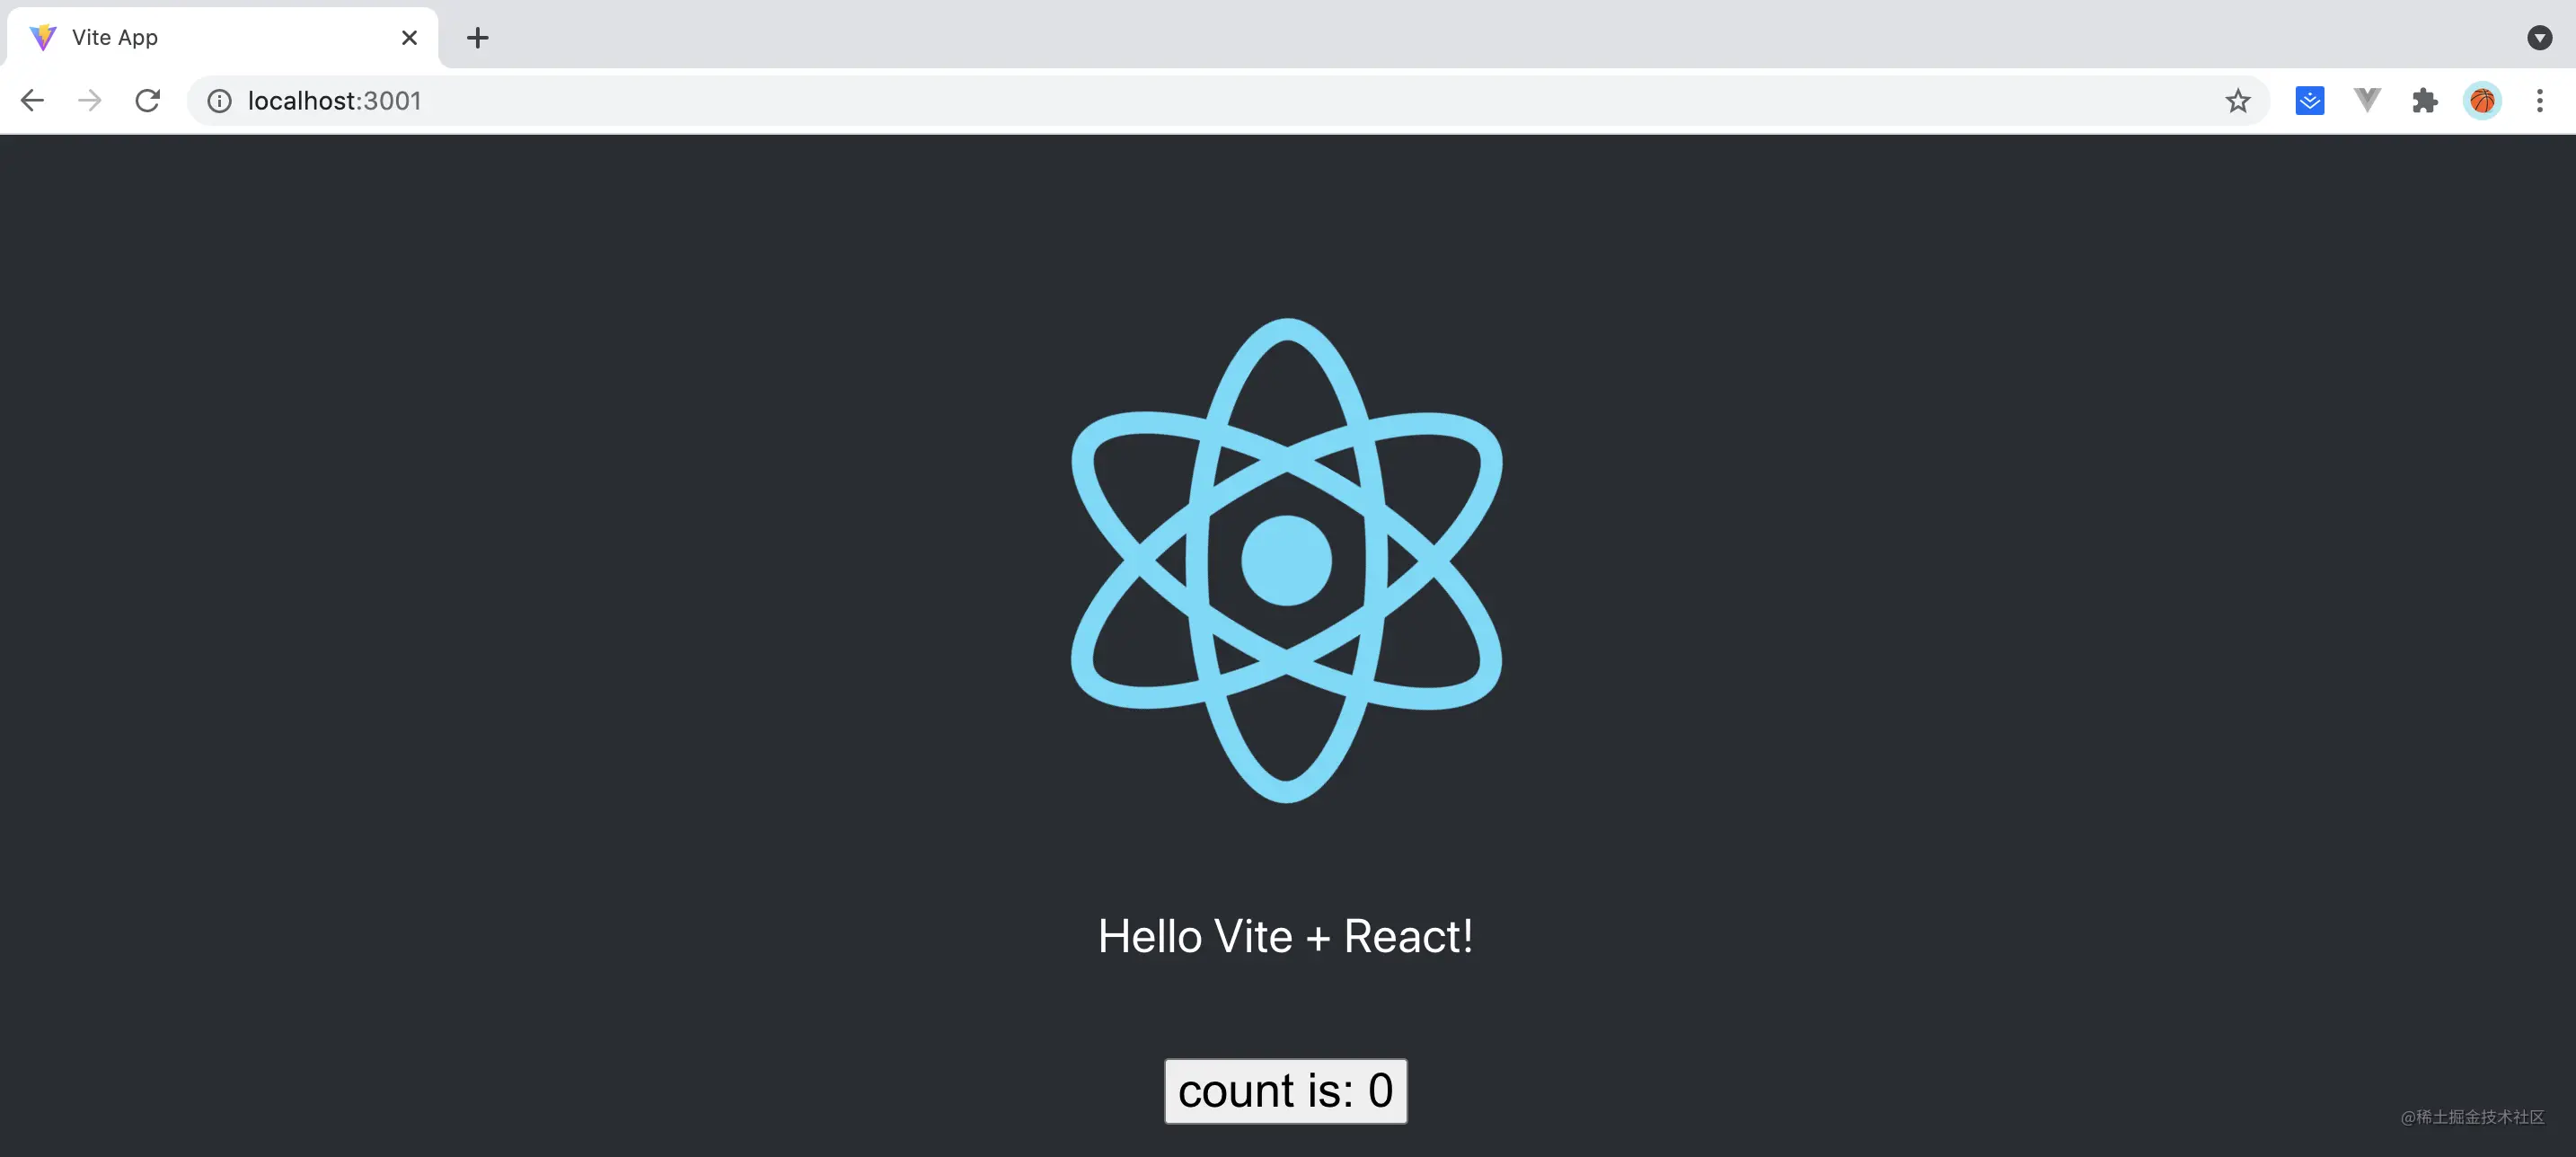
安装完 node_modules 之后,通过 npm run dev 启动项目,如下所示代表成功了:npm init @vitejs/app account-book-react -- --template react

添加路由
安装 react-router-dom
在项目 src 目录下新增 container 目录用于放置页面组件,再在 container 下新增两个目录分别是 Index 和 About ,添加如下内容: ```javascript // Index/index.jsx import React from ‘react’npm i react-router-dom -S
export default function Index() { return
// About/index.jsx import React from ‘react’
export default function About() { return
再来新建 src/router/index.js 配置路由数组,添加如下内容:```javascript// router/index.jsimport Index from '../container/Index'import About from '../container/About'const routes = [{path: "/",component: Index},{path: "/about",component: About}];export default routes
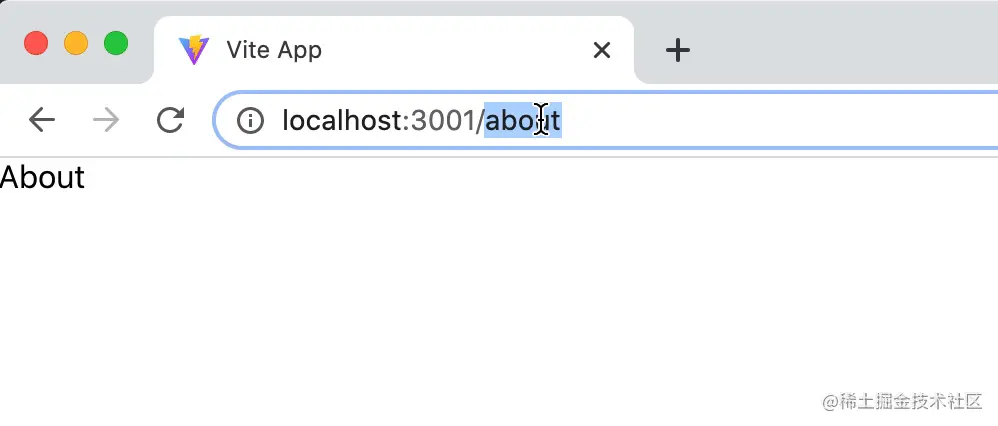
在 App.jsx 引入路由配置,实现切换浏览器路径,显示相应的组件:
// App.jsximport React, { useState } from 'react'import {BrowserRouter as Router,Switch,Route} from "react-router-dom"import routes from '../src/router'function App() {return <Router><Switch>{routes.map(route => <Route exact key={route.path} path={route.path}><route.component /></Route>)}</Switch></Router>}export default App
引入 Zarm UI 组件库
首先通过如下指令安装它:
npm install zarm -S
修改 App.jsx 的代码,全局引入样式和中文包:
import React, { useState } from 'react'import {BrowserRouter as Router,Switch,Route} from "react-router-dom"import { ConfigProvider } from 'zarm'import zhCN from 'zarm/lib/config-provider/locale/zh_CN'import 'zarm/dist/zarm.css'import routes from '../src/router'function App() {return <Router><ConfigProvider primaryColor={'#007fff'} locale={zhCN}><Switch>{routes.map(route => <Route exact key={route.path} path={route.path}><route.component /></Route>)}</Switch></ConfigProvider></Router>}export default App
优化组件库按需引入
使用全局引入组件库,打包项目以后,css 静态资源就 168.22kb 了,使用按需引入的方式来优化一下
首先我们安装一个插件:
npm i vite-plugin-style-import -D
然后在 vite.config.js 配置文件内添加如下内容:
export default defineConfig({plugins: [reactRefresh(), styleImport({libs: [{libraryName: 'zarm',esModule: true,resolveStyle: (name) => {return `zarm/es/${name}/style/css`;},}]})],})
再次打包以后,css 提及从 168.22kb -> 35.22kb。这种方式也是前端性能优化的其中一种。
配置 CSS 预处理器 Less
安装 less 插件包,npm i less -D,因为上述配置我们使用的是 less,并且我们需要配置 javascriptEnabled 为 true,支持 less 内联 JS。
修改 vite.config.js,如下:
{plugins: [...]css: {modules: {localsConvention: 'dashesOnly'},preprocessorOptions: {less: {// 支持内联 JavaScriptjavascriptEnabled: true,}}},}
并且添加了 css modules 配置,这样我们就不用担心在项目中,自定义的样式重名的风险,我们尝试在 /container/Index 目录下添加样式文件 style.module.less,并且在 /container/Index/index.jsx 中引入它,如下:
.index {span {color: red;}}
// Index/index.jsximport React from 'react'import { Button } from 'zarm'import s from './style.module.less'export default function Index() {return <div className={s.index}><span>样式</span><Button theme='primary'>按钮</Button></div>}
移动端项目适配 rem
安装 lib-flexible:
npm i lib-flexible -S
并在 main.jsx 中引入它:
import React from 'react'import ReactDOM from 'react-dom'import 'lib-flexible/flexible'import './index.css'import App from './App'ReactDOM.render(<React.StrictMode><App /></React.StrictMode>,document.getElementById('root'))
然后再安装一个 postcss-pxtorem,它的作用是在你编写完 css 后,将你的单位自动转化为 rem 单位。
npm i postcss-pxtorem
在项目根目录新建 postcss.config.js:
// postcss.config.js// 用 vite 创建项目,配置 postcss 需要使用 post.config.js,之前使用的 .postcssrc.js 已经被抛弃// 具体配置可以去 postcss-pxtorem 仓库看看文档module.exports = {"plugins": [require("postcss-pxtorem")({rootValue: 37.5,propList: ['*'],selectorBlackList: ['.norem'] // 过滤掉.norem-开头的class,不进行rem转换})]}
二次封装 axios
首先我们安装 npm i axios -S,在 src 目录下新建 utils 目录,并新建 axios.js 脚本:
// src/utils/axios.jsimport axios from 'axios'import { Toast } from 'zarm'const MODE = import.meta.env.MODE // 环境变量axios.defaults.baseURL = MODE == 'development' ? '/api' : 'http://api.chennick.wang'axios.defaults.withCredentials = trueaxios.defaults.headers['X-Requested-With'] = 'XMLHttpRequest'axios.defaults.headers['Authorization'] = `${localStorage.getItem('token') || null}`axios.defaults.headers.post['Content-Type'] = 'application/json'axios.interceptors.response.use(res => {if (typeof res.data !== 'object') {Toast.show('服务端异常!')return Promise.reject(res)}if (res.data.code != 200) {if (res.data.msg) Toast.show(res.data.msg)if (res.data.code == 401) {window.location.href = '/login'}return Promise.reject(res.data)}return res.data})export default axios
最后我们将这个 axios 抛出,供页面组件请求使用。
在 utils 下新建一个 index.js,内容如下:
import axios from './axios'export const get = axios.getexport const post = axios.post
代理配置
打开 vite.config.js,添加如下代码:
server: {proxy: {'/api': {// 当遇到 /api 路径时,将其转换成 target 的值target: 'http://api.chennick.wang/api/',changeOrigin: true,rewrite: path => path.replace(/^\/api/, '') // 将 /api 重写为空}}}
这样配置完之后,开发环境下,/api/userInfo -> http://api.chennick.wang/api/userInfo。这样就解决了大家老大难的跨域问题。
resolve.alias 别名设置
这里我们必须得设置好别名,否则在页面中,你会写出很长一串类似这样的代码 ../../../。
打开 vite.config.js,添加配置如下:
...import path from 'path'export default defineConfig({...resolve: {alias: {'@': path.resolve(__dirname, 'src'), // src 路径'utils': path.resolve(__dirname, 'src/utils') // src 路径}},})
总结
行文至此,我们的基础开发环境已经搭建完毕,涉及构建工具、前端框架、UI 组件库、HTTP 请求库、CSS 预加载器、跨域代理、移动端分辨率适配,这些知识都是一个合格的前端工程师应该具备的。


