title: 迁移至 Taro 2.x
Taro 2.0 整体上与 1.0 是完全兼容的,迁移并不困难,本指南将指导你如何进行从 Taro 1.x 到 Taro 2.x 的迁移工作。
更新 Taro CLI 和依赖版本
你可以根据自己的实际情况选择升级全局的 Taro 版本或者仅为你的某一个项目升级。
全局 CLI 升级
如果你的 Taro CLI 以全局方式安装,并且你希望升级到 Taro 2.0 需要执行以下命令:
# 使用 Taro 自己$ taro update self 2.0.0(请修改为 Taro 2.x 最新版本)# 如果你使用 NPM$ npm update -g @tarojs/cli@2.x# 如果你使用 Yarn$ yarn global upgrade @tarojs/cli@2.x
之后在你的项目目录里运行以下命令来升级依赖:
$ taro update project 2.0.0(请修改为 Taro 2.x 最新版本)
单独为某一个项目升级
这样做的好处是全局的 Taro 版本还是 1.x 的,多个项目间的依赖不冲突,其余项目依然可以用旧版本开发。 如果你的项目里没有安装 Taro CLI,你需要先装一个:
# 如果你使用 NPM$ npm install --save-dev @tarojs/cli@2.x# 如果你使用 Yarn$ yarn add -D @tarojs/cli@2.x
然后在你的项目目录里运行以下命令来升级依赖:
# 如果你使用 NPM$ node ./node_modules/.bin/taro update project 2.0.0(请修改为 Taro 2.x 最新版本)# 如果你使用 Yarn$ yarn taro update project 2.0.0(请修改为 Taro 2.x 最新版本)
安装 @tarojs/mini-runner 依赖
Taro 2.0 新增了 @tarojs/mini-runner 作为小程序的编译依赖,所以你需要将它安装在你的项目里,运行:
# 如果你使用 NPM$ npm install --save-dev @tarojs/mini-runner@2.x# 如果你使用 Yarn$ yarn add -D @tarojs/mini-runner@2.x
编译配置调整
Taro 2.0 对 CLI 的编译构建系统进行了重构,使用 Webpack 来实现编译构建,所以我们对部分编译配置做了优化调整。
const config = {projectName: 'taro-framework',date: '2019-11-2',designWidth: 750,deviceRatio: {640: 2.34 / 2,750: 1,828: 1.81 / 2},sourceRoot: 'src',outputRoot: 'dist',// babel、csso、uglify 等配置从 plugins 配置中移出来babel: {sourceMap: true,presets: [['env', { modules: false }]],plugins: ['transform-decorators-legacy','transform-class-properties','transform-object-rest-spread']},// 小程序配置从 weapp 改为 mini,可以删掉很多小配置mini: {webpackChain (chain, webpack) {},cssLoaderOption: {},postcss: {pxtransform: {enable: true,config: {}},url: {enable: true,config: {limit: 10240 // 设定转换尺寸上限}}}},// 可以删掉很多小配置h5: {publicPath: '/',staticDirectory: 'static',webpackChain (chain, webpack) {},postcss: {autoprefixer: {enable: true,config: {browsers: ['last 3 versions','Android >= 4.1','ios >= 8']}}}}}module.exports = function (merge) {if (process.env.NODE_ENV === 'development') {return merge({}, config, require('./dev'))}return merge({}, config, require('./prod'))}
具体编译配置请参考 编译配置文档。
异步编程调整
Taro 2.0 中开启 async functions 支持不再需要安装 @tarojs/async-await,而是直接通过 babel 插件来获得支持。
如果你已经在项目中安装并使用 @tarojs/async-await 包,需先将它删除。
# 如果你使用 NPM$ npm uninstall @tarojs/async-await# 如果你使用 Yarn$ yarn remove @tarojs/async-await
在你的 App.jsx/tsx 里删除 import '@tarojs/async-await'。
import Taro, { Component } from '@tarojs/taro'- import '@tarojs/async-await'import Index from './pages/index'import './app.scss'class App extends Component {
在项目根目录下安装包 babel-plugin-transform-runtime 和 babel-runtime。
# 如果你使用 NPM$ npm install --save-dev babel-plugin-transform-runtime$ npm install --save babel-runtime# 如果你使用 Yarn$ yarn add -D babel-plugin-transform-runtime$ yarn add babel-runtime
随后修改项目 babel 配置,配置插件 babel-plugin-transform-runtime。
babel: {sourceMap: true,presets: [['env', { modules: false }]],plugins: ['transform-decorators-legacy','transform-class-properties','transform-object-rest-spread',['transform-runtime', {"helpers": false,"polyfill": false,"regenerator": true,"moduleName": 'babel-runtime'}]]}
注意:Taro RN 依赖升级到 0.59.9
在 2.0 中我们将 RN 端 React 依赖升级到 16.8.0,React Native 依赖升级到 0.59.9。主要原因:
- Google 要求所有 Google Play 应用支持 64 位 so 库,而现有 RN 0.55.4 依无法支持 64 位库,为配合 64 位升级,Taro RN 端的 React Native 依赖需要同步升级
- React 16.8.0 是第一个支持 Hook 的版本,React Native 从 0.59 版本开始支持 Hook,此前社区一直在呼吁对 RN 0.55.4 进行升级以直接支持 Hook 的写法
本次 RN 端属于无缝升级,原有的写法和配置均不变,如果使用 taro-native-shell 的,选择 0.59.9 分支即可;在原生应用集成 RN 的,需要自行升级 React Native 依赖到 0.59.9。
升级常见问题整理
小程序
使用 async/await 时出现报错 Function(...) is not a function
在升级到 2.x 后使用 async/await 语法时可能会出现如下报错
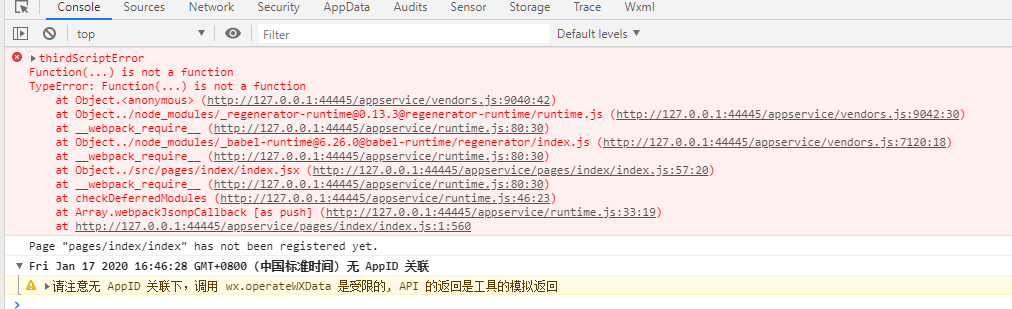
这是因为 @tarojs/mini-runner 使用的 postcss-loader 依赖了新版本的 regenerator-runtime 包,可能会与 babel-runtime 中依赖的 regenerator-runtime 版本冲突,而新版本的包无法在小程序中使用,所以导致了如上错误,解决办法是在本地自行安装 0.11.1 版本的 regenerator-runtime 包。
$ npm i --save regenerator-runtime@0.11.1
拆分的公共文件 vendors.js 过大
在 2.x 中默认会抽离 4 个公共文件,分别为
runtime: webpack 运行时入口vendors: node_modules 中文件抽离taro: node_modules 中 Taro 相关依赖抽离common: 项目中业务代码公共文件抽离
由于 vendors 默认是除 Taro 相关依赖之外的所有引用的 node_modules 文件的抽离公共文件,所以如果开发人员自己引入了过多的 npm 包就会导致 vendors.js 过大,解决办法可以是尽量少用 npm 包,其二是可以自己配置更细的拆分
例如,如果引入了 lodash,由于 lodash 本身比较大,可以再自行配置 mini.webpackChain 来将 lodash 单独拆分出来,示例配置如下
const config = {mini: {webpackChain (chain, webpack) {chain.merge({optimization: {splitChunks: {cacheGroups: {lodash: {name: 'lodash',priority: 1000,test (module) {return /node_modules[\\/]lodash/.test(module.context)}}}}}})}}}
随后需要再通过 mini.commonChunks 配置来添加 lodash 公共文件
const config = {mini: {commonChunks (commonChunks) {commonChunks.push('lodash')return commonChunks}}}
这样就能将 lodash 相关依赖单独抽离到 lodash.js 中,以实现对 vendors 的拆分
发觉升级之后文件更大
如果觉得升级到 2.x 文件更大,可以通过使用 webpack-bundle-analyzer 插件对打包体积进行分析。
首先安装 webpack-bundle-analyzer 依赖。
$ npm install webpack-bundle-analyzer -D$ yarn add --dev webpack-bundle-analyzer
随后在 mini.webpackChain 中添加如下配置。
const config = {mini: {webpackChain (chain, webpack) {chain.plugin('analyzer').use(require('webpack-bundle-analyzer').BundleAnalyzerPlugin, [])}}}
在运行之后,我们就能在浏览器里看到如下分析效果。
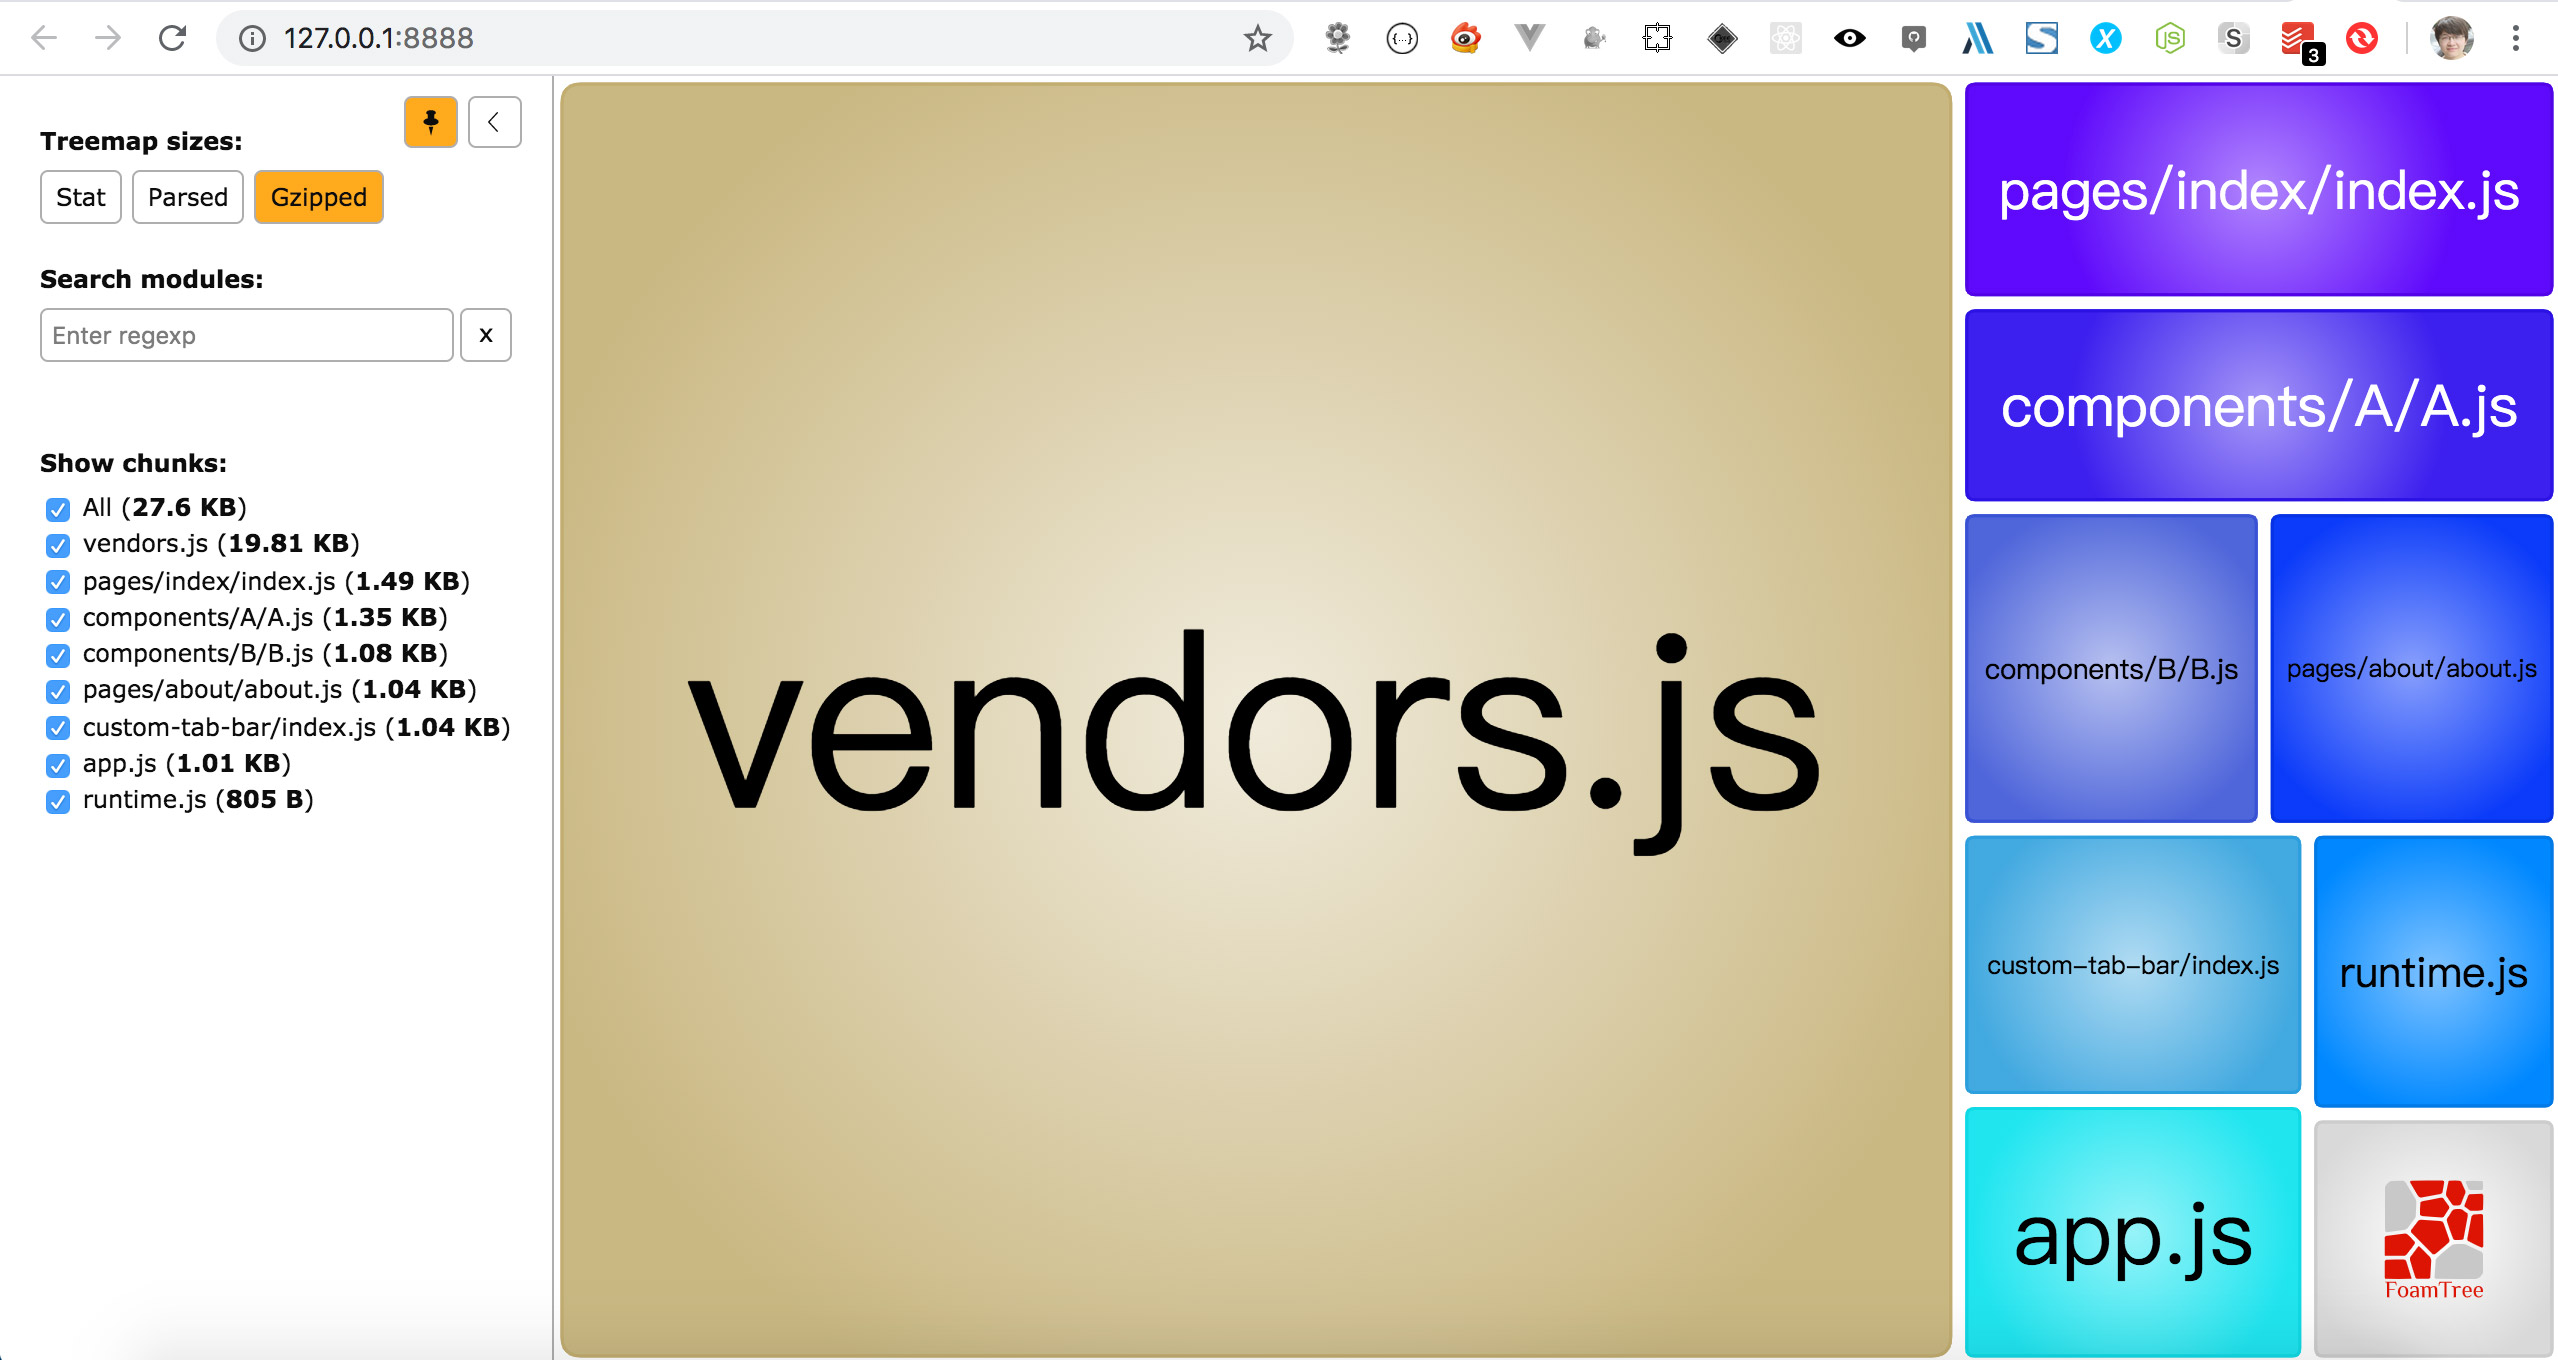
并且可以通过点击左侧导航中 Treemap sizes: 的 Stat 按钮,来查看每一个文件的具体依赖关系及依赖文件的大小。
某些组件样式失效了
在升级到 2.x 后可能会遇到某些组件的样式失效了,这是因为 2.x 中默认将所有被超过 1 个文件引用的公共样式抽离到了 common 文件中,该文件默认会被 app 引入,而由于小程序组件默认不能接受公共,所以会导致样式失效,可以通过为组件配置 addGlobalClass 来解决,或者也可以通过自己配置 Webpack 禁止抽离公共样式。
自 2.1.1 开始,公共样式不再直接被 app 引入,而是会自动识别引用到公共样式的页面和组件,直接在他们的样式文件中引入公共样式,这样的话组件不需要再配置 addGlobalClass 了。
在 JS 中引入的图片突然变成 base64 格式
在升级到 2.x 后可能会遇到在 JS 中引入的图片突然变成 base64 格式了,是因为 2.x 小程序改用 Webpack 编译后图片都会经过 url-loader 进行处理,默认 10kb 大小以下的图片(包含以下格式,png | jpg | jpeg | gif | bmp)都会被转为 base64,如果不想这么做,可以通过配置 mini.imageUrlLoaderOption 来解决
const config = {mini: {imageUrlLoaderOption: {limit: 10240 // 大小限制,单位为 b}}}
相关阅读

若有收获,就点个赞吧
0 人点赞
