组件库初始化
使用monorepo管理项目,需要使用yarn和lerna创建管理项目
安装lerna
yarn add lerna -glerna init
lerna项目配置 lerna.json
{"packages": ["packages/*"],"version": "0.0.0","npmClient": "yarn", // 使用yarn管理"useWorkspaces": true // 使用workspace,需要配置package.json}
配置项目 package.json
{"name": "root","private": true,"workspaces": ["packages/*"],"devDependencies": {"lerna": "^3.22.1"}}
- 设置private为true:lerna管理的monorepo必须设置
- 设置workspaces:这样yarn安装依赖时,会把packages下的项目做为依赖进行安装。
使用lerna创建组件
lerna create buttonlerna create icon
├─packages├─button│ │ package.json│ │ README.md│ ├─src| ├─ button.vue│ ├─index.ts # 组件入口│ └─__tests__ # 测试相关└─icon│ package.json│ README.md├─src├─ icon.vue├─index.ts # 组件入口└─__tests__
配置ts环境
yarn add typescript -Wnpx tsc --init
{"compilerOptions": {"target": "ESNext", // 打包的目标语法"module": "ESNext", // 模块转化后的格式"esModuleInterop": true, // 支持模块转化"skipLibCheck": true, // 跳过类库检测"forceConsistentCasingInFileNames": true, // 强制区分大小写"moduleResolution": "node", // 模块解析方式"jsx": "preserve", // 不转化jsx"declaration": true, // 生成声明文件"sourceMap": true // 生成映射文件}}
设置 esModuleInterop 属性 可以把commonjs转为esm格式
import fs from 'fs'; // 编译前let fs = require('fs');fs.default // 编译后 fs无default属性,所引引用时会出问题
创建组件 和 展示组件的项目examples
组件初始化
编辑button.vue
<template><button>button</button></template><script lang="ts">import { defineComponent } from "vue";export default defineComponent({name: "MButton",});</script>
编辑icon.vue
<template><i>icon</i></template><script lang="ts">import { defineComponent } from "vue";export default defineComponent({name: "MIcon",});</script>
入口声明对应的install方法
import Button from "./src/button.vue";import { App } from "vue";Button.install = (app: App):void => {app.component(Button.name, Button)};type IWithInstall<T> = T & { install(app: App): void };const _Button: IWithInstall<typeof Button> = Button;export default _Button;
import Icon from "./src/icon.vue";import { App } from "vue";Icon.install = (app: App):void => {app.component(Icon.name, Icon)};type IWithInstall<T> = T & { install(app: App): void };const _Icon: IWithInstall<typeof Icon> = Icon;export default _Icon;
默认无法解析.vue文件后缀的文件,增加typings. typings/vue-shim.d.ts
declare module '*.vue' {import {App,defineComponent} from 'vue';const component: ReturnType<typeof defineComponent> & {install(app:App):void};export default component}
收集整理所有组件
创建ming-ui项目lerna create ming-ui
import { App } from "vue";import MButton from "@ming-ui/button";import MIcon from "@ming-ui/icon";const components = [MButton, MIcon];const install = (app: App): void => {components.forEach((component) => {app.component(component.name, component);});};export default {install,};
创建预览组件环境
这里可以使用element-ui的md文件预览,也可以采用vuepress框架,也可以自定义创建项目。
初始化环境
yarn add webpack webpack-cli webpack-dev-server vue-loader@next @vue/compiler-sfc babel-loader @babel/core @babel/preset-env @babel/preset-typescript babel-plugin-module-resolver url-loader file-loader html-webpack-plugin css-loader sass-loader style-loader sass -D -W
设置babel.config.js,解析ts语法
module.exports = {presets: ["@babel/preset-env","@babel/preset-typescript", // 解析ts语法,在采用preset-env],overrides: [{test: /\.vue$/,plugins: ["@babel/transform-typescript",],},],env: {utils: {plugins: [["babel-plugin-module-resolver", // 为了能正确找到ming-ui模块{ root: "ming-ui" },],],},},};
设置webpack.config.js,打包编译配置
const path = require("path");const HtmlWebpackPlugin = require("html-webpack-plugin");const { VueLoaderPlugin } = require("vue-loader");module.exports = {mode: "development",devtool: "source-map",entry: path.resolve(__dirname, "../main.ts"),output: {path: path.join(__dirname, "../dist"),filename: "bundle.js",},resolve: {// 表示解析的文件类型extensions: [".js", ".ts", ".tsx", ".vue"],},module: {rules: [{// 识别vuetest: /\.vue$/,use: "vue-loader",},{ test: /\.(js|ts)x?$/, exclude: /node_modules/, loader: "babel-loader" },{// 识别图标...test: /\.(svg|otf|ttf|woff|eot|gif|png)$/,loader: "url-loader",},{// 识别样式test: /\.(scss|css)$/,use: ["style-loader", "css-loader", "sass-loader"],},],},plugins: [new VueLoaderPlugin(),new HtmlWebpackPlugin({template: path.resolve(__dirname, "../public/index.html"),}),],};
在package.json添加预览组件的脚本
"scripts": {"preview-ui": "webpack serve --config ./examples/build/webpack.config.js"}
执行 yarn run preview-ui可以预览项目
import {createApp} from 'vue';import MingUI from "ming-ui";import App from './App.vue'createApp(App).use(MingUI).mount('#app'); // 入口文件中使用组件即可
<template><div><m-button></m-button><m-icon></m-icon></div></template>
组件库打包
以上步骤完成了本地创建组件并可以在项目中使用预览,接下来进行打包操作,打包之后发布到npm就可以供其他项目使用。
- 使用webpack打包umd格式
- 使用rollup打包esm格式
打包成umd格式
在根目录下创建builds/webpack.config.js ```javascript const path = require(“path”); const { VueLoaderPlugin } = require(“vue-loader”); module.exports = { mode: “production”, entry: path.resolve(dirname, “../packages/ming-ui/index.ts”), output: { path: path.join(dirname, “../lib”), filename: “index.js”, libraryTarget: “umd”, // umd支持commonjs和amd ,可以在浏览器运行,但是不支持es6 library: “ming-ui”, }, externals: { vue: {
}, }, resolve: { // 表示解析的文件类型 extensions: [“.js”, “.ts”, “.tsx”, “.vue”], }, module: { rules: [// 排除掉项目中引入的vue,不让打进ui包中root: "Vue",commonjs: "vue",commonjs2: "vue",
], }, plugins: [new VueLoaderPlugin()], };{// 识别vuetest: /\.vue$/,use: "vue-loader",},{ test: /\.(js|ts)x?$/, exclude: /node_modules/, loader: "babel-loader" },
<a name="yJ1hy"></a>### 添加打包入口脚本```javascript"scripts": {"build": "webpack --config builds/webpack.config.js"}
打包成esm格式
安装rollup的依赖包
yarn add rollup rollup-plugin-typescript2 @rollup/plugin-node-resolve rollup-plugin-vue -D -W
全量打包
import typescript from "rollup-plugin-typescript2";import { nodeResolve } from "@rollup/plugin-node-resolve";import path from "path";import vue from "rollup-plugin-vue";export default {input: path.resolve(__dirname, `../packages/ming-ui/index.ts`),output: {format: "es",file: `lib/index.esm.js`,},plugins: [nodeResolve(),vue({target: "browser",}),// 对ts编译时,会生成声明文件typescript({tsconfigOverride: {exclude: ["node_modules", "examples"],},}),],external(id) {// 排除vue本身return /^vue/.test(id);},};
"build:esm-bundle": "rollup -c ./builds/rollup.config.bundle.js"
为了给每个添加组件声明文件,每个组件的index.ts要增加设置
type IWithInstall<T> = T & { install(app: App): void };const _Button: IWithInstall<typeof Button> = Button;export default _Button;
type IWithInstall<T> = T & { install(app: App): void };const _Icon: IWithInstall<typeof Icon> = Icon;export default _Icon;
分组件打包
import typescript from "rollup-plugin-typescript2";import { nodeResolve } from "@rollup/plugin-node-resolve";import path from "path";import { getPackagesSync } from "@lerna/project";import vue from "rollup-plugin-vue";// 获取package.json 找到以@ming-ui 开头的组件包const inputs = getPackagesSync().map((pck) => pck.name).filter((name) => name.includes("@ming-ui"));export default inputs.map((name) => {const pckName = name.split("@ming-ui")[1];return {input: path.resolve(__dirname, `../packages/${pckName}/index.ts`),output: {format: "es",file: `lib/${pckName}/index.js`,},plugins: [nodeResolve(),vue({target: "browser",}),typescript({tsconfigOverride: {compilerOptions: {// 打包单个组件时,不用生成ts的声明文件,在全局打包时i已经生成声明文件declaration: false,},exclude: ["node_modules"],},}),],external(id) {// 排除vue本身 和自己设置的ming-ui包return /^vue/.test(id) || /^@ming-ui/.test(id);},};});
"build:esm": "rollup -c ./builds/rollup.config.js"
组件样式打包
scss格式文件编写
创建样式目录
lerna create theme-chalk
├─src│ ├─button.scss│ ├─icon.scss│ ├─index.scss # 整合所有scss│ ├─common│ │ var.scss # 提供scss变量│ ├─fonts # 字体│ └─mixins│ ├─config.scss # 提供名字│ └─mixins.scss # 提供mixin方法├─gulpfile.js├─package.json
$namespace: "m"; // scss命名空间,。都是以m开头$state-prefix:"is-"; // 表示状态 is-readonly is-disabled$modifier-separator:"--"; //修饰作用 m-button--primary$element-separator: "__"; // 元素之间的分割 m-app__body
@import "../mixins/config.scss";$--color-primary: #409EFF;$--color-white: #FFFFFF;$--color-black: #000000;$--color-success: #67C23A;$--color-warning: #E6A23C;$--color-danger: #F56C6C;$--color-info: #909399;
@import "../common/var.scss";// .m-button{}@mixin b($block) {$B: $namespace+'-'+$block;.#{$B}{@content;}}// .m-button.is-xxx@mixin when($state) {@at-root {&.#{$state-prefix + $state} {@content;}}}// &--primary => .m-button--primary@mixin m($modifier) {@at-root {#{&+$modifier-separator+$modifier} {@content;}}}// &__header => .m-button__header@mixin e($element) {@at-root {#{&+$element-separator+$element} {@content;}}}
预览组件环境中使用scss文件
import "theme-chalk/src/index.scss"
最终使用打包后的css引入即可,这里为了方便调试,这样引入不需要每次进行重新打包
字体图标iconfont的使用
使用iconfont字体图标,图标库地址
在 资源管理 -> 我的项目 设置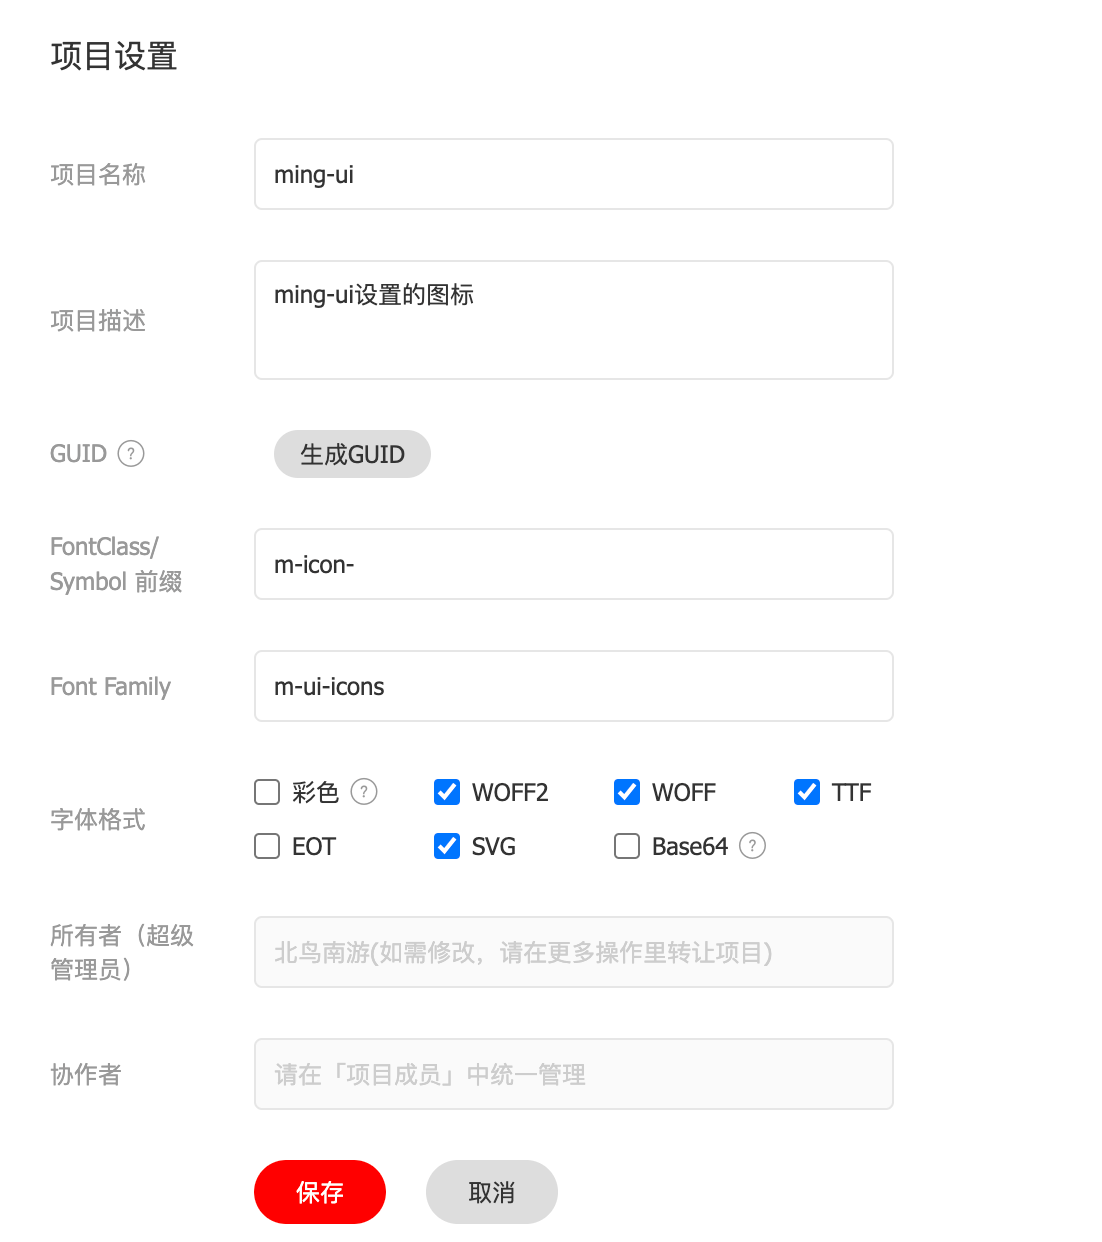
设置完成,下载到本地
主要使用 iconfont.css 的内容,添加到 theme-chalk/src/icon.scss 中
@import "./common/var.scss";@font-face {font-family: "m-ui-icons"; /* Project id 3381025 */src: url('./fonts/iconfont.woff2?t=1651839500521') format('woff2'),url('./fonts/iconfont.woff?t=1651839500521') format('woff'),url('./fonts/iconfont.ttf?t=1651839500521') format('truetype'),url('./fonts/iconfont.svg?t=1651839500521#m-ui-icons') format('svg');}// .m-ui-icons {[class^="#{$namespace}-icon-"] {font-family: "m-ui-icons" !important;font-size: 16px;font-style: normal;-webkit-font-smoothing: antialiased;-moz-osx-font-smoothing: grayscale;}@keyframes rotating {0% {transform: rotateZ(0deg);}100% {transform: rotateZ(360deg);}}.#{$namespace}-icon-loading, .#{$namespace}-icon-exchangerate {display: inline-block ;animation: rotating 1.5s linear infinite;}// 后续样式省略
然后添加依赖的字体文件,把woff、woff2、ttf、svg文件复制到theme-chalk/src/fonts中
测试添加的图标
<template><i :class="`m-icon-${name}`"></i></template><script lang="ts">import { defineComponent } from "vue";export default defineComponent({name: "MIcon",props: {name: {type: String,default: "",},},});</script>
安装gulp及依赖环境
yarn add gulp gulp-autoprefixer gulp-cssmin gulp-dart-sass gulp-rename -D -W
使用gulp打包,添加打包脚本
"build:theme": "gulp build --gulpfile packages/theme-chalk/gulpfile.js"
编译后生成lib
├── button.css├── fonts│ ├── iconfont.svg│ ├── iconfont.ttf│ ├── iconfont.woff│ └── iconfont.woff2├── icon.css

若有收获,就点个赞吧
0 人点赞
