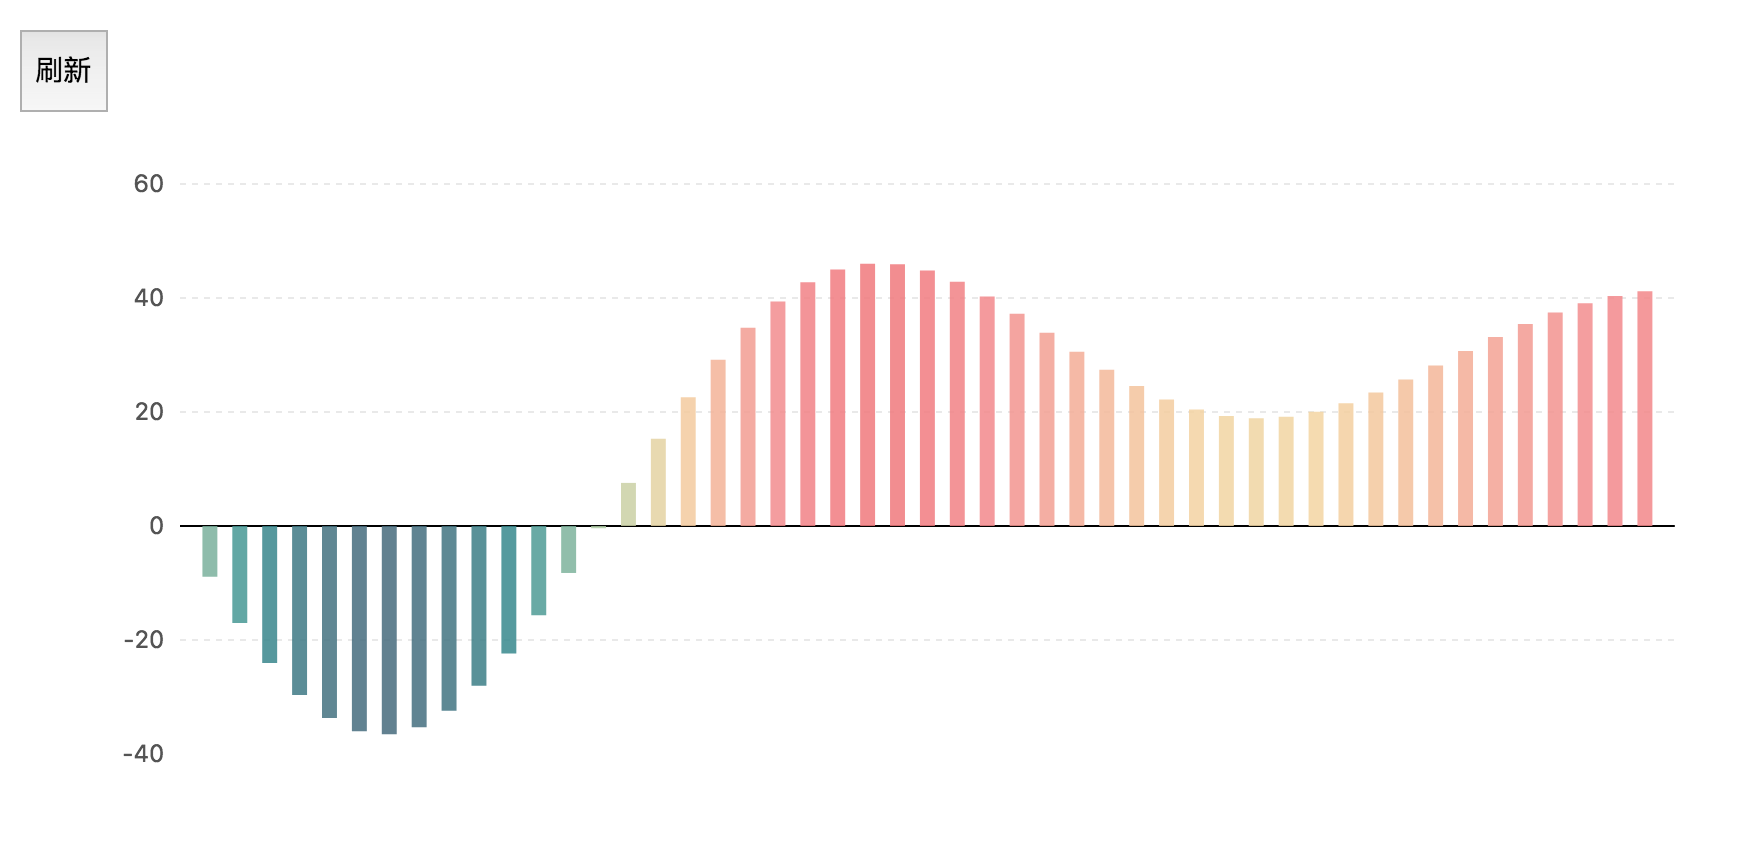
在 G2 内部,我们默认为一些场景内置了动画,包括入场、更新、出场动画等。同时,我们还提供了自定义动画的机制,以满足更广泛的需求,让用户能更系统、更全面的控制 G2 的动画。
- 动画注册 Animate.registAnimation()
const { Animate } = G2;/*** @param {String} animationType 动画场景类型 appear enter leave update* @param {String} 动画名称,用户自定义即可* @param {Function} 动画执行函数**/Animate.registerAnimation(animationType, animationName, animationFun);
- 动画配置 geom.animate()
chart.interval().position('x*y').animate({enter:{animation: 'fadeIn', // 动画名称easing: 'easeQuartIn', // 动画缓动效果delay: 100, // 动画延迟执行时间duration: 600 // 动画执行时间}});
在 G2 中,我们提供了四种动画场景类型:
appear: 初始化时的入场动画;
enter: 更新时的出现动画;
update: 更新时的变化动画;
leave: 更新时的动画;
上述方法更详细的使用说明详见: G2 Animate API。
1 分钟上手自定义动画
以柱状图为例:

const Animate = G2.Animate;Animate.registerAnimation('appear', 'delayScaleInY', function(shape, animateCfg) {const box = shape.getBBox(); // 获取柱子包围盒const origin = shape.get('origin'); // 获取柱子原始数据const points = origin.points; // 获取柱子顶点// 计算柱子的变换中点const centerX = (box.minX + box.maxX) / 2;let centerY;if (points[0].y - points[1].y <= 0) { // 当顶点在零点之下centerY = box.maxY;} else {centerY = box.minY;}// 设置初始态shape.attr('transform', [['t', -centerX, -centerY],['s', 1, 0.1],['t', centerX, centerY]]);const index = shape.get('index');let delay = animateCfg.delay;if (G2.Util.isFunction(delay)) {delay = animateCfg.delay(index);}let easing = animateCfg.easing;if (G2.Util.isFunction(easing)) {easing = animateCfg.easing(index);}// 设置动画目标态shape.animate({transform: [['t', -centerX, -centerY],['s', 1, 10],['t', centerX, centerY]]}, animateCfg.duration, easing, animateCfg.callback, delay);});const data = [];for (let i = 0; i < 50; i++) {data.push({x: i,y: (Math.sin(i / 5) * (i / 5 - 10) + i / 6) * 5});}const chart = new G2.Chart({container: 'c1',forceFit: true,height: 400});chart.axis('x', false);chart.legend(false);chart.source(data);chart.interval().position('x*y').color('y', '#4a657a-#308e92-#b1cfa5-#f5d69f-#f5898b-#ef5055').animate({appear: {animation: 'delayScaleInY',easing: 'easeElasticOut',delay: index => {return index * 10;}}});chart.render();$('button#refresh').click(ev => {chart.clear();chart.interval().position('x*y').color('y', '#4a657a-#308e92-#b1cfa5-#f5d69f-#f5898b-#ef5055').animate({appear: {animation: 'delayScaleInY',easing: 'easeElasticOut',delay: index => {return index * 10;}}});chart.render();});
第一步:获取 Animate 对象
const Animate = G2.Animate;
第二步:自定义动画(核心)
自定义动画的核心在于:
设置图形的初始状态
确定图形的结束状态
调用动画函数
这里以定义一个柱状图的动画示例:
首先获取每根柱子的包围盒。包围盒的意思是能包围图形的最小矩形,所以包围盒含有 minX、minY、maxX、maxY 四个属性,这四个参数限定的区间即为图形的包围盒。
计算变换中点。当顶点在零点之上时,延 Y 轴正向放大,所以变换的中点在包围盒底部中间;当顶点在零点之下时,延 Y 轴反向放大。所以变换的中点在包围盒顶部中间。
设置动画初始状态。要实现柱子的放大,需要先将柱子缩到最小。为 shape 设置 transform 属性,先将坐标系的原点移到变换中点,然后将柱子的 y 值缩小到 0.1 倍,最后将坐标系的原点移到原处。
实现延迟放大效果的动画。调用 shape 的 animate() 方法,传入变换的结束状态、动画时间和缓动函数。结束状态中可以配置延迟参数 delay ,给每个 shape 的动画添加一个跟序号成正比的延迟,即可实现依次放大的效果。
// shape 是柱子对象,animateCfg 是动画配置const animateFun = function(shape, animateCfg) {const box = shape.getBBox(); // 获取柱子包围盒const origin = shape.get('origin'); // 获取柱子原始数据const points = origin.points; // 获取柱子顶点// 计算柱子的变换中点const centerX = (box.minX + box.maxX) / 2;let centerY;if (points[0].y - points[1].y <= 0) { // 当顶点在零点之下centerY = box.maxY;} else {centerY = box.minY;}// 设置初始态shape.attr('transform', [[ 't', -centerX, -centerY ],[ 's', 1, 0.1 ],[ 't', centerX, centerY ]]);const index = shape.get('index');let delay = animateCfg.delay;if (G2.Util.isFunction(delay)) {delay = animateCfg.delay(index);}let easing = animateCfg.easing;if (G2.Util.isFunction(easing)) {easing = animateCfg.easing(index);}// 设置动画目标态shape.animate({transform: [[ 't', -centerX, -centerY ],[ 's', 1, 10 ],[ 't', centerX, centerY ]]}, animateCfg.duration, easing, animateCfg.callback, delay);}
第三步:注册动画
Animate.registerAnimation('appear', 'delayScaleInY', animateFun);
第四步:绘制柱状图,配置动画参数
chart.interval().position('x*y').color('y', '#4a657a-#308e92-#b1cfa5-#f5d69f-#f5898b-#ef5055').animate({appear: {animation: 'delayScaleInY',easing: 'easeElasticOut',delay: index => {return index * 10;}}});

