1 安装node版本管理工具nvm
curl -o- https://raw.githubusercontent.com/creationix/nvm/v0.33.11/install.sh | bash
// 更新配置 source .bashrc
上面这种方法是正宗的, 但对我的mac一直报: curl: (35) LibreSSL SSL_connect: SSL_ERROR_SYSCALL in connection to raw.githubusercontent.com:443
所以我们采用下面的方法安装
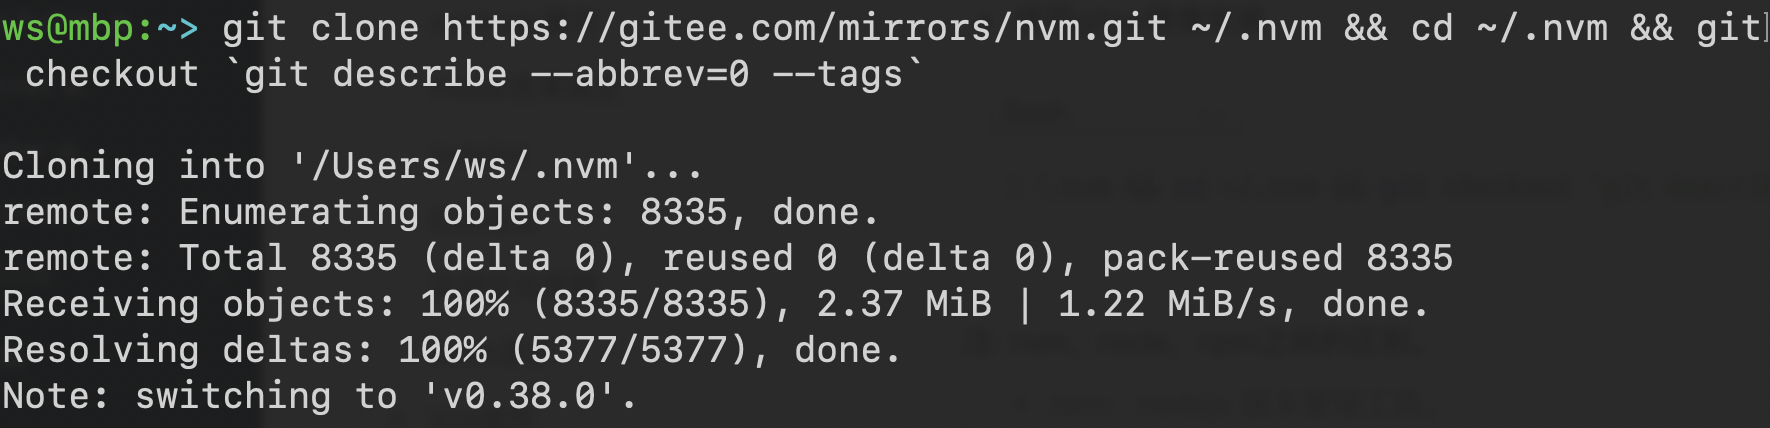
(1) 使用gitee镜像安装
git clone https://gitee.com/mirrors/nvm.git ~/.nvm && cd ~/.nvm && git checkout `git describe --abbrev=0 --tags`
(2) 配置nvm环境
进入.bash_profile文件设置环境变量
vi ~/.bash_profile
配置环境变量:
export NVM_DIR="$HOME/.nvm"[ -s "$NVM_DIR/nvm.sh" ] && . "$NVM_DIR/nvm.sh"
执行命令行生效
source ~/.bash_profile
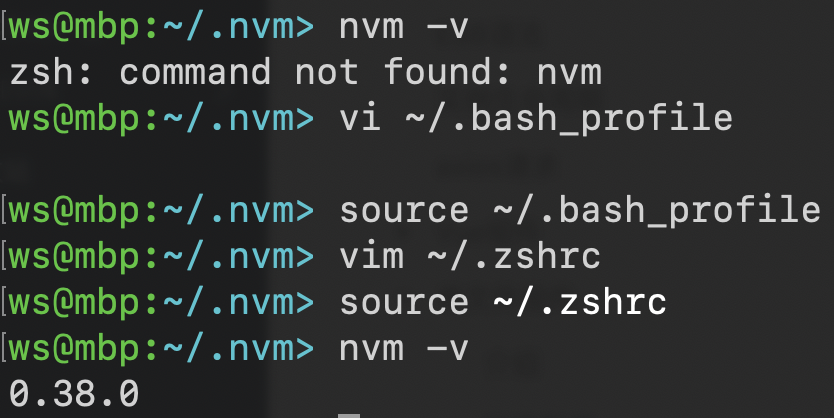
zsh下还需要进行下列额外操作
vim ~/.zshrc
注: nvm,node,npm之间的区别。- nvm:nodejs 版本管理工具。
也就是说:一个 nvm 可以管理很多 node 版本和 npm 版本。 - nodejs:在项目开发时的所需要的代码库
- npm:nodejs 包管理工具。
在安装的 nodejs 的时候,npm 也会跟着一起安装,它是包管理工具。
npm 管理 nodejs 中的第三方插件
2 安装最新版本的node
nvm install node
3 更新npm的安装源
npm config set registry https://registry.npm.taobao.org
4 创建项目目录
mkdir project
5 进入项目目录,初始化项目目录
cd project npm init
一路回车, 初始化完成后在当前目录中会生成一个package.json文件,该文件指定项目所以依赖的模块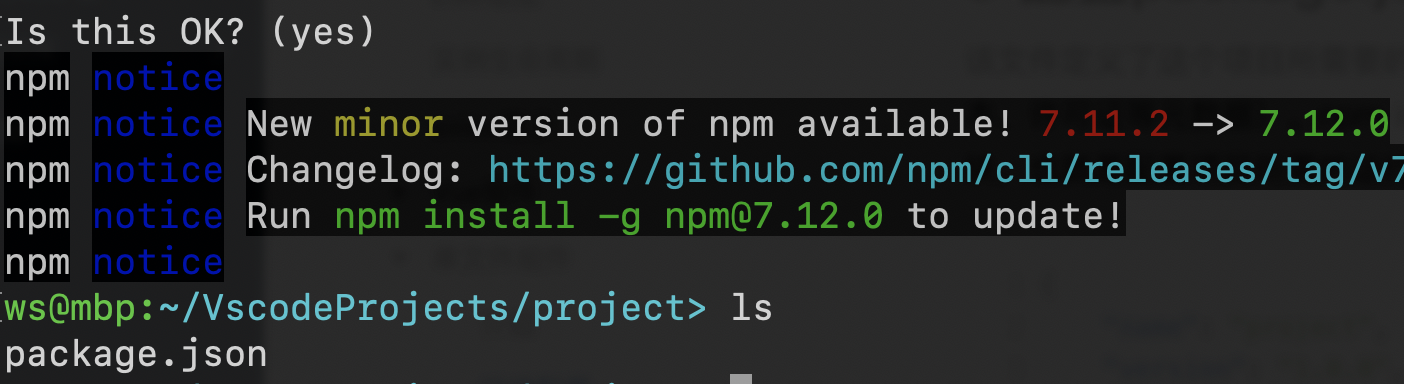
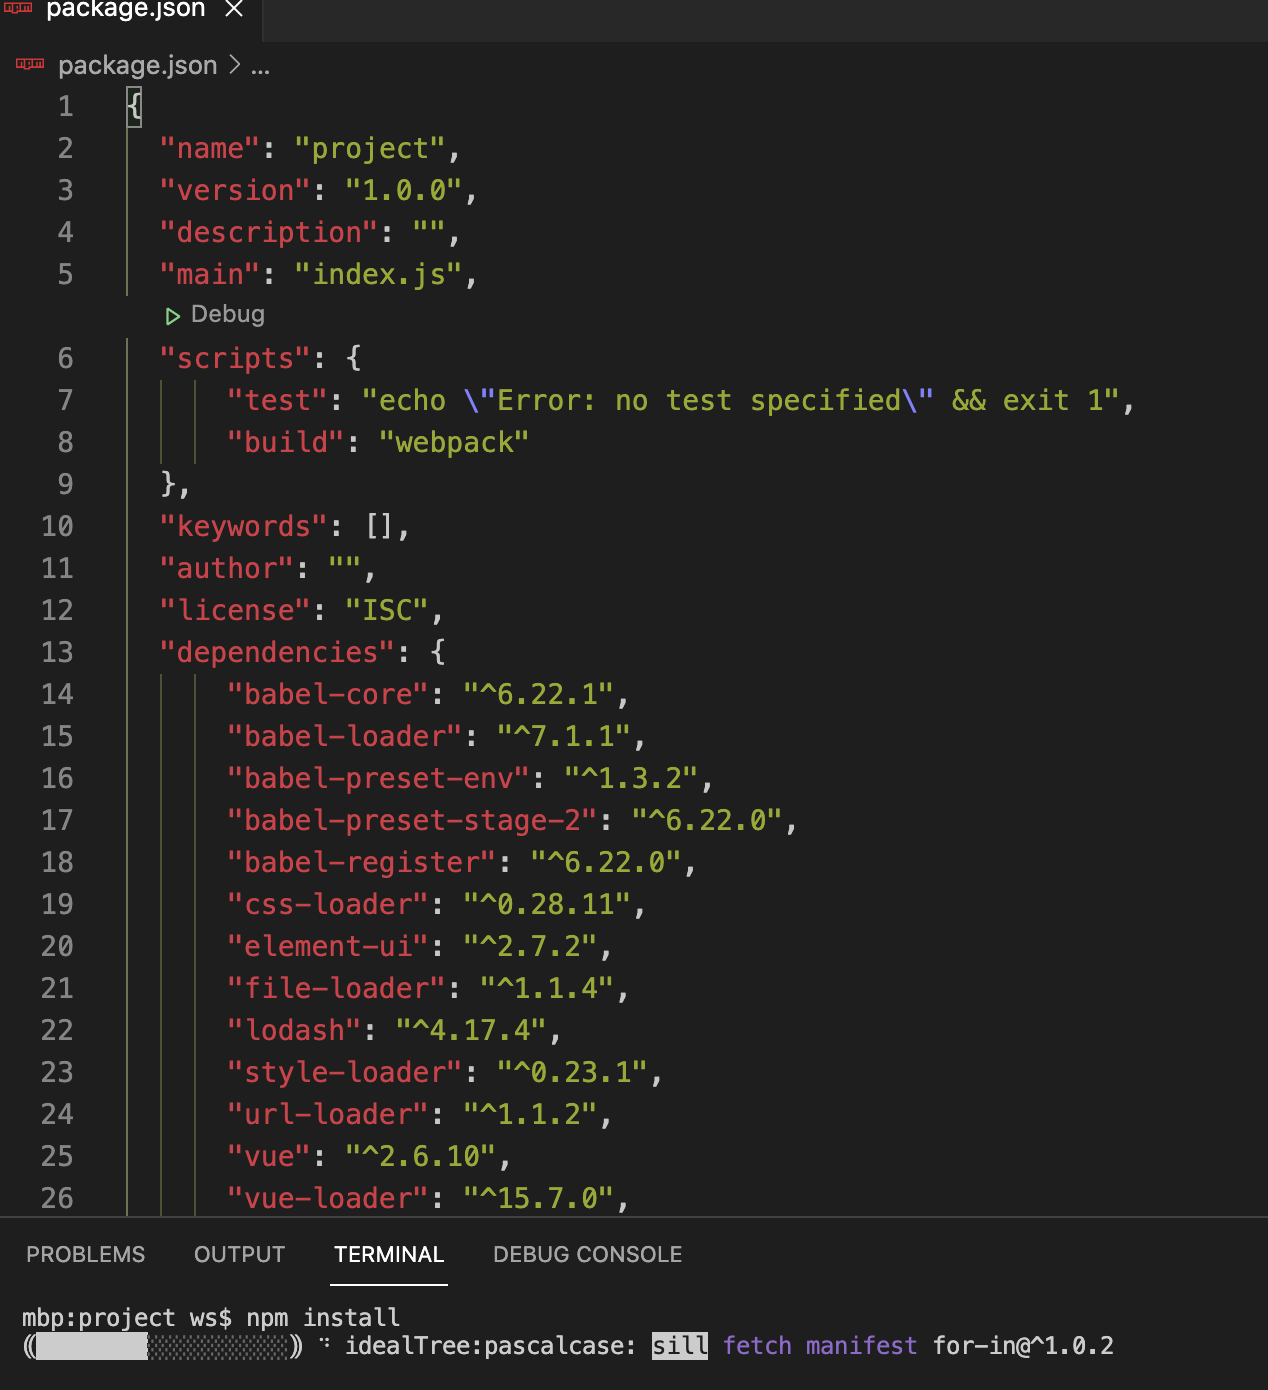
6 配置package.json文件
该文件定义了这个项目所需要的各种模块,以及项目的配置信息(比如名称、版本、许可证等元数据)。npm install 命令根据这个配置文件,自动下载所需的模块,也就是配置项目所需的运行和开发环境。
{"name": "project","version": "1.0.0","description": "","main": "index.js","scripts": {"test": "echo \"Error: no test specified\" && exit 1","build": "webpack"},"keywords": [],"author": "","license": "ISC","dependencies": {"babel-core": "^6.22.1","babel-loader": "^7.1.1","babel-preset-env": "^1.3.2","babel-preset-stage-2": "^6.22.0","babel-register": "^6.22.0","css-loader": "^0.28.11","element-ui": "^2.7.2","file-loader": "^1.1.4","lodash": "^4.17.4","style-loader": "^0.23.1","url-loader": "^1.1.2","vue": "^2.6.10","vue-loader": "^15.7.0","vue-router": "^3.0.2","vue-style-loader": "^3.0.1","vue-template-compiler": "^2.5.2","webpack": "^4.29.6","webpack-cli": "^3.3.0","webpack-dev-server": "^3.2.1"}}
7 安装项目依赖模块
npm install
8 创建项目文件 main.js, index.html, App.vue
touch index.html main.js App.vue
- App.vue文件为单文件组件文件
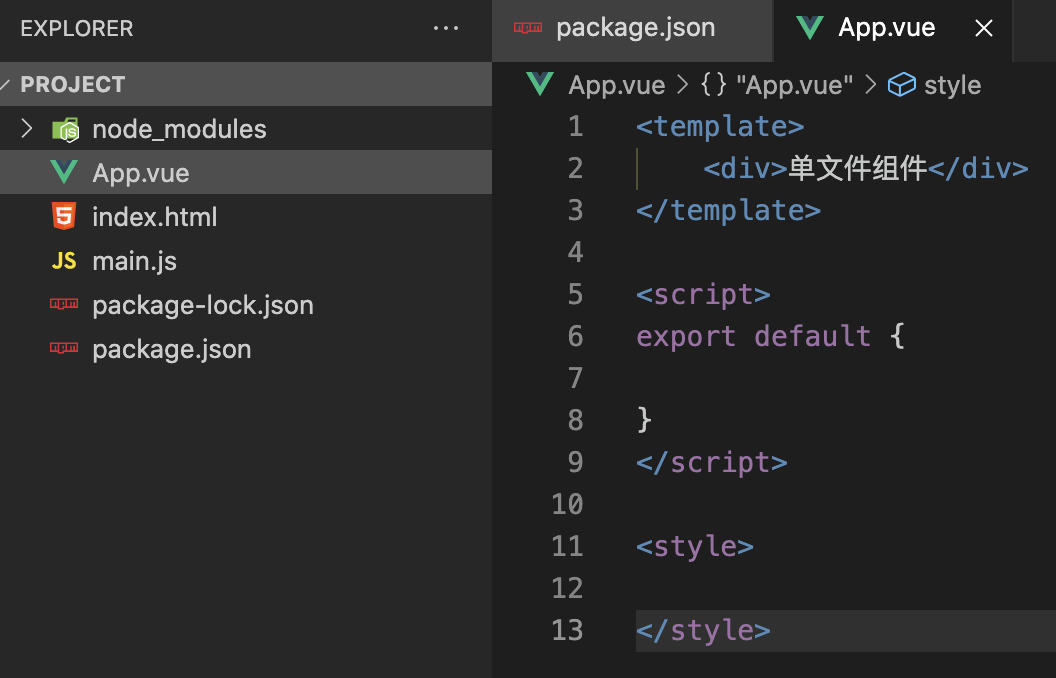
<template><div>单文件组件</div></template><script>export default {}</script><style></style>
- main.js 文件定义vue及调用单文件组件,也是项目打包时所依赖的文件 ```javascript import Vue from ‘vue’ import App from ‘./App.vue’
new Vue({ el: ‘#app’, // 渲染单文件组件 render: function(create){ return create(App) } })
- index.html文件是项目的首页文件```html<!DOCTYPE html><html lang="zh-CN"><head><meta charset="UTF-8"><meta name="viewport" content="width=device-width, initial-scale=1.0"><meta http-equiv="X-UA-Compatible" content="ie=edge"><script src="https://cdn.jsdelivr.net/npm/vue/dist/vue.js"></script><script>Vue.config.productionTip = false</script><title>Vue-demo</title></head><body><div id="app"><App></App></div><script>var vm = new Vue({el: "#app",data: {},methods: {},});</script><script src='./index.js'></script></body></html>
9 创建webpacke打包的配置文件webpack.config.js
const path = require('path')const VueLoaderPlugin = require('vue-loader/lib/plugin');module.exports = {entry: { main: "./main.js" }, //入口文件output: {filename: 'index.js', //出口文件名path: path.resolve(__dirname), //当前目录library: 'index' // 打包后模块的名称},plugins: [// make sure to include the plugin for the magicnew VueLoaderPlugin()],module: {rules: [ //定义不同类型的文件使用的loader{test: /\.vue$/,loader: 'vue-loader'},{test: /\.js$/,loader: 'babel-loader'},{test: /\.css$/,loader: 'vue-style-loader',},{test: /\.css$/,loader: 'css-loader',options: {minimize: true //添加}},{test: /\.(eot|svg|ttf|woff|woff2)$/,loader: 'file-loader'},]}}
10 生成index.js
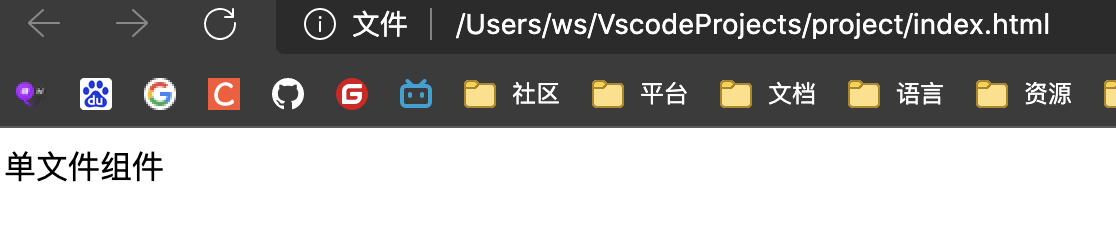
文件编写完成后并不能直接运行index.html产生效果,需要对项目进行打包生成一个渲染后的index.js文件进行使用
打包后会在当前目录下生成一个index.js 文件,在index.html中引用该文件,运行index.html文件看到效果
npm run build

11 效果展示

若有收获,就点个赞吧
0 人点赞
