在 cong.net 部署静态博客,跟 github 是不一样的,这里简单记录一下。以谢益辉的 hugo-xmag 博客主题为例。
1. 创建项目,进入代码浏览

2. 在服务器中生成网站,并推送
shenweiyan@ecs-steven 14:25:22 /home/shenweiyan$ mkdir shenweiyan.com$ cd shenweiyan.com$ mkdir themes$ cd themes$ git clone https://github.com/yihui/hugo-xmag.gitCloning into 'hugo-xmag'...remote: Enumerating objects: 12, done.remote: Counting objects: 100% (12/12), done.remote: Compressing objects: 100% (11/11), done.remote: Total 547 (delta 2), reused 7 (delta 1), pack-reused 535Receiving objects: 100% (547/547), 339.23 KiB | 53.00 KiB/s, done.Resolving deltas: 100% (236/236), done.$ cd /home/shenweiyan/shenweiyan.com$ cp -r themes/hugo-xmag/exampleSite/* .$ hugo # 这一步会默认生成 public 静态博客目录| EN+------------------+----+Pages | 41Paginator pages | 3Non-page files | 0Static files | 2Processed images | 0Aliases | 16Sitemaps | 1Cleaned | 0Total in 129 ms$ cd public$ git initInitialized empty Git repository in /home/shenweiyan/shenweiyan.com/public/.git/$ git remote add origin https://username:passwd@e.coding.net/bioit/shenweiyan.com.git$ git add --all$ git commit -m "first commit"$ git push origin master # 完成 public 目录的所有文件推送
3. 开始构建静态网站
在导航栏的 “构建与部署” 中选择 “静态网站”,点击“直接发布静态网站”。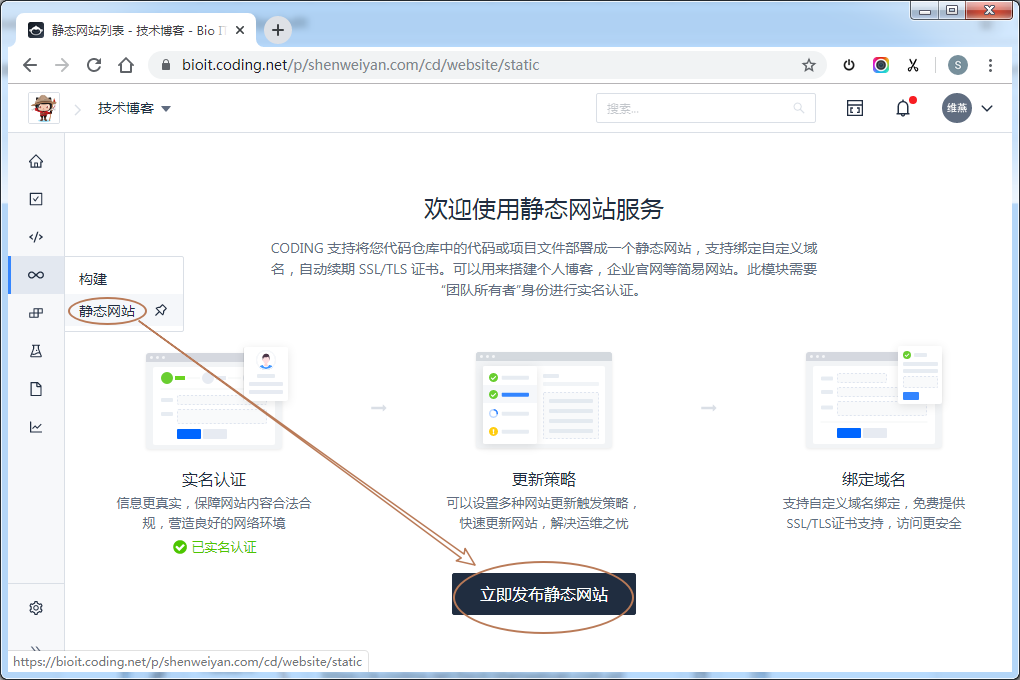
填写网站名称,然后 “保存“。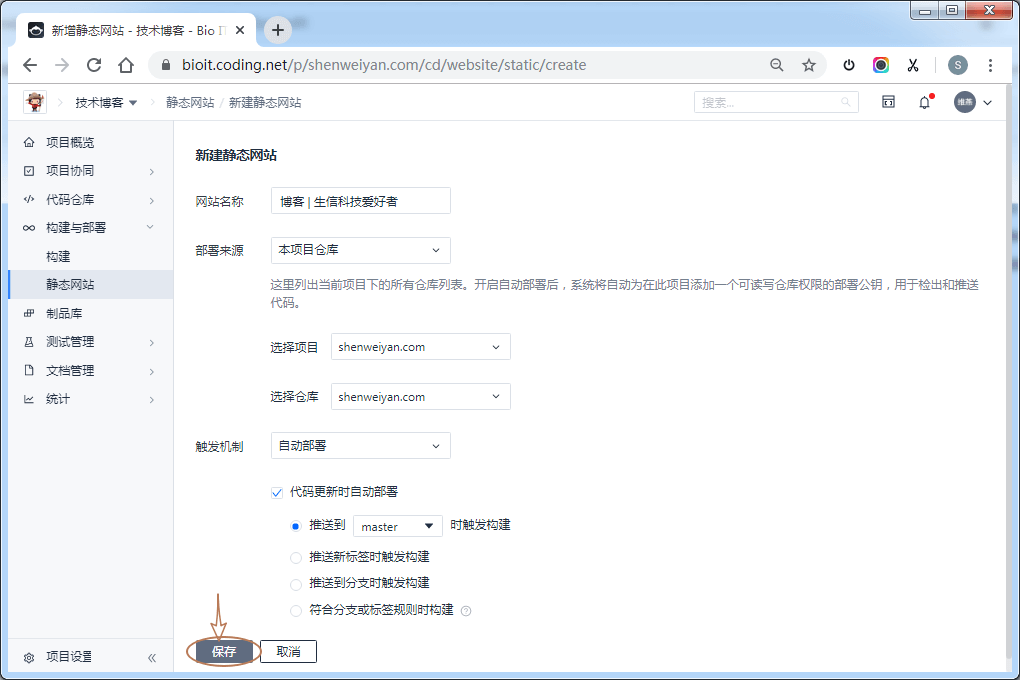
“保存“ 后,在部署页面点击 “立即部署“。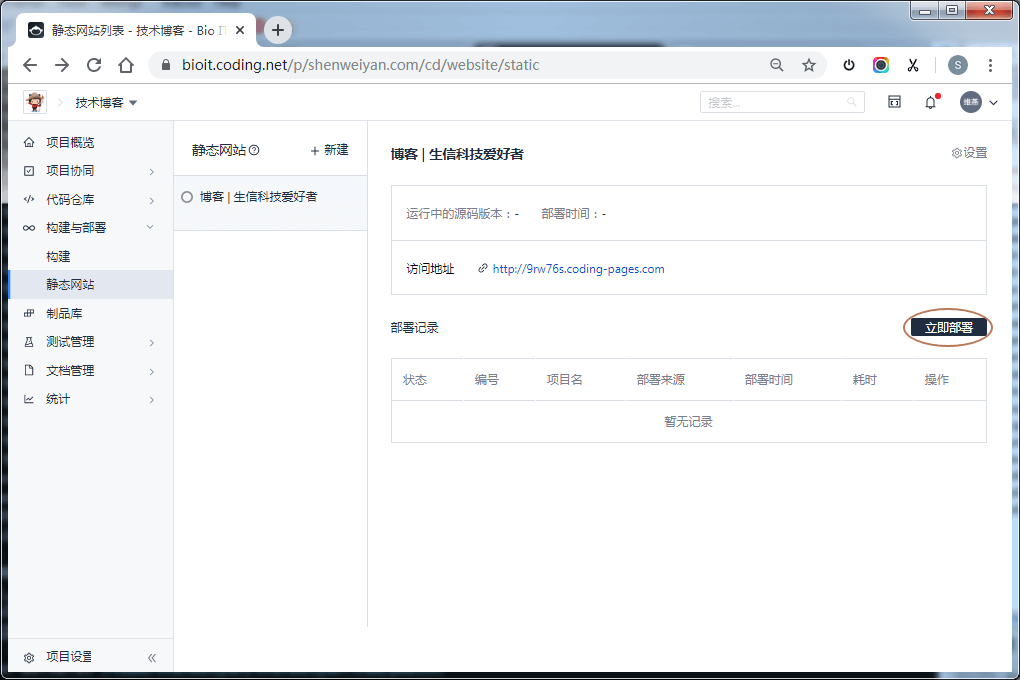
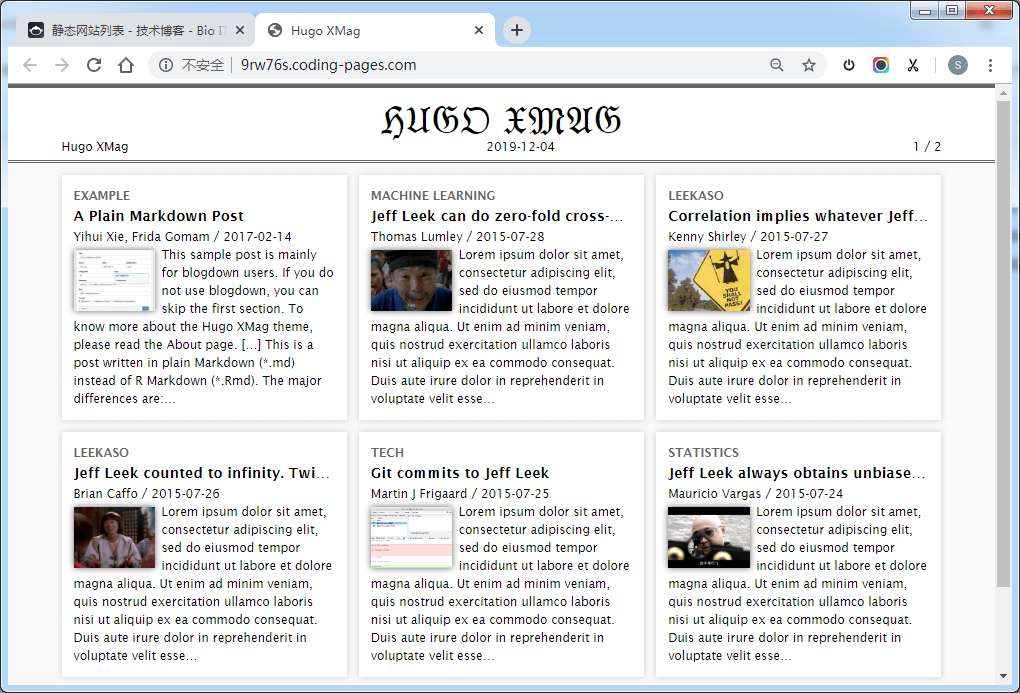
部署成功后,通过访问地址可以打开静态的网站。
4. 绑定域名
在项目导航栏 “构建与部署” → “静态网站” 页面,点击右上角的 “设置” 按钮。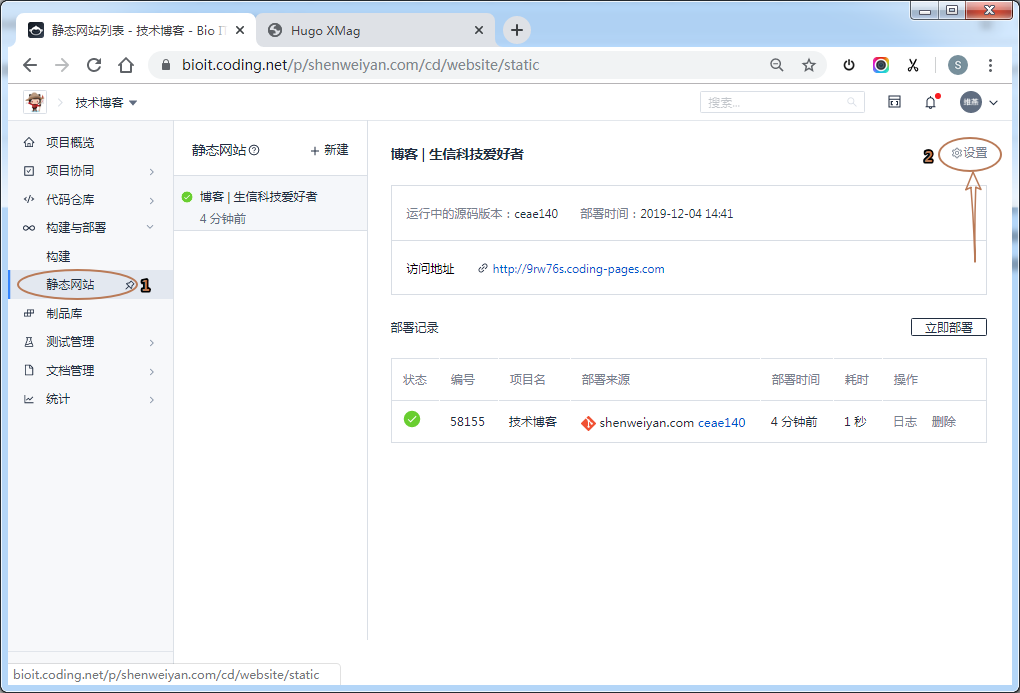
在 “设置” 页面,填写需要绑定的域名,并选择强制 https 访问。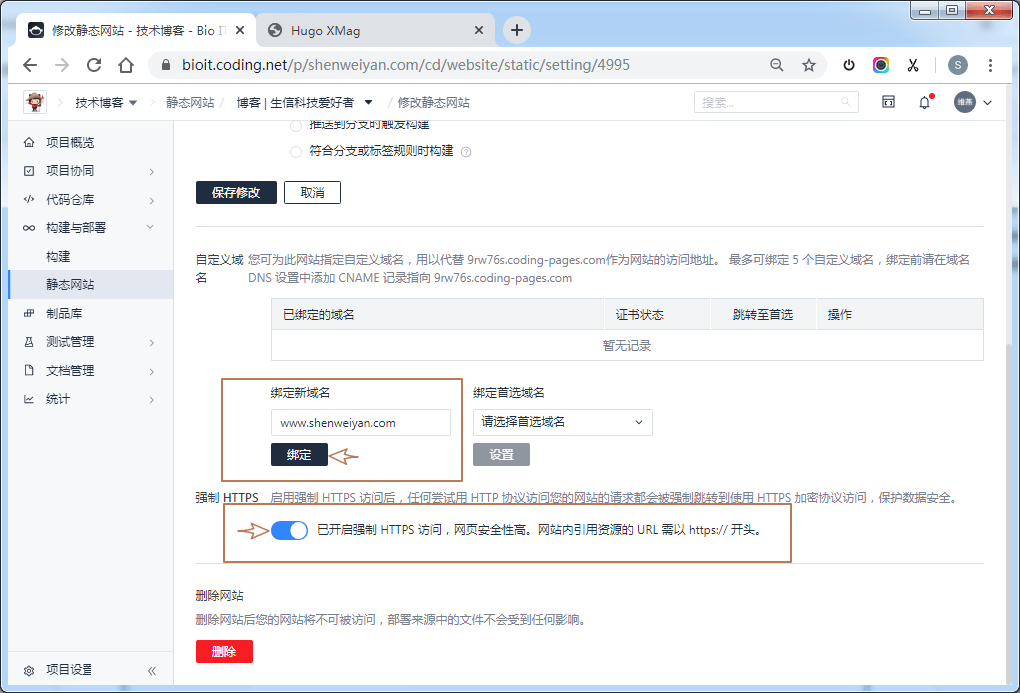
在域名解析中添加一条 CNAME 记录。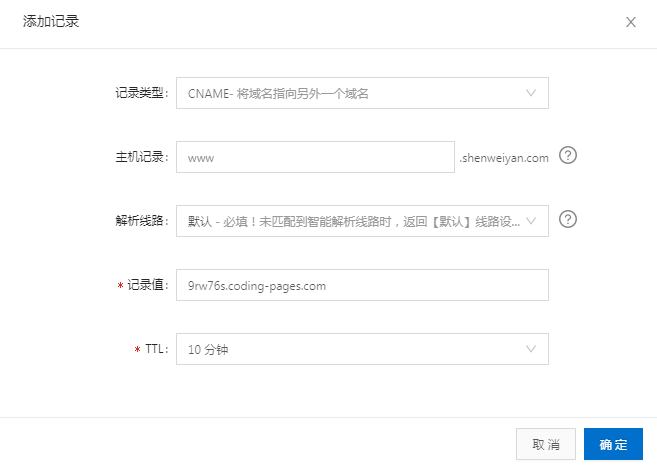
域名解析 CNAME 添加后,等待几分钟,直至证书状态为“正常”。如果证书状态失败,检查你的 CNAME 记录,并再尝试多重新申请几次。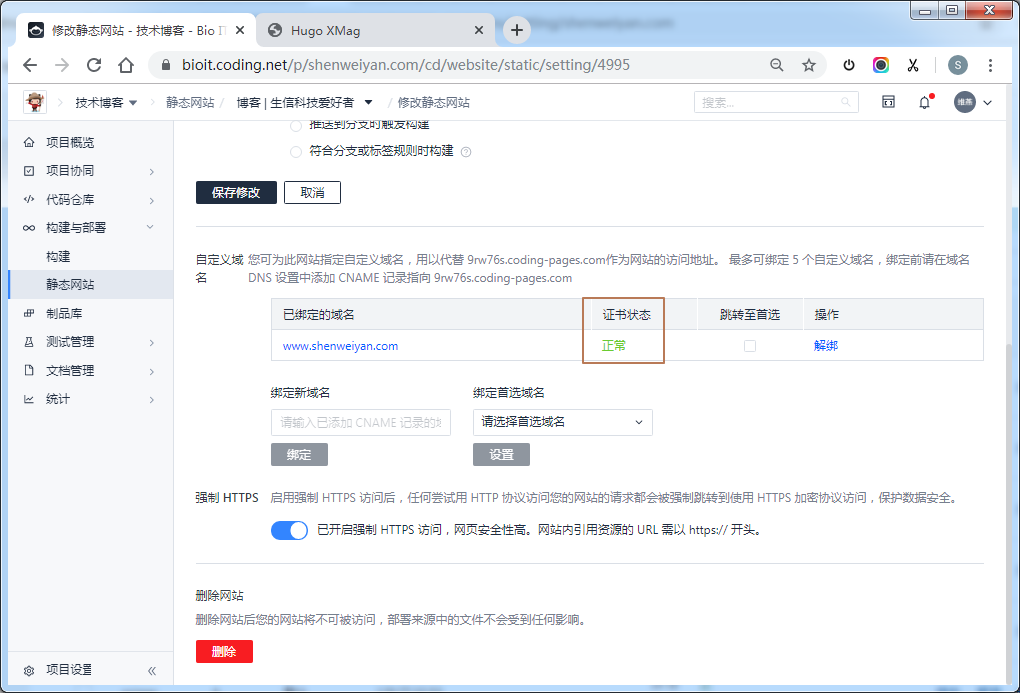
最后,通过域名访问,一切正常。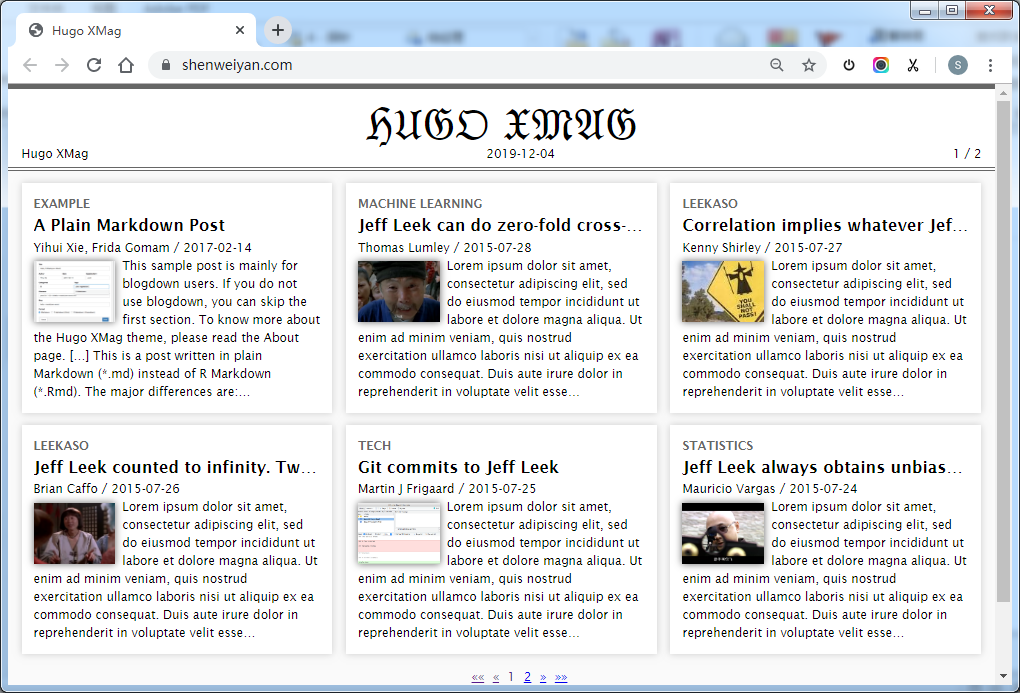

若有收获,就点个赞吧
0 人点赞
