1.环境准备
Linux-10.11.0.182
Mysql-10.11.0.215
Nacos-10.11.0.220
2.搭建步骤
测试环境和开发环境的搭建步骤一致,这里我只写出几个不同的点
- seata数据库及表的创建- nacos配置文件的同步- seata-server的配置和启动
2.1seata数据库及表的创建
创建seata数据库 (10.11.0.215数据库)
CREATE DATABASE test_seata;
创建相关表
略
2.2nacos配置文件的同步
config.txt修改部分位置
...service.vgroupMapping.yurun_test_tx_group=default...store.mode=db...store.db.url=jdbc:mysql://10.11.0.215:3306/test_seata?useUnicode=true&rewriteBatchedStatements=true&useSSL=false&characterEncoding=utf8&zeroDateTimeBehavior=convertToNull&serverTimezone=GMT%2B8store.db.user=rootstore.db.password=123456...
运行脚本-同步到Nacos
sh nacos-config.sh -h 10.11.0.220 -p 8855 -g SEATA_GROUP -t 4fecb4fd-1e5f-42d4-93d5-0b9ce295c707 -u dev -w dev
注:这里会出现2个同步失败的参数,不影响我们的使用,不用关心
2.3seata-server的配置和启动
下载,解压
配置seata-server的注册和配置中心(conf/registry.conf) ``` registry {
file 、nacos 、eureka、redis、zk、consul、etcd3、sofa
type = “nacos” loadBalance = “RandomLoadBalance” loadBalanceVirtualNodes = 10
nacos { application = “seata-server” serverAddr = “10.11.0.220:8855” group = “SEATA_GROUP” namespace = “cd8007fd-86a4-4d63-824c-7a70169d4d9b” cluster = “default” username = “dev” password = “dev” } ………. }
config {
file、nacos 、apollo、zk、consul、etcd3
type = “nacos”
nacos { serverAddr = “10.11.0.220:8855” namespace = “4fecb4fd-1e5f-42d4-93d5-0b9ce295c707” group = “SEATA_GROUP” username = “appconnect” password = “appconnect” } ……… }
3.在seata的解压目录下创建一个logs目录(可选,放置gc日志用)<br /><br />4.由于所用的主机 硬盘有限,可以设置一下日志目录(可选)<br />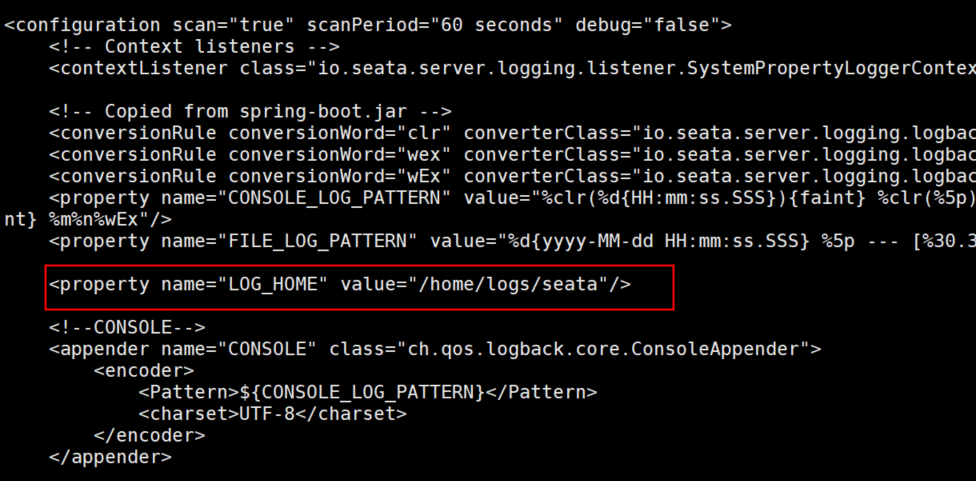<br />5.编写一个使用nohup启动的脚本并启动```shell#!/bin/bashnohup /home/software/seata-server-1.4.1/bin/seata-server.sh >log.out 2>&1 &

若有收获,就点个赞吧
0 人点赞
