在先前的教程中,您了解了活动,意向和其他内容。 本教程借助示例介绍了 Android 中的事件处理。
事件处理
事件是一个动作。 当用户与移动应用程序交互时,会发生这种情况。 Android 中的事件采用多种不同形式,例如按键,触摸输入和许多其他形式。 触摸屏交互属于触摸事件的类别。 Android 框架将所有事件维护在先进先出(FIFO)队列中。 顾名思义,事件处理程序用于处理 Android 中的事件。 事件处理程序和事件监听器是相关概念。
事件监听器
它是一个包含回调方法的接口。 当用户触发视图元素时,它将调用这些方法。 以下是一些重要的回调方法:
OnClickListener():当用户单击任何 UI 元素(如按钮,文本或图像)时,将调用此事件监听器。OnClick()事件处理程序用于处理此监听器。OnLongClickListener():当用户长时间单击任何 UI 元素或按住 UI 元素几秒钟时,将调用此方法。OnLongClick()事件处理程序用于处理此监听器。OnFocusChangeListener():当 UI 元素或小部件失去焦点时,将调用此方法。 只需用户向前导航。OnFocusChange()事件处理程序用于处理此监听器。OnKeyListener():当用户按下键盘上的键时,将调用此方法。OnKey()事件处理程序用于处理此事件。OnTouchListener():当用户触摸屏幕上的任何 UI 元素(例如按下或释放按钮)时,将调用此方法。OnTouch()事件处理程序用于处理此监听器。OnMenuItemClickListener():当用户单击或选择菜单项时使用此方法。OnMenuItemClick()事件处理程序用于处理此监听器。OnCreateContextMenuListener():OnCreateContextMenu()事件处理程序用于处理此监听器。
事件处理示例
让我们开始创建一个示例,说明如何在 Android 应用中使用事件处理程序和事件监听器。 打开 Android Studio 并创建一个新项目。 打开您的activtity_main.xml并添加测试视图,图像视图和按钮。 这是代码
<?xml version="1.0" encoding="utf-8"?><RelativeLayout xmlns:android="http://schemas.android.com/apk/res/android"xmlns:tools="http://schemas.android.com/tools"android:layout_width="match_parent"android:layout_height="match_parent"tools:context="MainActivity"><TextViewandroid:id="@+id/tv_welcome"android:layout_width="wrap_content"android:layout_height="wrap_content"android:text="Welcome to "android:textColor="@android:color/holo_red_dark"android:textSize="40dp"android:layout_centerVertical="true"android:layout_centerHorizontal="true" /><ImageButtonandroid:layout_width="wrap_content"android:layout_height="wrap_content"android:id="@+id/imageButton"android:src="@drawable/message"android:layout_alignParentTop="true"android:layout_centerHorizontal="true"android:layout_marginTop="20dp" /><Buttonandroid:id="@+id/button"android:layout_width="150dp"android:layout_height="wrap_content"android:background="@android:color/holo_red_dark"android:text="Change Color"android:textColor="@android:color/background_light"android:layout_alignParentBottom="true"android:layout_centerHorizontal="true"android:layout_marginBottom="70dp" /><TextViewandroid:id="@+id/tv_java"android:layout_width="wrap_content"android:layout_height="wrap_content"android:textColor="@android:color/holo_red_dark"android:textSize="40dp"android:layout_marginTop="21dp"android:text="Java Tutorial.net"android:layout_below="@+id/tv_welcome"android:layout_centerHorizontal="true" /></RelativeLayout>
现在在mainActivity.java中编写代码,当用户单击按钮时,文本的颜色将改变,在此实现onClickListener()。 最初,文本颜色为红色,第一次单击时颜色将变为黑色,第二次单击时颜色将变为绿色,依此类推。 这是代码
package com.example.admin.androideventhandling;import android.graphics.Color;import android.support.v7.app.AppCompatActivity;import android.os.Bundle;import android.view.View;import android.widget.Button;import android.widget.TextView;public class MainActivity extends AppCompatActivity {TextView welcome;TextView java;Button button;int i=0;@Overrideprotected void onCreate(Bundle savedInstanceState) {super.onCreate(savedInstanceState);setContentView(R.layout.activity_main);welcome = (TextView)findViewById(R.id.tv_welcome);java = (TextView)findViewById(R.id.tv_java);button = (Button) findViewById(R.id.button);button.setOnClickListener(new View.OnClickListener() {@Overridepublic void onClick(View v) {if(i==0) {welcome.setTextColor(Color.BLACK);java.setTextColor(Color.BLACK);button.setBackgroundColor(Color.BLACK);}if(i==1) {welcome.setTextColor(Color.GREEN);java.setTextColor(Color.GREEN);button.setBackgroundColor(Color.GREEN);}if(i==2) {welcome.setTextColor(Color.BLUE);java.setTextColor(Color.BLUE);button.setBackgroundColor(Color.BLUE);}if(i==3) {welcome.setTextColor(Color.MAGENTA);java.setTextColor(Color.MAGENTA);button.setBackgroundColor(Color.MAGENTA);i=0;}i++;}});}}
在这里运行您的应用程序,输出结果看起来像
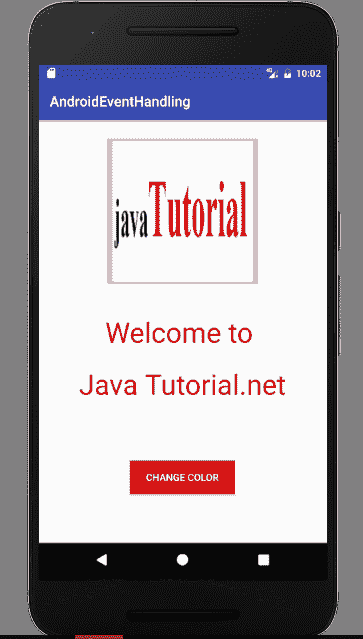
事件处理
单击按钮后,文本颜色将更改
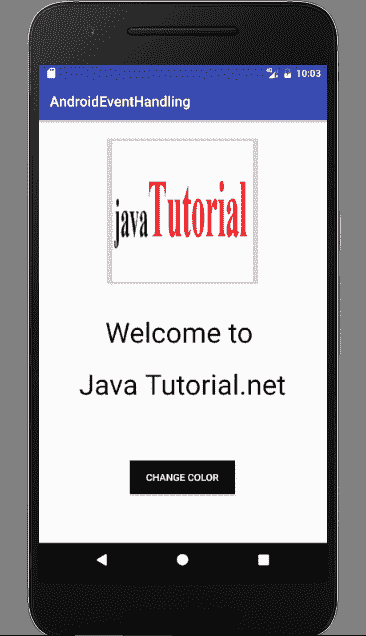
事件处理颜色变化
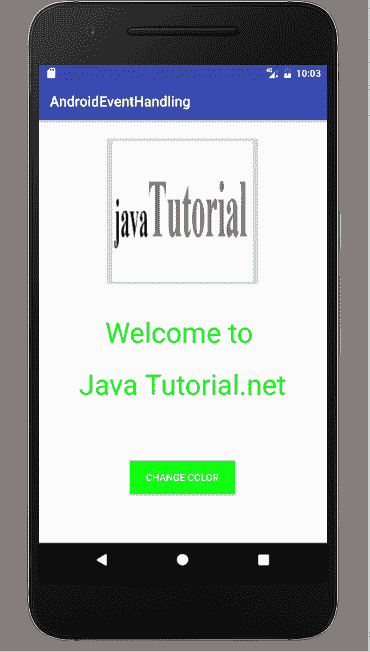
事件处理示例
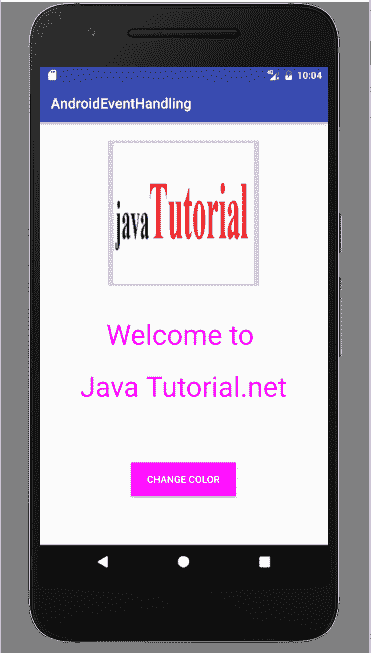
事件处理:洋红色
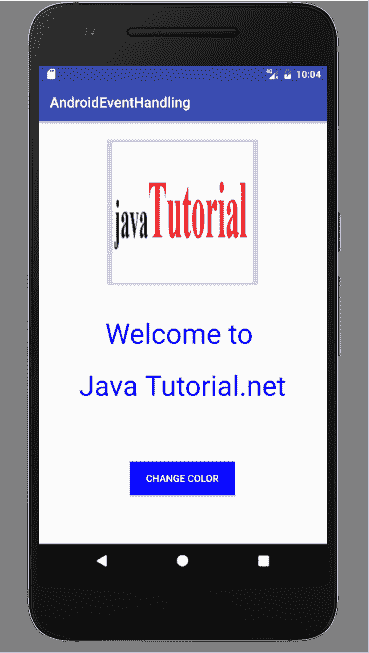
事件处理:蓝色
您可以通过单击链接下载此代码。

