Nbextensions 拓展
笔记本扩展(nbextensions)是一种JavaScript模块,可以加载到笔记本前端页面上。
Hinterland 智能补全
Hinterland功能可以让你每敲完一个键,就出现下拉菜单,可以直接选中你需要的词汇。
Snippets 插入代码段
Snippets在工具栏里加了一个下拉菜单,可以非常方便的直接插入代码段,完全不用手动敲。

相邻模式
拆分笔记本中的单元格,改成相邻的模式,看起来就像分了两栏。
生成目录
这个功能可以自动找到所有的标题,生成目录。
并且这个目录还是移动的呦,你可以放在侧边栏,也可以拖动到任何你喜欢的地方悬浮起来。

折叠一个标题下的全部内容
如果你的代码太长,觉得滚动过去太麻烦,可以直接折叠掉。

Autopep8 代码格式化
一键美化代码,强迫症的福音。

安装方法
最后看一下怎么装,需要用到conda:
conda install -c conda-forge jupyter_nbextensions_configurator
或者用pip:
pip install jupyter_contrib_nbextensions && jupyter contrib nbextension install#incase you get permission errors on MacOS,pip install jupyter_contrib_nbextensions && jupyter contrib nbextension install --us
然后把Jupyter打开,你就可以看到NBextensions这个选项卡了。
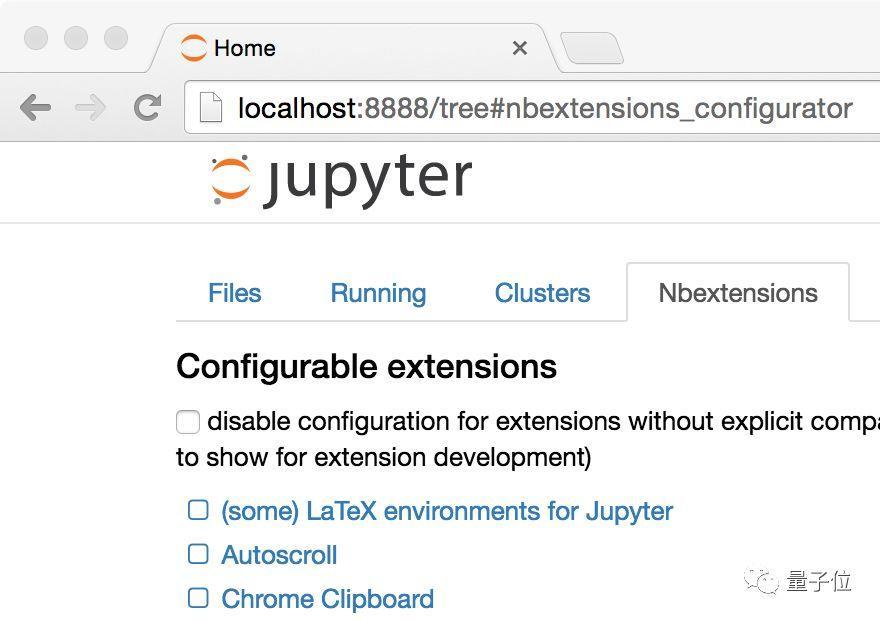
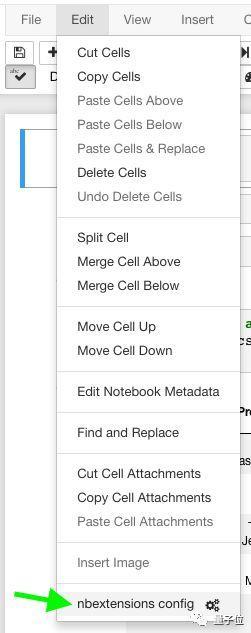
找不到的话就去菜单的Edit里面找。
搞定。
Jupyter 小工具
还有一些Jupyter小工具,比如滑块、文本框之类的部分,可以做一些方便的交互。
滑块

def f(x):return x# Generate a sliderinteract(f, x=10,);
布尔值生成复选框
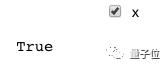
# Booleans generate check-boxesinteract(f, x=True);
字符串生成文本区域

# Strings generate text areasinteract(f, x='Hi there!');
播放器

play = widgets.Play(# interval=10,value=50,min=0,max=100,step=1,description="Press play",disabled=False)slider = widgets.IntSlider()widgets.jslink((play, 'value'), (slider, 'value'))widgets.HBox([play, slider])
日历
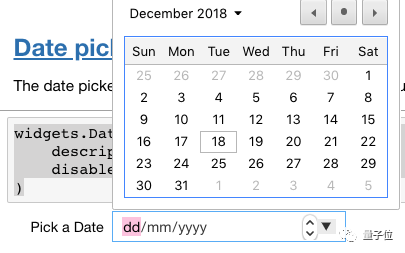
widgets.DatePicker(description='Pick a Date',disabled=False)
不过这个部件只能咋Chrome和Edge里用,Firefox和Safari不支持。
调色盘

widgets.ColorPicker(concise=False,description='Pick a color',value='blue',disabled=False)
标签

tab_contents = ['P0', 'P1', 'P2', 'P3', 'P4']children = [widgets.Text(description=name) for name in tab_contents]tab = widgets.Tab()tab.children = childrenfor i in range(len(children)):tab.set_title(i, str(i))tab
其他的小部件,可以在文末的传送门跳转到GitHub寻找。
安装方法
# pippip install ipywidgetsjupyter nbextension enable --py widgetsnbextension# Condaconda install -c conda-forge ipywidgets#Installing ipywidgets with conda automatically enables the extension
使用“interact”功能自动创建UI控件,这是使用IPython最方便的方法。
# Start with some imports!from ipywidgets import interactimport ipywidgets as widgets
Qgrid 筛选数据
Qgrid也是一个Jupyter的小部件,不过它主要用于数据帧,装上之后,就可以像操作Excel里的筛选功能一样,方便的处理数据。

安装方法
用pip安装:
pip install qgridjupyter nbextension enable --py --sys-prefix qgrid# only required if you have not enabled the ipywidgets nbextension yetjupyter nbextension enable --py --sys-prefix widgetsnbextension
用conda安装:
# only required if you have not added conda-forge to your channels yetconda config --add channels conda-forgeconda install qgrid

若有收获,就点个赞吧
0 人点赞
