部署单点es
1.创建网络
因为我们还需要部署kibana容器,因此需要让es和kibana容器互联。这里先创建一个网络:
docker network create es-net
2.加载镜像
elasticsearch和kibana的体积非常大,每个都有1G,建议用本地加载的方式,远程拉取比较慢。
把下载的elasticsearch安装包拷贝到服务器上
docker load -i /home/es/es.tar
同理还有kibana的tar包也需要这样做。
docker load -i /home/es/kibana.tar
3.运行es
部署单点es:
docker run -d \--name es \-e "ES_JAVA_OPTS=-Xms256m -Xmx512m" \-e "discovery.type=single-node" \-v es-data:/usr/share/elasticsearch/data \-v es-plugins:/usr/share/elasticsearch/plugins \--privileged \--network es-net \-p 9200:9200 \-p 9300:9300 \elasticsearch:7.12.1
命令解释:
-e "cluster.name=es-docker-cluster":设置集群名称-e "http.host=0.0.0.0":监听的地址,可以外网访问-e "ES_JAVA_OPTS=-Xms64m -Xmx256m":内存大小,设置初始化内存为256m,最大内存为512m,这个非常耗内存,控制小一点,但是太小了运行起来容易挂-e "discovery.type=single-node":非集群模式-v es-data:/usr/share/elasticsearch/data:挂载逻辑卷,绑定es的数据目录-v es-logs:/usr/share/elasticsearch/logs:挂载逻辑卷,绑定es的日志目录-v es-plugins:/usr/share/elasticsearch/plugins:挂载逻辑卷,绑定es的插件目录--privileged:授予逻辑卷访问权--network es-net:加入一个名为es-net的网络中-p 9200:9200:端口映射配置
在浏览器中输入:http://ip:9200 即可看到elasticsearch的响应结果:
4.解决内存不足问题
es一运行起来就自动关闭了,这是内存不足。哪怕向上面这样设置了512m还是会内存不足,没钱就是这样。
修改/etc目录下的sysctl.confvim /etc/sysctl.conf添加下面的内容vm.max_map_count=655360然后保存退出执行以下命令sysctl -p
部署kibana
kibana的版本一定要和es的版本一致
docker run -d \--name kibana \-e ELASTICSEARCH_HOSTS=http://es:9200 \--network=es-net \-p 5601:5601 \kibana:7.12.1
--network es-net:加入一个名为es-net的网络中,与elasticsearch在同一个网络中-e "ELASTICSEARCH_HOSTS=http://es:9200":设置elasticsearch的地址,因为kibana已经与elasticsearch在一个网络,因此可以用容器名直接访问elasticsearch-p 5601:5601:端口映射配置
kibana启动一般比较慢,需要多等待一会,可以通过命令来查看运行是否成功
docker logs -f kibana
运行成功以后访问 5601端口,就能看到这个画面了,注意内存,内存不够了es直接关了,es关了kibana也用不了
安装IK分词器
官方地址:
https://github.com/medcl/elasticsearch-analysis-ik
es自带的分词器对中文不太友好,不饿能理解中文的语义。
默认分词器standard和english分词器,对中文是一个字一个字的分的。
在kibana的dev_tools里面发DSL查询
GET /_analyze{"analyzer": "english","text": "今天真是一个very good的日子"}GET /_analyze{"analyzer": "standard","text": "今天真是一个very good的日子"}
分成这样
{"tokens" : [{"token" : "今","start_offset" : 0,"end_offset" : 1,"type" : "<IDEOGRAPHIC>","position" : 0},{"token" : "天","start_offset" : 1,"end_offset" : 2,"type" : "<IDEOGRAPHIC>","position" : 1},{"token" : "真","start_offset" : 2,"end_offset" : 3,"type" : "<IDEOGRAPHIC>","position" : 2},{"token" : "是","start_offset" : 3,"end_offset" : 4,"type" : "<IDEOGRAPHIC>","position" : 3},{"token" : "一","start_offset" : 4,"end_offset" : 5,"type" : "<IDEOGRAPHIC>","position" : 4},{"token" : "个","start_offset" : 5,"end_offset" : 6,"type" : "<IDEOGRAPHIC>","position" : 5},{"token" : "very","start_offset" : 6,"end_offset" : 10,"type" : "<ALPHANUM>","position" : 6},{"token" : "good","start_offset" : 11,"end_offset" : 15,"type" : "<ALPHANUM>","position" : 7},{"token" : "的","start_offset" : 15,"end_offset" : 16,"type" : "<IDEOGRAPHIC>","position" : 8},{"token" : "日","start_offset" : 16,"end_offset" : 17,"type" : "<IDEOGRAPHIC>","position" : 9},{"token" : "子","start_offset" : 17,"end_offset" : 18,"type" : "<IDEOGRAPHIC>","position" : 10}]}
在线安装IK插件(较慢)
# 进入容器内部docker exec -it elasticsearch /bin/bash# 在线下载并安装./bin/elasticsearch-plugin install https://github.com/medcl/elasticsearch-analysis-ik/releases/download/v7.12.1/elasticsearch-analysis-ik-7.12.1.zip#退出exit#重启容器docker restart elasticsearch
离线安装ik插件(推荐)
- 安装插件需要知道elasticsearch的plugins目录位置,而我们用了数据卷挂载,因此需要查看elasticsearch的数据卷目录,通过下面命令查看:
```shell
[root@izj6cev682kqg86i4ogj8rz ~]# docker volume inspect es-plugins
[
{
} ]"CreatedAt": "2022-06-10T14:31:55+08:00","Driver": "local","Labels": null,"Mountpoint": "/var/lib/docker/volumes/es-plugins/_data","Name": "es-plugins","Options": null,"Scope": "local"
说明plugins目录被挂载到了:`/var/lib/docker/volumes/es-plugins/_data`这个目录中2. 下载好IK的压缩包解压2. 上传到es容器的插件数据卷中,也就是`/var/lib/docker/volumes/es-plugins/_data`中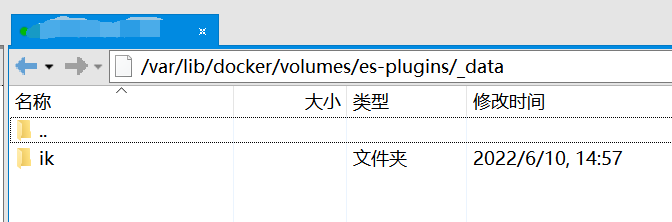4. 重启es容器```shell#重启容器docker restart es# 查看es日志docker logs -f es
测试
IK分词器包括两种模式:
ik_smart:最少切分ik_max_word:最细切分
我们用这个两个查询开区别两者:
GET /_analyze{"analyzer": "ik_smart","text": "程序员小李有一个美丽动人的老婆"}GET /_analyze{"analyzer": "ik_max_word","text": "程序员小李有一个美丽动人的老婆"}
ik_smart
{"tokens" : [{"token" : "程序员","start_offset" : 0,"end_offset" : 3,"type" : "CN_WORD","position" : 0},{"token" : "小李","start_offset" : 3,"end_offset" : 5,"type" : "CN_WORD","position" : 1},{"token" : "有","start_offset" : 5,"end_offset" : 6,"type" : "CN_CHAR","position" : 2},{"token" : "一个","start_offset" : 6,"end_offset" : 8,"type" : "CN_WORD","position" : 3},{"token" : "美丽动人","start_offset" : 8,"end_offset" : 12,"type" : "CN_WORD","position" : 4},{"token" : "的","start_offset" : 12,"end_offset" : 13,"type" : "CN_CHAR","position" : 5},{"token" : "老婆","start_offset" : 13,"end_offset" : 15,"type" : "CN_WORD","position" : 6}]}
ik_max_word
{"tokens" : [{"token" : "程序员","start_offset" : 0,"end_offset" : 3,"type" : "CN_WORD","position" : 0},{"token" : "程序","start_offset" : 0,"end_offset" : 2,"type" : "CN_WORD","position" : 1},{"token" : "员","start_offset" : 2,"end_offset" : 3,"type" : "CN_CHAR","position" : 2},{"token" : "小李","start_offset" : 3,"end_offset" : 5,"type" : "CN_WORD","position" : 3},{"token" : "有","start_offset" : 5,"end_offset" : 6,"type" : "CN_CHAR","position" : 4},{"token" : "一个","start_offset" : 6,"end_offset" : 8,"type" : "CN_WORD","position" : 5},{"token" : "一","start_offset" : 6,"end_offset" : 7,"type" : "TYPE_CNUM","position" : 6},{"token" : "个","start_offset" : 7,"end_offset" : 8,"type" : "COUNT","position" : 7},{"token" : "美丽动人","start_offset" : 8,"end_offset" : 12,"type" : "CN_WORD","position" : 8},{"token" : "美丽","start_offset" : 8,"end_offset" : 10,"type" : "CN_WORD","position" : 9},{"token" : "动人","start_offset" : 10,"end_offset" : 12,"type" : "CN_WORD","position" : 10},{"token" : "的","start_offset" : 12,"end_offset" : 13,"type" : "CN_CHAR","position" : 11},{"token" : "老婆","start_offset" : 13,"end_offset" : 15,"type" : "CN_WORD","position" : 12}]}
扩展IK词典
随着互联网的发展,“造词运动”也越发的频繁。出现了很多新的词语,在原有的词汇列表中并不存在。比如:“奥力给”,“钟离” 等。
所以我们的词汇也需要不断的更新,IK分词器提供了扩展词汇的功能。
在互联网项目中,在网络间传输的速度很快,所以很多语言是不允许在网络上传递的,如:关于宗教、政治等敏感词语,那么我们在搜索时也应该忽略当前词汇。
IK分词器也提供了强大的停用词功能,让我们在索引时就直接忽略当前的停用词汇表中的内容。
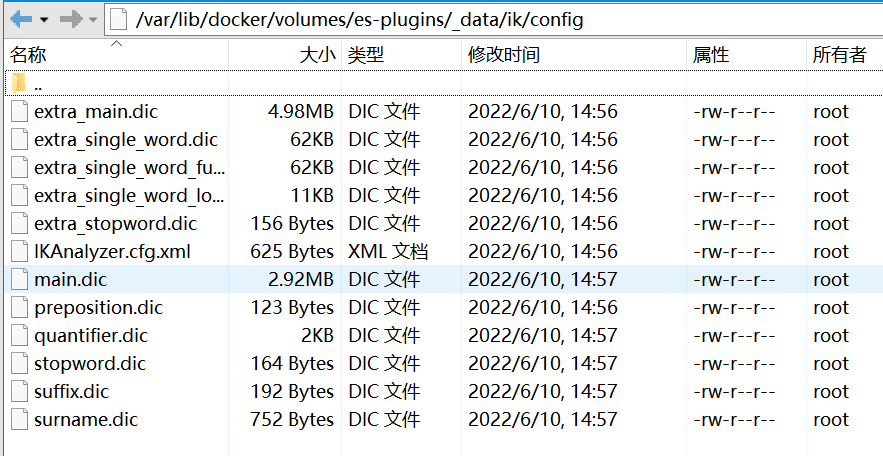
- 打开IK分词器config目录:
在IKAnalyzer.cfg.xml配置文件内容添加:
<?xml version="1.0" encoding="UTF-8"?><!DOCTYPE properties SYSTEM "http://java.sun.com/dtd/properties.dtd"><properties><comment>IK Analyzer 扩展配置</comment><!--用户可以在这里配置自己的扩展字典--><entry key="ext_dict">ext.dic</entry><!--用户可以在这里配置自己的扩展停止词字典--><entry key="ext_stopwords">stopwords.dic</entry></properties>
:::danger ext.dic和stopword.dic是文件名,不是词,拓展词和违禁词写在这两个文件中 :::
在config目录下新建一个ext.dic和stopword.dic文件,存在就不用建了。把拓展词和违禁词分别写在里面,一行一个词 :::danger 当前文件的编码必须是 UTF-8 格式 :::
重启es
docker restart es- 测试
我在拓展词里面加了奥里给,钟离,巴巴托斯,违禁词里面加了啊,的
GET /_analyze{"analyzer": "ik_smart","text": "钟离比巴巴托斯强大的太多了啊,奥里给!"}
结果
{"tokens" : [{"token" : "钟离","start_offset" : 0,"end_offset" : 2,"type" : "CN_WORD","position" : 0},{"token" : "比","start_offset" : 2,"end_offset" : 3,"type" : "CN_CHAR","position" : 1},{"token" : "巴巴托斯","start_offset" : 3,"end_offset" : 7,"type" : "CN_WORD","position" : 2},{"token" : "强大","start_offset" : 7,"end_offset" : 9,"type" : "CN_WORD","position" : 3},{"token" : "太","start_offset" : 10,"end_offset" : 11,"type" : "CN_CHAR","position" : 4},{"token" : "多了","start_offset" : 11,"end_offset" : 13,"type" : "CN_WORD","position" : 5},{"token" : "奥里给","start_offset" : 15,"end_offset" : 18,"type" : "CN_WORD","position" : 6}]}
拼音分词器
要实现根据字母做补全,就必须对文档按照拼音分词。在GitHub上恰好有elasticsearch的拼音分词插件。地址:https://github.com/medcl/elasticsearch-analysis-pinyin
安装方式与IK分词器一样,看上面的离线安装ik插件:
①解压
②上传到服务器es-plugins的挂载目录中
③重启elasticsearch
④测试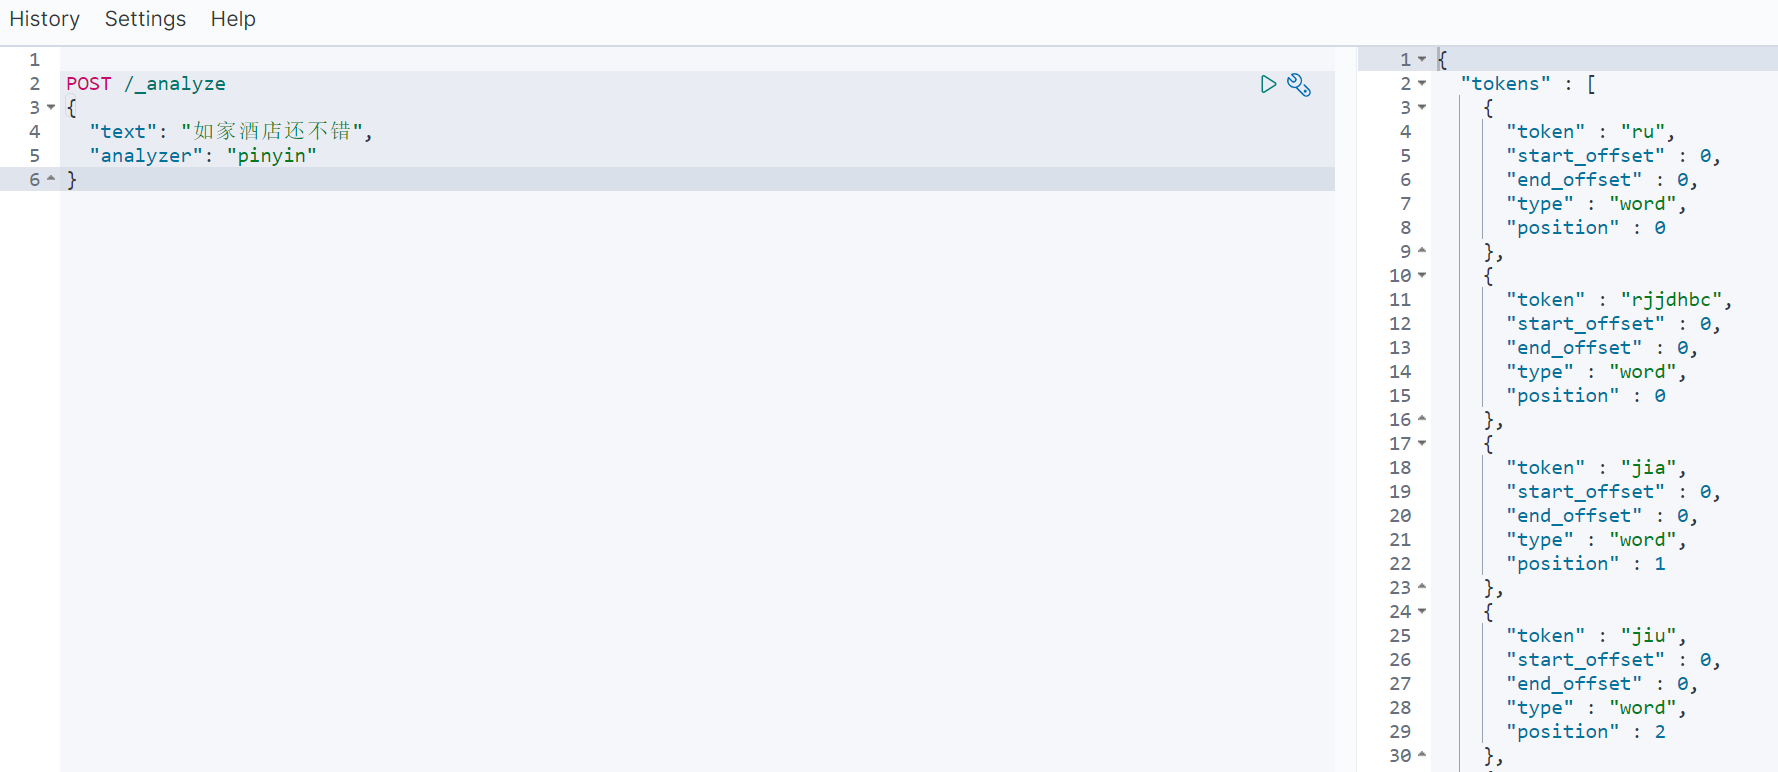

若有收获,就点个赞吧
0 人点赞
