官网地址
导入依赖
<!-- https://mvnrepository.com/artifact/io.springfox/springfox-swagger2 --><dependency><groupId>io.springfox</groupId><artifactId>springfox-swagger2</artifactId><version>2.9.2</version></dependency><!-- https://mvnrepository.com/artifact/io.springfox/springfox-swagger-ui --><dependency><groupId>io.springfox</groupId><artifactId>springfox-swagger-ui</artifactId><version>2.9.2</version></dependency>
配置Swagger
package com.lyd.swagger.config;import org.springframework.context.annotation.Configuration;import springfox.documentation.swagger2.annotations.EnableSwagger2;@Configuration@EnableSwagger2 //启动swagger2public class SwaggerConfig {}
启动访问Swagger页面
http://localhost:8080/swagger-ui.html
如果启动报错,可能需要把boot版本降到2.5.1。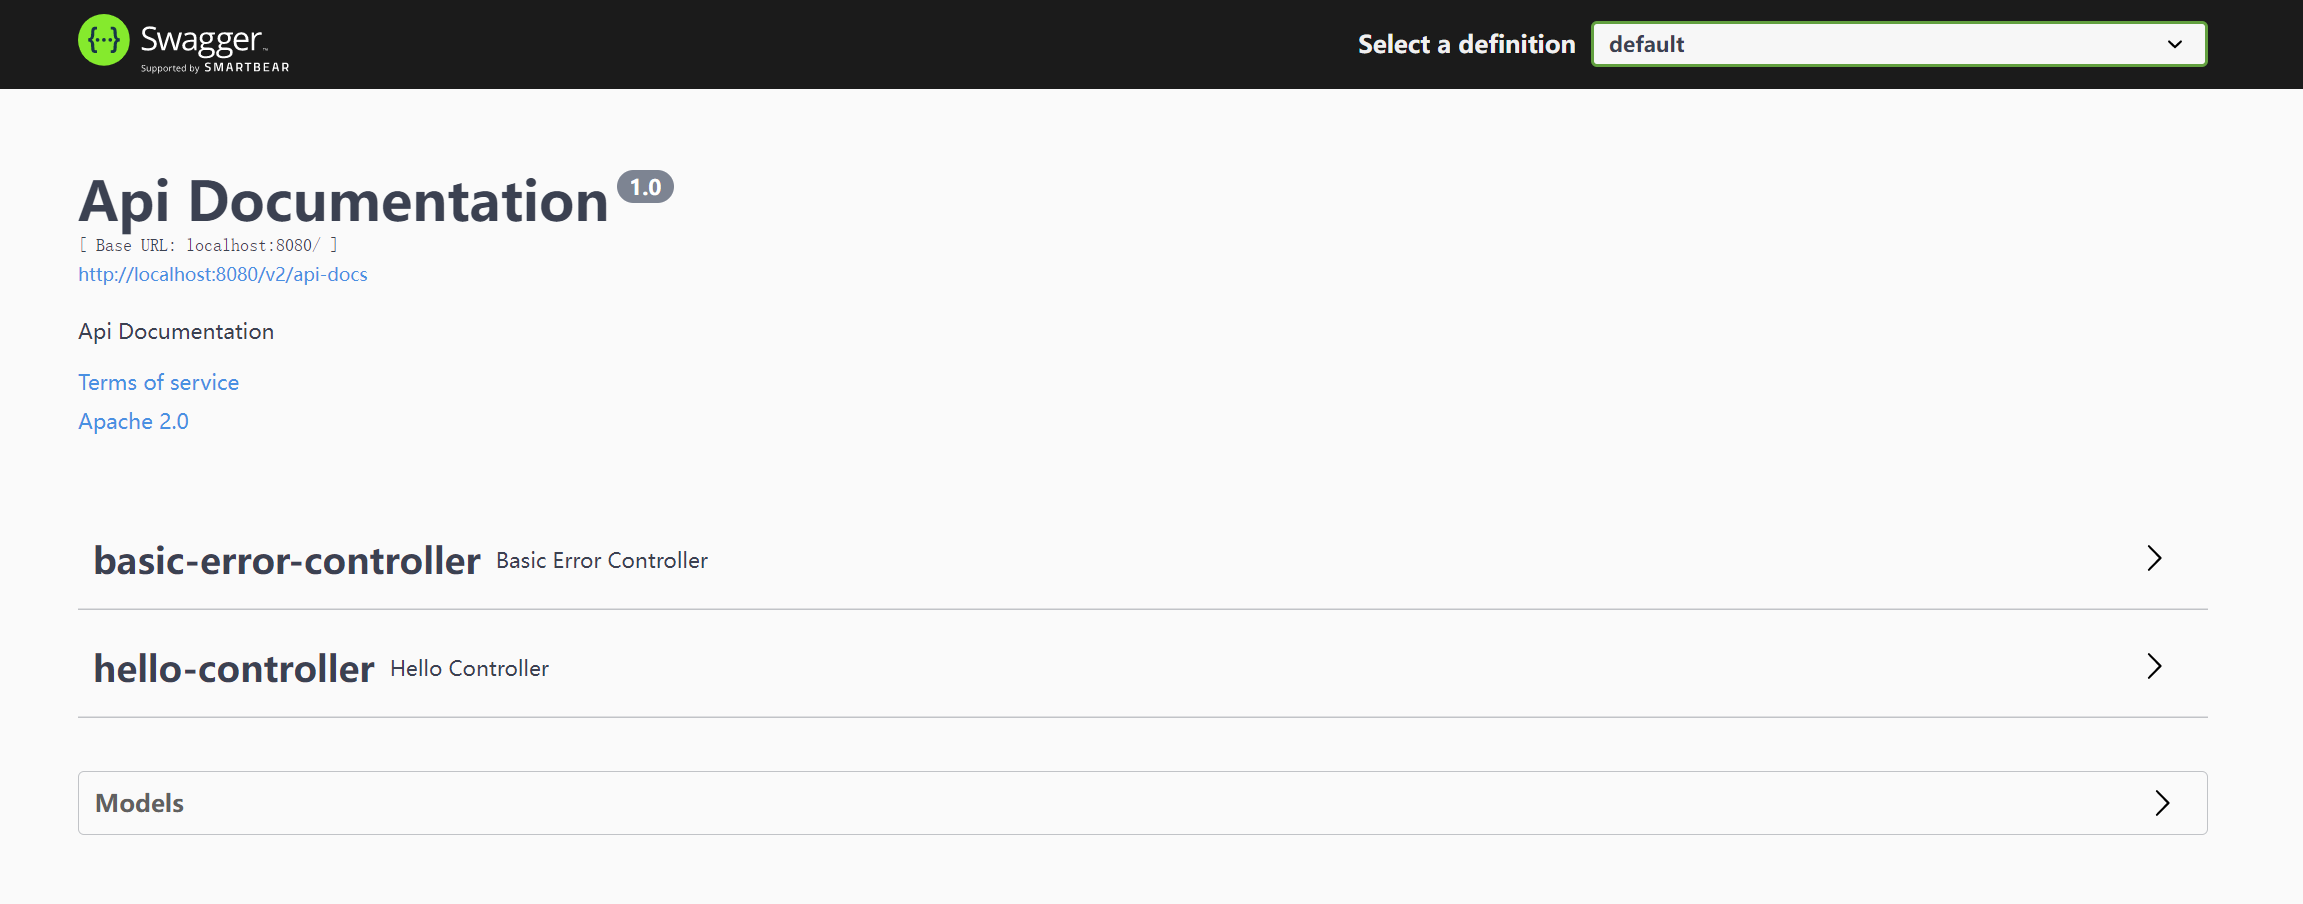
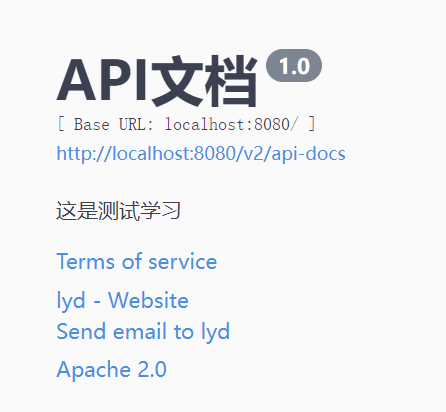
配置Swagger基本信息
package com.lyd.swagger.config;import org.springframework.context.annotation.Bean;import org.springframework.context.annotation.Configuration;import springfox.documentation.service.ApiInfo;import springfox.documentation.service.Contact;import springfox.documentation.spi.DocumentationType;import springfox.documentation.spring.web.plugins.Docket;import springfox.documentation.swagger2.annotations.EnableSwagger2;import java.util.ArrayList;@Configuration@EnableSwagger2 //启动swagger2public class SwaggerConfig {//配置了Swagger的Docket的bean实例@Beanpublic Docket docket(){//看源码,Docket里面很多属性return new Docket(DocumentationType.SWAGGER_2).apiInfo(apiInfo());}//配置swagger自定义信息private ApiInfo apiInfo(){return new ApiInfo("API文档","这是测试学习","1.0","urn:tos",new Contact("lyd","lyd.com","206977438@qq.com"),"Apache 2.0","http://www.apache.org/licenses/LICENSE-2.0",new ArrayList());}}
配置Swager扫描接口
package com.lyd.swagger.config;import org.springframework.context.annotation.Bean;import org.springframework.context.annotation.Configuration;import org.springframework.web.bind.annotation.RestController;import springfox.documentation.builders.PathSelectors;import springfox.documentation.builders.RequestHandlerSelectors;import springfox.documentation.service.ApiInfo;import springfox.documentation.service.Contact;import springfox.documentation.spi.DocumentationType;import springfox.documentation.spring.web.plugins.Docket;import springfox.documentation.swagger2.annotations.EnableSwagger2;import java.util.ArrayList;@Configuration@EnableSwagger2 //启动swagger2public class SwaggerConfig {//配置了Swagger的Docket的bean实例@Beanpublic Docket docket(){//看源码,Docket里面很多属性return new Docket(DocumentationType.SWAGGER_2).apiInfo(apiInfo())//是否启动swagger,默认是true,可以不写,false就不能在浏览器中访问了.enable(true).select()//RequestHandlerSelectors:配置要扫描接口的方式//basePackage:指定要扫描的包//any():扫描全部//none:不扫描//withClassAnnotaion:扫描类上的注解,参数是一个注解的反射对象//withMethodAnnotaion:扫描方法上的注解.apis(RequestHandlerSelectors.basePackage("com.lyd.swagger.controller"))//pathcs(),过滤什么路径.paths(PathSelectors.none()).build();}//配置swagger自定义信息private ApiInfo apiInfo(){return new ApiInfo("API文档","这是测试学习","1.0","urn:tos",new Contact("lyd","lyd.com","206977438@qq.com"),"Apache 2.0","http://www.apache.org/licenses/LICENSE-2.0",new ArrayList());}}
配置Swagger运行环境
假设有这三种环境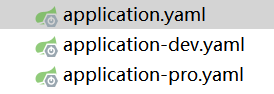
设置swagger的运行环境
package com.lyd.swagger.config;import org.springframework.context.annotation.Bean;import org.springframework.context.annotation.Configuration;import org.springframework.core.env.Environment;import org.springframework.core.env.Profiles;import org.springframework.web.bind.annotation.RestController;import springfox.documentation.builders.PathSelectors;import springfox.documentation.builders.RequestHandlerSelectors;import springfox.documentation.service.ApiInfo;import springfox.documentation.service.Contact;import springfox.documentation.spi.DocumentationType;import springfox.documentation.spring.web.plugins.Docket;import springfox.documentation.swagger2.annotations.EnableSwagger2;import java.util.ArrayList;@Configuration@EnableSwagger2 //启动swagger2public class SwaggerConfig {//配置了Swagger的Docket的bean实例@Beanpublic Docket docket(Environment environment){//设置要显示的swagger环境,可以设置多个Profiles profiles = Profiles.of("dev","test");//通过environment.acceptsProfiles判断是否处在自己设定的环境正当中boolean flag = environment.acceptsProfiles(profiles);//看源码,Docket里面很多属性return new Docket(DocumentationType.SWAGGER_2).apiInfo(apiInfo()).enable(flag)//运行环境在设定的swagger显示环境中,就能运行Swagger.select().apis(RequestHandlerSelectors.basePackage("com.lyd.swagger.controller")).build();}//配置swagger自定义信息private ApiInfo apiInfo(){return new ApiInfo("API文档","这是测试学习","1.0","urn:tos",new Contact("lyd","lyd.com","206977438@qq.com"),"Apache 2.0","http://www.apache.org/licenses/LICENSE-2.0",new ArrayList());}}
运行项目,如果设置的运行环境不是dev或者test,那么访问swagger页面就会出现这个
如果运行环境是dev,那么就能正确的访问swagger页面,注意不同运行环境的端口不要写错了
配置Swagger分组
package com.lyd.swagger.config;import org.springframework.context.annotation.Bean;import org.springframework.context.annotation.Configuration;import org.springframework.core.env.Environment;import org.springframework.core.env.Profiles;import org.springframework.web.bind.annotation.RestController;import springfox.documentation.builders.PathSelectors;import springfox.documentation.builders.RequestHandlerSelectors;import springfox.documentation.service.ApiInfo;import springfox.documentation.service.Contact;import springfox.documentation.spi.DocumentationType;import springfox.documentation.spring.web.plugins.Docket;import springfox.documentation.swagger2.annotations.EnableSwagger2;import java.util.ArrayList;@Configuration@EnableSwagger2 //启动swagger2public class SwaggerConfig {//配置了Swagger的Docket的bean实例@Beanpublic Docket docket(Environment environment){//设置要显示的swagger环境,可以设置多个Profiles profiles = Profiles.of("dev","test");//通过environment.acceptsProfiles判断是否处在自己设定的环境正当中boolean flag = environment.acceptsProfiles(profiles);//看源码,Docket里面很多属性return new Docket(DocumentationType.SWAGGER_2).apiInfo(apiInfo()).groupName("第一组").enable(flag)//运行环境在设定的swagger显示环境中,就能运行Swagger.select().apis(RequestHandlerSelectors.basePackage("com.lyd.swagger.controller")).build();}//一个Docket bean一组,协同开发时,每个人一个Docket,或者每一个模块一个Docket分组@Beanpublic Docket docket2(){return new Docket(DocumentationType.SWAGGER_2).groupName("第二组");}//配置swagger自定义信息private ApiInfo apiInfo(){return new ApiInfo("API文档","这是测试学习","1.0","urn:tos",new Contact("lyd","lyd.com","206977438@qq.com"),"Apache 2.0","http://www.apache.org/licenses/LICENSE-2.0",new ArrayList());}}
然后打开Swagger页面就可以看到,每一组显示的东西不一样
配置Swagger实体类以及注释
package com.lyd.swagger.controller;import com.lyd.swagger.pojo.User;import io.swagger.annotations.Api;import io.swagger.annotations.ApiOperation;import io.swagger.annotations.ApiParam;import org.springframework.web.bind.annotation.GetMapping;import org.springframework.web.bind.annotation.PostMapping;import org.springframework.web.bind.annotation.RequestMapping;import org.springframework.web.bind.annotation.RestController;@RestControllerpublic class HelloController {//ApiOperation给接口操作加上注释@ApiOperation("Hello控制类")@GetMapping("/hello")public String hello(){return "这是hello路径的返回";}//只要我们接口中,返回值中存在实体类,他就会被扫描到Swagger中@PostMapping("/user")public User user(){return new User();}@ApiOperation("添加用户")@PostMapping("/adduser")//ApiParam给参数加上注释public String adduser(@ApiParam("用户名") String name){return "添加用户";}}
package com.lyd.swagger.pojo;import io.swagger.annotations.Api;import io.swagger.annotations.ApiModel;import io.swagger.annotations.ApiModelProperty;//给实体类加上注释@ApiModel("用户实体类")public class User {//给实体类参数加上注释@ApiModelProperty("姓名")private String name;@ApiModelProperty("年龄")private int age;public String getName() {return name;}public void setName(String name) {this.name = name;}public int getAge() {return age;}public void setAge(int age) {this.age = age;}}

若有收获,就点个赞吧
0 人点赞
