概述
本文档主要向大家介绍如何拓展 G6 的边( Edge ),如有描述不清楚、有误的地方欢迎大家在 GitHub 上提 Issue 指正,或是直接 PR 修缮。根据您的贡献度,我们会视情况将您加入 AntV 共建者名录 :-)
提示 : 在使用自定义图项之前,应尽量熟练掌握绘图引擎 G 的使用。
注册 — registerEdge
我们通过以下接口往 G6 全局注册边:
// 注册边G6.registerEdge(name, {// 绘制draw(item) {return keyShape},// 获取路径getPath(item) {return path; // svg 规范 path 路径},// 起始箭头startArrow: {// 路径path(item) {},// 线缩短偏移shorten(item) {},// 样式style(item) {}},// 结束箭头endArrow: {// 路径path(item) {},// 线缩短偏移shorten(item) {},// 样式style(item) {}}}, extendShape);
绘制 — draw
跟节点一样,边的 draw 也是自定边图形的最小接口,决定了边最终画成什么样。 为了性能、箭头绘制成本等种种考虑,边的绘制不是绝对自由的。有以下几个规范的限制:
必须
keyShape(既draw方法返回的图形) 必须是G.Path图形。必须 使用
getPath方法获取keyShape的路径。推荐 根据
item.getPoints()获取边的路径。
例如:

G6.registerEdge('line', {draw(item) {const group = item.getGraphicGroup();const path = this.getPath(item);return group.addShape('path', {attrs: {path,stroke: 'red'}});},getPath(item) {const points = item.getPoints();return Util.pointsToPolygon(points);}});
获得路径 — getPath
getPath() 是用于获取边路径的方法。在自定义边的时候,既可以像上面那样,复写 draw() 和 getPath() 也可以只复写 getPath() ,如果采用后者方法的好处是,你可以复用一些 G6 内部的实现,如 color,label,size 等,如下:
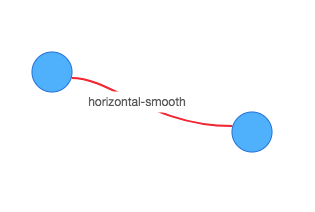
G6.registerEdge('horizontal-smooth', {getPath(item) {var points = item.getPoints();var start = points[0];var end = points[points.length - 1];var hgap = Math.abs(end.x - start.x);if (end.x > start.x) {return [['M', start.x, start.y], ['C', start.x + hgap / 4, start.y, end.x - hgap / 2, end.y, end.x, end.y]];}return [['M', start.x, start.y], ['C', start.x - hgap / 4, start.y, end.x + hgap / 2, end.y, end.x, end.y]];}});const data = {nodes: [{id: 'node1',x: 100,y: 200},{id: 'node2',x: 300,y: 260}],edges: [{shape: 'horizontal-smooth',target: 'node2',source: 'node1'}]};const graph = new G6.Graph({container: 'mountNode',width: 500,height: 500});graph.edge({label(model) {return model.shape;},color: 'red',size: 2});graph.read(data);
箭头 — arrow
箭头虽然是个小东西,但实现它却是一个非常细致,且有一定复杂度的活儿。如果你稍微不注意,可能就会画出下面这样的东西:
露点
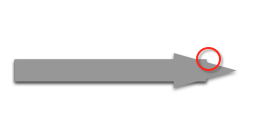
戳进去
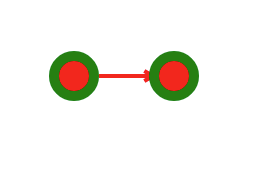
绘制一个完美的箭头并不是件容易的事,详见:聊个 5 毛钱箭头 。为了降低自定义箭头的复杂度,G6 有自己的一套定义箭头的机制,如果您需要自定义一个箭头,你最多需要以下三个步骤:
第一步:设置箭头的形状 path [必选]
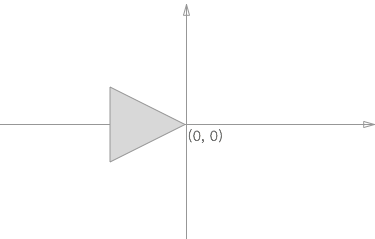
首先,我们要构建一个以自身坐标系原点,为箭头端点的,箭头 path 路径。
第二步:设置边的端点偏移 shorten [可选]
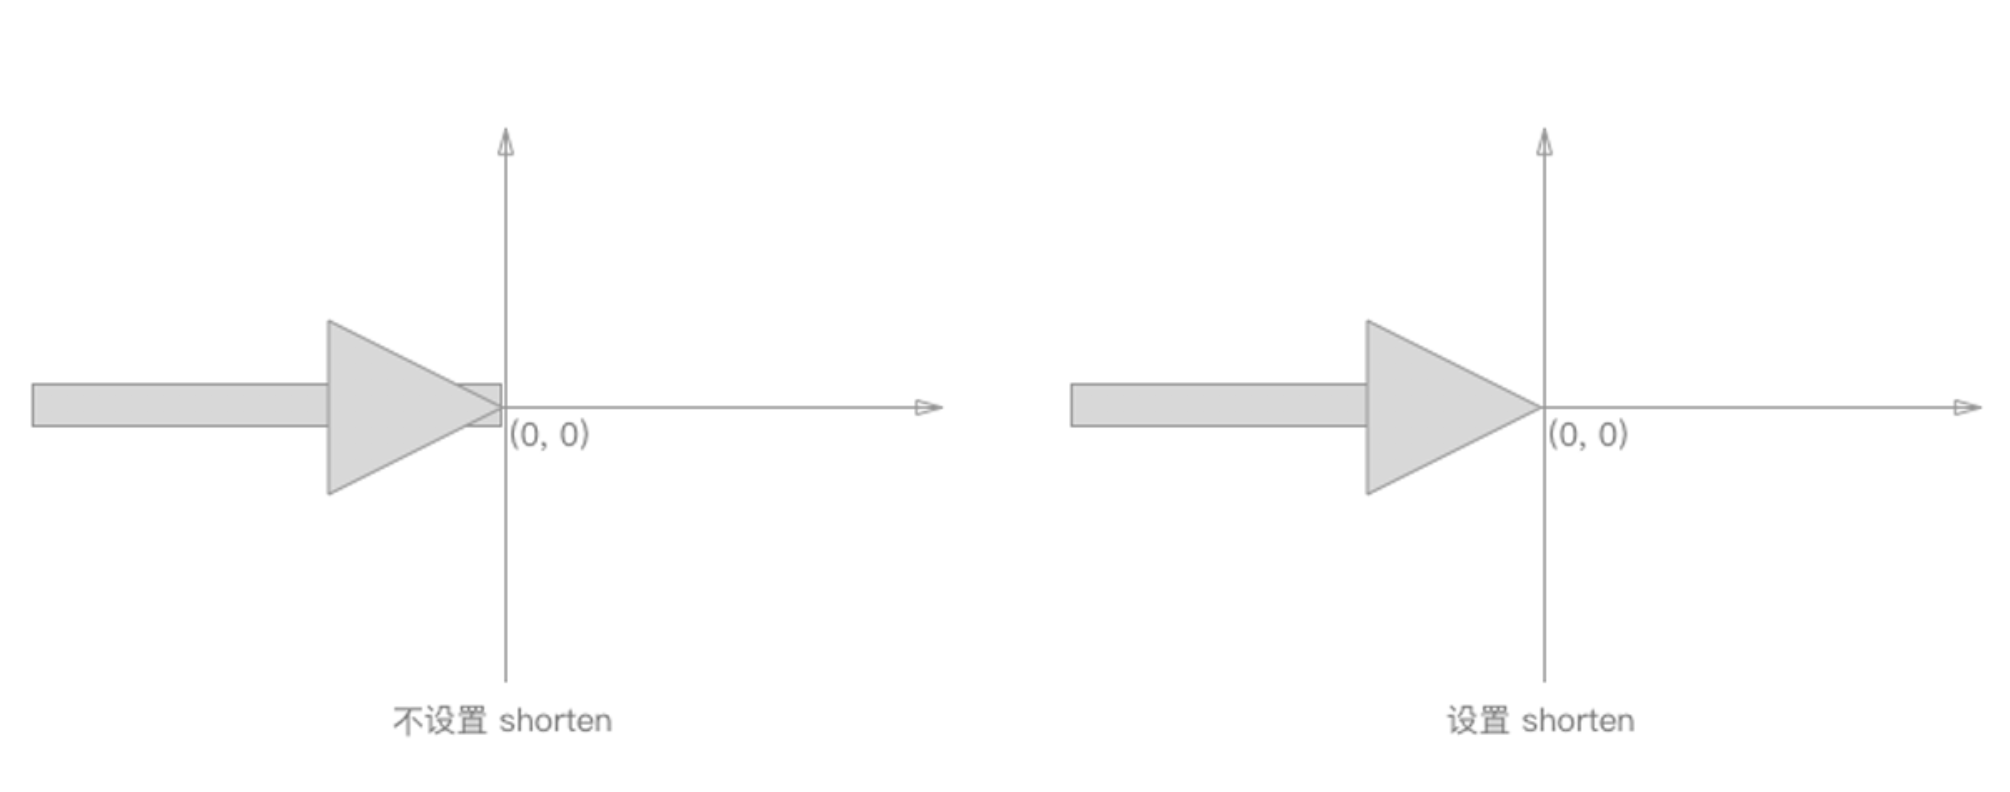
第三步:设置箭头的通用样式 style [可选]
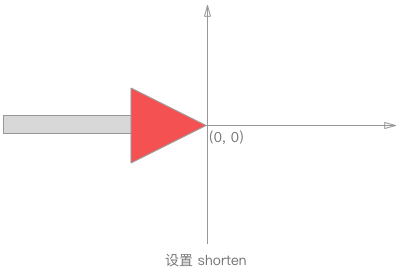
示例:
这个示例给出了根据 AntV 箭头的设计稿,基于 G6 箭头机制的具体实现:


G6.registerEdge('customEdge', {endArrow: {path(item) {const keyShape = item.getKeyShape();let lineWidth = keyShape.attr('lineWidth');lineWidth = lineWidth > MIN_ARROW_SIZE ? lineWidth : MIN_ARROW_SIZE;const width = lineWidth * 10 / 3;const halfHeight = lineWidth * 4 / 3;const radius = lineWidth * 4;return [[ 'M', -width, halfHeight ],[ 'L', 0, 0 ],[ 'L', -width, -halfHeight ],[ 'A', radius, radius, 0, 0, 1, -width, halfHeight ],[ 'Z' ]];},shorten(item) {const keyShape = item.getKeyShape();const lineWidth = keyShape.attr('lineWidth');return (lineWidth > MIN_ARROW_SIZE ? lineWidth : MIN_ARROW_SIZE) * 3.1;},style(item) {const keyShape = item.getKeyShape();const { strokeOpacity, stroke } = keyShape.attr();return {fillOpacity: strokeOpacity,fill: stroke};}}});

