G6 是骨,Plugins 是血肉。
概述
本文档主要向大家介绍如何扩展 G6,如有描述不清楚、有误的地方欢迎大家在 GitHub 上提 Issue 指正,或是直接 PR 修缮。根据您的贡献度,我们会视情况将您加入 AntV 共建者名录 :-)
安装
既可以通过将脚本下载到本地也可以直接引入在线资源:
<!-- 引入 G6 --><script src="https://unpkg.com/@antv/g6/build/g6.js"></script><!-- 引入 Plugins --><script src="https://unpkg.com/@antv/g6/build/plugins.js"></script>
官方的插件目前维护在 G6 的主仓库里,如果要使用官方提供的插件,只需要安装 @antv/g6 即可。
npm install @antv/g6 --save
可以按需要引入
const G6 = require('@antv/g6');const Minimap = require('@antv/g6/build/plugin.tool.minimap');
也可以全部引入
const G6 = require('@antv/g6');const G6Plugins = require('@antv/g6/build/plugins');
如何使用
我们提供两种类型的官方插件。
全局型
直接引入:
顾名思义,全局型的插件只需要引入一次,全局通用。
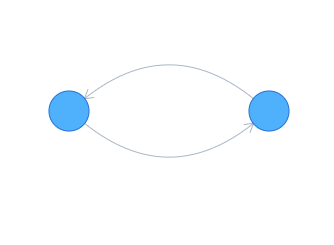
// 引入后会在 G6 全局注册一个 shape 为 quadraticCurve 的边require('../plugins/edge.quadraticCurve/');const G6 = require('../src/index');const data = {nodes: [{id: 'node1',x: 100,y: 200},{id: 'node2',x: 300,y: 200}],edges: [{target: 'node2',source: 'node1',shape: 'quadraticCurve'},{target: 'node1',source: 'node2',shape: 'quadraticCurve'}]};const graph = new G6.Graph({container: 'mountNode',width: 500,height: 500});graph.edge({style: {endArrow: true}});graph.read(data);
实例型
实例型的插件必须是一个构造类,使用时要从该插件中构造出插件实例,然后传入图类进行使用,例如:
实例型的插件意味着这个插件会和一个 graph 实例挂钩。插件自身的生命周期应跟随着 graph 的生命周期保持一致。
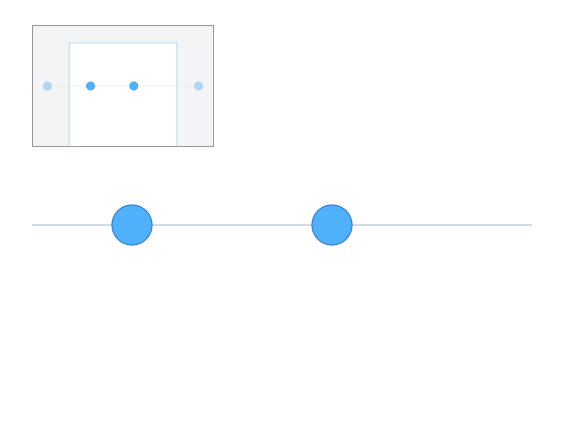
const Plugin = require('../plugins/tool.minimap/');const plugin = new Plugin({container: 'minimap',width: 180,height: 120});const data = {nodes: [{id: 'node0',x: -100,y: 200}, {id: 'node1',x: 100,y: 200}, {id: 'node2',x: 300,y: 200}, {id: 'node3',x: 600,y: 200}],edges: [{target: 'node0',source: 'node1'}, {target: 'node2',source: 'node1'}, {target: 'node2',source: 'node3'}]};const graph = new G6.Graph({container: 'mountNode',width: 500,height: 500,plugins: [plugin]});graph.read(data);
如何拓展
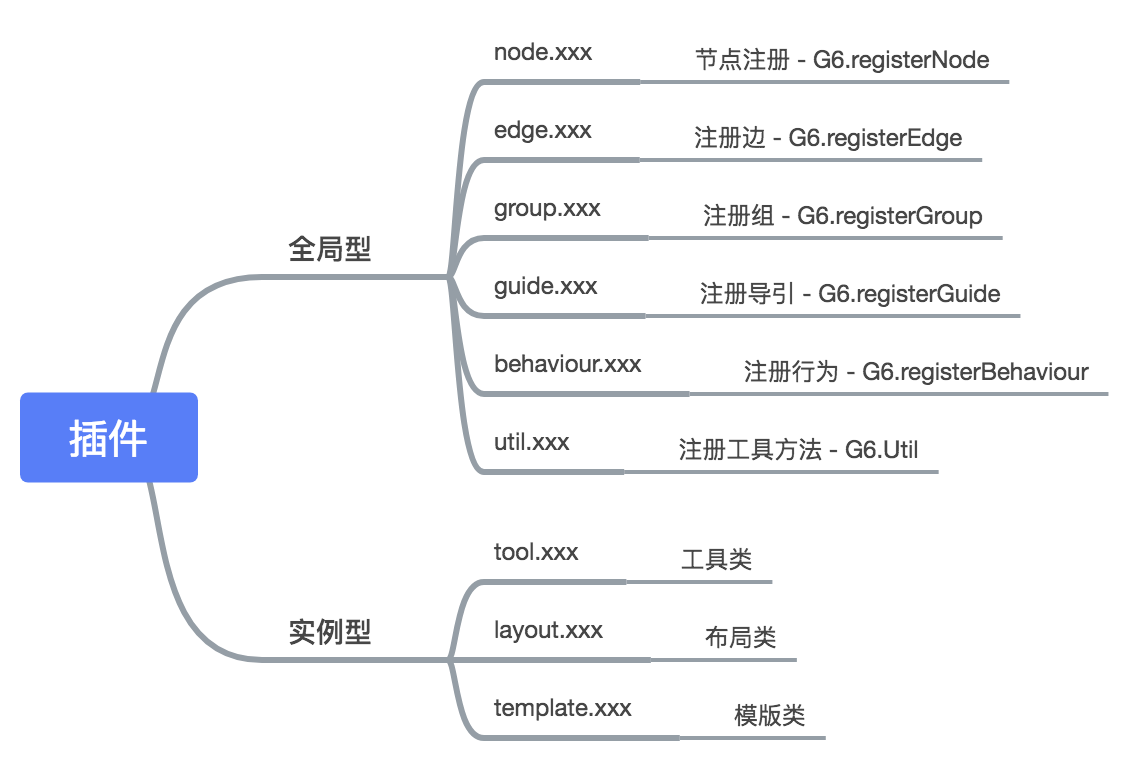
 G6 的插件拓展非常自由,在代码层面上没有做任何的约束。但为了让开发插件有据可依,提高插件使用者检索信息的效率。还是给出了一套官方的插件分类规范。用户开发自己的插件时候可以遵循,也可以不遵循。但如果要提 PR 将插件合到 G6 的开源仓库,成为官方推荐的插件,则必须遵循上述规范。
全局型
全局型一般会直接调用。G6 抛出的静态注册接口如下:
| 接口 | 描述 |
|---|---|
| registerNode | 注册一种节点 |
| registerEdge | 注册一种边 |
| registerGroup | 注册一种群组 |
| registerGuide | 注册一种导引 |
| registerBehaviour | 注册一种行为 |
或者直接在 G6 的全局对象上注册:
G6.Util.custom = ()=>{};
实例型
G6 对实例型插件的约定是松散的,仅在初始化图类时调用 init(), 销毁时调用 destroy(),用户在写插件构造类时,只需要复写这两个方法就可以完成。
class Plugin() {// 初始化图类时调用init() {this.graph; // 图类}// 销毁图类时调用destroy() {}}G6.Plugins[name] = Plugin; // 将插件注册到 G6.Plugins
另外,如果是布局型插件,应该将布局对象单独抽离,并在插件中,将布局对象构造类注册到 G6.Layouts。例如:
const G6 = require('@antv/g6');const Layout = require('./layout');G6.Layouts.Circle = Layout;class Plugin {constructor(options) {this.options = options;}init() {const graph = this.graph;graph.on('beforeinit', () => {const layout = new Layout({graph,...this.options});graph.set('layout', layout);});}}G6.Plugins['layout.circle'] = Plugin;module.exports = Plugin;

