json-server 是用来快速搭建 REST API 的工具包
安装
# 全局安装npm install -g json-server
配置
创建一个 db.json 文件
{
  "posts": [
    { "id": 1, "title": "json-server", "author": "typicode" }
  ],
  "comments": [
    { "id": 1, "body": "some comment", "postId": 1 }
  ],
  "profile": { "name": "typicode" }
}
每条数据都可以产生关联,例如以上的 comments(评论)的 postId 与 posts(文章)的 id 对应,表示了该评论属于 id 为 1 的文章。
启动服务
json-server --watch db.json
启动后控制台会输出以下内容,表示启动成功
\{^_^}/ hi!

Loading db.json
Done

Resources
http://localhost:3000/posts
http://localhost:3000/comments
http://localhost:3000/profile

Home
http://localhost:3000

Type s + enter at any time to create a snapshot of the database
Watching...
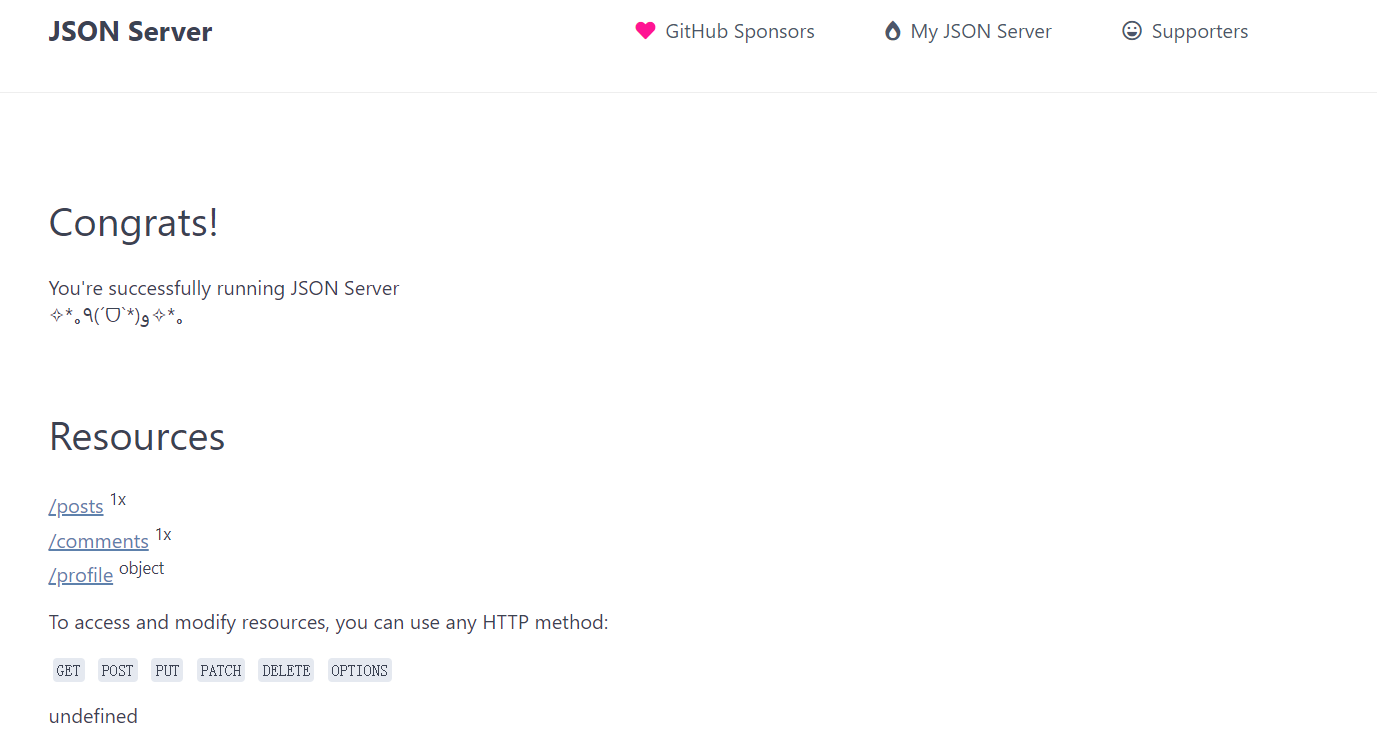
打开 http://localhost:3000 主页,可以看到有哪些资源可以访问

现在访问 http://localhost:3000/posts/1,将会得到一个 id 为 2 的数据
{ "id": 1, "title": "json-server", "author": "typicode" }
需要注意的是,request body 应该是一个 json 对象,比如 {"name":"Lynn"};POST、PUT、PATCH 请求头中要包含 Content-Type: application/json,否则将返回一个 2XX 状态码,但不会对数据进行更改;数据中的 id 的值是自动生成不可更改的,PUT 和 PATCH 请求中携带的 id 会被忽略。
你还可以使用加载远程模式
json-server http://example.com/file.json
json-server http://jsonplaceholder.typicode.com/db
基本请求
- POST(增)
// 向 posts 中增加一条数据
const post = {
  "title": "post-request",
  "author": "tumi"
}

fetch("http://localhost:3000/posts", {
  method: 'POST',
  headers: {
    "Content-Type": "application/json"
  },
  body: JSON.stringify(post)
})
- DELETE(删)
// 将 posts 中 id 为 1 的数据删除
fetch("http://localhost:3000/posts/1", {
  method: "DELETE",
})
- PUT(改)
// 修改 posts 中 id 为 1 的数据
const post = {
  "title": "put-request",
  "author": "tumi"
}

fetch("http://localhost:3000/posts/1", {
  method: "PUT",
  headers: {
    "Content-Type": "application/json",
  },
  body: JSON.stringify(post),
})
- GET(查)
// 查询 id 为 1 的 posts 数据
fetch("http://localhost:3000/posts/1")
    .then(response => response.json())
    .then(data => {
      console.log(data);  // {id: 1, title: "json-server", author: "typicode"}
})
过滤
使用 . 访问深层属性
// 获取 title 为 json-server 并且 author 为 typicode 的 posts
GET /posts?title=json-server&author=typicode

// 获取 id 为 1 和 id 为 2 的 posts
GET /posts?id=1&id=2

GET /comments?author.name=typicode
分页
使用 _page 和可选的 _limit 来分页返回数据。
// 返回第七页数据
GET /posts?_page=7

// 返回第七页的 20 条数据
GET /posts?_page=7&_limit=20
默认返回 10 条数据。
排序
使用 _sort 和 _order 进行排序(默认为升序 asc,降序 desc)
// 通过 id 值升序排序
GET /posts?_sort=id&_order=asc

// 对 id 为 1 文章(posts)的评论(comments)的 id 值进行降序排序
GET /posts/1/comments?_sort=id&_order=desc
对于多个字段请使用以下格式
GET /posts?_sort=user,views&_order=desc,asc
截取
添加 _start 和 _end 或 _limit(响应中包含 x-total-count 标头)
// 获取第 20 到 30 条的数据
GET /posts?_start=20&_end=30

// 获取文章(posts)id 为 1 的第 20 到 30 条的评论(comments)数据
GET /posts/1/comments?_start=20&_end=30

// 获取第 20 条之后的 10 条数据
GET /posts/1/comments?_start=20&_limit=10
原理是使用 Array.slice 方法,即包含 _start 而不包含 _end
运算符
使用 _gte(大于等于)或者 _lte(小于等于)来指定获取数据的范围
// 获取 id 大于等于 10 的数据
GET /posts?id_gte=10

// 获取 id 小于等于 10 的数据
GET /posts?id_lte=10

// 获取 id 大于等于 10 并且 小于等于 20 的数据
GET /posts?id_gte=10&views_lte=20
使用 _ne 以排除一个值
// 排除 id 为 1 的值
GET /posts?id_ne=1
使用 _like 进行过滤(支持 RegExp)
// 过滤出 posts 中 title 字段中包含 server 的数据
GET /posts?title_like=server
全文搜索
使用 _q 进行全文搜索
GET /posts?q=internet
关系
要包含子资源,请添加 _embed
// 获取 posts,每条数据都包含与其关联的 comments
GET /posts?_embed=comments

// 额外增加 id 为 1 的查询条件
GET /posts/1?_embed=comments
要包含父资源,请添加 _expand
GET /comments?_expand=post
GET /comments/1?_expand=post
数据库
要获取整个数据库,使用 /db 路由
GET /db
随机数据
使用 js 可以通过编程方式来创建数据
// index.js
module.exports = () => {
  const data = { users: [] }
  // Create 1000 users
  for (let i = 0; i < 1000; i++) {
    data.users.push({ id: i, name: `user${i}` })
  }
  return data
}
启动服务
json-server index.js
自定义路由
创建一个 routers.json 文件。注意每条路由都要以 / 开头。
{
  "/api/*": "/$1",
  "/:resource/:id/show": "/:resource/:id",
  "/posts/:category": "/posts?category=:category",
  "/articles\\?id=:id": "/posts/:id"
}
通过 --routers 选项启动 JSON 服务。
json-server db.json --routes routes.json
现在你就可以使用自定义路由来访问资源了
/api/posts # → /posts
/api/posts/1  # → /posts/1
/posts/1/show # → /posts/1
/posts/javascript # → /posts?category=javascript
/articles?id=1 # → /posts/1
启动参数
语法:json-server [options]
| 参数 | 简写 | 说明 | 值 |
|---|---|---|---|
| —config | -c | 指定配置文件 | 默认值: “json-server.json” |
| —port | -p | 设置端口 | 默认值: 3000 |
| —host | -H | 设置域 | 默认值: “localhost” |
| —watch | -w | 监听文件 | [boolean] |
| —routes | -r | 指定自定义路由文件路径 | |
| —middlewares | -m | 指定中间件文件 | [array] |
| —static | -s | 设置静态文件目录 | |
| —read-only | —ro | 只允许 GET 请求 | [boolean] |
| —no-cors | —nc | 关闭跨源资源共享 | [boolean] |
| —no-gzip | —ng | 关闭 GZIP 内容编码 | [boolean] |
| —snapshots | -S | 设置快照目录 | 默认值:”.” |
| —delay | -d | 添加延迟响应(ms) | |
| —id | -i | 设置数据库 ID 属性(例如 _id) | 默认值:”id” |
| —foreignKeySuffix | —fks | 设置外键后缀 | 默认值:”ID” |
| —quiet | -q | 禁止输出日志消息 | [boolean] |
| —help | -h | 显示帮助 | [boolean] |
| —version | -v | 显示版本号 | [boolean] |
你还可以在 json-server.json 配置文件中配置选项
{
  "port": 3000
}

