报错

方法一:只是本地不校验,如果项目要上线需要设置 request合法域名
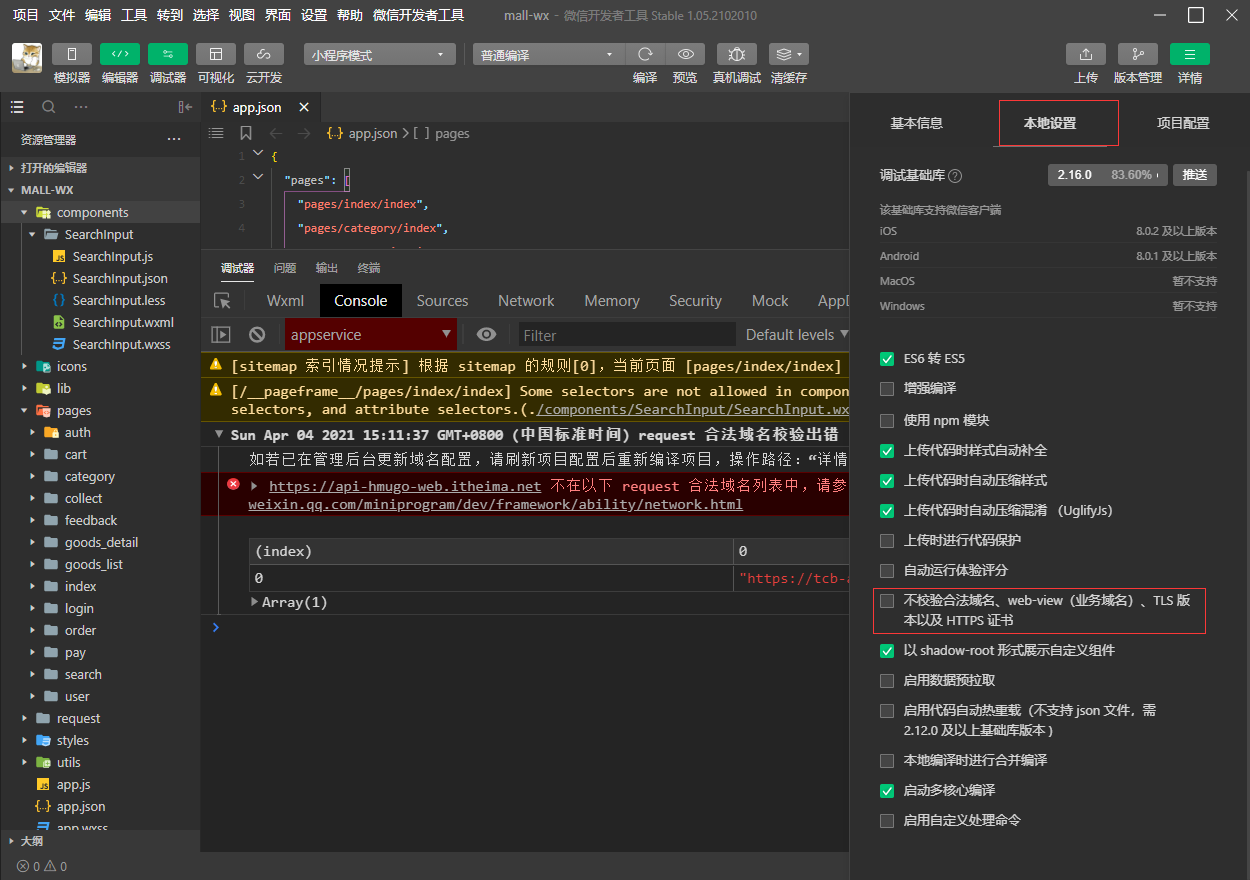
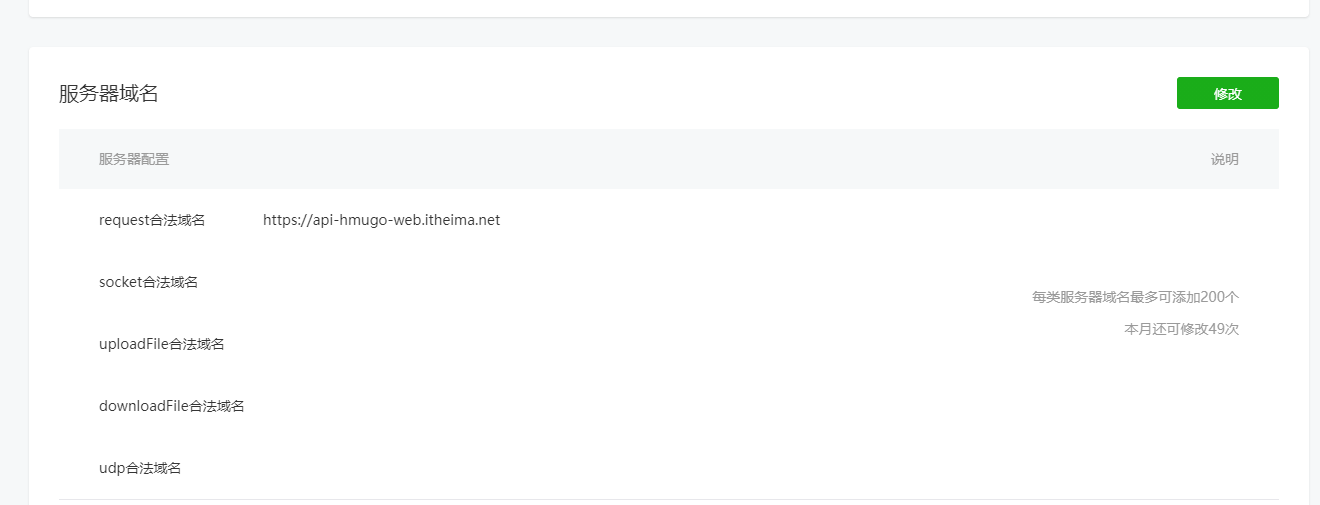
方法二:登录开发者平台,开发 ——> 开发管理 ——> 开发设置 ——> 修改
封装网络请求
// 同时发送异步代码的次数let ajaxTimes = 0export const request = (params) => {ajaxTimes++// 显示加载中wx.showLoading({title: "加载中",mask: true})const baseUrl = "https://api-hmugo-web.itheima.net/api/public/v1"return new Promise((resolve, reject) => {wx.request({...params,url: baseUrl + params.url,success: (result) => {resolve(result.data.message)},fail: (err) => {reject(err)},complete: () => {ajaxTimes--if (ajaxTimes === 0) { wx.hideLoading() }}})})}
请求数据过多时
可以将数据在本地存储,再设置一个过期时间,如果过期了才重新获取,避免资源浪费
// 封装的网络请求方法import { request } from "../../request/index.js"Page({data: {// 左侧数据列表leftMenuList: [],// 右侧数据列表rightMenuList: [],},// 用来临时存放请求的数据Cates: [],onLoad: function (options) {// 获取本地存储中的数据const Cates = wx.getStorageSync("cates")// 判断本地是否有旧数据if (!Cates) {this.getCates()} else {// 判断数据是否过期if (Date.now() - Cates.time > 1000 * 10) {this.getCates()} else {this.Cates = Cates.datalet leftMenuList = this.Cates.map(v => v.cat_name)let rightMenuList = this.Cates[0].childrenthis.setData({leftMenuList,rightMenuList})}}},// 获取分类列表getCates () {request({url: 'https://api-hmugo-web.itheima.net/api/public/v1/categories'}).then((res) => {this.Cates = res.data.message// 将数据存储到本地wx.setStorageSync("cates", {// time 用来判断是否过期time: Date.now(),data: this.Cates})let leftMenuList = this.Cates.map(v => v.cat_name)let rightMenuList = this.Cates[0].childrenthis.setData({leftMenuList,rightMenuList})})}})
tab 栏点击

自定义组件
<view class="tabs"><view class="tabs_title"><viewwx:for="{{tabs}}"wx:key="id"class="title_item {{item.isActive===true?'active': ''}}"bindtap="handleItemTpa"data-index="{{index}}">{{item.value}}</view></view></view>
Component({
  properties: {
    // 父组件传递过来的 tab 标题
    tabs: {
      type: Array,
      value: []
    }
  },
  methods: {
    handleItemTpa (e) {
      const { index } = e.currentTarget.dataset
      // 将当前激活的 tab 传递给父组件
      this.triggerEvent('tabsItemChange', { index })
    }
  }
})
父组件接收 index 并修改数组
Page({
  data: {
    tabs: [
      {
        id: 0,
        value: "综合",
        isActive: true
      },
      {
        id: 1,
        value: "销量",
        isActive: false
      },
      {
        id: 2,
        value: "价格",
        isActive: false
      },
    ]
  },

  handleTabsItemChange (e) {
    const { index } = e.detail
    let { tabs } = this.data
    tabs.forEach((v, i) => i === index ? v.isActive = true : v.isActive = false)
    this.setData({
      tabs
    })
  }
})
没有图片数据
判断并使用另一张图片代替

<image mode="widthFix" src="{{item.goods_small_logo?item.goods_small_logo:'https://ww1.sinaimg.cn/large/007rAy9hgy1g24by9t530j30i20i2glm.jpg'}}"></image>
下拉刷新
在页面配置中添加以下代码
{
  "backgroundTextStyle": "dark",
  "enablePullDownRefresh": true
}
触发下拉刷新生命周期函数,将数据全部清空,再重新发送请求
请求成功之后使用 wx.stopPullDownRefresh() 关闭下拉刷新
page({
  onPullDownRefresh () {
      // 重置数组
      this.setData({
        goods_list: []
      })
    // 重置页码
    this.QueryParams.pagenum = 1
    // 重新发送请求
    this.getGoodsList()
  }
})
图片格式兼容
iphone 部分机型不支持 webp 格式图片,必须确保后台存在其它图片格式
使用正则表达式替换
this.setData({
  goodsObj: {
    goods_name: goodsObj.goods_name,
    goods_price: goodsObj.goods_price,
    goods_introduce: goodsObj.goods_introduce.replace(/\.webp/g,'.jpg'),
    pics: goodsObj.pics
  }
})
加入购物车
将购物车数据存储到本地中(只是举例,并不是真正的处理方式)
handleCartAdd () {
  // 获取缓存中的购物车
  let cart = wx.getStorageSync("cart") || []
  // 判断商品对象是否存在于购物车数组中
  let index = cart.findIndex(v => v.goods_id === this.GoodsInfo.goods_id)
  if (index === -1) {
    // 不存在则添加
    this.GoodsInfo.num = 1
    cart.push(this.GoodsInfo)
  } else {
    // 存在则将数量加 1
    cart[index].num++
  }

  // 把购物车重新添加回缓存中
  wx.setStorageSync("cart", cart)
  // 弹窗提示
  wx.showToast({
    title: '加入成功',
    icon: 'success',
    mask: true
  })
}
获取收货地址
详细看 page/cart
思路:
- 获取用户地址
- 将用户地址存入缓存中
- 页面
onShow时读取缓存中的数据并保存在 data 中 - 判断地址数据是否存在
- 存在则渲染地址
- 不存在则渲染获取用户地址按钮
官方公告发布,2020.9.25 号起 socpe.address 接口返回的永远是 true,已经不需要再判断了
以下只为思路参考
// 1 点击获取收货地址
handleChooseAddress () {
  // 2 获取权限状态
  wx.getSetting({
    success: (result) => {
        const scopeAddress = result.authSetting["scope.address"]
        // 3 判断权限状态(授予过权限或者没调用过授予权限 API 时)
        if (scopeAddress === true || scopeAddress === undefined) {
          // 4 调用获取收获地址 API
          wx.chooseAddress({
            success: (result1) => {
                            console.log(result1)
            }
          })
        } else {
          // 5 引导用户打开设置界面
          wx.openSetting({
            success: (result2) => {
              // 6 重新调用获取收获地址 API
              wx.chooseAddress({
                success: (result3) => {
                                    console.log(result3)
                }
              })
            }
          })
        }
      }
    })
  }
封装 API:
// utils/asyncWx.js

/**
 * promise 形式 getSetting
 */
export const getSetting = () => {
  return new Promise((resolve, reject) => {
    wx.getSetting({
      success: (result) => {
        resolve(result)
      },
      fail: (err) => {
        reject(err)
      }
    })
  })
}

/**
 * promise 形式 chooseAddress
 */
export const chooseAddress = () => {
  return new Promise((resolve, reject) => {
    wx.chooseAddress({
      success: (result) => {
        resolve(result)
      },
      fail: (err) => {
        reject(err)
      }
    })
  })
}

/**
 * promise 形式 openSetting
 */
export const openSetting = () => {
  return new Promise((resolve, reject) => {
    wx.openSetting({
      success: (result) => {
        resolve(result)
      },
      fail: (err) => {
        reject(err)
      }
    })
  })
}
使用:
try {
  // 1 获取权限状态
  const res1 = await getSetting()
  const scopeAddress = res1.authSetting["scope.address"]
  // 2 判断权限状态
  if (scopeAddress === false) {
    // 3 引导用户打开设置界面
    await openSetting()
  }
  // 4 调用获取收获地址 API
  const res2 = await chooseAddress()
  console.log(res2)
} catch (err) {
  console.log(err)
}
购物车内容
pages/cart
在商品详情页面,点击添加购物车时,手动添加了属性
- num = 1
- checked = true
订单支付
/pages/pay
需要搭建服务器并且需要企业用户,详细可看官网
- 支付成功后删除购物车缓存中的商品
- 跳转到订单页面
await showToast({ title: "支付成功" })
// 删除购物车缓存中已经支付了的商品
let newCart = wx.getStorageSync("cart")
newCart = newCart.filter(v => !v.checked)
wx.setStorageSync("cart", newCart)
// 支付成功跳转到订单页面
wx.navigateTo({
    url: '/pages/order/index'
})
待解决问题
vx:key 的值需要使用 Mastache 语法吗,可以使用 vue 中 input 案例验证


若有收获,就点个赞吧
0 人点赞
