一、debug
在代码中,找一个位置,点击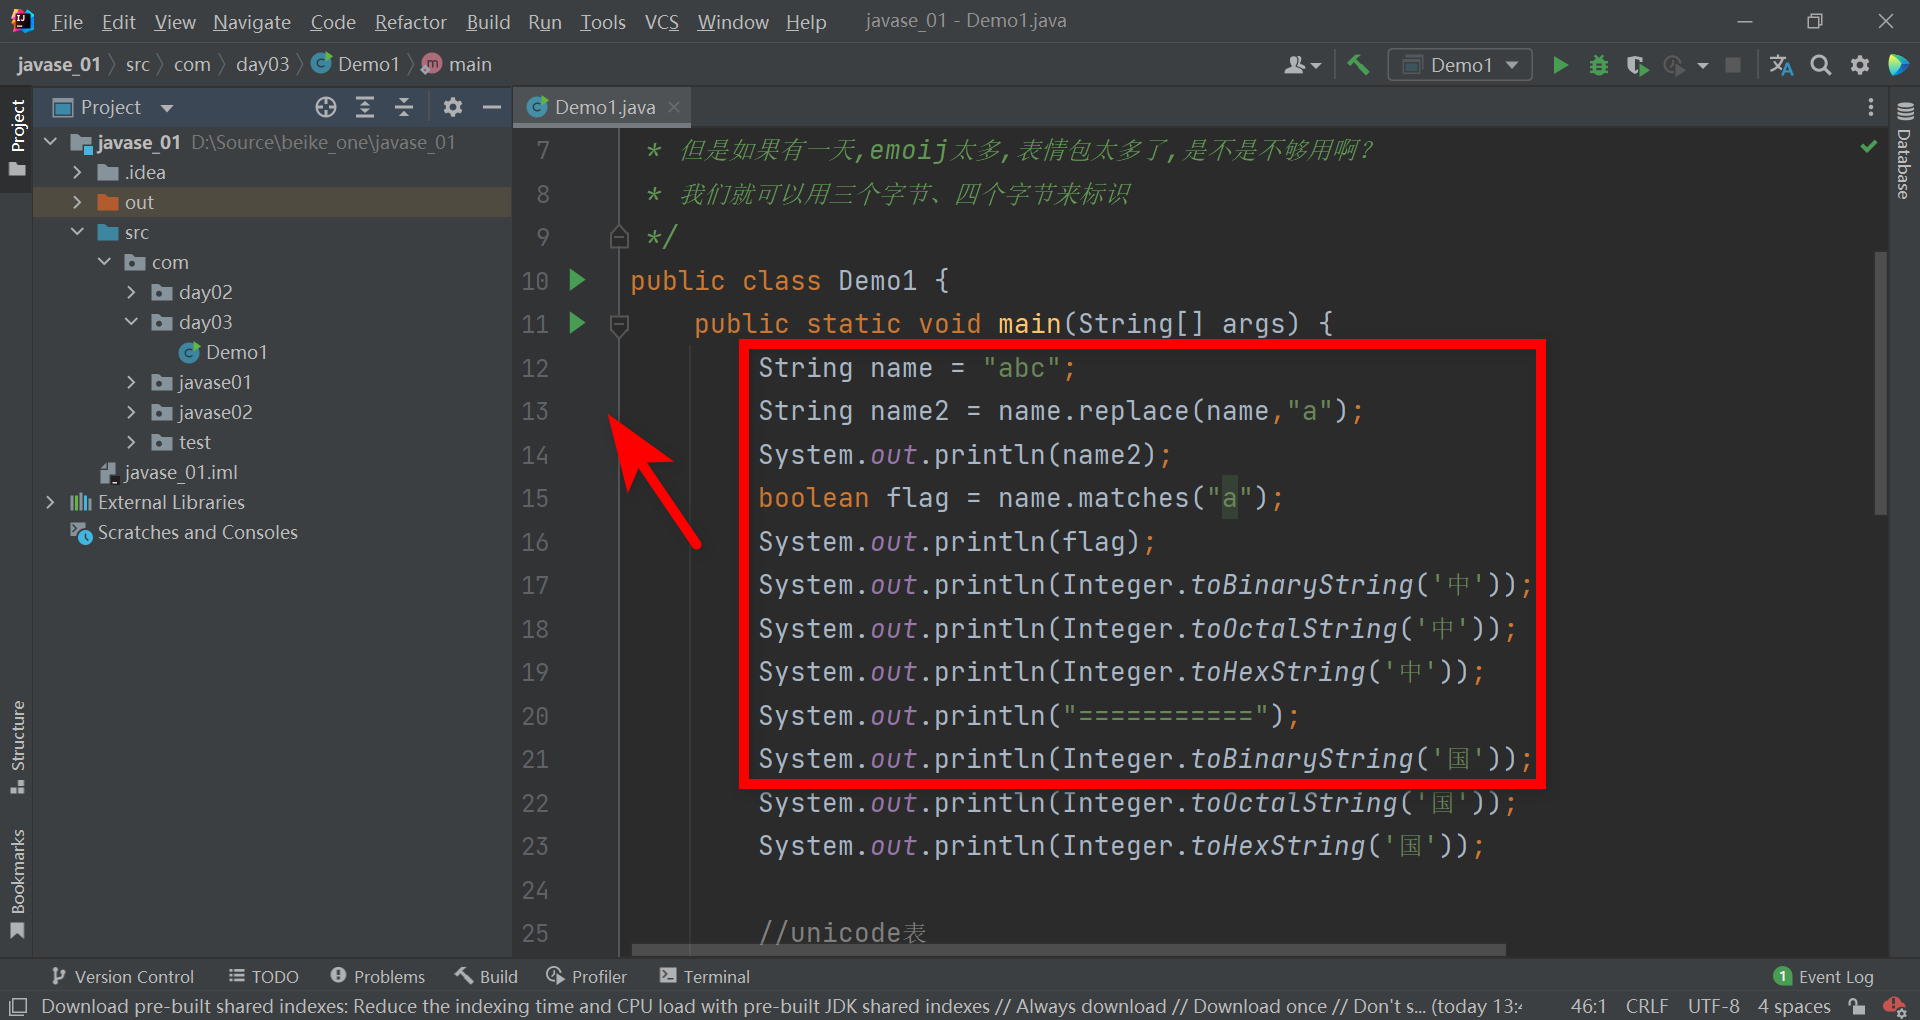
前面出现红色点:这个叫断点
右击鼠标,选择Debug运行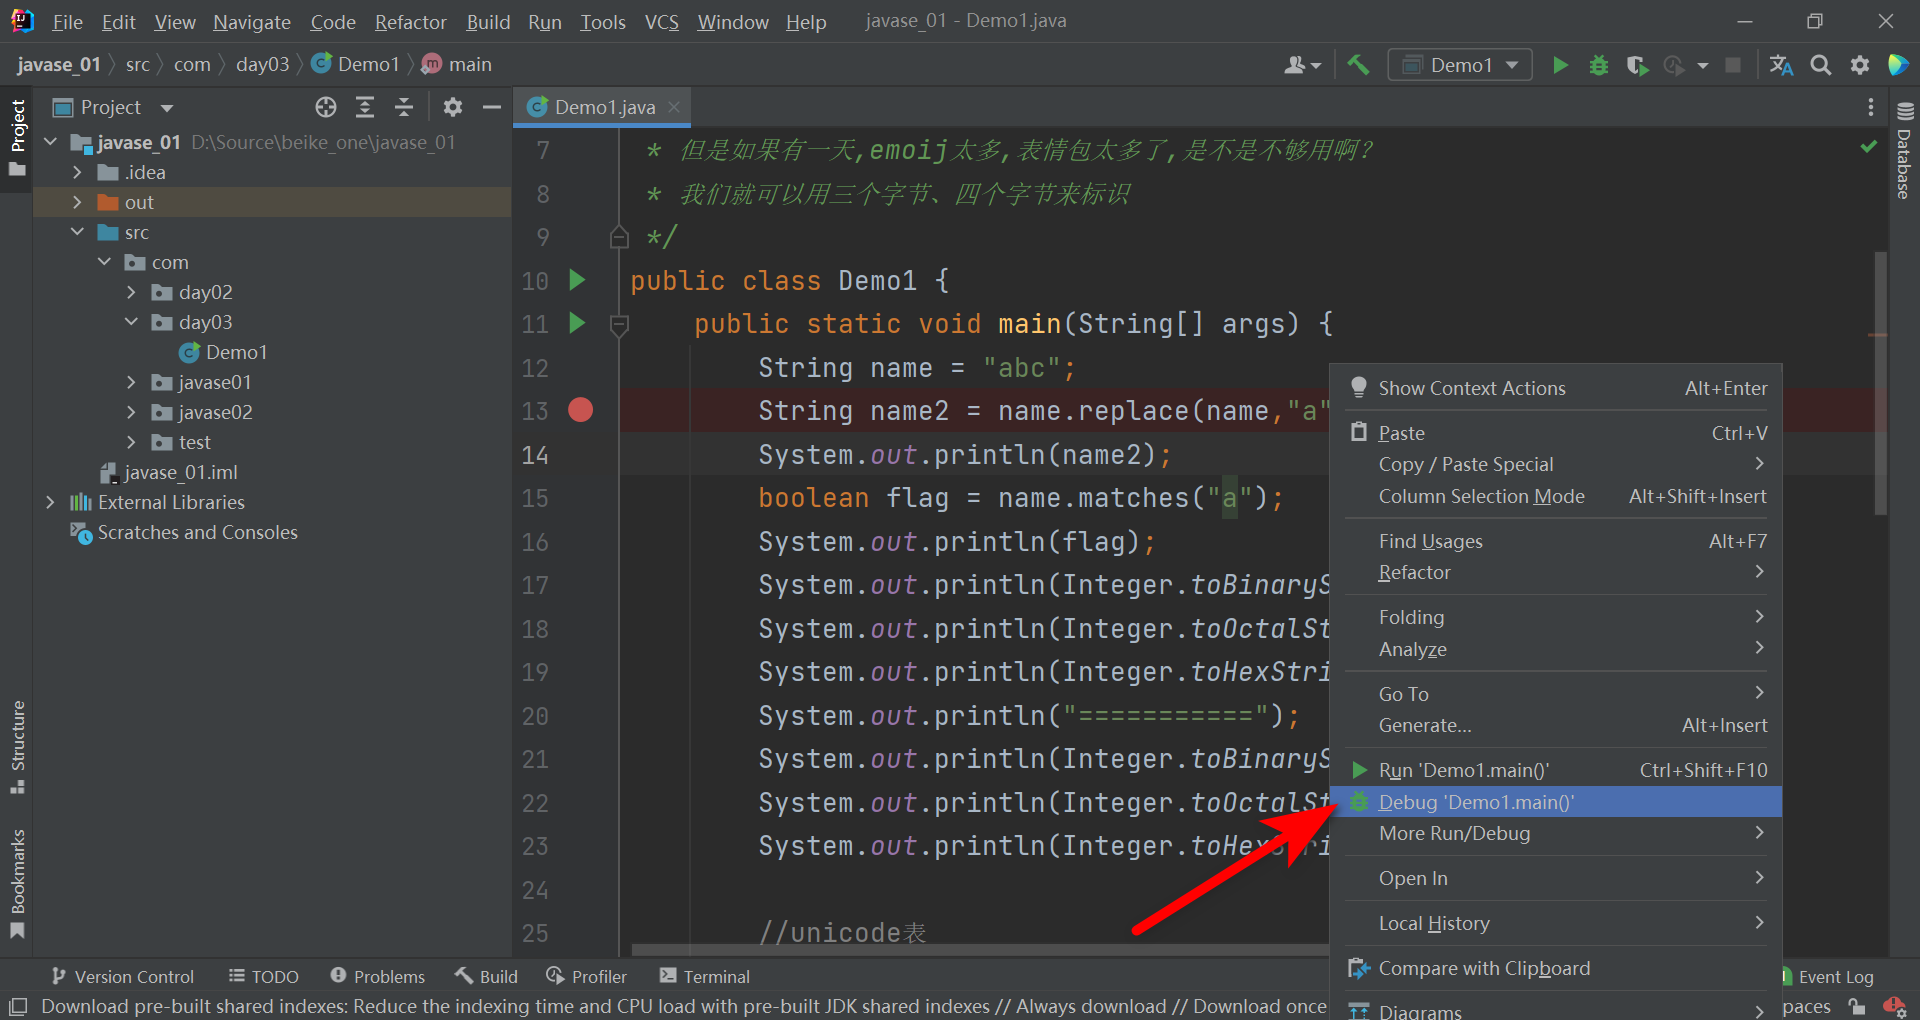
下图:鼠标悬停上面,会提示如下
1、Step Over(F8):点击这个按钮,或者按住F8键,可以往后面执行
2、Step Into(F7):可以进入方法内部,如果当前执行到方法调用,就可以进入方法内部
3、Force Step Info(Alt+Shift+F7):强制进入方法内部
4、Step Out(Shift +F8):退出执行的方法,也就是返回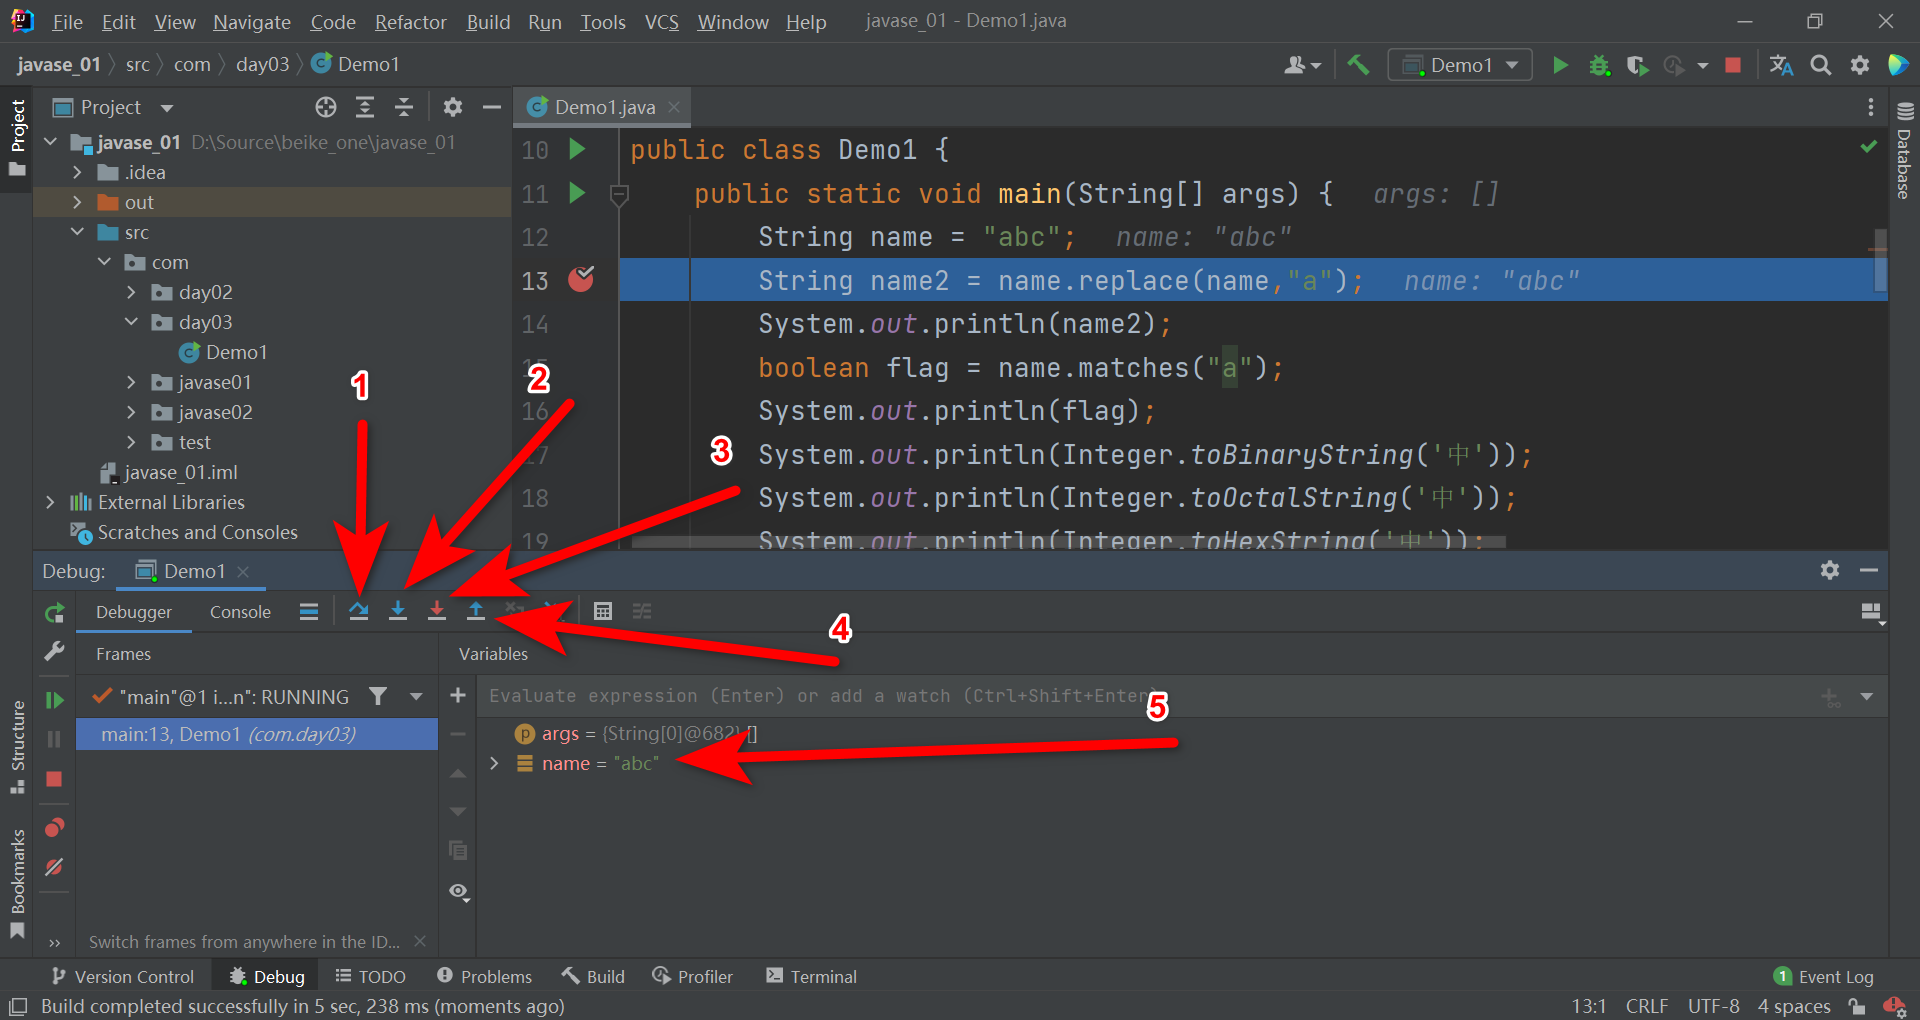
5、Run to Cusor(Alt+F9):调到下一个断点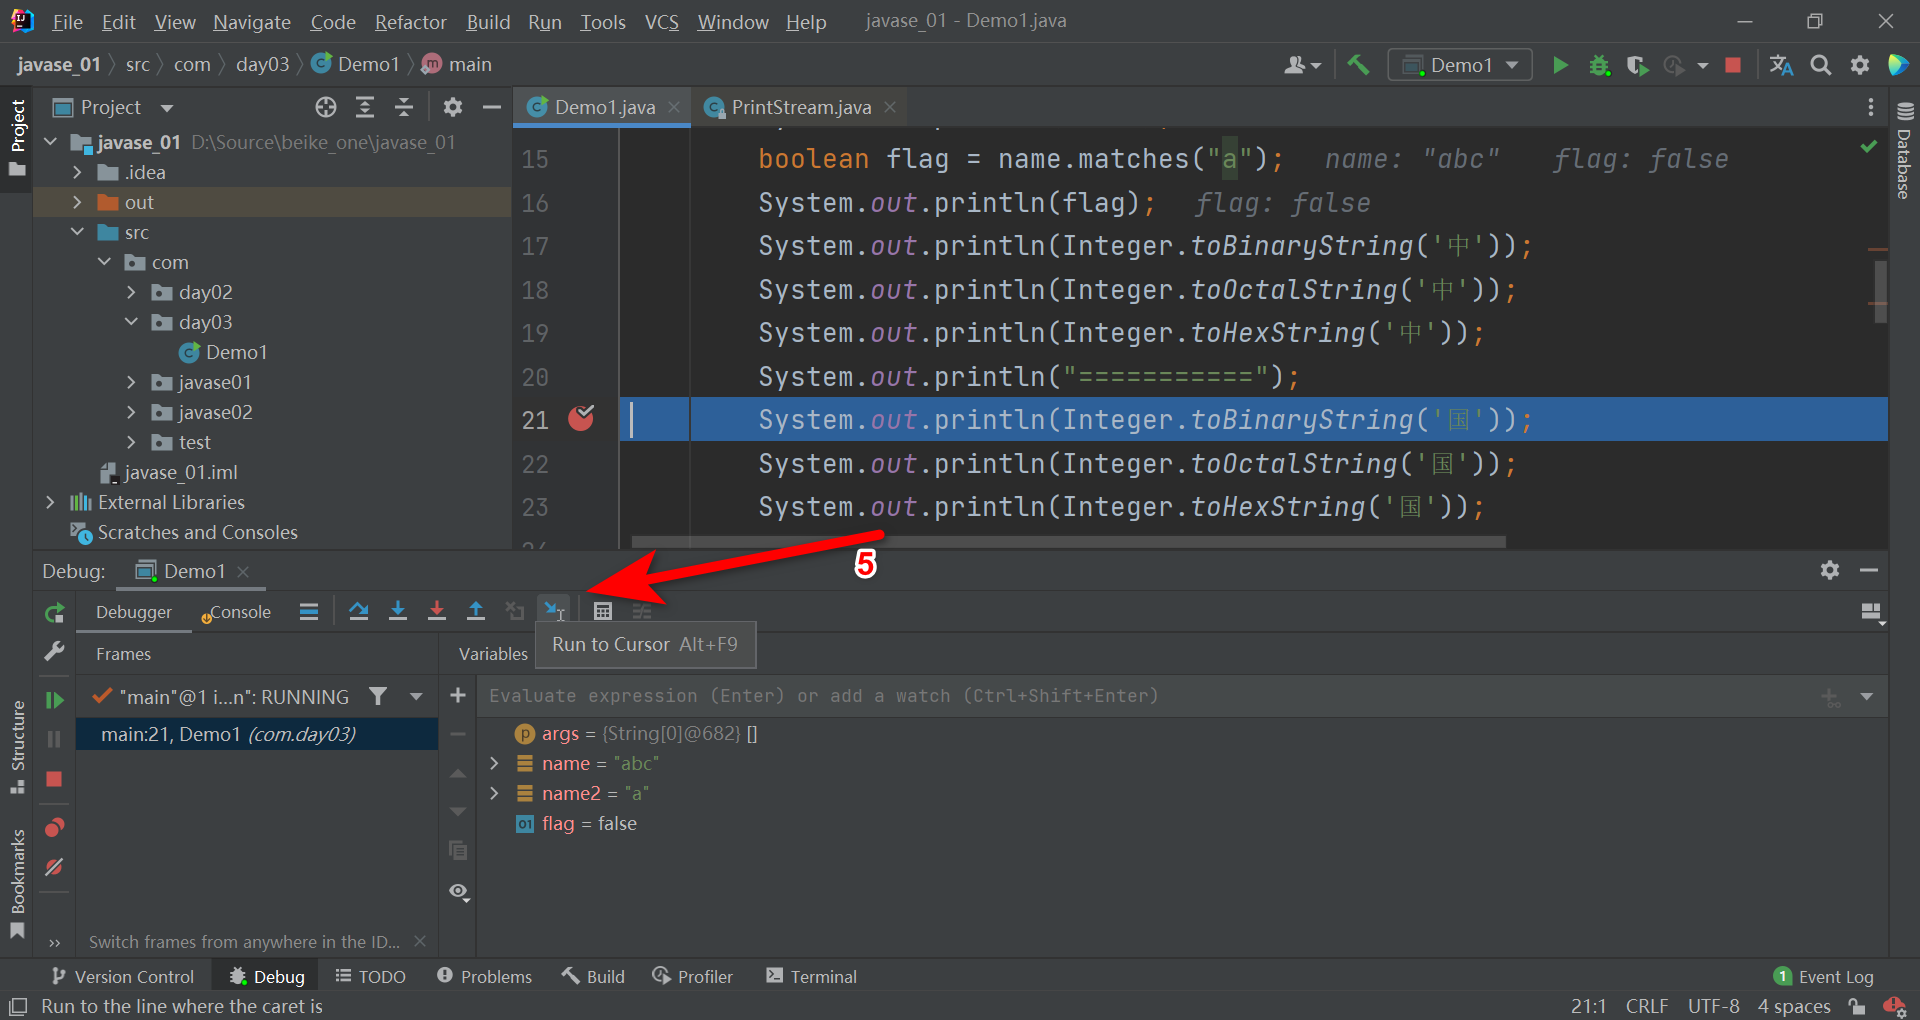
6:、Rerun(Ctrl+F5):重新执行
7、Resume Program(F9):跳到下一个断点
8、Stop(Crto+F2):停止程序
9、View Breakpoints(Ctrl+Shift+F8):查看有哪些断点
10、Mute Breakpoints:禁止断点,下次debug启动,不会执行断点,因为已经被禁止了。。。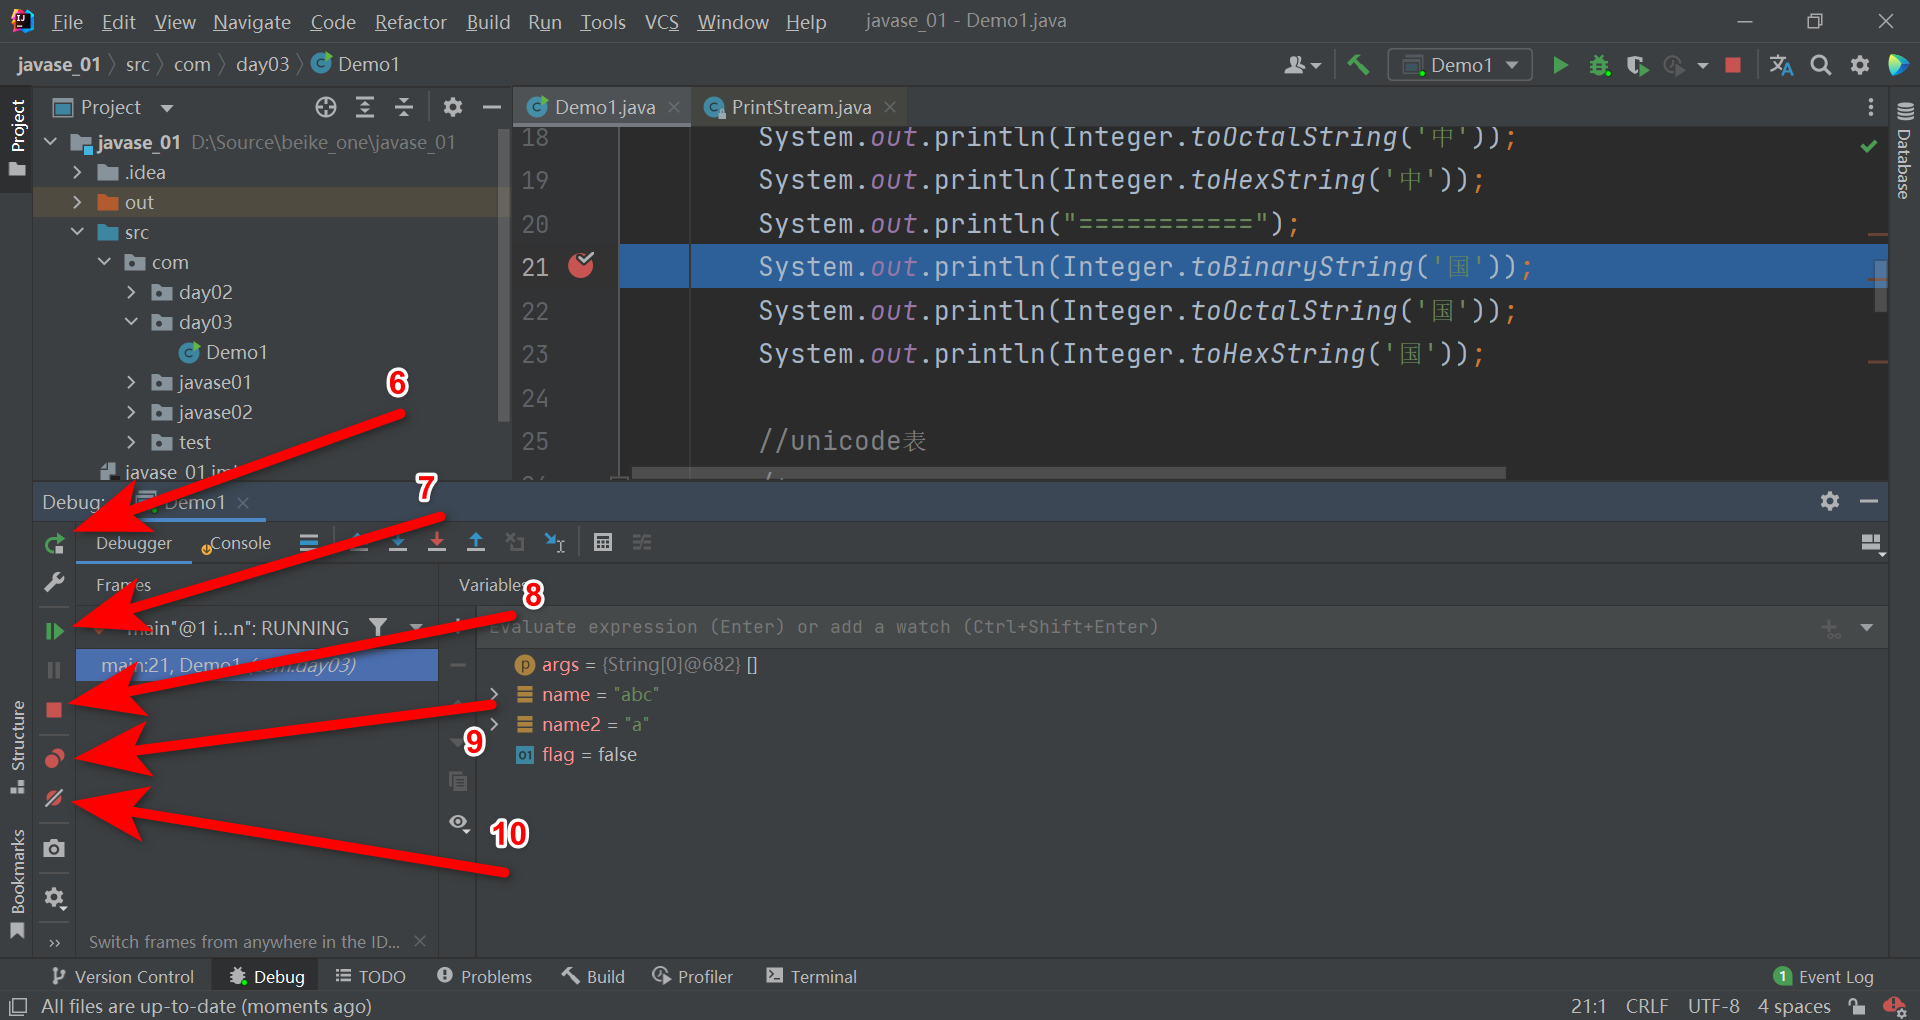
查看断点
禁止断点
可以查看到变量值
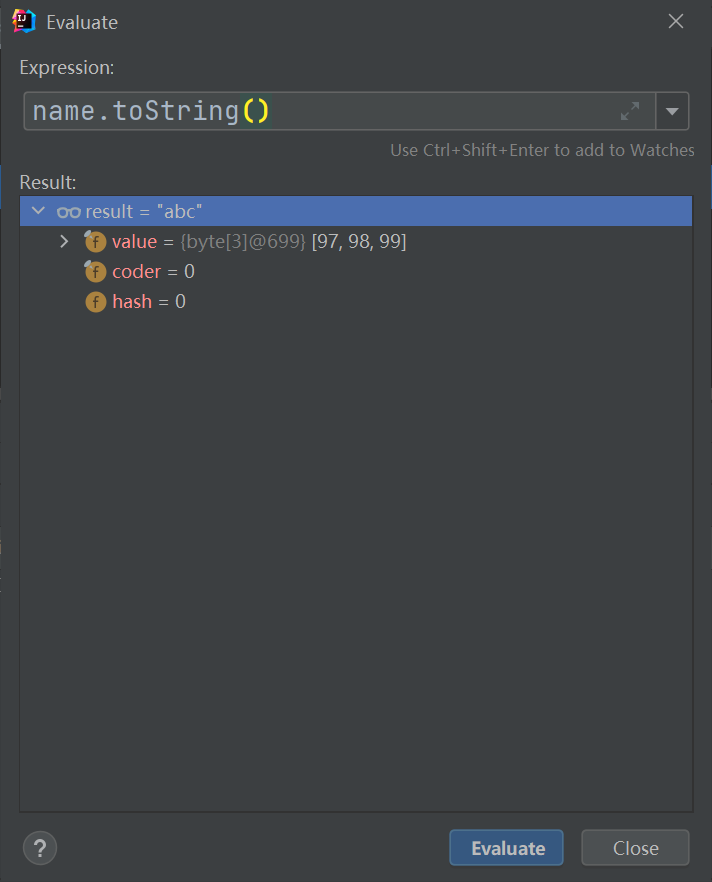
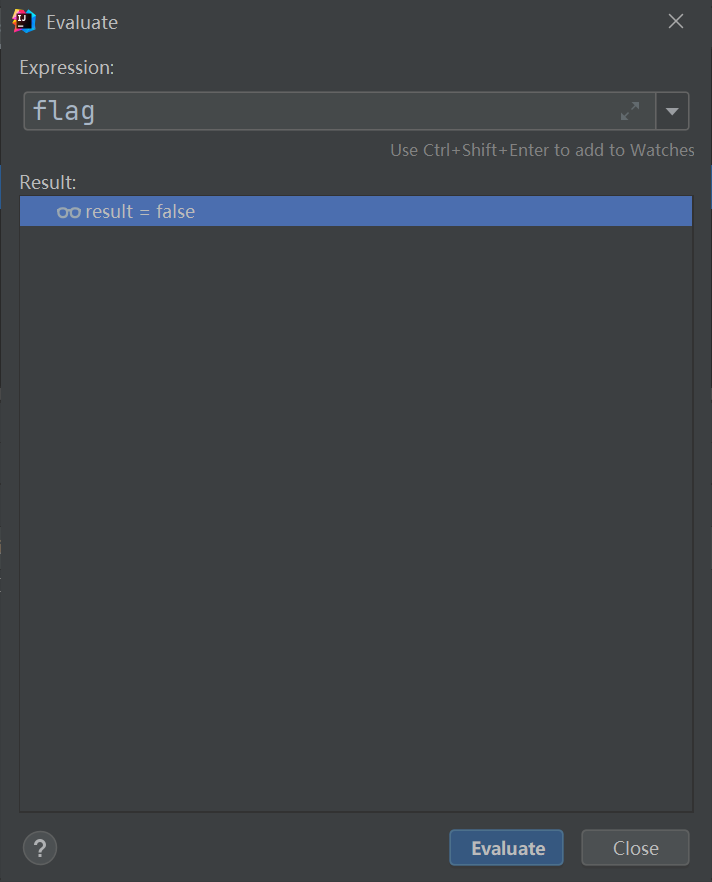
Evaluate Expression:debug过程中,可以执行表达式
二、junit单元测试
一、导入junit包
第一步:在项目下创建lib包
第二步:
将junit包拷贝到lib目录下
第三步:File->Project Structure
第四步:找到刚刚的junit jar包

package com.day04;import org.junit.After;import org.junit.Before;import org.junit.Test;public class TestJunit {String url = "jdbc:mysql://localhost:3306/tmall";String username = "root";String password = "root";int port = 3306;boolean flag = false;/*** 测试方法执行之前执行*/@Beforepublic void connect(){if("root".equals(username) && "root".equals(password)){flag = true;}}/*** 测试方法执行之后执行*/@Afterpublic void close(){flag = false;System.out.println("close...");}/*** 测试*/@Testpublic void test1(){String name = "";System.out.println("test....");System.out.println(flag);}/*** 执行时间超过1000毫秒报错*/@Test(timeout = 1000)public void test2(){String name = "";System.out.println("test....");System.out.println(flag);while(true){System.out.println("x");}}}

若有收获,就点个赞吧
0 人点赞
