另一个基本的JavaFX节点是Text节点,它允许我们在场景图上显示文本。要创建Text节点,请使用javafx.scene.text.Text类。
所有JavaFX场景节点都从javafx.scene.Node中扩展,并且它们继承了许多功能,例如缩放,翻译或旋转的功能。
Text节点的直接父对象是javafx.scene.shape.Shape类。可以在两个文本之间执行几何操作,如减法,相交或联合。还可以使用文本剪辑视口区域。
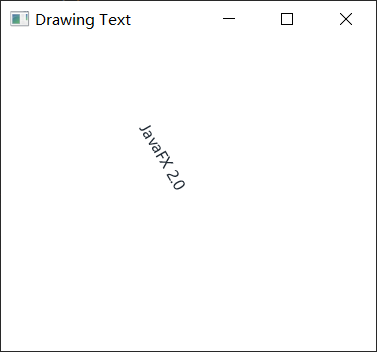
import javafx.application.Application;import javafx.scene.Group;import javafx.scene.Scene;import javafx.scene.paint.Color;import javafx.scene.text.Text;import javafx.stage.Stage;public class Main extends Application {public static void main(String[] args) {Application.launch(args);}@Overridepublic void start(Stage primaryStage) {primaryStage.setTitle("Drawing Text");Group root = new Group();Scene scene = new Scene(root, 300, 250, Color.WHITE);int x = 100;int y = 100;int red = 30;int green = 40;int blue = 50;Text text = new Text(x, y, "JavaFX 2.0");text.setFill(Color.rgb(red, green, blue, .99));text.setRotate(60);root.getChildren().add(text);primaryStage.setScene(scene);primaryStage.show();}}

旋转文本
请参考下面旋转文本的代码实现 -
import javafx.application.Application;import javafx.scene.Group;import javafx.scene.Scene;import javafx.scene.paint.Color;import javafx.scene.text.Text;import javafx.stage.Stage;public class Main extends Application {public static void main(String[] args) {Application.launch(args);}@Overridepublic void start(Stage primaryStage) {primaryStage.setTitle("Drawing Text");Group root = new Group();Scene scene = new Scene(root, 300, 250, Color.WHITE);int x = 100;int y = 100;int red = 30;int green = 40;int blue = 50;Text text = new Text(x, y, "JavaFX 2.0");text.setFill(Color.rgb(red, green, blue, .99));text.setRotate(60);root.getChildren().add(text);primaryStage.setScene(scene);primaryStage.show();}}
文本字体
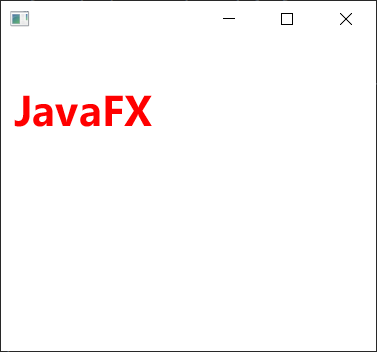
JavaFX的Font API使我们能够更改字体样式和字体大小。参考下面的代码实现将文本加粗并设置为红色 -
import javafx.application.Application;import javafx.scene.Group;import javafx.scene.Scene;import javafx.scene.effect.DropShadow;import javafx.scene.paint.Color;import javafx.scene.text.Font;import javafx.scene.text.FontWeight;import javafx.scene.text.Text;import javafx.stage.Stage;public class Main extends Application {public static void main(String[] args) {Application.launch(args);}@Overridepublic void start(Stage primaryStage) {primaryStage.setTitle("");Group root = new Group();Scene scene = new Scene(root, 300, 250, Color.WHITE);Group g = new Group();Text t = new Text();t.setCache(true);t.setX(10.0);t.setY(70.0);t.setFill(Color.RED);t.setText("JavaFX");//FontWeight:粗细t.setFont(Font.font(null, FontWeight.BOLD, 32));g.getChildren().add(t);root.getChildren().add(g);primaryStage.setScene(scene);primaryStage.show();}}
示例
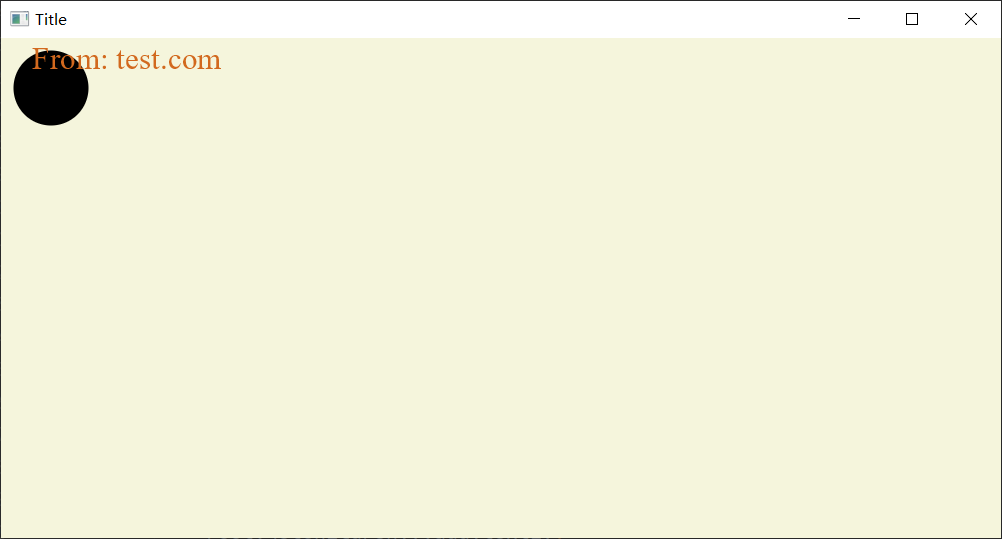
实现使用CHOCOLATE颜色和Font.SERIF的文本
import javafx.application.Application;import javafx.scene.Group;import javafx.scene.Scene;import javafx.scene.paint.Color;import javafx.scene.shape.Circle;import javafx.scene.text.Font;import javafx.scene.text.Text;import javafx.stage.Stage;public class Main extends Application {public static void main(String[] args) {Application.launch(args);}@Overridepublic void start(Stage primaryStage) {primaryStage.setTitle("Title");final Circle circ = new Circle(40, 40, 30);final Group root = new Group(circ);final Scene scene = new Scene(root, 800, 400, Color.BEIGE);final Text text1 = new Text(25, 25, "From: yiibai.com");text1.setFill(Color.CHOCOLATE);text1.setFont(Font.font(java.awt.Font.SERIF, 25));root.getChildren().add(text1);primaryStage.setScene(scene);primaryStage.show();}}
文字效果
DropShadow对象基于相对于Text节点的x,y偏移量定位。因此可以设置文本阴影的颜色。
以下代码显示了如何使用DropShadow来绘制文本。
import javafx.application.Application;import javafx.scene.Group;import javafx.scene.Scene;import javafx.scene.effect.DropShadow;import javafx.scene.paint.Color;import javafx.scene.shape.Circle;import javafx.scene.text.Font;import javafx.scene.text.FontWeight;import javafx.scene.text.Text;import javafx.stage.Stage;public class Main extends Application {public static void main(String[] args) {Application.launch(args);}@Overridepublic void start(Stage primaryStage) {primaryStage.setTitle("阴影");Group root = new Group();Scene scene = new Scene(root, 400, 250, Color.WHITE);Group g = new Group();DropShadow ds = new DropShadow();ds.setOffsetY(3.0);ds.setColor(Color.color(0.4, 0.4, 0.4));Text t = new Text();t.setEffect(ds);t.setCache(true);t.setX(10.0);t.setY(70.0);t.setFill(Color.RED);t.setText("JavaFX drop shadow...");t.setFont(Font.font(null, FontWeight.BOLD, 32));g.getChildren().add(t);root.getChildren().add(g);primaryStage.setScene(scene);primaryStage.show();}}

例-2
使用0.7f作为setFraction()方法参数并调用此方法,本质上是指定所希望显示70%的反射。
以下代码显示如何在文本上使用反射效果。
import javafx.application.Application;import javafx.scene.Group;import javafx.scene.Scene;import javafx.scene.effect.Reflection;import javafx.scene.paint.Color;import javafx.scene.text.Font;import javafx.scene.text.FontWeight;import javafx.scene.text.Text;import javafx.stage.Stage;public class Main extends Application {public static void main(String[] args) {Application.launch(args);}@Overridepublic void start(Stage primaryStage) {primaryStage.setTitle("");Group root = new Group();Scene scene = new Scene(root, 400, 250, Color.WHITE);Text t = new Text();t.setX(10.0);t.setY(50.0);t.setCache(true);t.setText("Reflections on JavaFX...");t.setFill(Color.RED);t.setFont(Font.font(null, FontWeight.BOLD, 30));Reflection r = new Reflection();r.setFraction(0.7);t.setEffect(r);root.getChildren().add(t);primaryStage.setScene(scene);primaryStage.show();}}
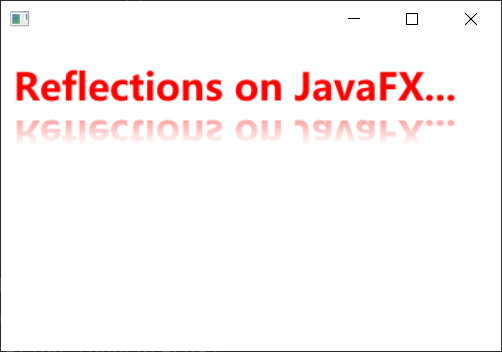
反射值范围从0(0%)到1(100%)。还可以通过setTopOffset()方法设置不透明节点部分和反射部分之间的空间。顶部偏移默认为0。
上面的代码生成以下结果。
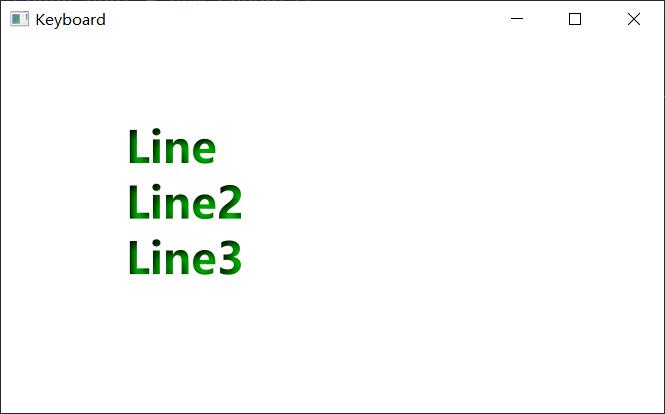
实例-3
以下代码显示如何使用行分隔符对文本执行换行。
import javafx.application.Application;import javafx.beans.property.SimpleStringProperty;import javafx.beans.property.StringProperty;import javafx.scene.Group;import javafx.scene.Scene;import javafx.scene.effect.InnerShadow;import javafx.scene.paint.Color;import javafx.scene.text.Font;import javafx.scene.text.FontWeight;import javafx.scene.text.Text;import javafx.stage.Stage;public class Main extends Application {public static void main(String[] args) {Application.launch(args);}@Overridepublic void start(Stage primaryStage) {primaryStage.setTitle("Keyboard");Group root = new Group();Scene scene = new Scene(root, 530, 300, Color.WHITE);StringProperty statusProperty = new SimpleStringProperty();InnerShadow iShadow = new InnerShadow();iShadow.setOffsetX(3.5);iShadow.setOffsetY(3.5);Text status = new Text();status.setEffect(iShadow);status.setX(100);status.setY(50);status.setFill(Color.LIME);status.setFont(Font.font(null, FontWeight.BOLD, 35));status.setTranslateY(50);status.textProperty().bind(statusProperty);statusProperty.set("Line\nLine2\nLine3");root.getChildren().add(status);primaryStage.setScene(scene);primaryStage.show();}}
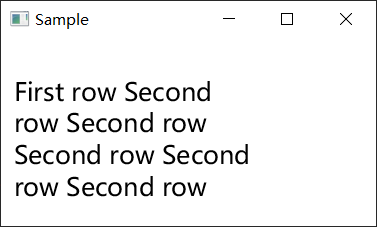
实例-4
以下代码显示如何设置文本换行宽度。
import javafx.application.Application;import javafx.scene.Group;import javafx.scene.Scene;import javafx.scene.text.Font;import javafx.scene.text.Text;import javafx.stage.Stage;public class Main extends Application {@Overridepublic void start(Stage stage) {Group root = new Group();Scene scene = new Scene(root, 300, 150);stage.setScene(scene);stage.setTitle("Sample");Text t = new Text(10, 50, "This is a test");t.setWrappingWidth(200);t.setText("First row Second row Second row Second row Second row Second row ");t.setFont(new Font(20));root.getChildren().add(t);stage.show();}public static void main(String[] args) {launch(args);}}

若有收获,就点个赞吧
0 人点赞
