ADC
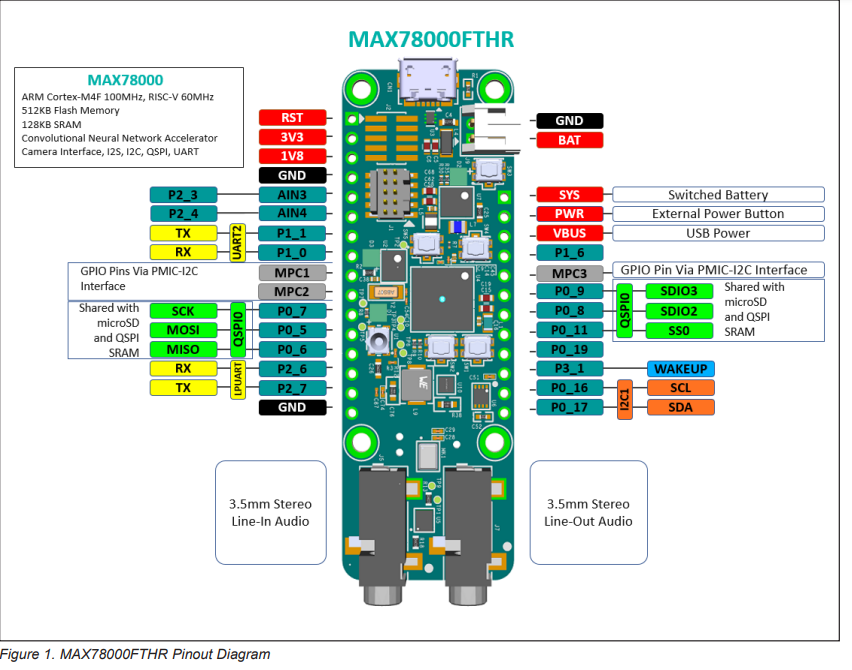
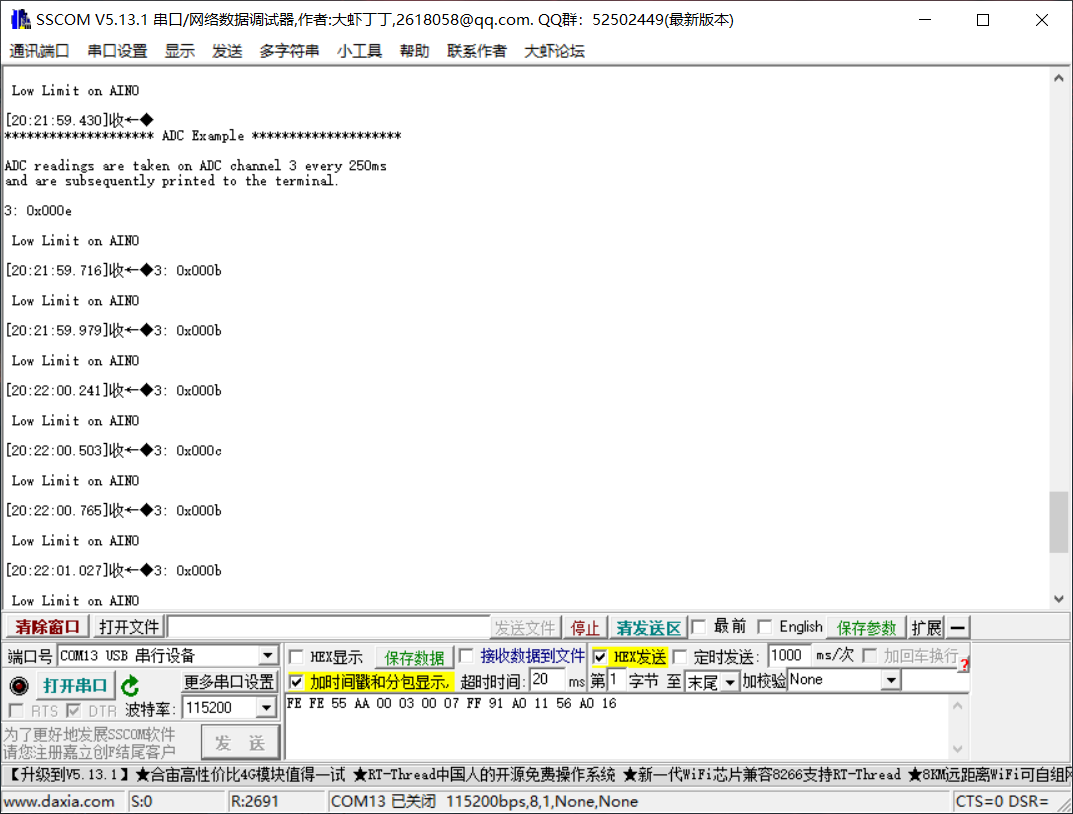
Demonstrates the use of the ADC by continuously monitoring ADC input channel (AIN0 on the EvKit and AIN3 on the featherboard). Vary the voltage on the AIN input from 0V to 0.9V to observe different readings from the ADC.
High and low limits are set arbitrarily to demonstrate the detection of overvoltage and undervoltage conditions respectively. If the ADC reading exceeds 0x300, the example will report that the high limit has been reached. If the ADC reading falls below 0x25, the example will report the low limit has been reached.
Any reading that exceeds the full-scale value of the ADC will have an ‘*’ appended to the value.
cd /E/eclipse-workspace/make ditcleanmake
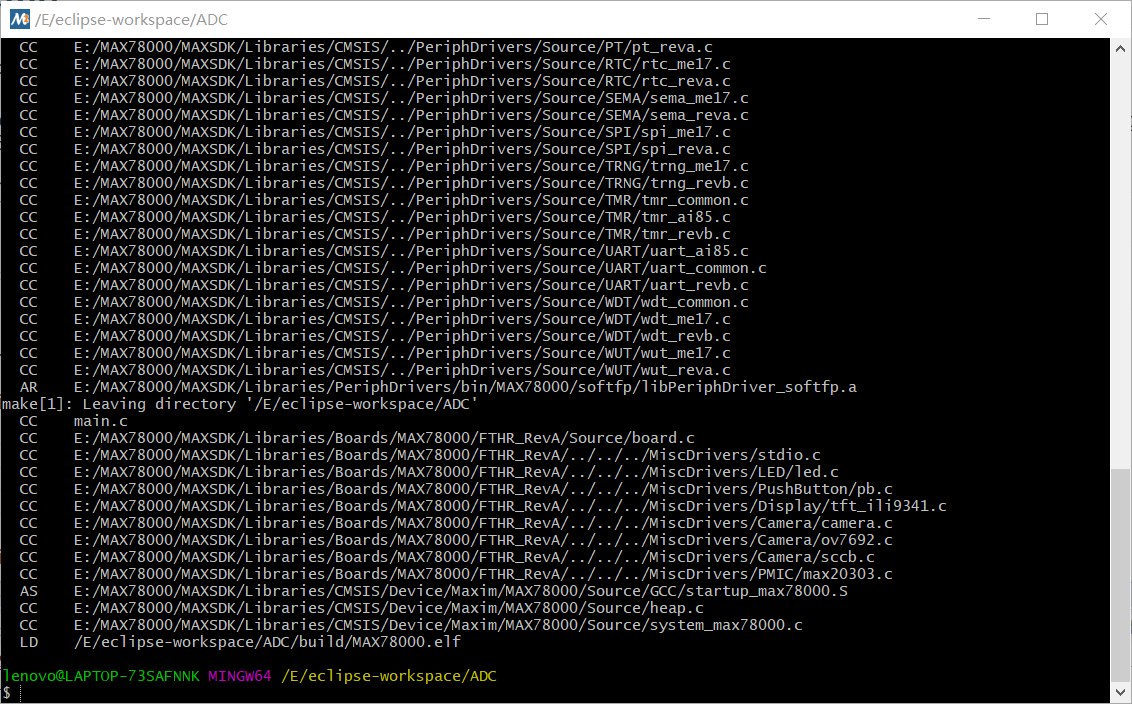
openocd -s $MAXIM_PATH/Tools/OpenOCD/scripts -f interface/cmsis-dap.cfg -f target/max78000.cfg -c "program build/MAX78000.elf reset exit"
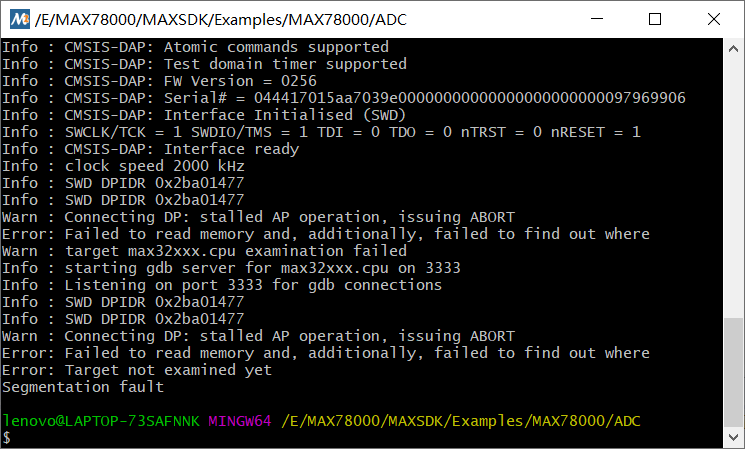
发现MAX78000无法写入
办法如下:
如何解锁无法再编程的 MAX78000
复位后,SWD 接口在一定数量的时钟周期内不可用。如果应用程序代码指示设备过早进入任何低功耗或关机模式,则可能难以对设备进行重新编程。以下说明有助于恢复处于此“锁定”状态的设备。
- 移除连接到 MAX78000FTHR 板的 USB 电缆。
- 将 USB 电缆重新连接到主机 PC 时,按住按钮 SW5 将板载调试适配器置于 MAINTENANCE 模式。
- 调试适配器将枚举为名为 MAINTENANCE 的大容量存储设备。
- 将提供的 bin 文件拖放到名为 MAINTENANCE: DAPLINK binary file的驱动器中。
- 拖放后,调试适配器应重新启动并重新连接为名为 DAPLINK 的驱动器。
- 确保 DAPLINK 驱动器上 DETAILS.TXT 文件中的“允许自动化”字段设置为 1。如果没有,请执行以下步骤:
- 创建一个名为“ auto_on.cfg ”的空文本文件。按住 SW5 按钮时将文件复制到 DAPLINK 驱动器。
- 卸载驱动器时松开 SW5 按钮。重新安装时,确认 DETAILS.TXT 文件中的“允许自动化”设置为 1。
- 创建一个名为“ erase.act ”的空文本文件并将其拖放到 DAPLINK 驱动器上。
- 这应该会批量擦除目标器件的闪存,从而允许再次对器件进行编程。
此时,目标设备应该再次可编程。
注意:为了避免一开始就处于锁定状态,建议在代码开发期间,在用户代码的开头放置一个延迟,以便让调试适配器有机会与处理器通信或暂停处理器。2 秒的延迟是理想的,以便可以手动附加调试器。
通过串口调试助手查看
代码解析
直接看码云的注释
https://gitee.com/iron2222/max78000/tree/master/ADC
AES加密
CRC校验
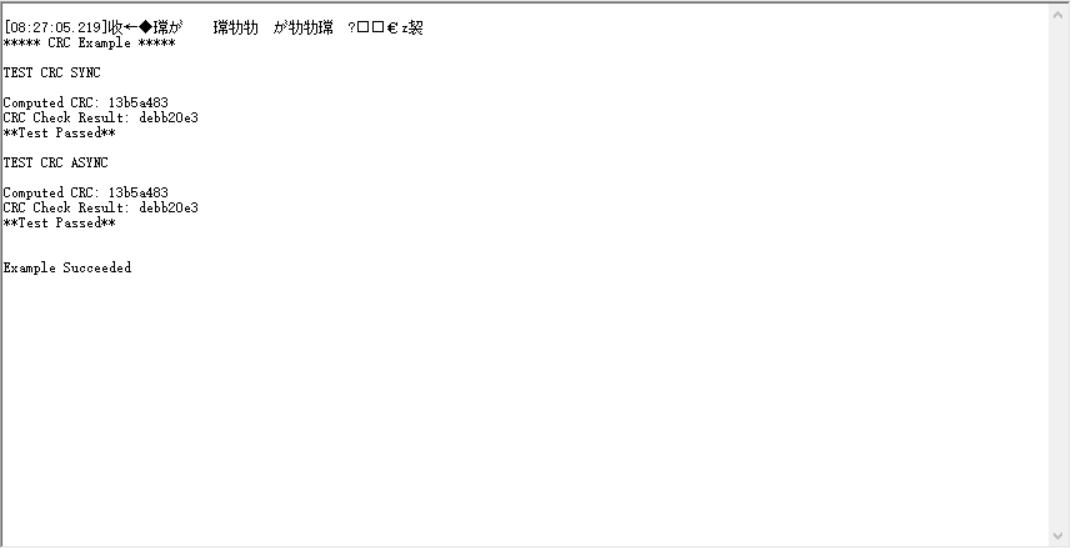
此示例演示了硬件 CRC 计算器的使用。 该示例首先生成一个超过 4096 个字节的 32 位 CRC。 生成的 CRC 被反转并放置在 4096+4 字节的末尾。 然后在得到的 4096+4 字节上计算另一个 CRC。 将最终结果与预期值进行比较。 此序列重复两次 - 一次使用阻塞 CRC 函数,一次使用非阻塞(异步)函数。
cd /E/eclipse-workspace/max78000/crc/make cleanmakeopenocd -s $MAXIM_PATH/Tools/OpenOCD/scripts -f interface/cmsis-dap.cfg -f target/max78000.cfg -c "program build/MAX78000.elf reset exit"
