我清晰记得,以前在数据结构课上,老师和我们说:涉及到链表的操作,一定要在纸上把过程先画出来,再写程序。
现在想想,这句话简直就是真理!
方法一:好理解的双指针
1.1 解题思路
- 定义两个指针: prepre 和 curcur ;prepre 在前 curcur 在后。
- 每次让 prepre 的 nextnext 指向 curcur ,实现一次局部反转
- 局部反转完成之后, prepre 和 curcur 同时往前移动一个位置
- 循环上述过程,直至 prepre 到达链表尾部
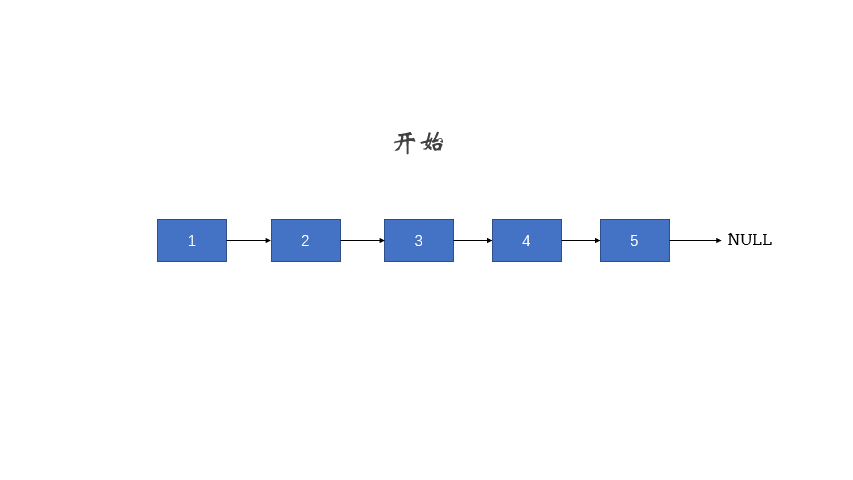
1.2 动态图解

1.3 代码
class Solution {public ListNode reverseList(ListNode head) {ListNode cur = null;ListNode pre = head;while(pre != null){ListNode temp = pre.next;pre.next = cur;cur = pre;pre = temp;}return cur;}}
方法二:简洁的递归
2.1 解题思路
使用递归函数,一直递归到链表的最后一个结点,该结点就是反转后的头结点,记作 ret .此后,每次函数在返回的过程中,让当前结点的下一个结点的 next 指针指向当前节点。同时让当前结点的 next 指针指向 NULL ,从而实现从链表尾部开始的局部反转当递归函数全部出栈后,链表反转完成。2.2 动态图解
2.3 代码
class Solution {public ListNode reverseList(ListNode head) {if(head == null ||head.next == null){return head;}ListNode temp = reverseList(head.next);head.next.next = head;head.next = null;return temp;}}
方法三:妖魔化的双指针
3.1 解题思路
- 原链表的头结点就是反转之后链表的尾结点,使用 head 标记 .
- 定义指针 cur,初始化为head .
- 每次都让 head 下一个结点的 next 指向 cur ,实现一次局部反转
- 局部反转完成之后,cur 和 head 的 next 指针同时 往前移动一个位置
- 循环上述过程,直至 curcur 到达链表的最后一个结点 .
3.2 动态图解

3.3 代码
class Solution {public ListNode reverseList(ListNode head) {if(head == null) return null;ListNode cur = head;while(head.next != null){ListNode temp = head.next.next;head.next.next = cur;cur = head.next;head.next = temp;}return cur;}}
最后
希望以上讲解能帮助您理解链表的反转过程。但无论是文字描述,还是动图演示,都比不了自己在纸上对着代码画一遍来得深刻。
至此,您已经掌握了链表反转的三种实现方式,
疑问
用栈的出入栈为什么不行?
/*** Definition for singly-linked list.* public class ListNode {* int val;* ListNode next;* ListNode(int x) { val = x; }* }*/class Solution {public ListNode reverseList(ListNode head) {Stack<ListNode> stack = new Stack<>();int count =0;while(head != null){stack.push(head);head = head.next;count++;}ListNode newList = stack.pop();while(--count-1 > 0){newList.next = stack.pop();}return newList;}}
报错:Error - Found cycle in the ListNode

若有收获,就点个赞吧
0 人点赞
