一、查看系统
cat /etc/redhat-release
CentOS7系统GitLab官方安装教程: https://about.gitlab.com/install/#centos-7
二、安装依赖包
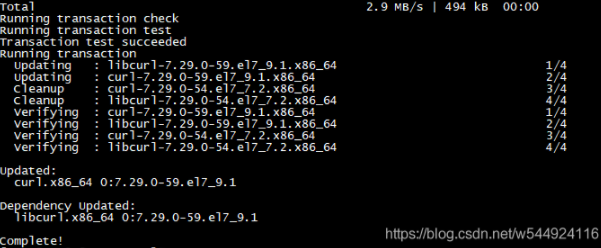
1、安装curl、policycoreutils-python、openssh-server依赖包
yum install -y curl policycoreutils-python openssh-server
2、启动sshd服务
# 设置开机自启动sshd服务systemctl enable sshd# 启动sshd服务systemctl start sshd
三、配置防火墙(非必须)
为了安全性等问题,我们一般会进行防火墙的配置。如果只是学习使用,可忽略此配置。我们可以按照自己的需求进行开通或者关闭
(1)开启防火墙
# 设置为开机自启动systemctl enable firewalld# 开启防火墙systemctl start firewalld
(2)添加http和https服务到firewalld,允许http/https服务通过, pemmanent表示永久生效,若不加—permanent系统下次启动后就会失效
firewall-cmd --permanent --add-service=httpfirewall-cmd --permanent --add-service=https

(3)重启防火墙
systemctl reload firewalld
注意:开启防火墙后,要对外开放端口,才能访问到ip:端口地址。如果是云服务器控制台也要开放端口。
四、postfix配置(非必须)
postfix是用来发送通知邮件的
(1)安装postfix
yum install -y postfix

(2)启动postfix
# 设置开机自启动systemctl enable postfix# 启动postfixsystemctl start postfix

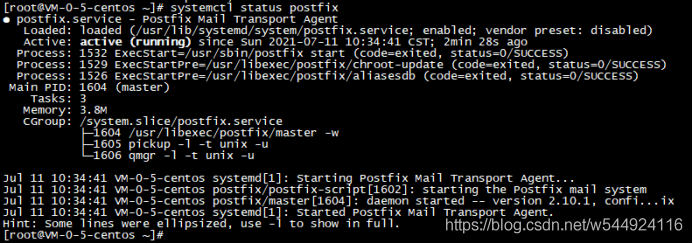
(3)查看是否启动成功
systemctl status postfix
五、安装GitLab
1、下载gitlab
curl https://packages.gitlab.com/install/repositories/gitlab/gitlab-ee/script.rpm.sh | sudo bash
2、安装gitlab
# 安装gitlab并设置访问地址sudo EXTERNAL_URL ="你的域名或者http://ip:端口" yum install -y gitlab-ee
EXTERNAL_URL是安装后访问gitlab的地址,我们也可以在安装完gitlab后再设置。配置GitLab页面访问地址可参考文章:https://blog.csdn.net/w544924116/article/details/118852615 (“配置并启动GitLab”部分)
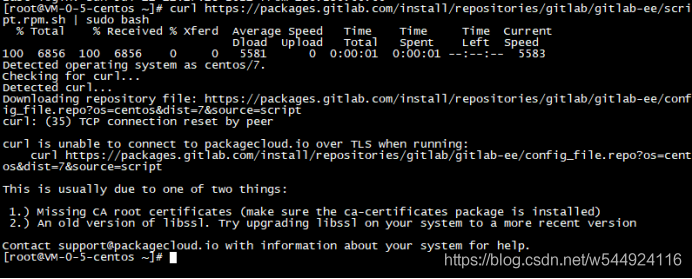
如果安装过程报错如下:
则我们需要排查问题:Missing CA root certificates (make sure the ca-certificates package is installed),大致意思就是需要我们安装根证书。执行如下操作即可。
安装证书
yum install -y ca-certificates

如果下载安装仍会失败,可能是访问不到国外源的问题,可使用清华源去进行下载。参考文章:使用清华镜像源安装GitLab
3、访问GitLab页面
打开浏览器输入我们在上面配置好的GitLab页面地址(即EXTERNAL_URL的值)
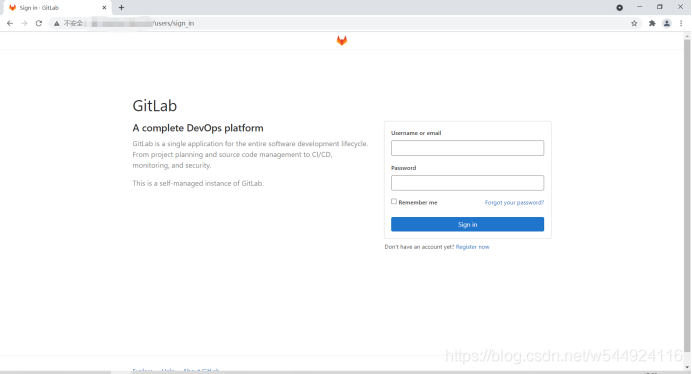
若出现以下页面,我们就算是成功搭建好GitLab服务器了。如果很不幸,你打开的GitLab界面出现的是502错误页,不用担心,这一篇文章能帮到你:GitLab服务器出现502报错解决方案

那么,用户名和密码是什么呢?
初始管理员用户root,在安装过程中密码已随机生成并保存在/etc/gitlab/initial_root_password中,有效期24小时,可自行去查看。
如果想要修改GitLab服务器root密码,请参考文章:GitLab服务器修改管理员用户root密码


