第一节 Spring 和 Mybatis 整合
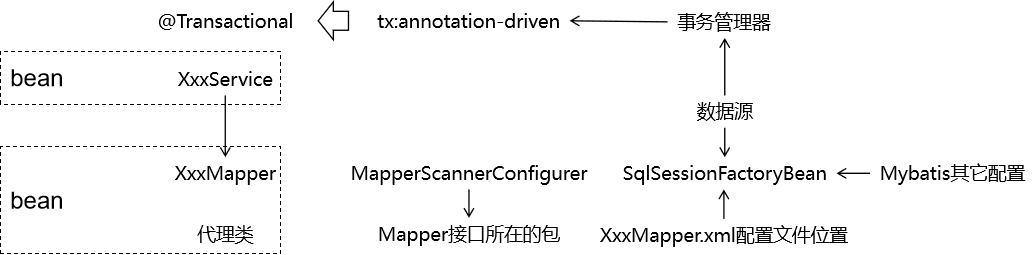
1、思路
2、Mybatis-Spring技术
官方介绍
相关技术之间版本匹配说明:
Mybatis-Spring 的依赖:
3、总体 SSM 整合所需依赖
4、配置数据源
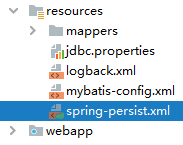
①创建 jdbc.properties
jdbc.user=root
jdbc.password=atguigu
jdbc.url=jdbc:mysql://192.168.198.100:3306/mybatis-example
jdbc.driver=com.mysql.jdbc.Driver
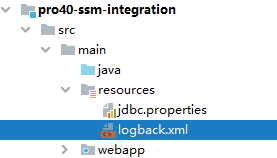
②加入日志配置文件
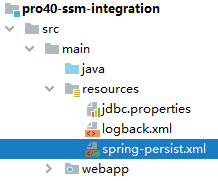
③创建 Spring 配置文件
④创建 junit 测试类
@SpringJUnitConfig(locations = {“classpath:spring-persist.xml”})
public class SSMTest {
@Autowired<br /> private DataSource dataSource;Logger logger = LoggerFactory.getLogger(getClass());@Test<br /> public void testConn() throws SQLException {<br /> Connection connection = dataSource.getConnection();<br /> logger.debug(connection.toString());<br /> }
}
5、配置 SqlSessionFactoryBean
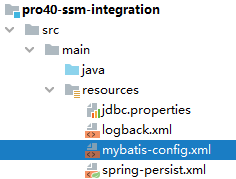
①创建 Mybatis 全局配置文件
<?xml version=”1.0” encoding=”UTF-8” ?>
<!DOCTYPE configuration
PUBLIC “-//mybatis.org//DTD Config 3.0//EN”
“http://mybatis.org/dtd/mybatis-3-config.dtd">
<!-- Mybatis全局配置 --><br /> <settings><br /> <!-- 将数据库表字段映射到驼峰式命名的Java实体类属性中 --><br /> <!-- 数据库表字段格式:单词_单词 --><br /> <!-- Java实体类属性:首字母小写的驼峰式命名 --><br /> <setting name="mapUnderscoreToCamelCase" value="true"/><br /> </settings>
②创建模型
public class Emp {
private Integer empId;<br /> private String empName;<br /> private Double empSalary;
③创建Mapper接口
public interface EmpMapper {
List<Emp> selectAll();
}
④创建Mapper配置文件
<?xml version=”1.0” encoding=”UTF-8” ?>
<!DOCTYPE mapper
PUBLIC “-//mybatis.org//DTD Mapper 3.0//EN”
“http://mybatis.org/dtd/mybatis-3-mapper.dtd">
<!-- List<Emp> selectAll(); --><br /> <select id="selectAll" resultType="Emp"><br /> select emp_id,emp_name,emp_salary from t_emp<br /> </select>
⑤配置 SqlSessionFactoryBean
[1]风格一:保留 Mybatis 全局配置文件
<!-- 指定 Mybatis 全局配置文件位置 --><br />    <property name="configLocation" value="classpath:mybatis-config.xml"/>

<!-- 指定 Mapper 配置文件位置 --><br />    <property name="mapperLocations" value="classpath:mappers/*Mapper.xml"/>

<!-- 装配数据源 --><br />    <property name="dataSource" ref="druidDataSource"/>
[2]风格二:彻底舍弃 Mybatis 全局配置文件
<!-- 舍弃 Mybatis 全局配置文件,使用 configuration 属性 --><br />    <property name="configuration"><br />        <bean class="org.apache.ibatis.session.Configuration"><br />            <property name="mapUnderscoreToCamelCase" value="true"/><br />        </bean><br />    </property>

<!-- 舍弃 Mybatis 全局配置文件,使用 typeAliasesPackage 属性配置实体类所在包 --><br />    <property name="typeAliasesPackage" value="com.atguigu.ssm.entity"/>

<!-- 指定 Mapper 配置文件位置 --><br />    <property name="mapperLocations" value="classpath:mappers/*Mapper.xml"/>

<!-- 装配数据源 --><br />    <property name="dataSource" ref="druidDataSource"/>
注意:上面两种方式如果并存,会抛出异常:
java.lang.IllegalStateException: Property ‘configuration’ and ‘configLocation’ can not specified with together
⑥配置 Mapper 接口扫描器
[1]方式一:使用扫描器
[2]方式二:使用 mybatis-spring 名称空间
⑦测试
@Autowired
private EmpMapper empMapper;
@Test
public void testMybatis() {
List
for (Emp emp : empList) {<br /> logger.debug(emp.toString());<br /> }<br />}
6、加入声明式事务
①配置事务管理器
②测试
[1]创建 Service 组件
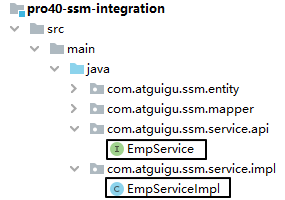
@Service
public class EmpServiceImpl implements EmpService {
@Autowired<br />    private EmpMapper empMapper;

@Override<br />    @Transactional(readOnly = true)<br />    public List<Emp> getAll() {<br />        return empMapper.selectAll();<br />    }<br />}
[2]配置自动扫描的包
[3]测试
@Autowired
private EmpService empService;
@Test
public void testTx() {
List
for (Emp emp : empList) {
System.out.println(“emp = “ + emp);
}
}

若有收获,就点个赞吧
0 人点赞
