Preparation:
- Install and set up the plug-in wallet MetaMask in the browser, detailed tutorial can be viewed at: https://www.yuque.com/zgryhn/duu5f7/vf14e3
2. Deposit enough ETH to your wallet address as fee
3. Know the related contracts of P-tokens on WePiggy-Ethereum and mainstream tokens tokens on Ethereum mainnet
P-tokens
0 - 0x27A94869341838D5783368a8503FdA5fbCd7987c - pETH
1 - 0x85166b72c87697a6acfF24101B43Fd54fE28a179 - pDAI
2 - 0x5cFad792C4Df1323188180778AeC58E00eAcE32a - pUSDT
6 - 0xf8E5b9738BF63ADFFf36a849F9b9C9617c8D8c1f - pUSDC
7 - 0xc12B9D620bFCB48be3e0CCbf0ea80C717333b46F - pWBTC
10- 0xa1d0E215a23d7030842FC67cE582a6aFa3CCaB83 - YFII
11- 0x59d4CCC94A9C4C3d3b4bA2Aa343a9bDF95145DD1 - QUSD
12- 0xdF574c24545E5FfEcb9a659c229253D4111d87e1 - HUSD
13- 0x1f9840a85d5aF5bf1D1762F925BDADdC4201F984 - UNI
14- 0x4161725D019690a3E0de50f6bE67b07a86A9fAe1 - TPT
15- 0x066798d9ef0833ccc719076Dab77199eCbd178b0 - SAKE
16- 0x0316EB71485b0Ab14103307bf65a021042c6d380 - HBTC
17- 0x7592dC0C4Bc7CFc91Ae5A7d62dc96c949fD27193 - HOO
18- 0xdac17f958d2ee523a2206206994597c13d831ec7- USDT
20- 0x82413f75f0DA101e0FE7F6FF6cBa3461F7e04f29 - pUNI
21- 0x82dE3959c09f665a82C794fAfC1eb34CFCb555Ee - pYFII
23- 0x690Aa2591e57180cBA5A6123e9D462907A5e1c95 - pLRC
Open the browser, log in to MetaMask, and then open https://etherscan.io/ to enter the blockchain explorer
Operating contract tutorial on the explorer
Note: For which asset you want to operate, you must operate the P-token contract of that asset. P-token represents the deposit receipt of the token in WePiggy
For example:
To deposit ETH, you need to operate the P_ETH contract;
To withdraw USDC, you need to operate the P_USDC contract;
To borrow USDT, you need to operate the P_USDT contract;
To repay ETH, you need to operate the P_BNB contract;
How to deposit
Take USDT as an example
- Copy the contract address of pUSDT and paste it into the search box, click to search and then check if it is pUSDT

- Click “Contract”, then click “Write as Proxy”

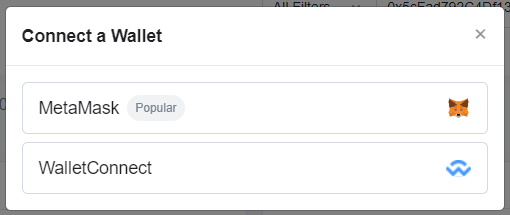
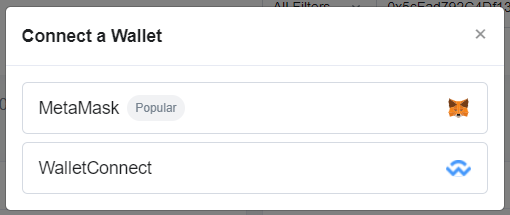
- Click “Connect to web3” below, select MetaMask’s approvement and connect to the wallet
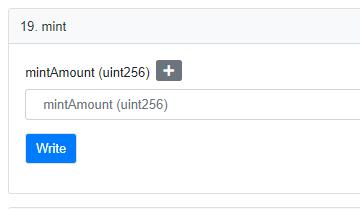
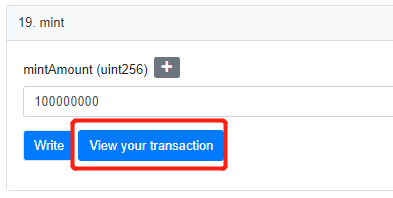
- Find mint under “Write as Proxy”
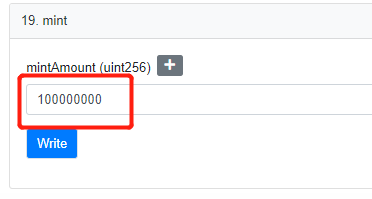
- Enter the amount of tokens to be deposited in the text box.
All currencies other than ETH must be multiplied by 10 to the power of N, where N is the Decimals
For example, to deposit100 USDT (decimal:6), enter 100 times 10 to the 6th power = 100000000
**Note: On the Ethereum mainnet, you can directly enter the amount of ETH when operating ETH
Other tokens such as DAI, USDT, USDC, etc. need to be multiplied by the number of Decimals, the Decimals can be checked in the corresponding token contract
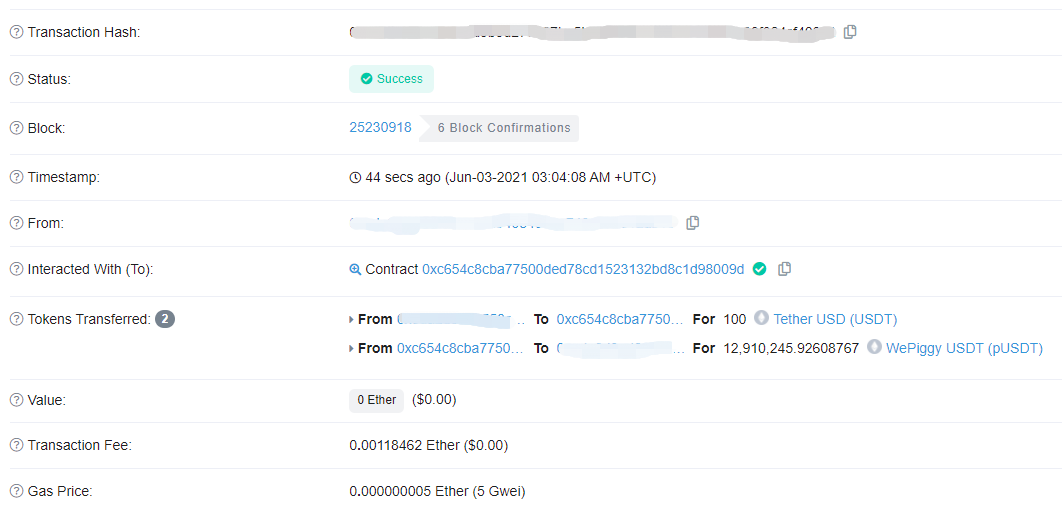
- Click “Write”, then check the amount, gas fees and other information in the pop-up MetaMask confirmation, and then click to confirm. After confirmation, the “View your transaction” button will appear, and you can check the operation on the explorer after clicking
- You can check the amount of USDT deposited and the amount of pUSDT minted
Note: If the deposit is not successful, it may be because the asset has not been approved. Except for ETH, the first deposit and withdrawal of any other tokens require an approvement operation. For details, go to the “Approvement Related Tutorial” below.
How to withdraw
Take USDT as example
- Copy the contract address of PUSDT and paste it into the search box, click to search and then check if it is pUSDT

- Click “Contract”, then click “Write as Proxy”

- Click “Connect to web3” below, select MetaMask’s approvement and connect to the wallet
- Find redeemUnderlying under “Write as Proxy”
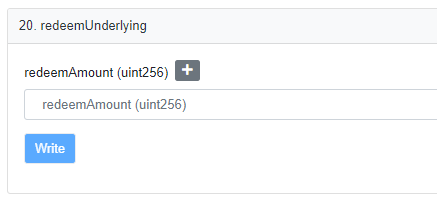
- Enter the amount of tokens to be withdrawed in the text box.
All currencies other than ETH must be multiplied by 10 to the power of N, where N is the Decimals
For example, to withdraw100 USDT (decimal:6), enter 100 times 10 to the 6th power = 100000000
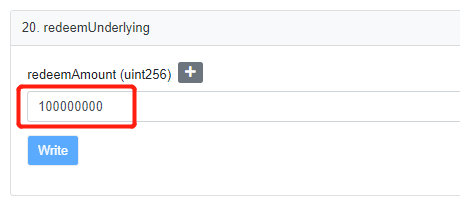
**Note: On the Ethereum mainnet, you can directly enter the amount of ETH when operating ETH
Other tokens such as DAI, USDT, USDC, etc. need to be multiplied by the number of Decimals, the Decimals can be checked in the corresponding token contract
- Click “Write”, then check the amount, gas fees and other information in the pop-up MetaMask confirmation, and then click to confirm
After confirmation, the “View your transaction” button will appear, and you can check the operation on the explorer after clicking
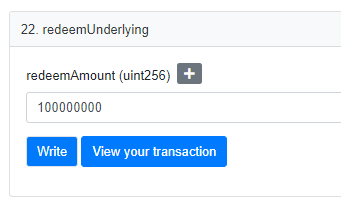
7. You can check the amount of USDT withdrawed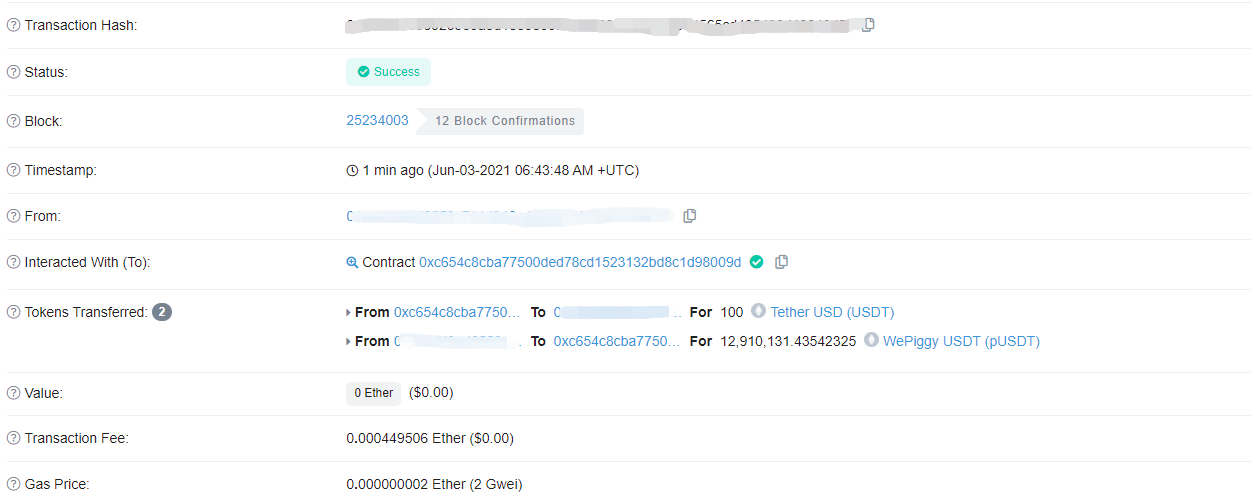
**Note:
- If the withdrawal is not successful, it may be because you have the borrowings and the asset has been used as collateral;
- If you withdraw when you have borrowings, liquidation may occur because your borrowings reaches the upper limit;
- If you have already deposited the pToken in the mining pool, you cannot directly withdraw it.
How to Borrow
Take USDT as example
- Copy the contract address of PUSDT and paste it into the search box, click to search and then check if it is pUSDT

- Click “Contract”, then click “Write as Proxy”

- Click “Connect to web3” below, select MetaMask’s approvement and connect to the wallet
- Find borrow under “Write as Proxy”
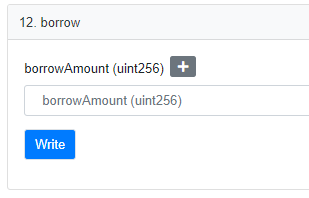
- Enter the amount of tokens to be borrowed in the text box.
All currencies other than ETH must be multiplied by 10 to the power of N, where N is the Decimals
For example, to borrow 100 USDT (decimal:6), enter 100 times 10 to the 6th power = 100000000
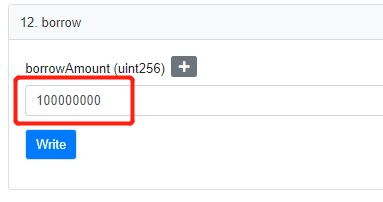
Note: On the Ethereum mainnet, you can directly enter the amount of ETH when operating ETH
Other tokens such as DAI, USDT, USDC, etc. need to be multiplied by the number of Decimals, the Decimals can be checked in the corresponding token contract
- Click “Write”, then check the amount, gas fees and other information in the pop-up MetaMask confirmation, and then click to confirm
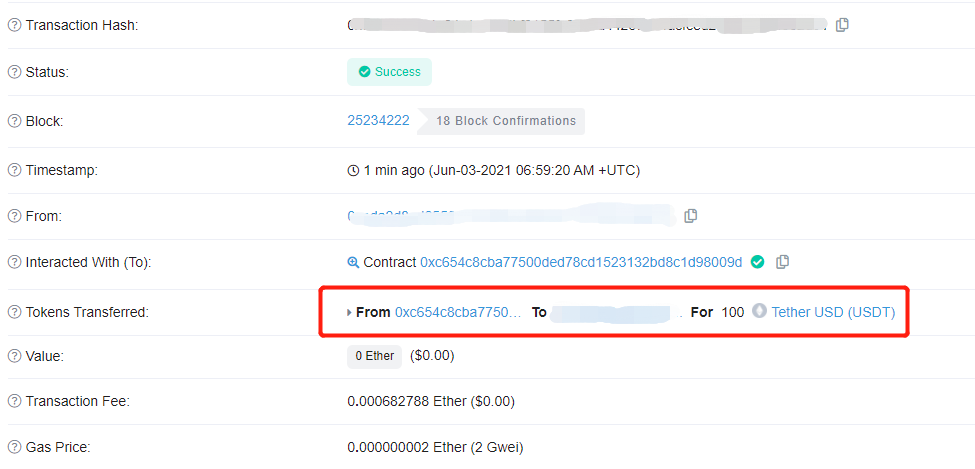
After confirmation, the “View your transaction” button will appear, and you can check the operation on the explorer after clicking

- You can view the amount of USDT borrowed
Note:
- If the borrow is not successful, it may be because your pledged amount is insufficient;
- If the borrow is not successful, it may be because you have already deposited pToken in the mining pool;
If you withdraw when you have borrowings, liquidation may occur because your borrowings reaches the upper limit;
How to Repay
Take USDT as example
Copy the contract address of PUSDT and paste it into the search box, click to search and then check if it is pUSDT

- Click “Contract”, then click “Write as Proxy”

- Click “Connect to web3” below, select MetaMask’s approvement and connect to the wallet
- Find repayBorrow under “Write as Proxy”
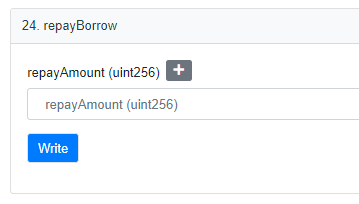
- Enter the amount of tokens to be repayed in the text box.
All currencies other than ETH must be multiplied by 10 to the power of N, where N is the Decimals
For example, to borrow 100 USDT (decimal:6), enter 100 times 10 to the 6th power = 100000000
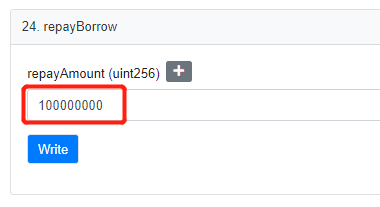
Note: On the Ethereum mainnet, you can directly enter the amount of ETH when operating ETH
Other tokens such as DAI, USDT, USDC, etc. need to be multiplied by the number of Decimals, the Decimals can be checked in the corresponding token contract
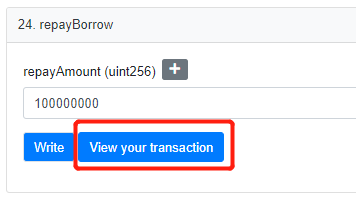
- Click “Write”, then check the amount, gas fees and other information in the pop-up MetaMask confirmation, and then click to confirm
After confirmation, the “View your transaction” button will appear, and you can check the operation on the explorer after clicking
7. You can check the amount of USDT repayed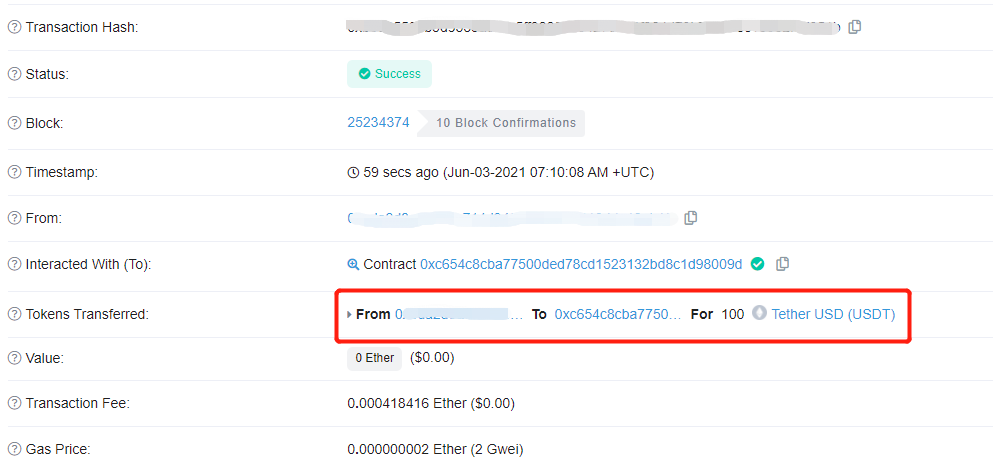
**Note: If the repay is not successful, it may be because the asset has not been approved. Except for ETH, the first deposit and withdrawal of any other tokens require an approvement operation. For details, go to the “Approvement Related Tutorial” below.
How to stake pTokens to the mining pools
Take USDT as example
1. Copy and paste WePiggy’s mining pool contract 0x451032c55f813338b6e73c1c4b24217614165454 into the search box, click search
- Click “Contract”, then click “Write as Proxy”

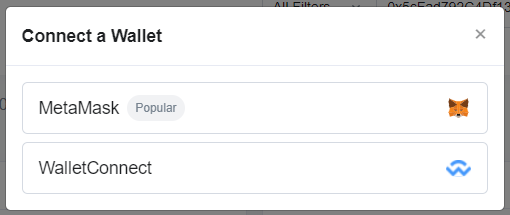
- Click “Connect to web3” below, select MetaMask’s approvement and connect to the wallet
- Find stake under “Write as Proxy”
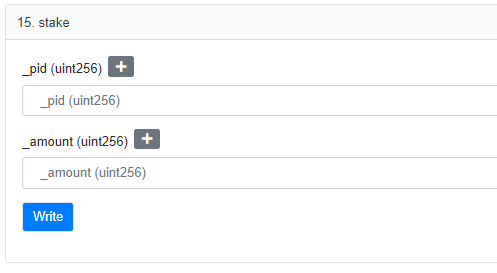
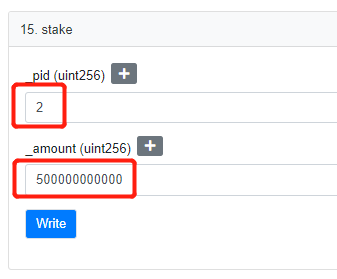
5. Enter the mining pool ID of the currency to be staked in the pid (Check the preparation at the beginning of this tutorial), the pUSDT mining pool ID is 2
Enter the amount of the staked token in the amount, and the staked token amount must be multiplied by 10 to the power of N, where N is the Decimals
For example, to stake 5000 USDT, enter 100 times 10 to the 8th power = 500000000000
Note: On the Ethereum mainnet, the Decimals of pTokens are 8
Other tokens’ Decimals can be checked in the corresponding token contract (such as DAI, USDT, USDC, etc.)
- Click “Write”, then check the amount, gas fees and other information in the pop-up MetaMask confirmation, and then click to confirm
After confirmation, the “View your transaction” button will appear, and you can check the operation on the explorer after clicking
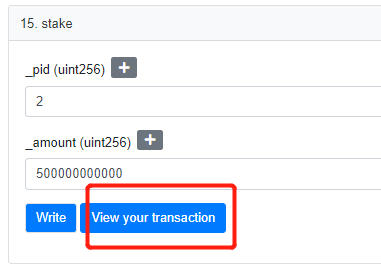
7. You can check the amount of pUSDT staked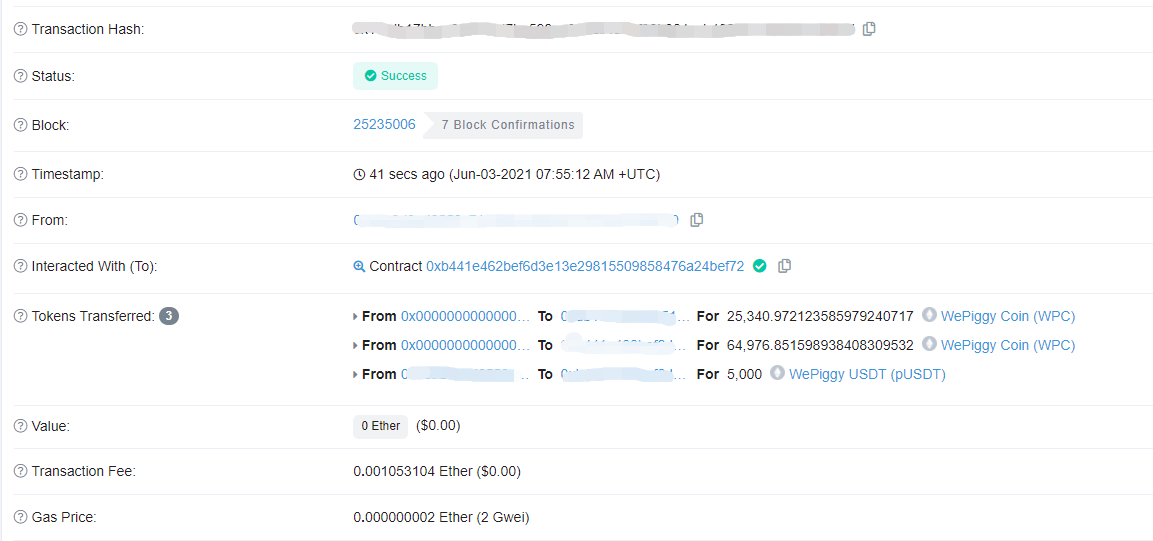
Note: If the deposit is not successful, it may be because the asset has not been approved.
The first deposit and withdrawal of any tokens require an approvement operation. For details, go to the “Approvement Related Tutorial” below.
How to unstake pTokens from the mining pools
Take USDT as example
1. Copy and paste WePiggy’s mining pool contract 0x451032c55f813338b6e73c1c4b24217614165454 into the search box, click search
- Click “Contract”, then click “Write as Proxy”

- Click “Connect to web3” below, select MetaMask’s approvement and connect to the wallet
- Find unStake under “Write as Proxy”
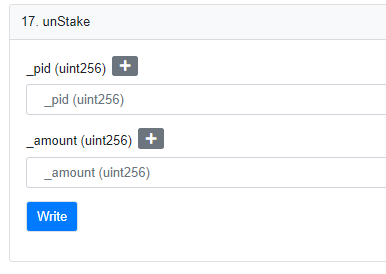
5. Enter the mining pool ID of the currency to be unstaked in the pid (Check the preparation at the beginning of this tutorial), the pUSDT mining pool ID is 2
Enter the amount of the unstaked token in the amount, and the unstaked token amount must be multiplied by 10 to the power of N, where N is the Decimals
For example, to unstake 5000 USDT, enter 100 times 10 to the 8th power = 500000000000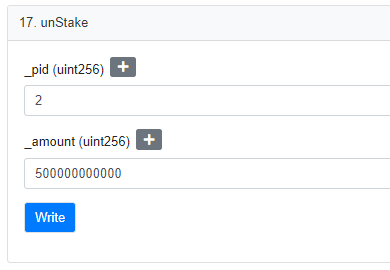
Note: On the Ethereum mainnet, the Decimals of pTokens are 8
Other tokens’ Decimals can be checked in the corresponding token contract (such as DAI, USDT, USDC, etc.)
- Click “Write”, then check the amount, gas fees and other information in the pop-up MetaMask confirmation, and then click to confirm
After confirmation, the “View your transaction” button will appear, and you can check the operation on the explorer after clicking
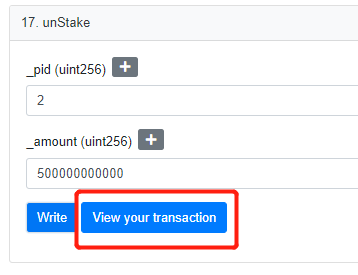
7. You can check the amount of pUSDT unstaked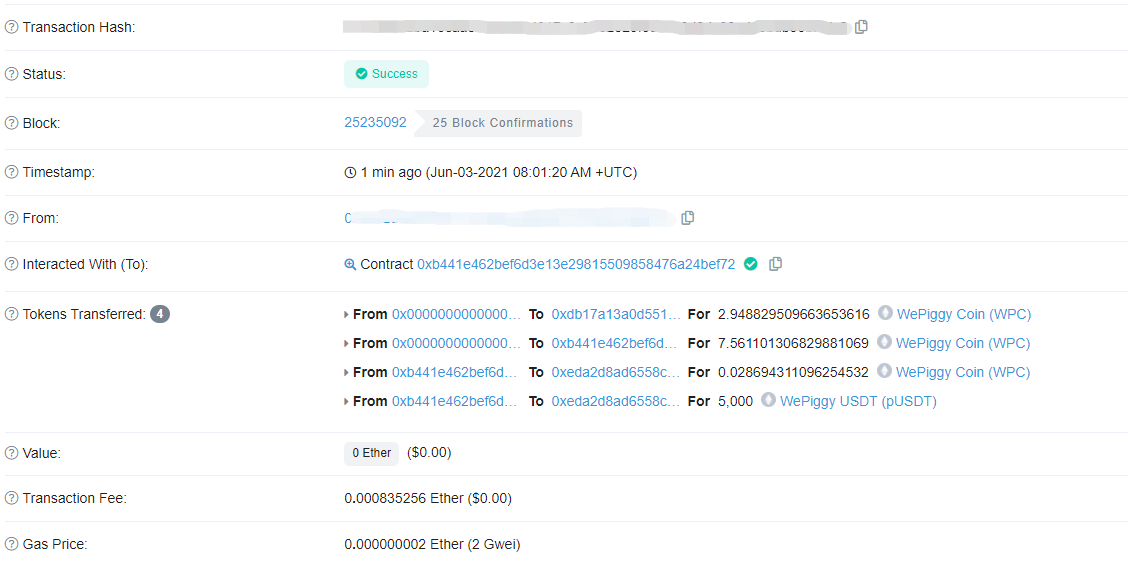
Approvement related tutorials
Note: Deposit/repay is the approvement of contract operation to the base tokens, and staking to the mining pool is the approvement of contract operation to the pTokens! ! !
Note: Deposit/repay is the approvement of contract operation to the base tokens, and staking to the mining pool is the approvement of contract operation to the pTokens! ! !
Note: Deposit/repay is the approvement of contract operation to the base tokens, and staking to the mining pool is the approvement of contract operation to the pTokens! ! !
How to check if the token is approved
Enter the contract address of the corresponding token on the blockchain explorer, and then click search
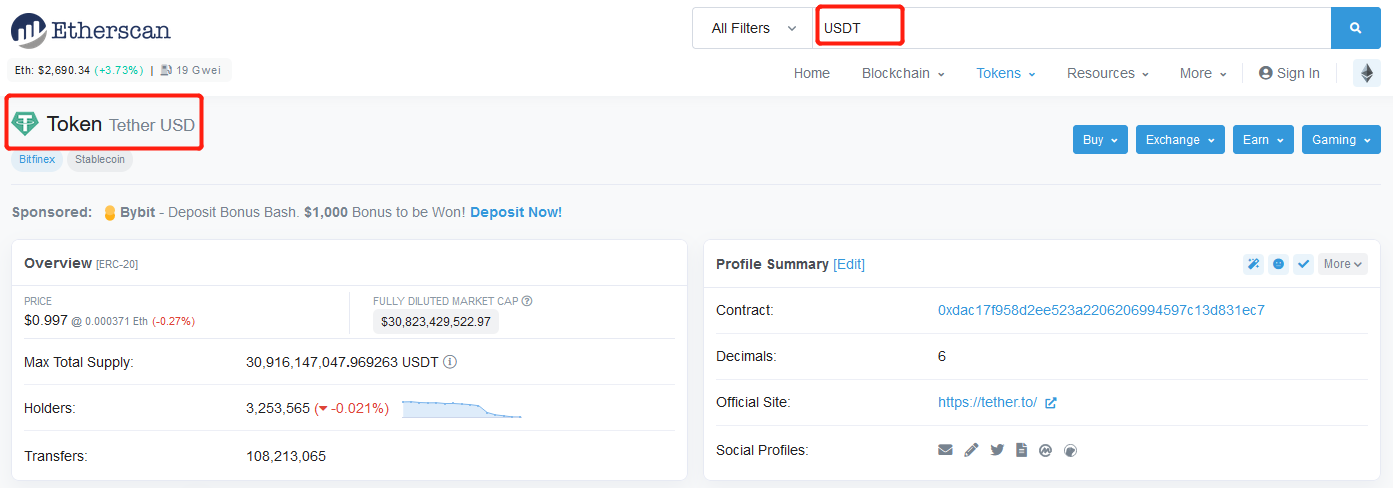
Click “Contract”, then click “Read Contract”

- Find allowance under “Read Contract”
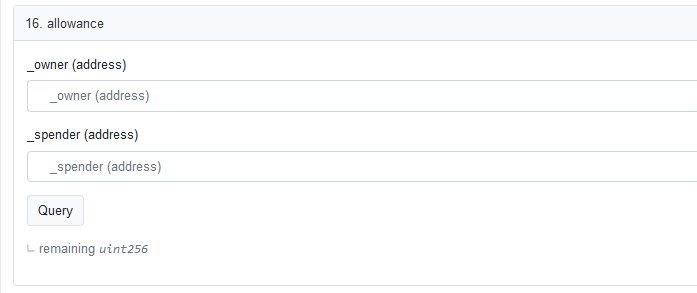
- Enter your wallet address in the <_owner> column, then enter the token address in the
column and click “Query”
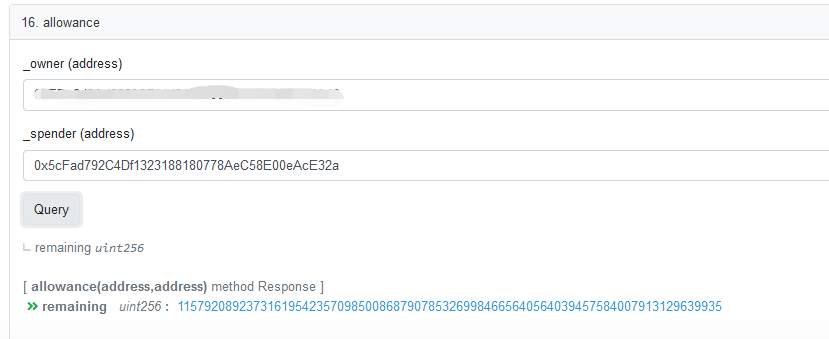
View the returned results
The return result will be 0 if the token hasn’t been approved
The other numbers are the corresponding amount of approvement
How to apporve
- Enter the contract address of the corresponding token on the blockchain explorer, and then click search
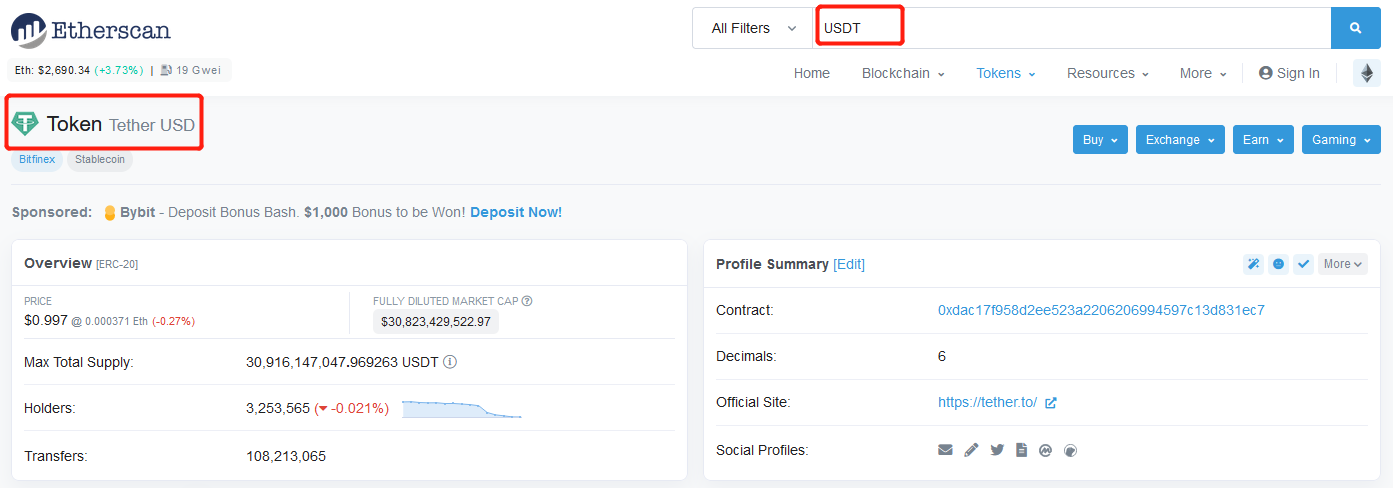
- Click “Contract”, then click “Write Contract”

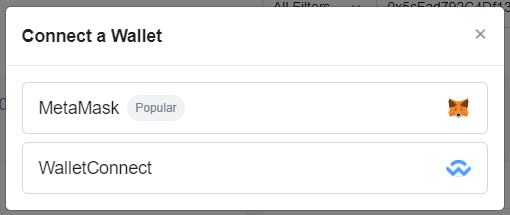
- Click “Connect to web3” below, select MetaMask’s approvement and connect to the wallet
- Find approve under “Write as Proxy”
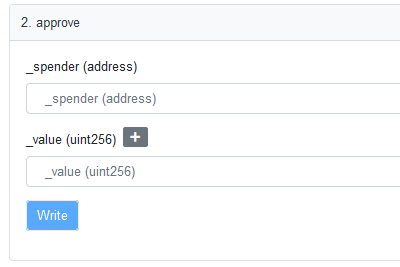
- Enter your contract address of the token in the
column, then enter amount to be approved of the token in the column and click “Write”
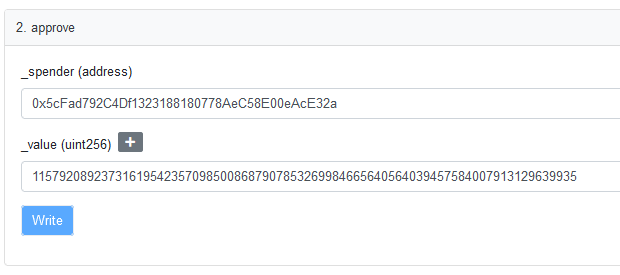
Note: It is recommended to use the maximum value of approvement (18 decimals) on wepiggy: **115792089237316195423570985008687907853269984665640564039457584007913129639935
**
6. After clicking “Write”, there will be a MetaMask pop-up window, click to confirm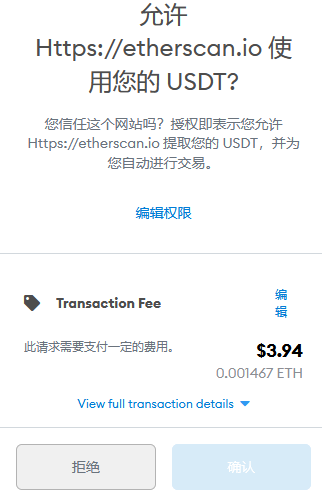
- After confirmation, the “View your transaction” button will appear, and you can click to check the operation on the blockchain browser

- View your approvement status
