You need to do some preparations first:
1. Install an ETH wallet application, for PC: MetaMask, WalletConnect ; for mobile devices: imToken, Mathwallet, TokenPocket wallet, etc.
2. Transfer the tokens required by different mining pools and enough ETH (as gas fee) to your wallet
3. Deposited assets on WePiggy as collateral in WePiggy.
Step 1: Connect wallet
Use Chrome or any other browsers with the MetaMask wallet installed to visit https://www.wepiggy.com/
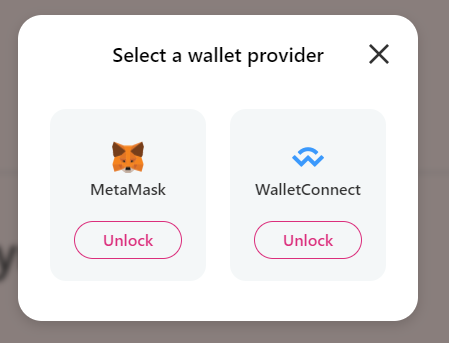
Click “Unlock Wallet”, select “MetaMask” to connect
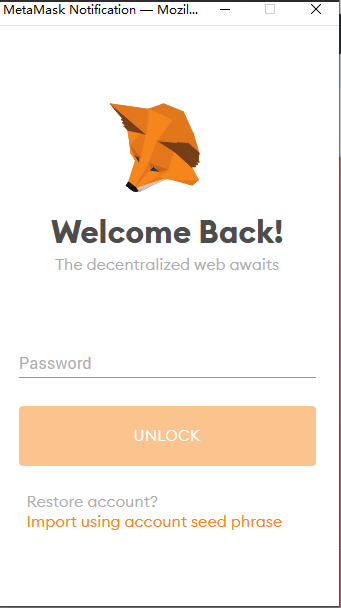
- Then the MateMask page will be displayed, enter the password to unlock it
Step 2: Market Overview
After unlocking, click the “APP” button in the upper right corner of the homepage to enter the Market Overview page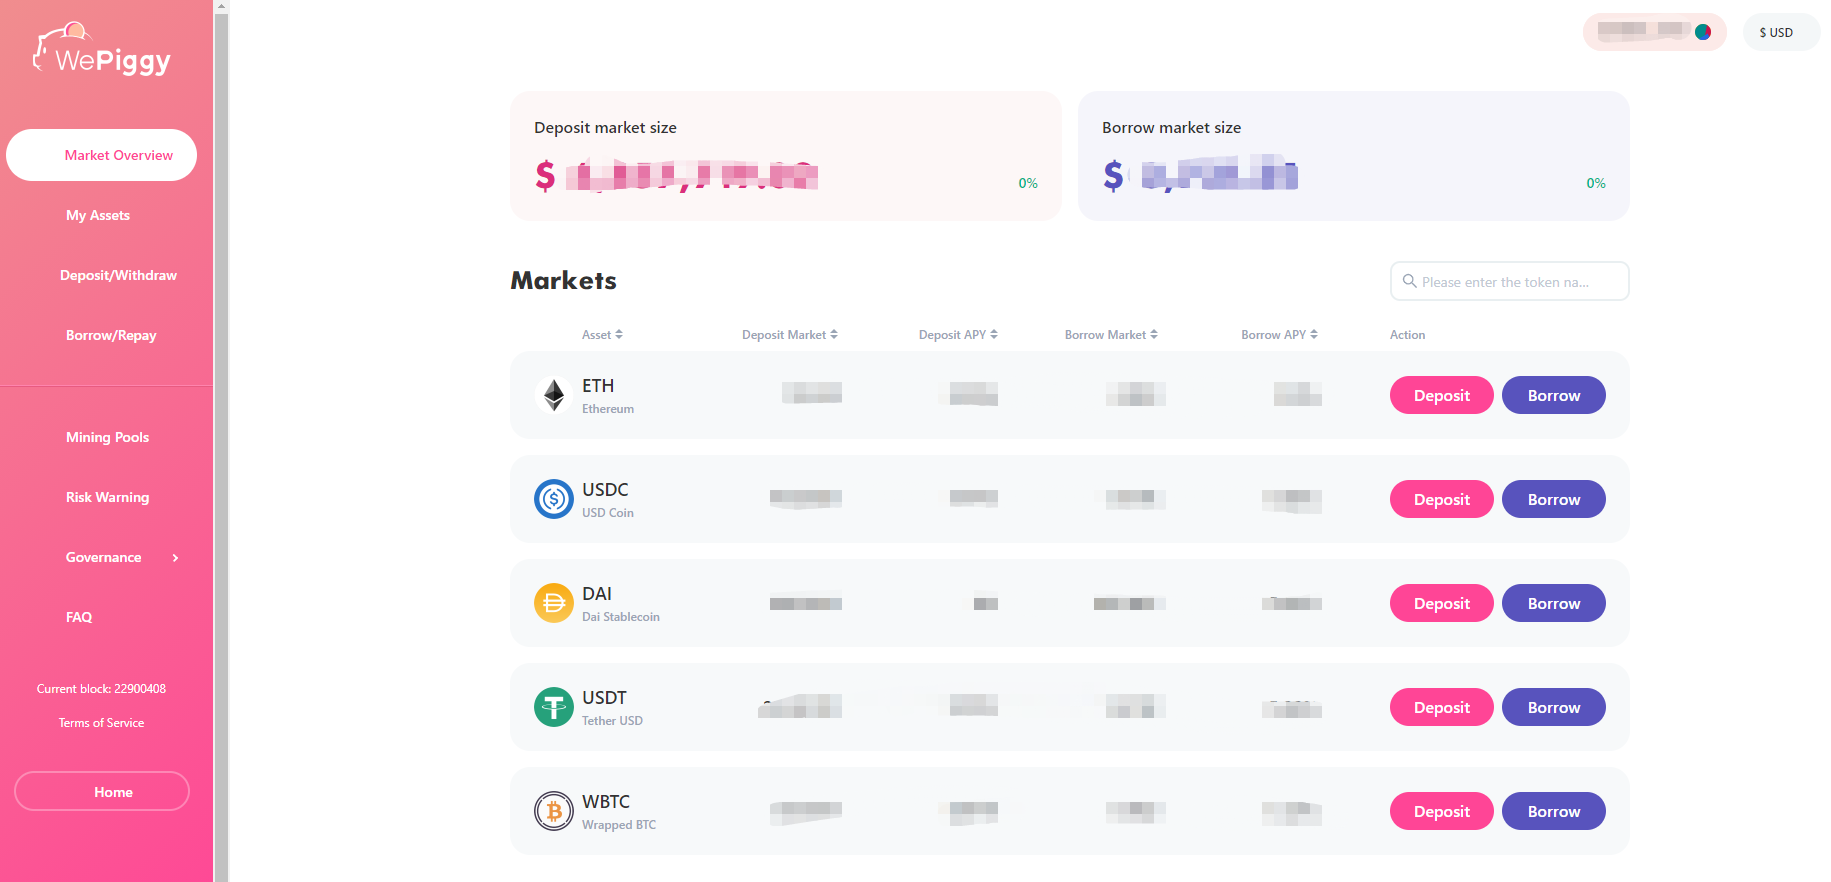
Step 3: How to borrow
- Click the “Borrow/Repay” on the left column to borrow. For the first borrowing, you need to switch on “Enable as collateral” button of at least one deposited asset
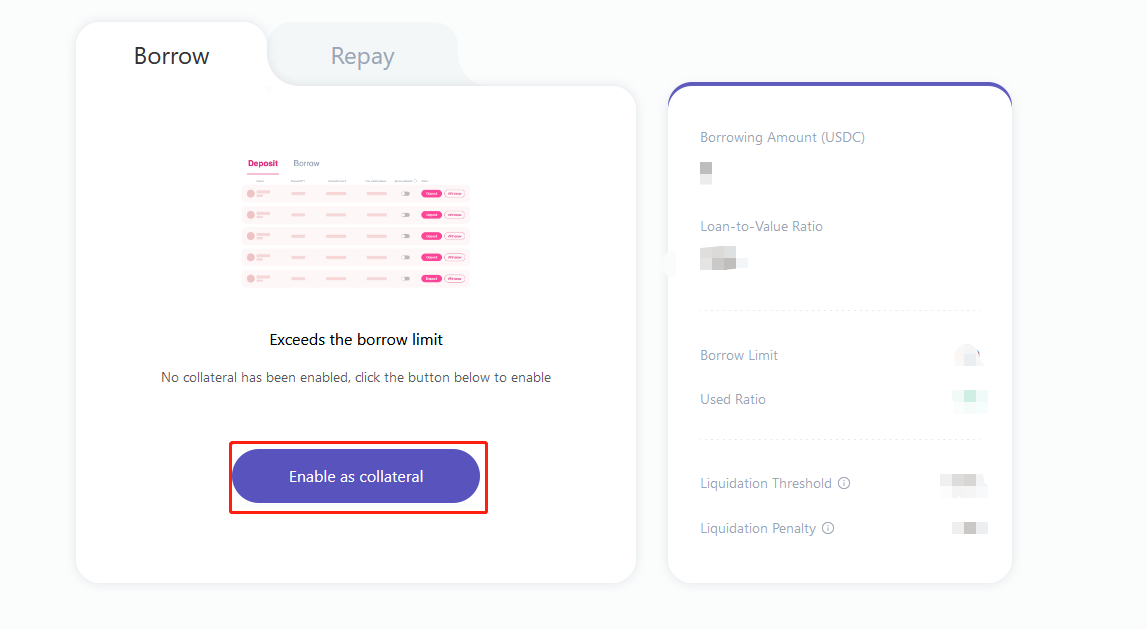 Note: If the following reminder appears, you need to deposit more assets or repay part of your borrowings first
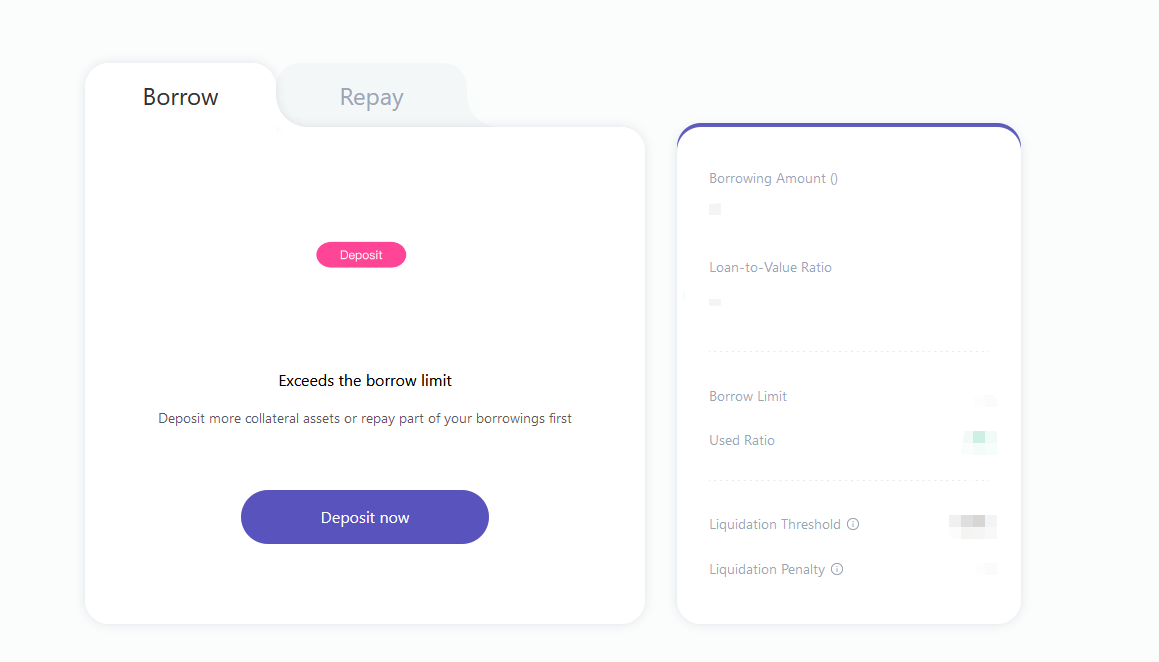
- For the first borrowing, you need to click “Enable as collateral” or go to the “My Assets” page to switch on “Enable as collateral” button
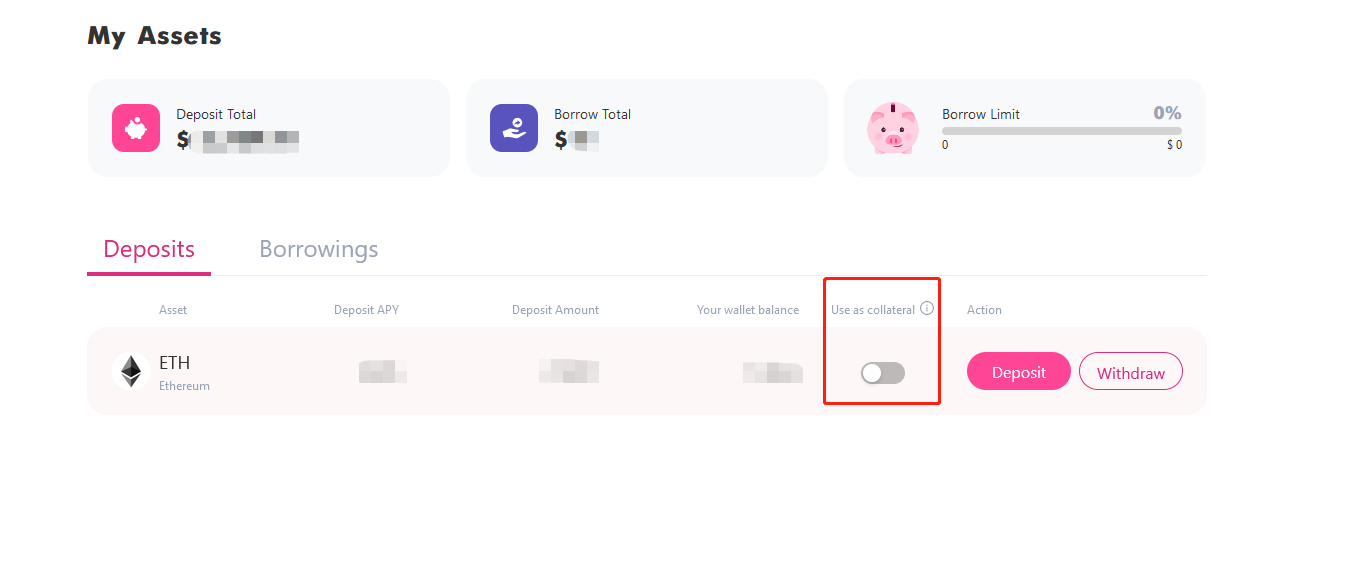
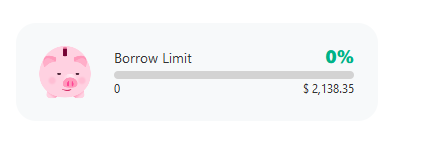
- Switch on collateral of one asset needs to be proved separately through the wallet, and the borrow limit will be increased
Borrow
Select the asset you want to borrow, enter the borrow amount then click Submit
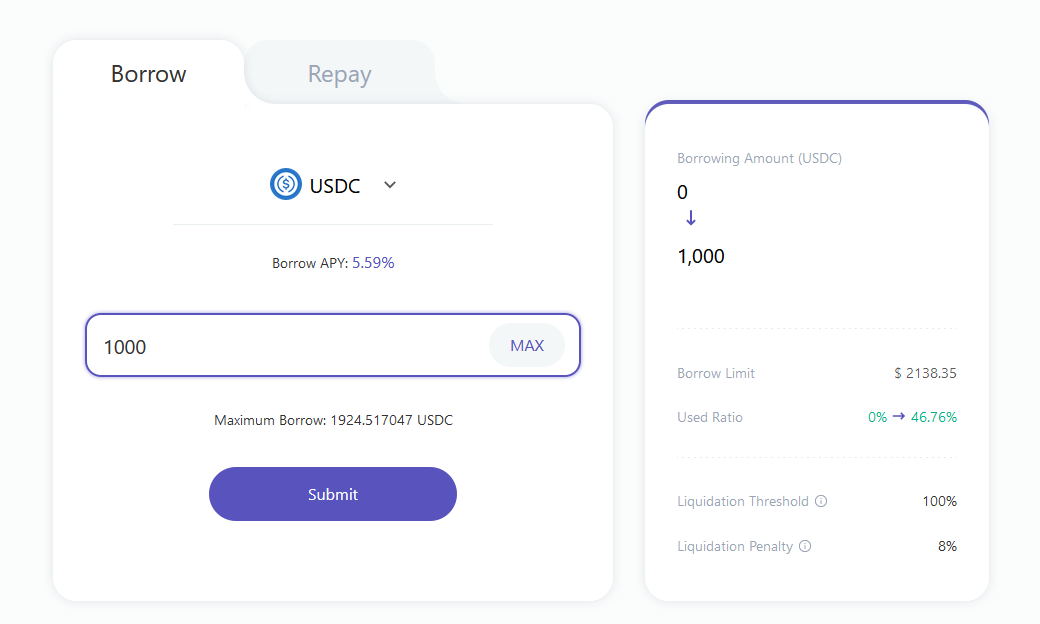
5. The corresponding borrowing will be sent to your wallet, and the relevant information can be viewed on the “My Assets” page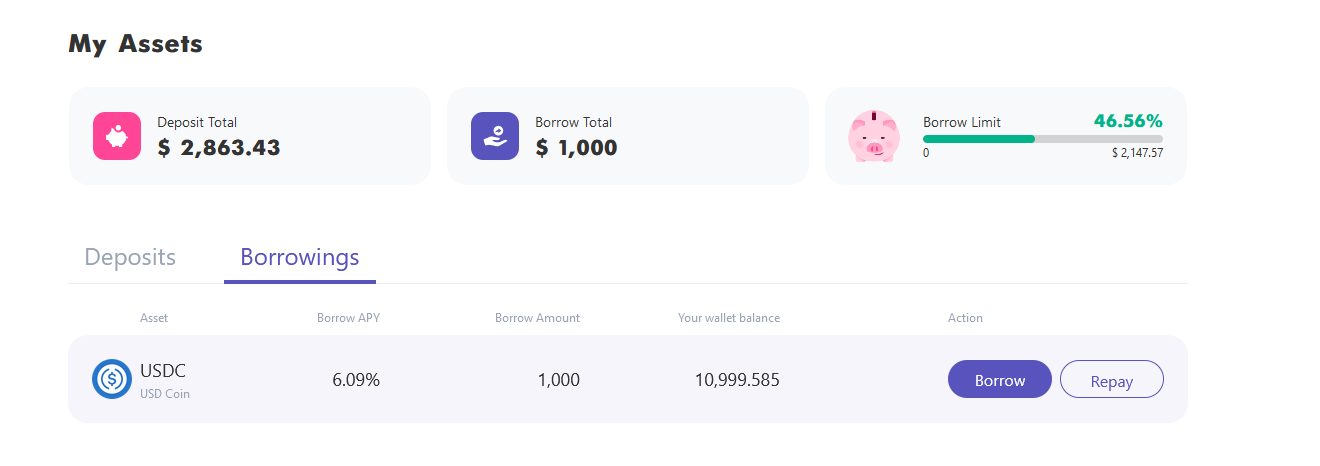
Step 4: How to repay
Click “Borrow/Repay” on the left column to enter the Repay page, select your borrowing asset then enter the repay amount
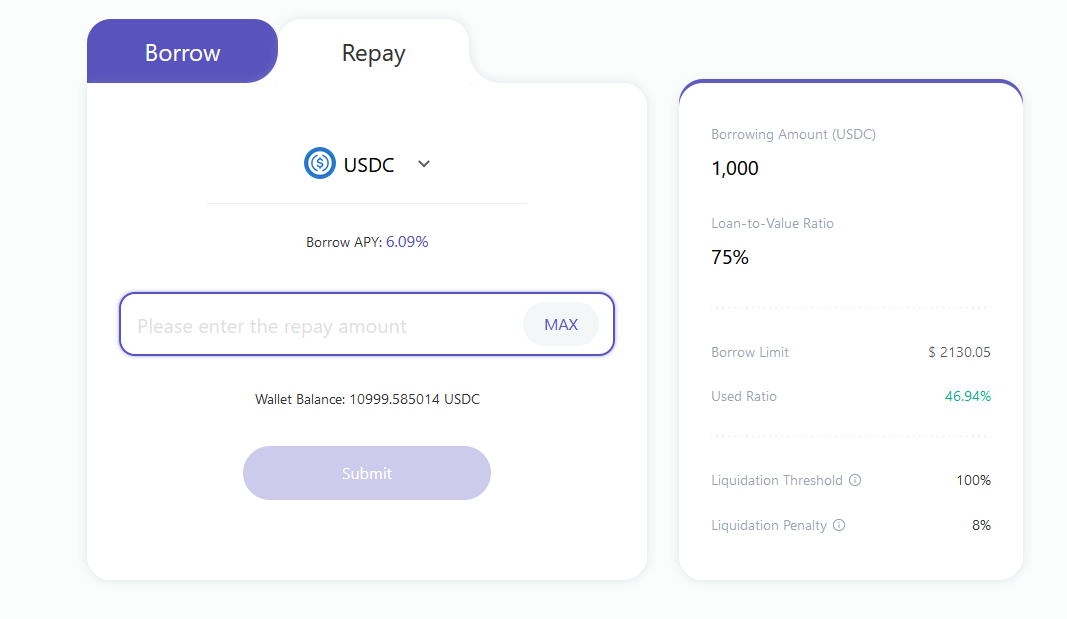
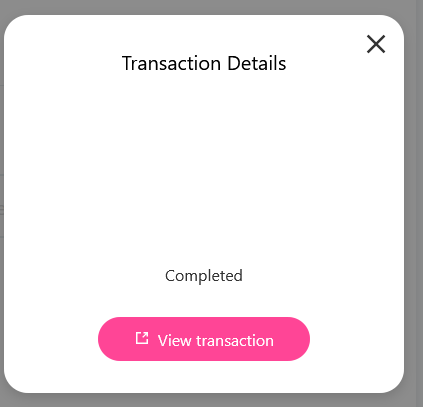
Note: The first repayment of one borrowing asset needs to be approved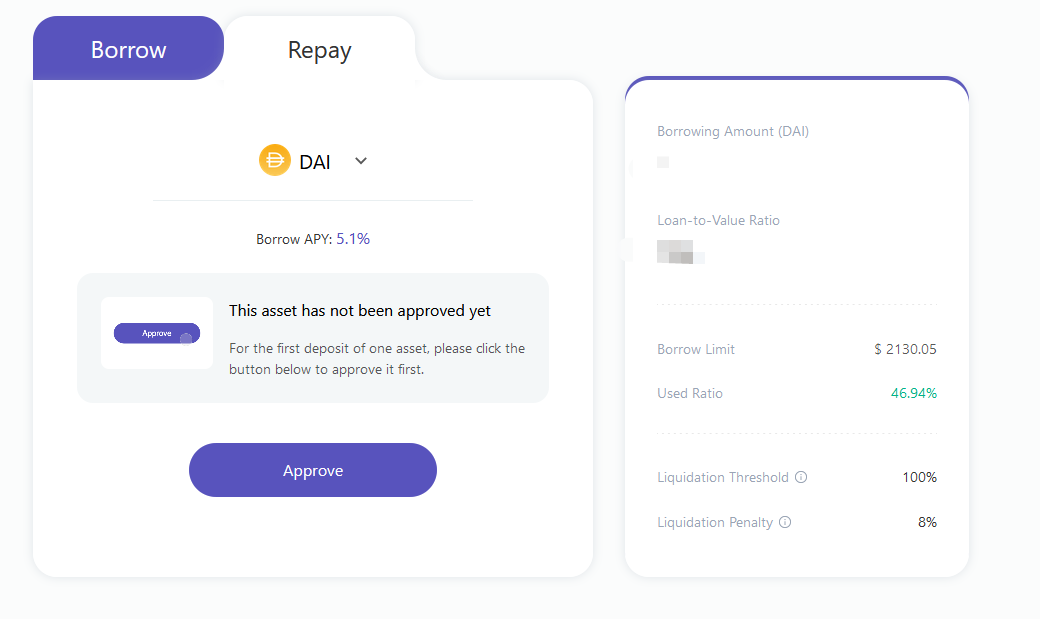 2. Enter the repay amount and click “Submit”. After the wallet approves the repayment, the following reminder appears to indicate that your borrowing has been repaid.
Note: All the above operations require ETH as transaction fees, which are collected by ETH miners, not by WePiggy.
