在项目的维护过程中,我们通常会在应用中加入短信或者邮件预警功能,比如当应用出现异常宕机时应该及时地将预警信息发送给运维或者开发人员,本文将介绍如何在Spring Boot中发送邮件。在Spring Boot中发送邮件使用的是Spring提供的org.springframework.mail.javamail.JavaMailSender,其提供了许多简单易用的方法,可发送简单的邮件、HTML格式的邮件、带附件的邮件,并且可以创建邮件模板。
引入依赖
在Spring Boot中发送邮件,需要用到spring-boot-starter-mail,引入spring-boot-starter-mail:
<dependency><groupId>org.springframework.boot</groupId><artifactId>spring-boot-starter-mail</artifactId></dependency>
邮件配置
到邮箱设置中开启SMTP服务: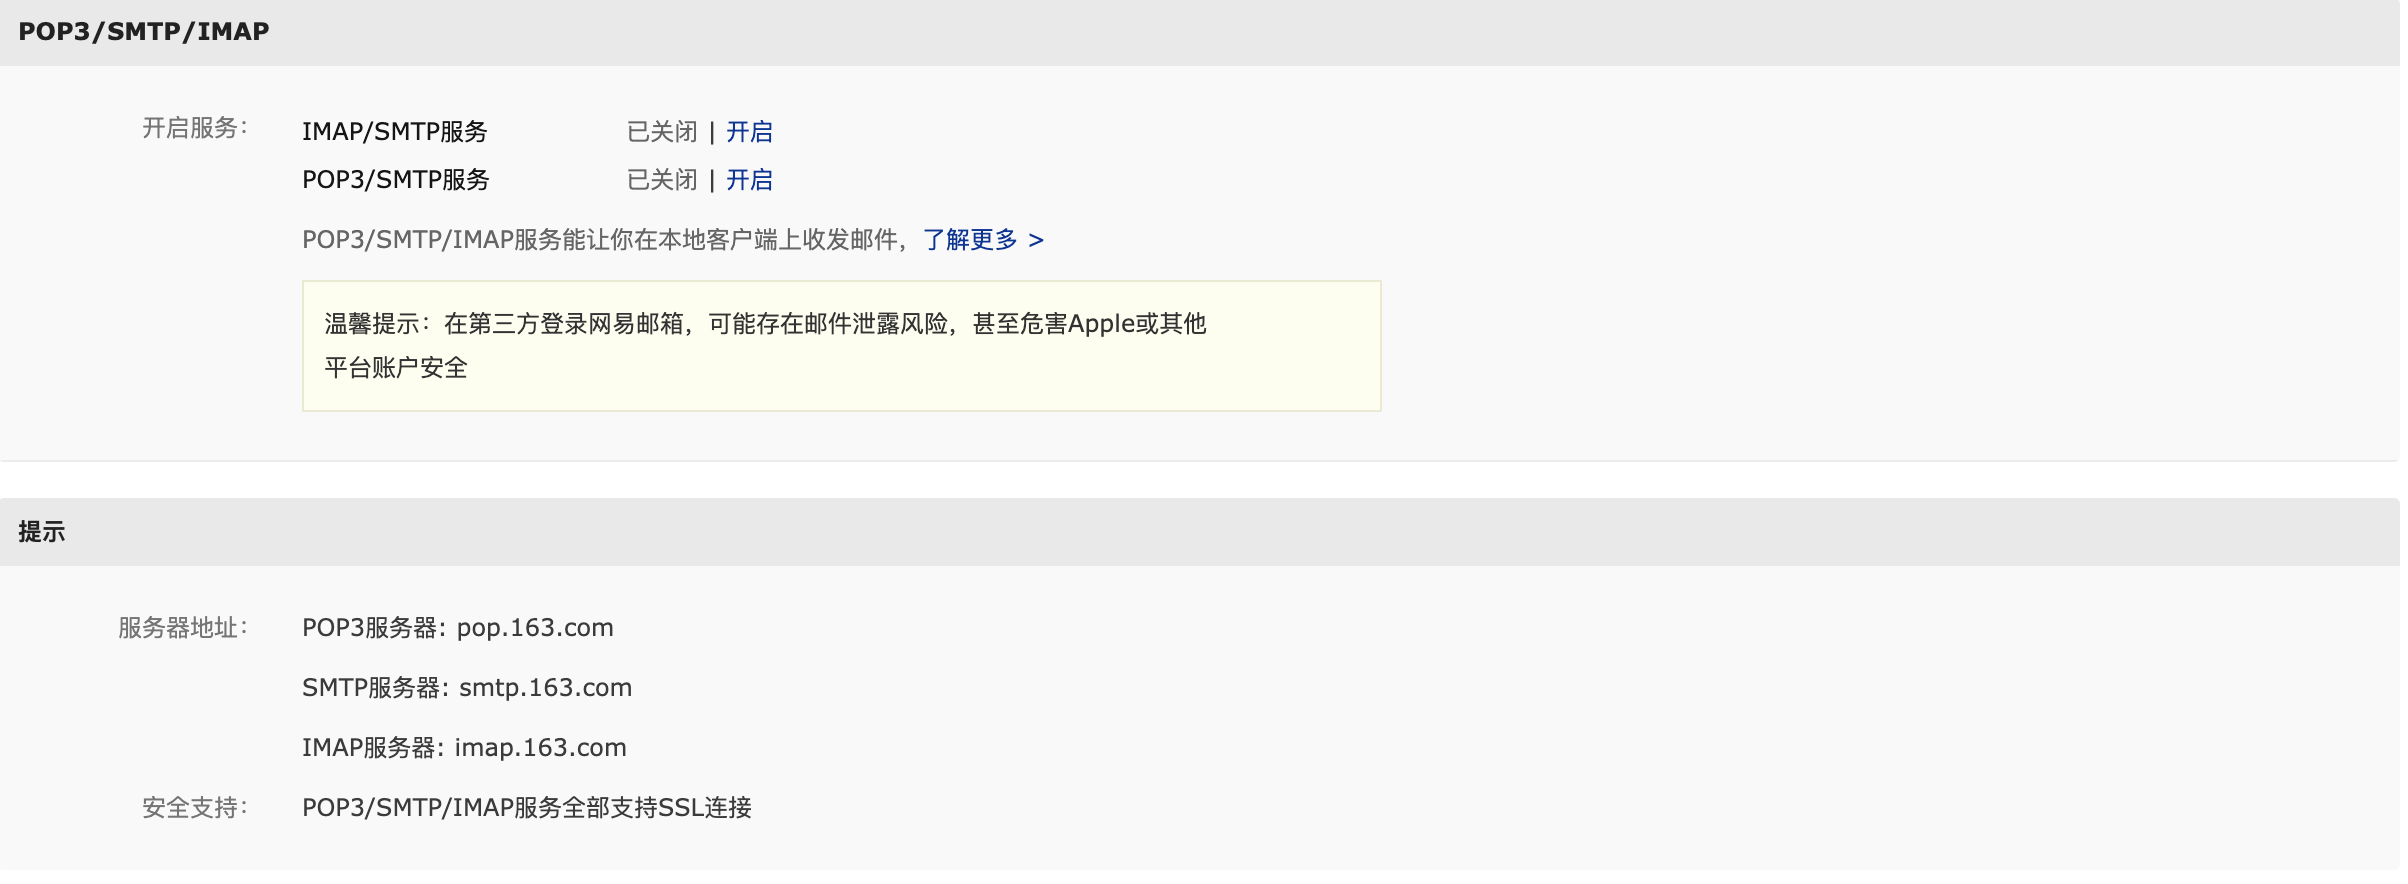
再在application.yml中进行简单的配置(以163邮件为例):
server:port: 80mail:jndi-name: "mail/Session"host: smtp.163.comusername: 账户@163.compassword: 密码 #注意这里不是邮箱登录密码!是开启SMTP发送信息获取授权码就是代码里面用的密码properties:mail:smtp:connectiontimeout: 5000timeout: 3000writetimeout: 5000auth: truestarttls:enable: truerequired: true
spring.mail.username,spring.mail.password填写自己的邮箱账号密码即可。
发送简单的邮件
编写EmailController,注入JavaMailSender:
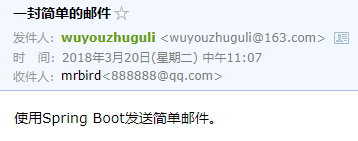
import org.springframework.beans.factory.annotation.Autowired;import org.springframework.beans.factory.annotation.Value;import org.springframework.mail.SimpleMailMessage;import org.springframework.mail.javamail.JavaMailSender;import org.springframework.web.bind.annotation.RequestMapping;import org.springframework.web.bind.annotation.RestController;@RestController@RequestMapping("/email")public class EmailController {@Autowiredprivate JavaMailSender jms;@Value("${spring.mail.username}")private String from;@RequestMapping("sendSimpleEmail")public String sendSimpleEmail() {try {SimpleMailMessage message = new SimpleMailMessage();message.setFrom(from);message.setTo("888888@qq.com"); // 接收地址message.setSubject("一封简单的邮件"); // 标题message.setText("使用Spring Boot发送简单邮件。"); // 内容jms.send(message);return "发送成功";} catch (Exception e) {e.printStackTrace();return e.getMessage();}}}
启动项目访问http://localhost/email/sendSimpleEmail,提示发送成功:
发送HTML格式的邮件
改造EmailController,SimpleMailMessage替换为MimeMessage:
import javax.mail.internet.MimeMessage;import org.springframework.beans.factory.annotation.Autowired;import org.springframework.beans.factory.annotation.Value;import org.springframework.mail.SimpleMailMessage;import org.springframework.mail.javamail.JavaMailSender;import org.springframework.mail.javamail.MimeMessageHelper;import org.springframework.web.bind.annotation.RequestMapping;import org.springframework.web.bind.annotation.RestController;@RestController@RequestMapping("/email")public class EmailController {@Autowiredprivate JavaMailSender jms;@Value("${spring.mail.username}")private String from;@RequestMapping("sendHtmlEmail")public String sendHtmlEmail() {MimeMessage message = null;try {message = jms.createMimeMessage();MimeMessageHelper helper = new MimeMessageHelper(message, true);helper.setFrom(from);helper.setTo("888888@qq.com"); // 接收地址helper.setSubject("一封HTML格式的邮件"); // 标题// 带HTML格式的内容StringBuffer sb = new StringBuffer("<p style='color:#6db33f'>使用Spring Boot发送HTML格式邮件。</p>");helper.setText(sb.toString(), true);jms.send(message);return "发送成功";} catch (Exception e) {e.printStackTrace();return e.getMessage();}}}
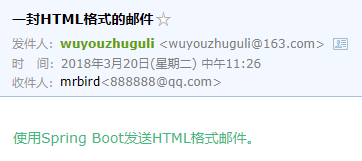
helper.setText(sb.toString(), true);中的true表示发送HTML格式邮件。启动项目,访问http://localhost/email/sendHtmlEmail,提示发送成功,可看到文本已经加上了颜色#6db33f:
发送带附件的邮件
发送带附件的邮件和普通邮件相比,其实就只是多了个传入附件的过程。不过使用的仍是MimeMessage:
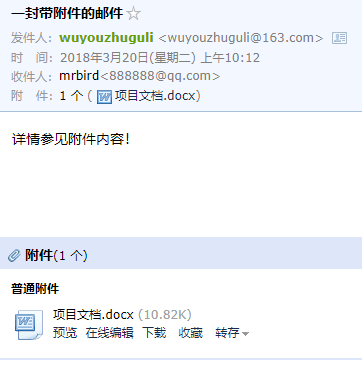
package com.springboot.demo.controller;import java.io.File;import javax.mail.internet.MimeMessage;import org.springframework.beans.factory.annotation.Autowired;import org.springframework.beans.factory.annotation.Value;import org.springframework.core.io.FileSystemResource;import org.springframework.mail.SimpleMailMessage;import org.springframework.mail.javamail.JavaMailSender;import org.springframework.mail.javamail.MimeMessageHelper;import org.springframework.web.bind.annotation.RequestMapping;import org.springframework.web.bind.annotation.RestController;@RestController@RequestMapping("/email")public class EmailController {@Autowiredprivate JavaMailSender jms;@Value("${spring.mail.username}")private String from;@RequestMapping("sendAttachmentsMail")public String sendAttachmentsMail() {MimeMessage message = null;try {message = jms.createMimeMessage();MimeMessageHelper helper = new MimeMessageHelper(message, true);helper.setFrom(from);helper.setTo("888888@qq.com"); // 接收地址helper.setSubject("一封带附件的邮件"); // 标题helper.setText("详情参见附件内容!"); // 内容// 传入附件FileSystemResource file = new FileSystemResource(new File("src/main/resources/static/file/项目文档.docx"));helper.addAttachment("项目文档.docx", file);jms.send(message);return "发送成功";} catch (Exception e) {e.printStackTrace();return e.getMessage();}}}
启动项目访问http://localhost/email/sendAttachmentsMail,提示发送成功:
发送带静态资源的邮件
发送带静态资源的邮件其实就是在发送HTML邮件的基础上嵌入静态资源(比如图片),嵌入静态资源的过程和传入附件类似,唯一的区别在于需要标识资源的cid:
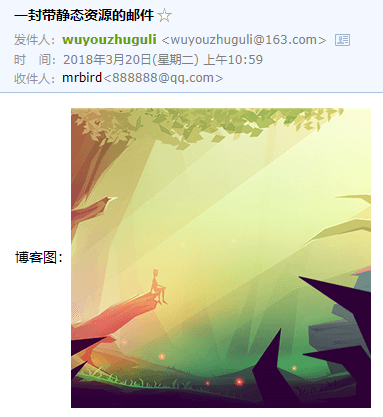
package com.springboot.demo.controller;import java.io.File;import javax.mail.internet.MimeMessage;import org.springframework.beans.factory.annotation.Autowired;import org.springframework.beans.factory.annotation.Value;import org.springframework.core.io.FileSystemResource;import org.springframework.mail.SimpleMailMessage;import org.springframework.mail.javamail.JavaMailSender;import org.springframework.mail.javamail.MimeMessageHelper;import org.springframework.web.bind.annotation.RequestMapping;import org.springframework.web.bind.annotation.RestController;@RestController@RequestMapping("/email")public class EmailController {@Autowiredprivate JavaMailSender jms;@Value("${spring.mail.username}")private String from;@RequestMapping("sendInlineMail")public String sendInlineMail() {MimeMessage message = null;try {message = jms.createMimeMessage();MimeMessageHelper helper = new MimeMessageHelper(message, true);helper.setFrom(from);helper.setTo("888888@qq.com"); // 接收地址helper.setSubject("一封带静态资源的邮件"); // 标题helper.setText("<html><body>博客图:<img src='cid:img'/></body></html>", true); // 内容// 传入附件FileSystemResource file = new FileSystemResource(new File("src/main/resources/static/img/sunshine.png"));helper.addInline("img", file);jms.send(message);return "发送成功";} catch (Exception e) {e.printStackTrace();return e.getMessage();}}}
helper.addInline("img", file);中的img和图片标签里cid后的名称相对应。启动项目访问http://localhost/email/sendInlineMail,提示发送成功:
使用模板发送邮件
在发送验证码等情况下可以创建一个邮件的模板,唯一的变量为验证码。这个例子中使用的模板解析引擎为Thymeleaf,所以首先引入Thymeleaf依赖:
<dependency><groupId>org.springframework.boot</groupId><artifactId>spring-boot-starter-thymeleaf</artifactId></dependency>
在template目录下创建一个emailTemplate.html模板:
<!DOCTYPE html><html lang="zh" xmlns:th="http://www.thymeleaf.org"><head><meta charset="UTF-8" /><title>模板</title></head><body>您好,您的验证码为<p th:text="${code}" style="display: inline">{code}</p>,请在两分钟内使用完成操作。</body></html>
发送模板邮件,本质上还是发送HTML邮件,只不过多了绑定变量的过程,详细如下所示:
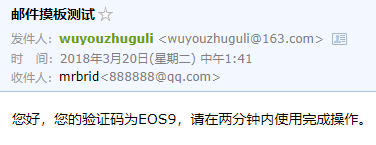
package com.springboot.demo.controller;import java.io.File;import javax.mail.internet.MimeMessage;import org.springframework.beans.factory.annotation.Autowired;import org.springframework.beans.factory.annotation.Value;import org.springframework.core.io.FileSystemResource;import org.springframework.mail.SimpleMailMessage;import org.springframework.mail.javamail.JavaMailSender;import org.springframework.mail.javamail.MimeMessageHelper;import org.springframework.web.bind.annotation.RequestMapping;import org.springframework.web.bind.annotation.RestController;import org.thymeleaf.TemplateEngine;import org.thymeleaf.context.Context;@RestController@RequestMapping("/email")public class EmailController {@Autowiredprivate JavaMailSender jms;@Value("${spring.mail.username}")private String from;@Autowiredprivate TemplateEngine templateEngine;@RequestMapping("sendTemplateEmail")public String sendTemplateEmail(String code) {MimeMessage message = null;try {message = jms.createMimeMessage();MimeMessageHelper helper = new MimeMessageHelper(message, true);helper.setFrom(from);helper.setTo("888888@qq.com"); // 接收地址helper.setSubject("邮件摸板测试"); // 标题// 处理邮件模板Context context = new Context();context.setVariable("code", code);String template = templateEngine.process("emailTemplate", context);helper.setText(template, true);jms.send(message);return "发送成功";} catch (Exception e) {e.printStackTrace();return e.getMessage();}}}
其中code对应模板里的${code}变量。启动项目,访问http://localhost/email/sendTemplateEmail?code=EOS9,页面提示发送成功:

若有收获,就点个赞吧
0 人点赞
