1.表单校验
1.为el-form添加rules属性
<el-form :model="loginForm" label-width="0px" class="login_form" :rules="loginFormRules" >
2.在data中定义校验对象
每一个属性都是一个验证规则
loginFormRules:{//校验用户名是否合法username:[{ required: true, message: '请输入用户名称', trigger: 'blur' },{ min: 3, max: 10, message: '长度在 3 到 10 个字符', trigger: 'blur' }],password:[{ required: true, message: '请输入登录密码', trigger: 'blur' },{ min: 6, max: 15, message: '长度在 6 到 15个字符', trigger: 'blur' }]}}},
3.给不同的表单项指定不同的验证规则
这里使用prop=上面的属性”,prop定义在每一个item上
<el-form-item prop="username"><el-input v-model="loginForm.username" prefix-icon="iconfont icon-denglu" class="icon" ></el-input></el-form-item><!-- 密码 --><el-form-item prop="password"><el-input v-model="loginForm.password" prefix-icon="iconfont icon-mima" class="icon" type="password"></el-input></el-form-item>
2.表单重置

1.获取到表单的实例对象,使用ref绑定,this.$refs获取
<el-form :model="loginForm" label-width="0px" class="login_form" :rules="loginFormRules" ref="loginFormRef" >
2.在methods中对表单的实例对象,利用resetFeilds事件进行重置
methods: {resetHandle(){this.$refs.loginFormRef.resetFields()}},
3.登录前预验证

1.获取到表单的实例对象,使用ref绑定,this.$refs获取
<el-form :model="loginForm" label-width="0px" class="login_form" :rules="loginFormRules" ref="loginFormRef" >
2.给登录按钮绑定事件,调用validate函数
<el-button type="primary" @click="loginHandle">登录</el-button>
loginHandle(){this.$refs.loginFormRef.validate((valid)=>{console.log(valid);})}
3.validate中有一个回调函数,回调函数的参数是布尔值,表示表单是否验证通过
4.根据验证结果判断是否发送请求
配置axios
import axios from "axios"//配置请求公共路径axios.defaults.baseURL="http://127.0.0.1:8888/api/private/v1/"Vue.prototype.$http=axios
在login组件中请求数据
loginHandle(){this.$refs.loginFormRef.validate(async valid=>{if(!valid) return;// console.log(this.$http);const {data:res} =await this.$http.post("login",this.loginForm)if(res.meta.status !==200){console.log("登陆失败");}})}
4.配置弹框提示
Message 消息提示
常用于主动操作后的反馈提示。与 Notification 的区别是后者更多用于系统级通知的被动提醒。
1.在main.js定义配置message
import {Message} from "element-ui"
Vue.prototype.$message=Message
2.使用message
loginHandle(){this.$refs.loginFormRef.validate(async valid=>{if(!valid) return;// console.log(this.$http);const {data:res} =await this.$http.post("login",this.loginForm)if(res.meta.status !==200){return this.$message.error("登录失败!")}this.$message.success("登录成功!");})}
5.登录成功的操作
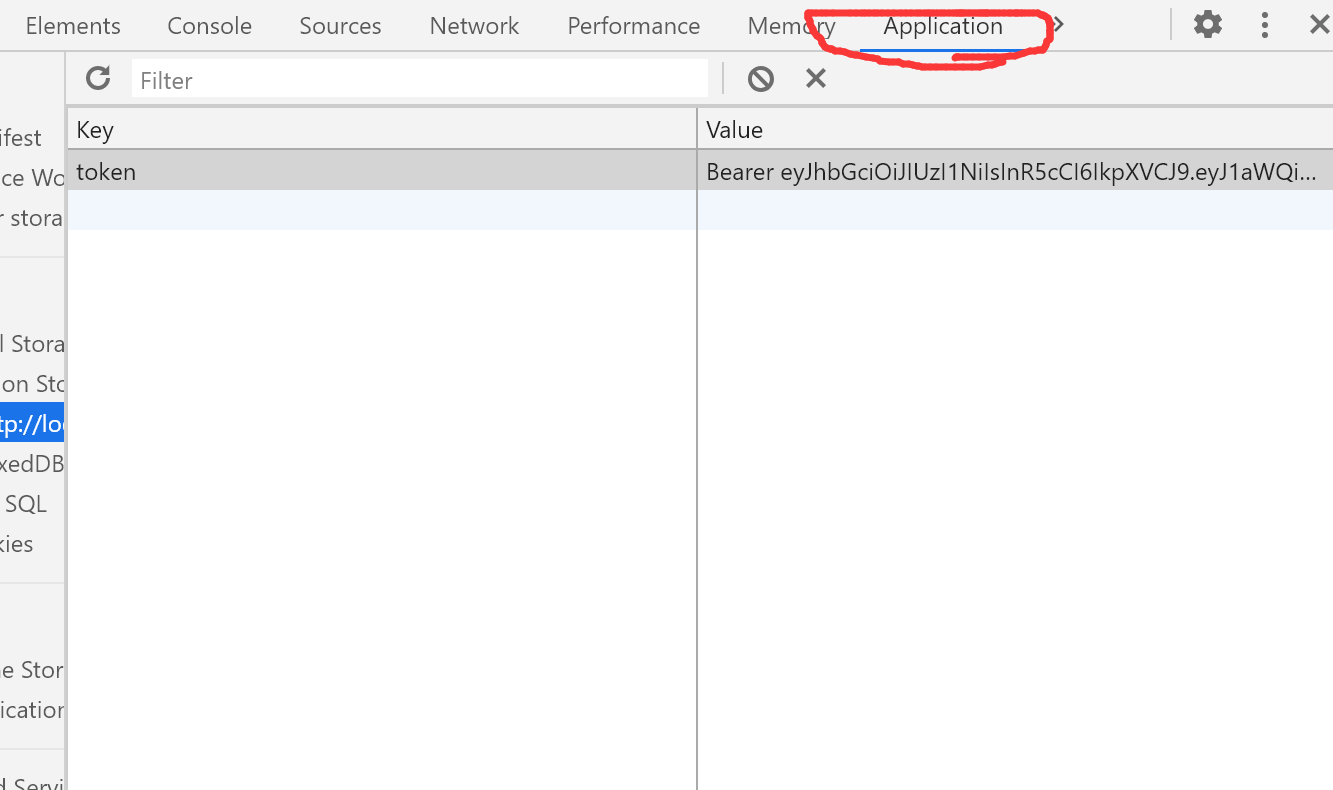
1.将登录成功之后的token,保存到客户端的sessionStorage中 1.1项目中除了登录之外的其他API接口,必须在登录之后才能访问 1.2token只应在当前网站打开期间生效,所以将token保存在sessionStorage中 2.通过编程式导航跳转到后台主页,路由地址是/home
window.sessionStorage.setItem("token",res.data.token)
loginHandle(){this.$refs.loginFormRef.validate(async valid=>{if(!valid) return;// console.log(this.$http);const {data:res} =await this.$http.post("login",this.loginForm)if(res.meta.status !==200){return this.$message.error("登录失败!")}this.$message.success("登录成功!");window.sessionStorage.setItem("token",res.data.token)this.$router.push("/home")//跳转到首页})}
6.控制访问权限
通过路由导航守卫来控制访问权限 如果用户没有登录,就直接通过url访问特定页面,需要重新导航到登录页面
to 将要访问的路径 from 代表从哪个路径跳转而来 next表示放行,是一个函数 next() 放行 next(”/login”)强制跳转
//为路由对象添加beforeEach导航守卫router.beforeEach((to, from, next) => {//如果用户访问的是登录页,直接放行if(to.path==="/login"){return next()}//从sessionStorage中获取保存到的token值const tokenStr=window.sessionStorage.getItem("token")console.log(tokenStr);//没有token值,就强制跳转到登录页面if(!tokenStr){return next("/login")}//如果有直接放行next()})
7.实现退出
基于token的方式实现退出比较简单,只需要销毁本地的token即可,这样,后续的请求就不会携带token,必须重新登录生成一个新的token之后才可以访问页面
在home首页组件中添加事件
methods: {loginOut(){//清除session中的值window.sessionStorage.clear();//在跳转回login登录页面this.$router.push("/login")}},

若有收获,就点个赞吧
0 人点赞
