1.安装
npm install html-webpack-plugin --save-dev
2.引入
const HTMLWebpackPlugin = require("html-webpack-plugin")
3.配置
//plugins插件的配置plugins:[new HTMLWebpackPlugin({//html的位置template:"./src/index.html"})]
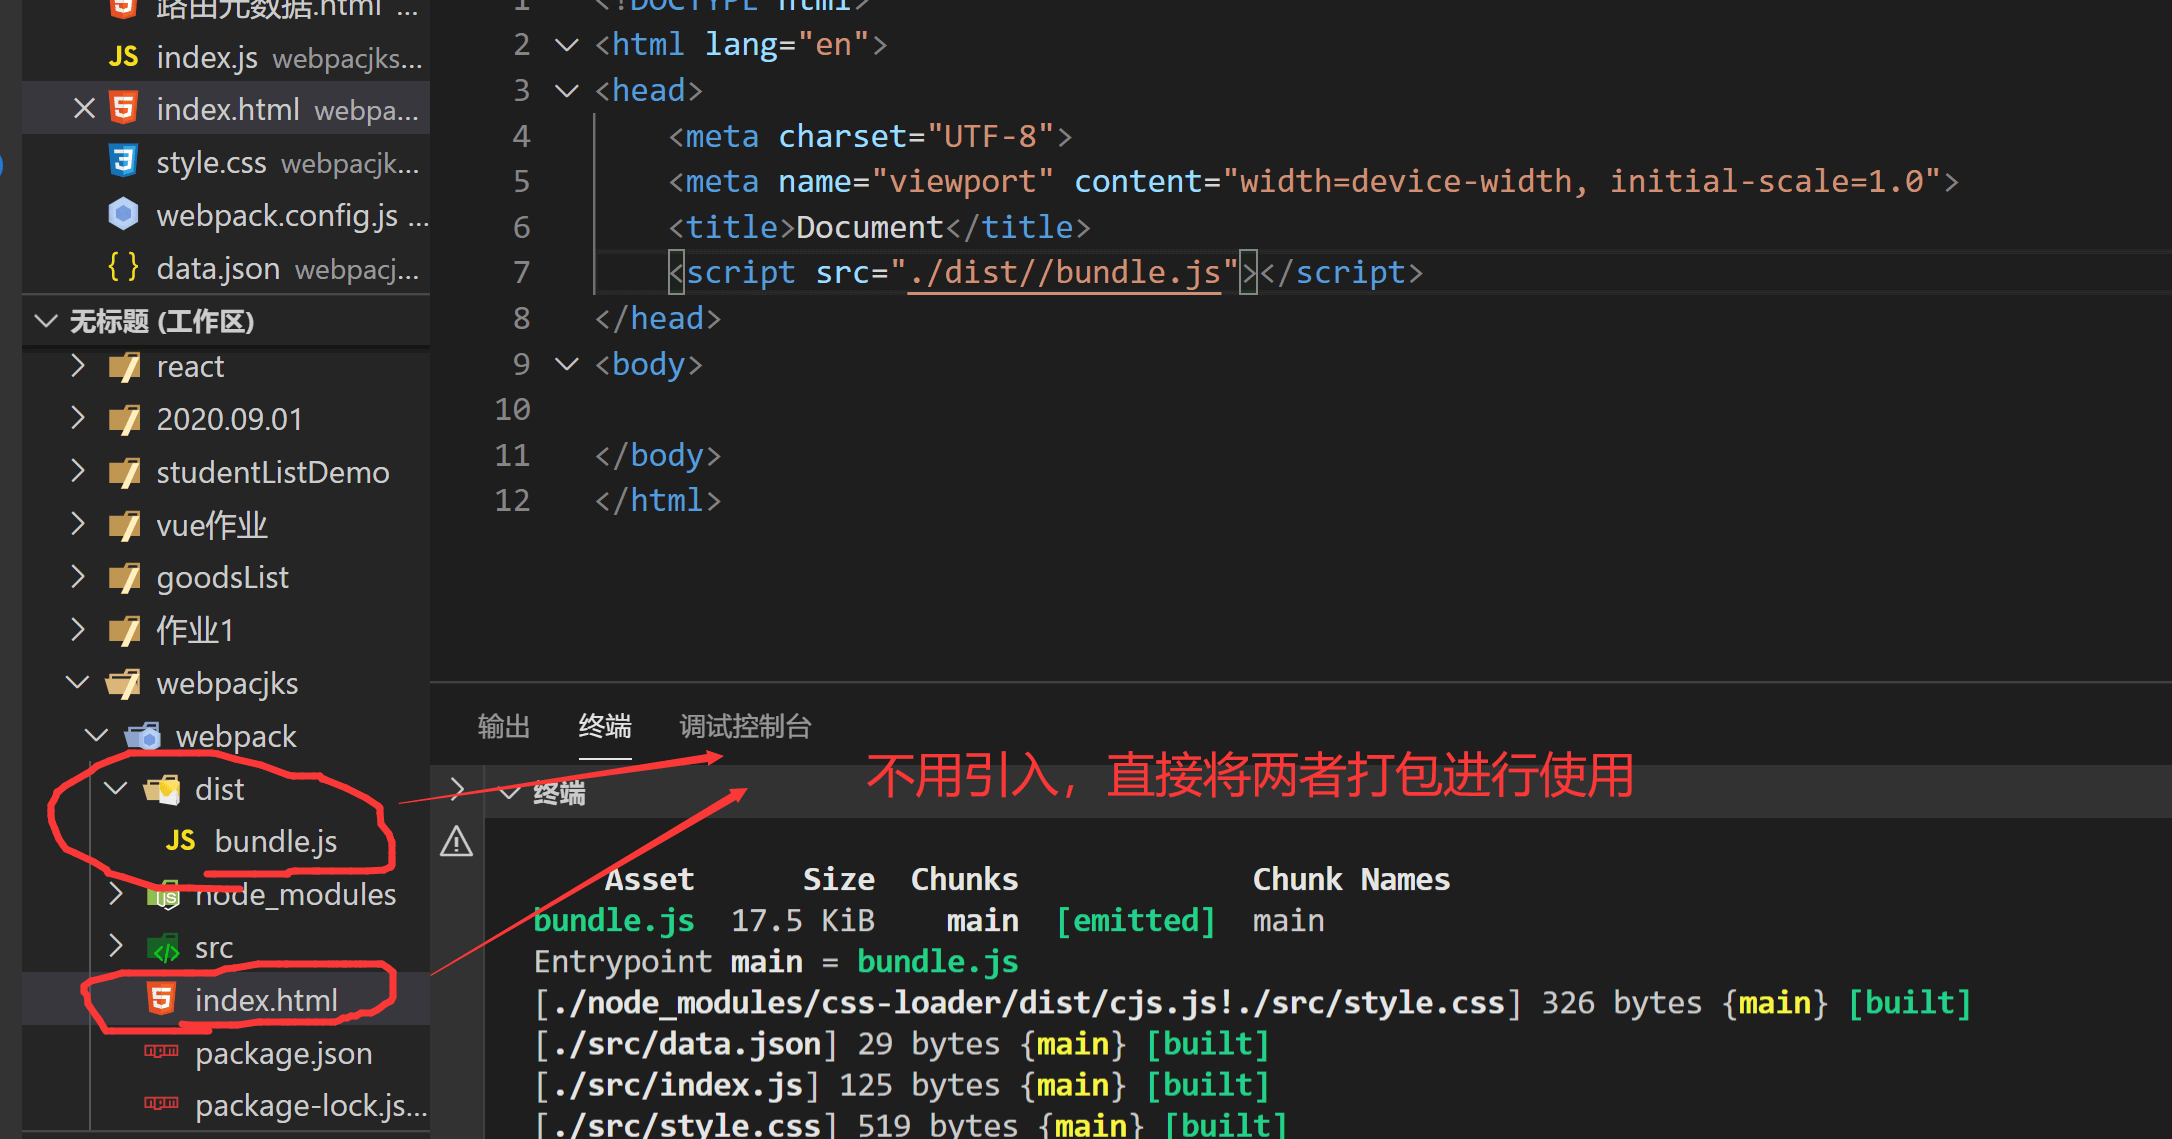
4.webpack.config.js代码
const path=require("path")const HTMLWebpackPlugin = require("html-webpack-plugin")module.exports={//入口文件,入口文件的路径entry:"./src/index.js",//输出output:{//输出文件名称filename:"bundle.js",//输出路径,这里需要绝对路径//这里相当于 D:\下载\webpacjks\webpack与\dist拼接path:path.resolve(__dirname,'dist')},//开发模式,这里还可以时production生产模式mode:'development',//loader的配置module:{//对某种格式的文件进行转换的处理rules:[{//匹配规则,得用正则表达式,这里是匹配后缀名test:/\.css$/,use:[//先将css文本的格式用style标签插进html中,在进行css渲染//将js的样式插入style标签中//数组中解析的顺序是从下到上的顺序,逆序执行"style-loader",//将css转化为js"css-loader"]}]},//plugins插件的配置plugins:[new HTMLWebpackPlugin({//html的位置template:"./src/index.html"})]}

若有收获,就点个赞吧
0 人点赞
