Introduction
Makeblock Bluetooth Controller features 15 buttons and 2 joysticks, all of which are programmable. Not only is it compatible with a variety of Makeblock robots with built-in Bluetooth modules, but also comes with complementary programs, which are ready to be used after being uploaded. You can enjoy a cleaner, more professional robotic control experience in the classroom, at home or in a robotics competition setting.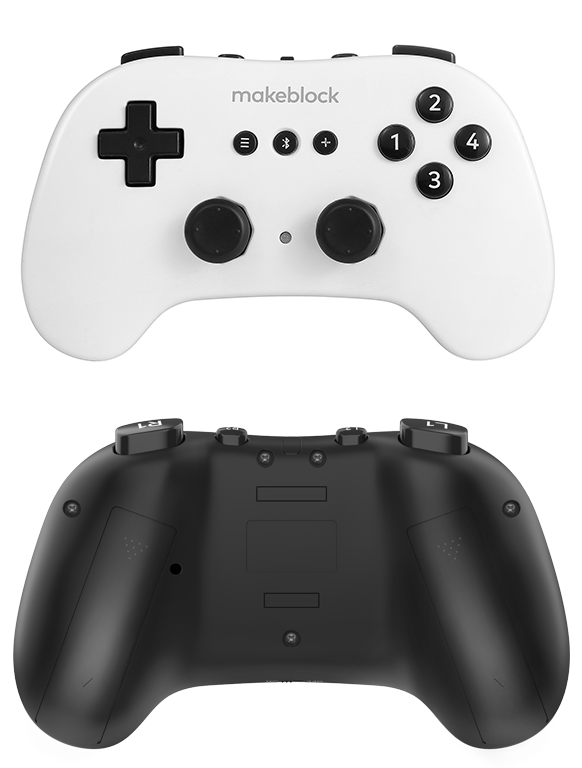
Start to Program with mBlock 5
Bluetooth Controller supports two operation modes.
Master mode (default)
The master mode is used to control robots. It is compatible only with Makeblock’s robots that are equipped with Bluetooth modules, such as mBot, mBot Ranger, Codey Rocky, and Airblock.
Slave mode
The slave mode is used to control the sprites on the stage of mBlock. You can switch the controller to the master mode by restarting it.
For details about how to connect and program Bluetooth Controller in the master and slave modes, visit https://www.mblock.cc/doc/en/hardware-guide/bluetooth-controller/quick-start-guide.html.
More Information
For more example projects and further help, see the Bluetooth Controller online help at https://www.mblock.cc/doc/en/hardware-guide/bluetooth-controller/bluetooth-controller.html.
2. button[AXIS] pressed

Determines whether the specified key on Bluetooth Controller is pressed
How to Use
Bluetooth Controller provides 15 keys. Click to select the one to be programmed.
Note: This is a Boolean block that contains a condition. Use it in combination with another block that requires a condition.
Example
Note: When writing this program, you need to add the variable button 1.
After you press the space key, the variable value 1 is displayed on the stage when you press button 1 on Bluetooth Controller, and 0 is displayed when you release button 1.
3. joystick[AXIS]

Reports the output value of the specified joystick at the specified axis
How to Use
Bluetooth Controller is a device for controlling mBlock sprites or robots with built-in Bluetooth modules.
It provides two joysticks. The character L refers to the left joystick, and R refers to the right one.
The joysticks can be used to control the motion of robots or sprites. The following figure shows the axes and the relationship between manipulation directions and output values.
Output value range at the X axis: –255 to +255
Output value range at the Y axis: –255 to +255
Note: This is a reporter block that must be used in combiantion with another block requiring data. It cannot be used independently.
Example
Example 1
Note: You need to create the variable LX when writing this program.
After pressing the space key, move the left joystick at the X axis, the value of LX changes with the moving of the joystick.
Example 2
Note: You need to add the Bluetooth Controller extension for mBot and used the related blocks when writing this program. Ensure that you have uploaded the program to mBot and connected mBot to Bluetooth Controller through Bluetooth.
After starting mBot, move the left and right joysticks at the Y axis to control the moving power of the left and right wheels of mBot.

若有收获,就点个赞吧
0 人点赞
